Reading Time: 9 minutesThe external hard drive Cyclic Redundancy error is a cause for concern because it commonly indicates a dying hard drive. Our guide explains how you can retrieve data from your external HDD. And once data recovery is complete, you can try one of the various fixes for the Cyclic Redundancy error listed in this article.
What is a Cyclic Redundancy Check
In simple words, a Cyclic Redundancy Check (CRC) is an error-detection method used in storage devices and networks. It verifies data integrity during transfers by applying a modified version of the checksum algorithm. For the check to pass, the CRC values must match on both ends, such as your computer (the receiver) and the external hard drive (the sender).
The word redundancy refers to added data that helps detect errors without introducing new information, while cyclic describes the mathematical process it uses. The underlying math is complex, but you can find accessible explanations on sites like Cardinal Peak.
CRC helps determine whether data remains intact, but it cannot correct errors. When it detects a mismatch, it halts the read/write process and prompts the system to try again.
CRC was developed back in 1961 and the easy implementation and accuracy of CRC error checking quickly led to its widespread adoption. However, CRC is not without flaws. A major shortcoming of CRC error checking is that while it can check the integrity of a file, it cannot determine its authenticity.
What Causes Data Error (Cyclic Redundancy Check)?
Windows will display the Data error (Cyclic Redundancy Check) dialog box if there’s a mismatch between the transmitted and received checksum. If you’re lucky, the error could simply be a case of a malfunctioning SATA/USB cable or a connection port. More commonly, a failed CRC check indicates a dying or severely corrupted hard drive or USB drive.
The error frequently appears when copying files to and from the hard disk drive. Some users also report seeing the Data error (Cyclic Redundancy Check) message when initializing a disk.

Before jumping into solutions, here are some of the most common reasons this error shows up:
- ⚠️ A faulty USB cable or port is one of the most common reasons you’ll see a Data error (Cyclic Redundancy Check) message when plugging in your external hard drive.
- 💽 Corrupted external hard drive (issues like bad sectors, viruses, interrupted formatting, sudden power loss, or yanking the drive out without ejecting it properly) can all corrupt your drive. When that happens, your data may become unreadable, triggering the CRC error. Signs of this include slow performance, missing files, or the drive not opening at all.
- 📕 Though rare, a messed-up entry in the Windows Registry can sometimes cause a CRC error when you try to access your external drive.
- ❌ If a program didn’t install properly, it might have left behind corrupt or misconfigured files. When your system tries to read those files, you could get hit with a CRC error.
- 🗄️ A single file with bad configuration can cause the error when you try to open or copy it. You’ll usually know it’s the file itself if the error happens on any computer, while everything else works fine.
- 💻 Sometimes, it’s not the whole drive – it’s just one bad partition. The CRC error will only show up when you try to access that specific part of the drive.
You should identify the cause of the error only to understand the condition of the external drive and avoid similar issues in the future. Right now, the priority is to recover your data. Below, we have prepared a universal method that works regardless of what triggered the Cyclic Redundancy error.
How To Recover Data After Facing the Cyclic Redundancy Error
Since CRC errors usually mean your external hard drive is starting to fail, your best move is to recover the data right away – before the drive gives out completely. It might seem like fixing the error should come first, but some repair methods can wipe your files for good. That’s why data recovery should be the priority. To recover files from a drive showing a Cyclic Redundancy Check error, you’ll need data recovery software. One of the best options out there is Disk Drill.
Disk Drill doesn’t depend on the operating system or file system to access your drive. Instead, it scans the disk’s memory directly, which means it can completely bypass the CRC error. Even if the file system is unreadable, Disk Drill can still find and recover your files. One of its best features is the ability to create a full disk image and scan that instead – this helps protect the drive from further damage by limiting how much it’s used during recovery.
Step 1: Create a Disk Image Using Disk Drill
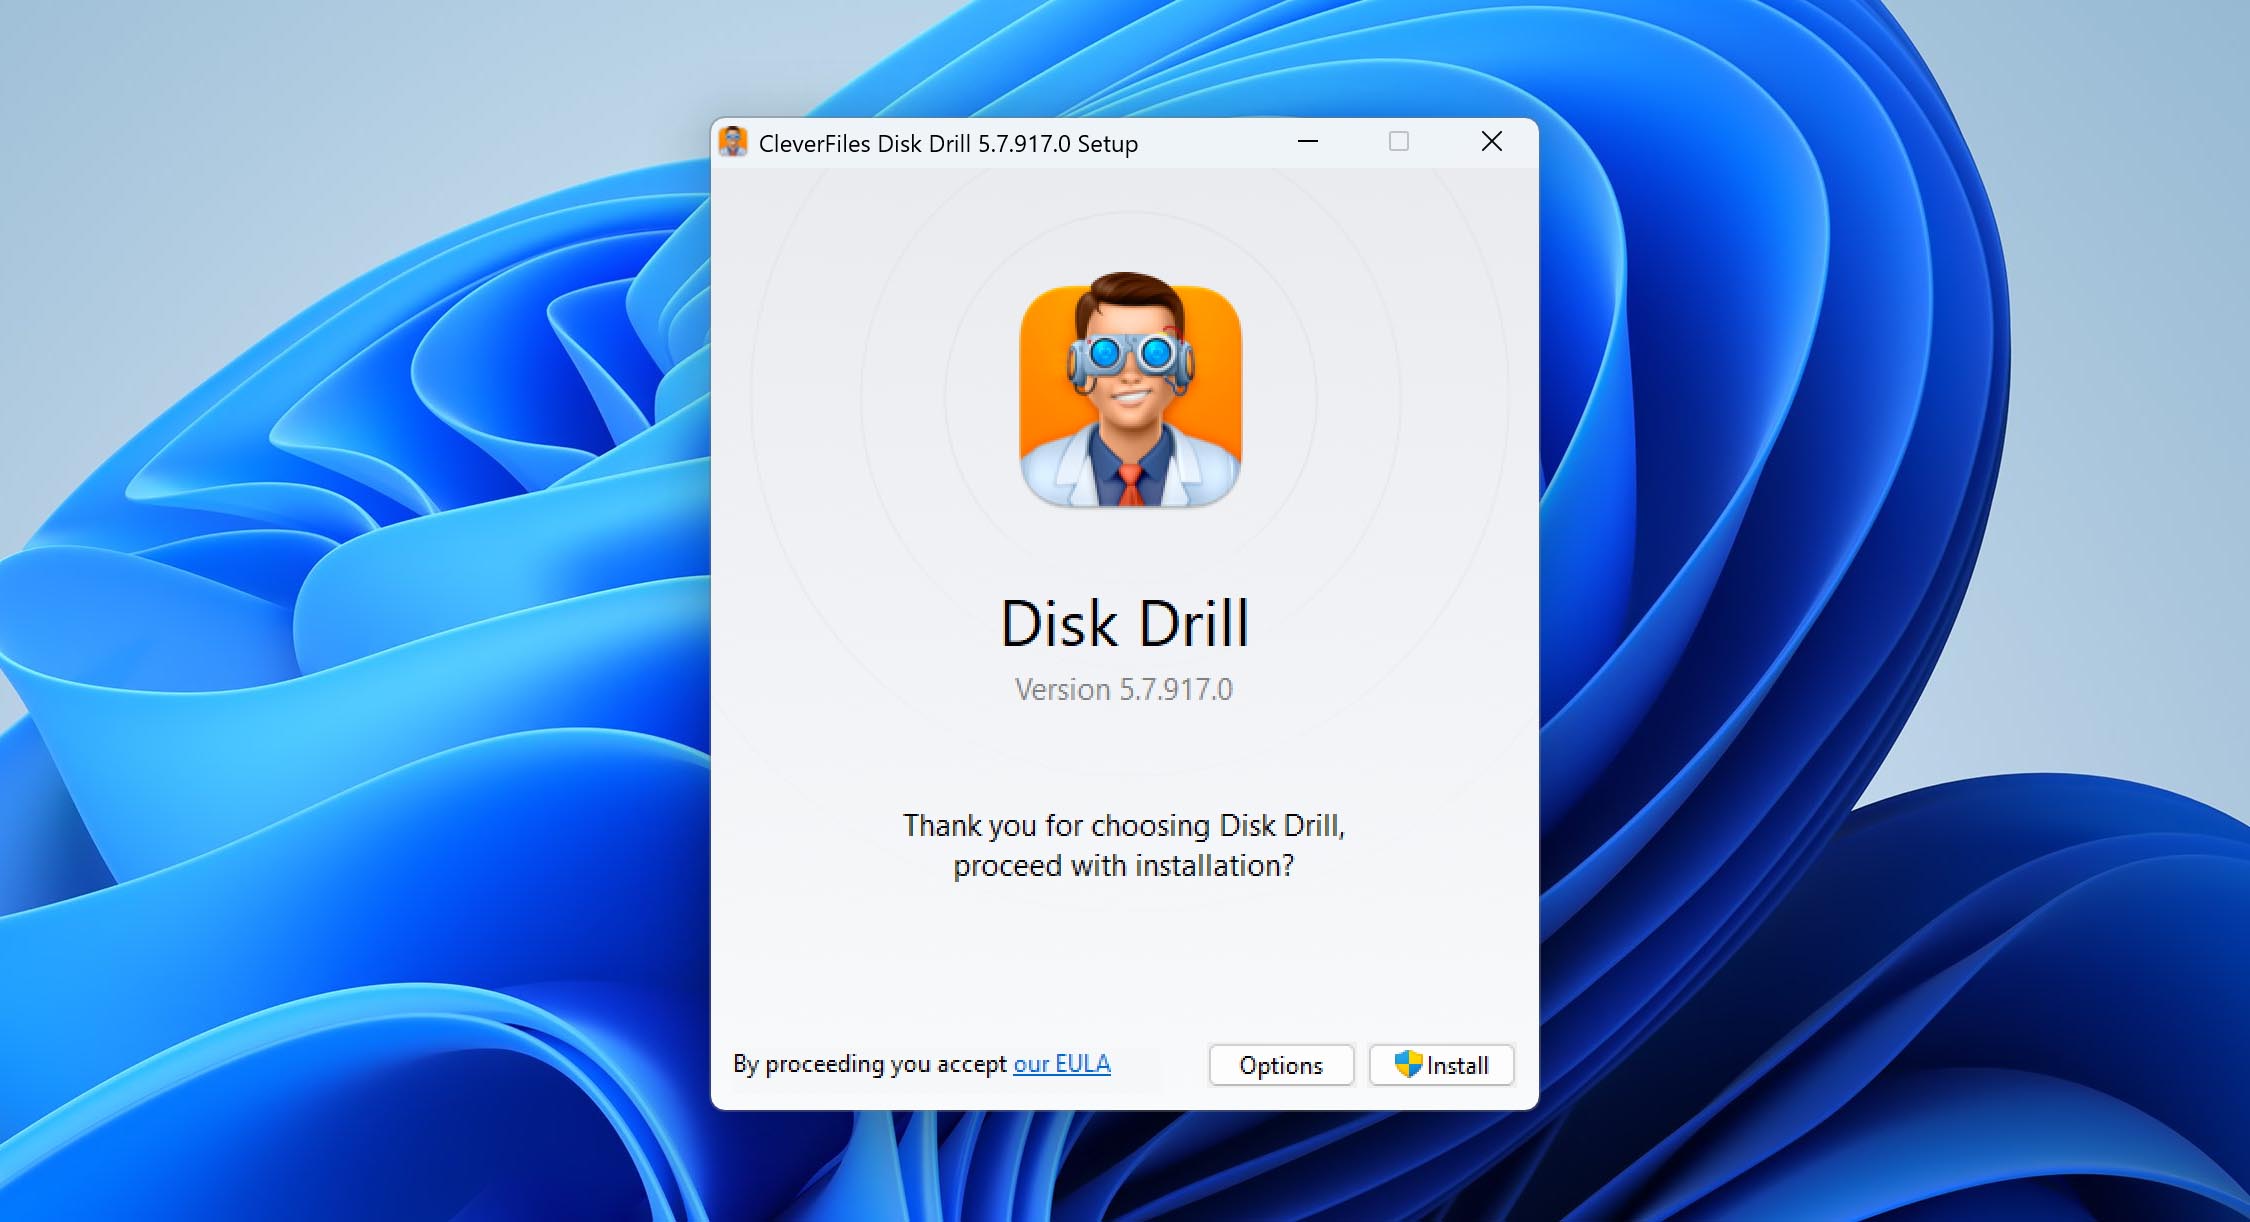
- Go to the official CleverFiles website and download the Disk Drill installer. Open the file and follow the steps to finish the setup.
- Plug in the external hard drive that’s showing the Cyclic Redundancy error.
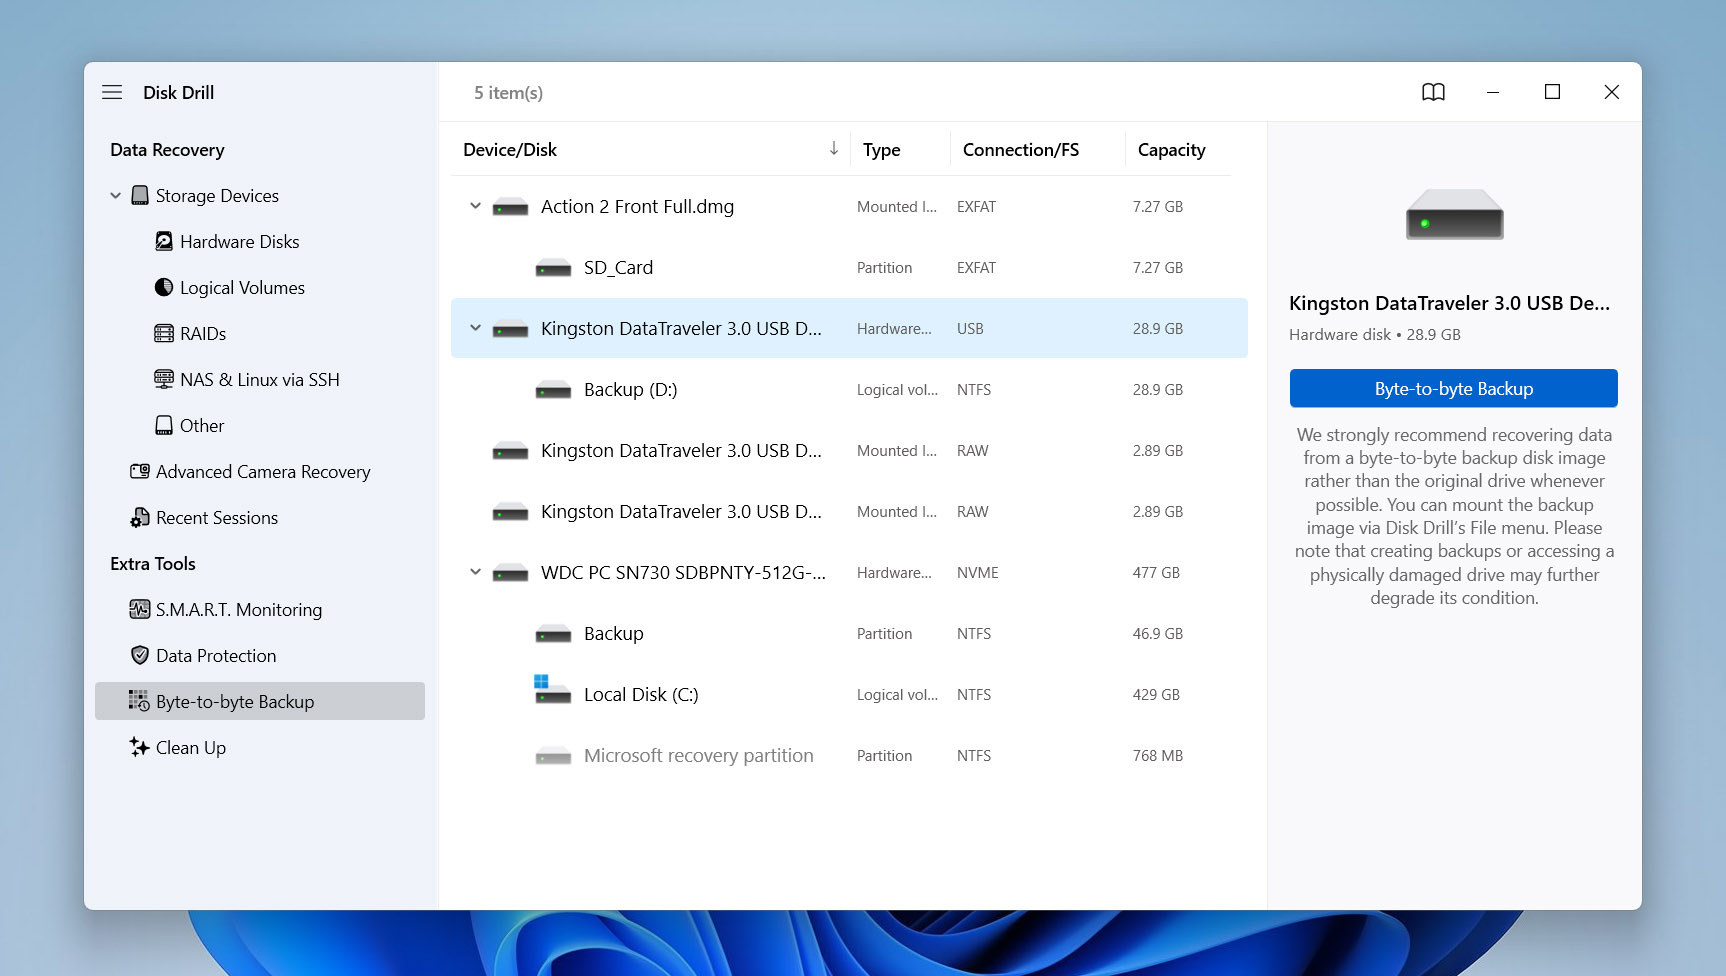
- Once Disk Drill is installed, launch the program and go to the Byte-to-byte Backup option in the left-hand menu.
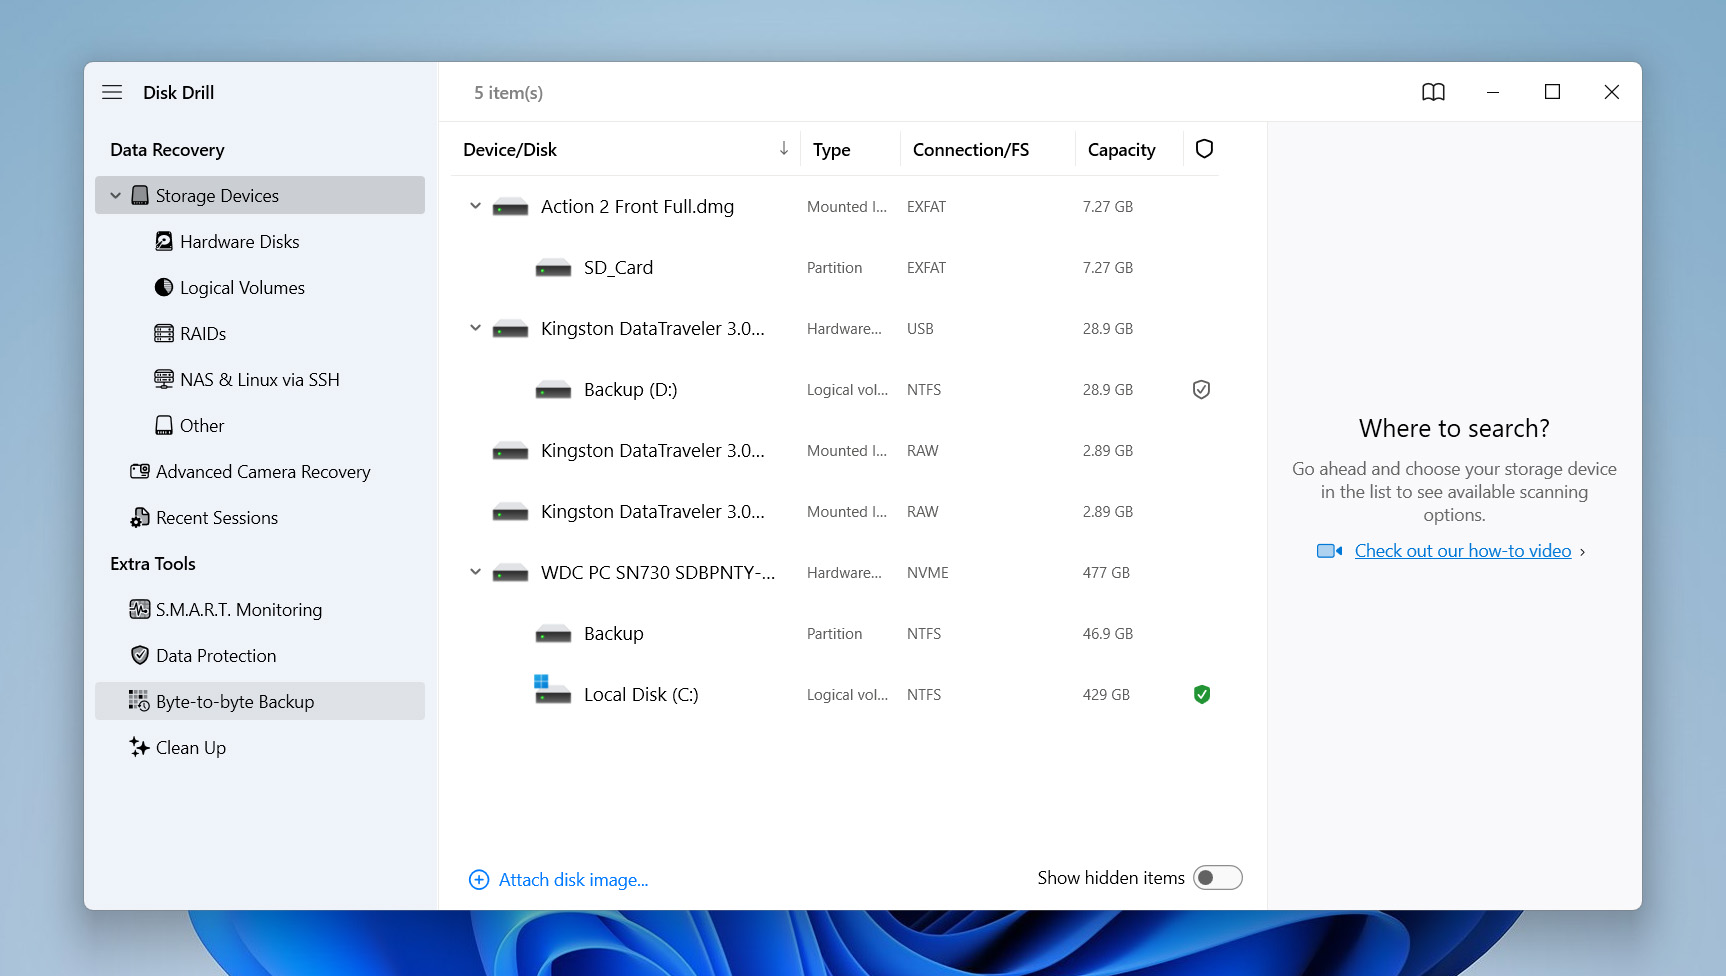
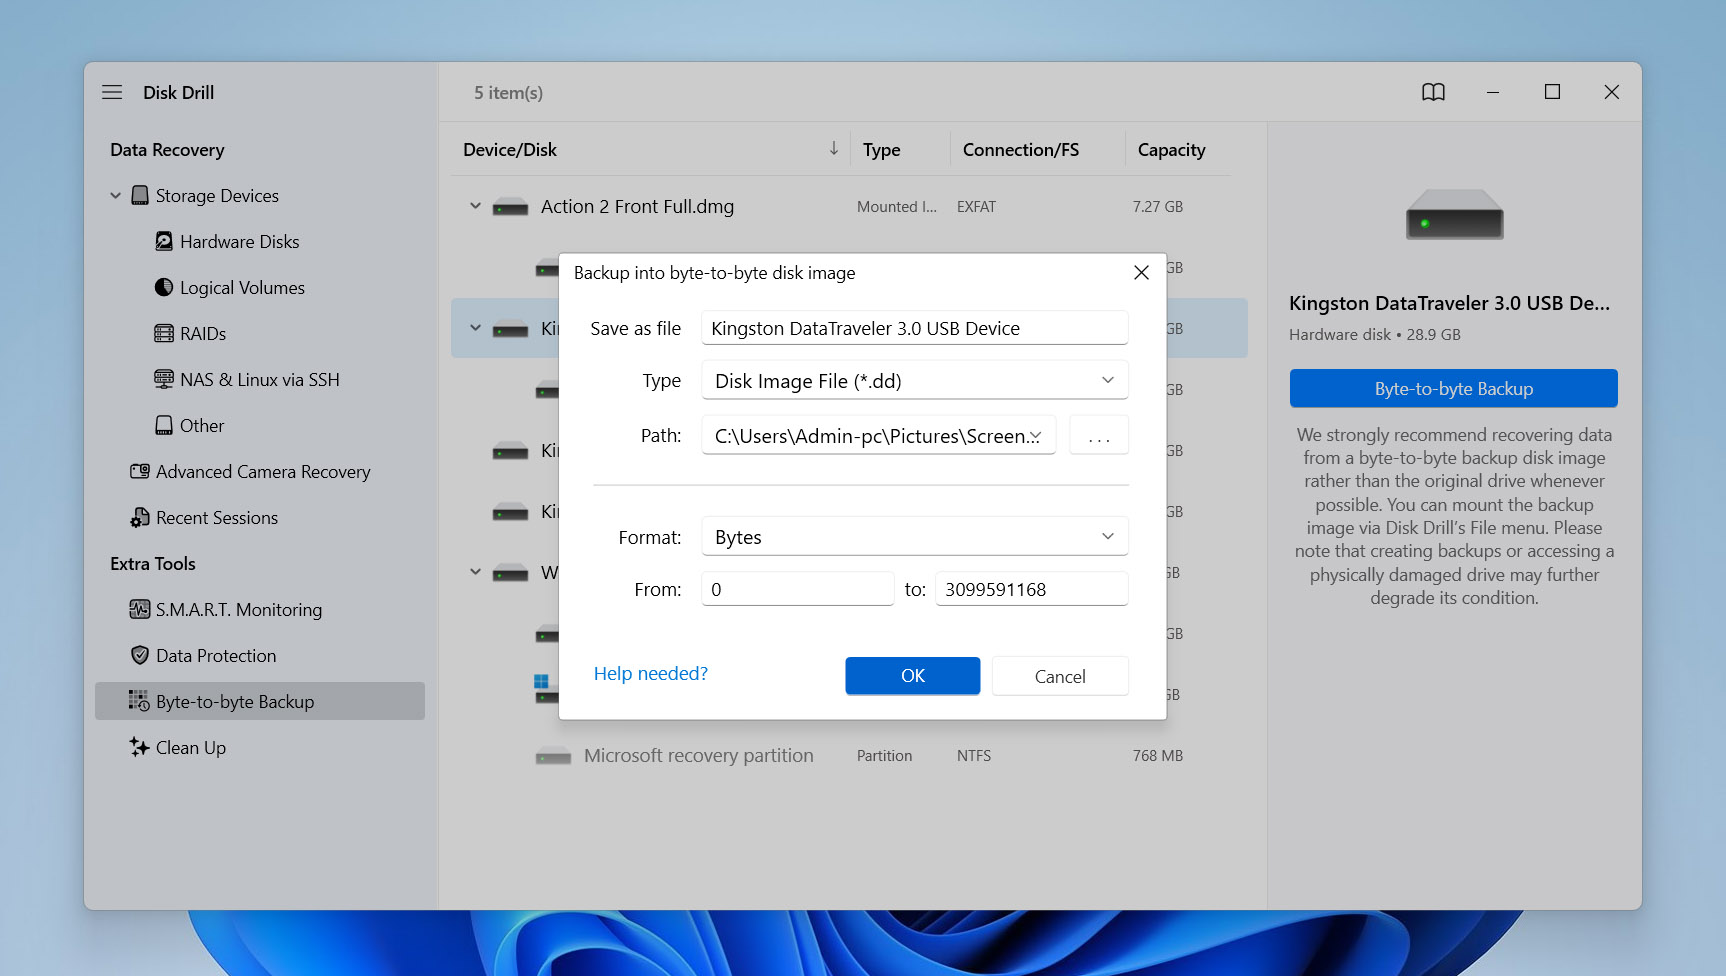
- Locate your drive in the list and click Byte-to-byte Backup to get started.
- When the settings window pops up, choose where to save the backup. Pick a different drive with enough free space, then click OK to confirm.
- Disk Drill will begin creating the backup. Depending on your drive’s size, the process might take a while – the bigger the drive, the longer it’ll take. Once it’s done, you’ll see a confirmation message. Hit the home icon to return to the main screen.


Step 2: Scan the Disk Image for Recoverable Data
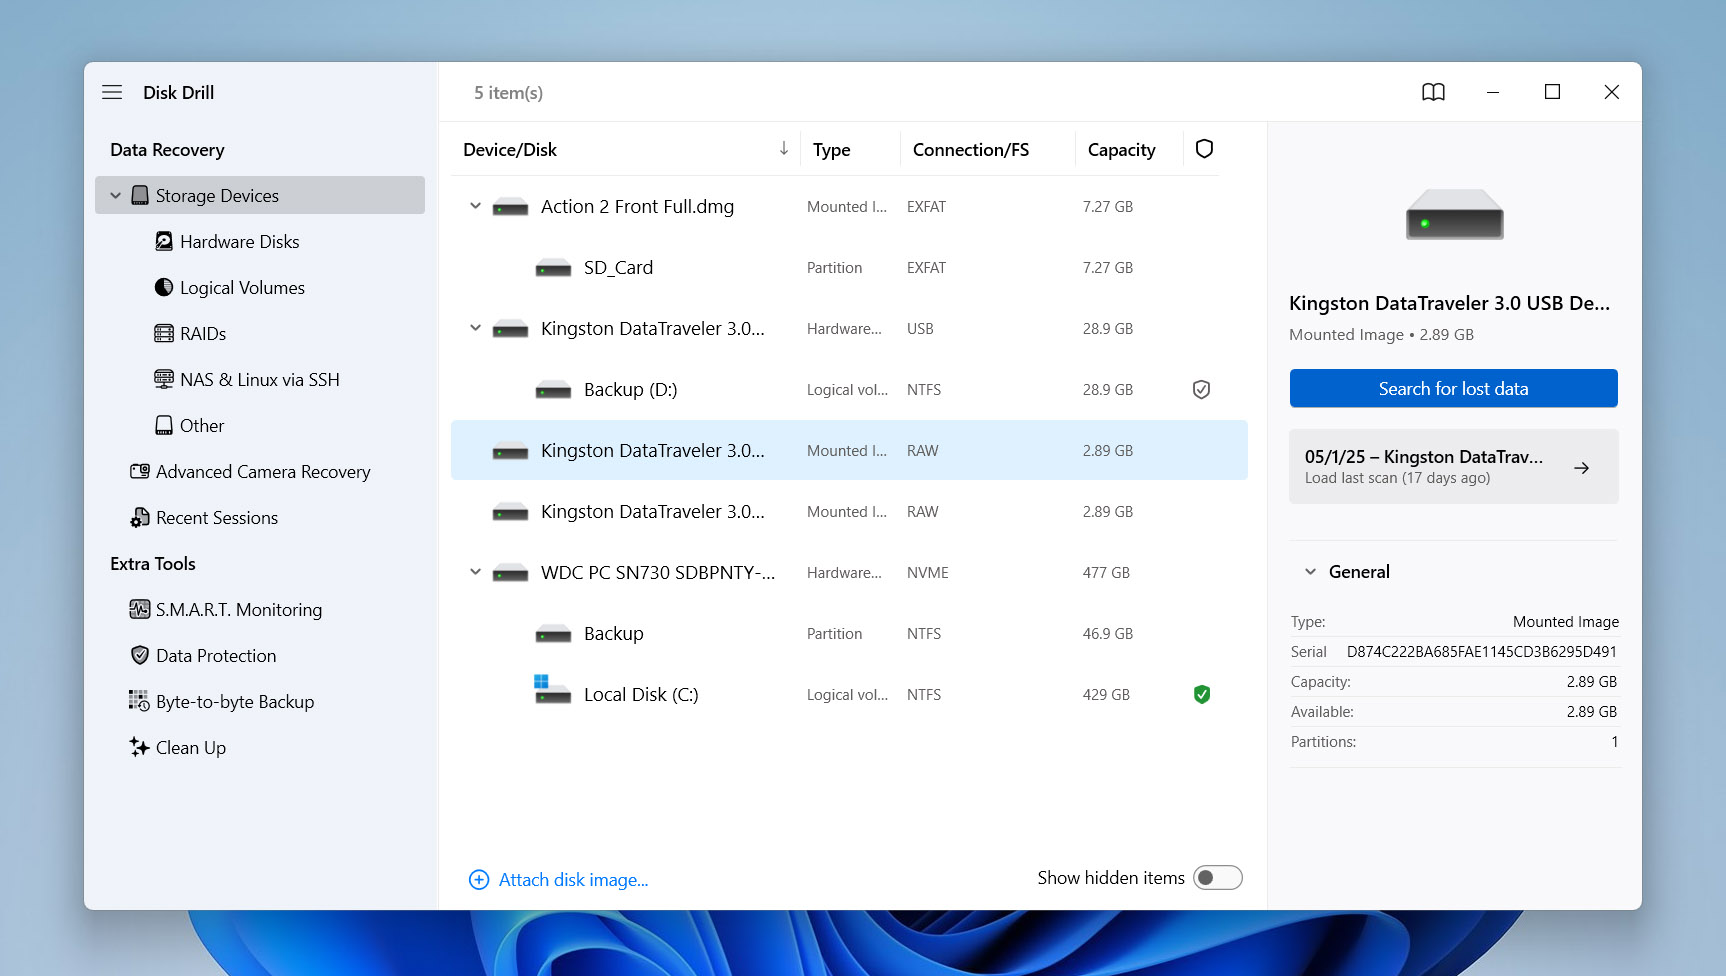
- In the left sidebar, find the Data Recovery section and click the Storage Devices option.
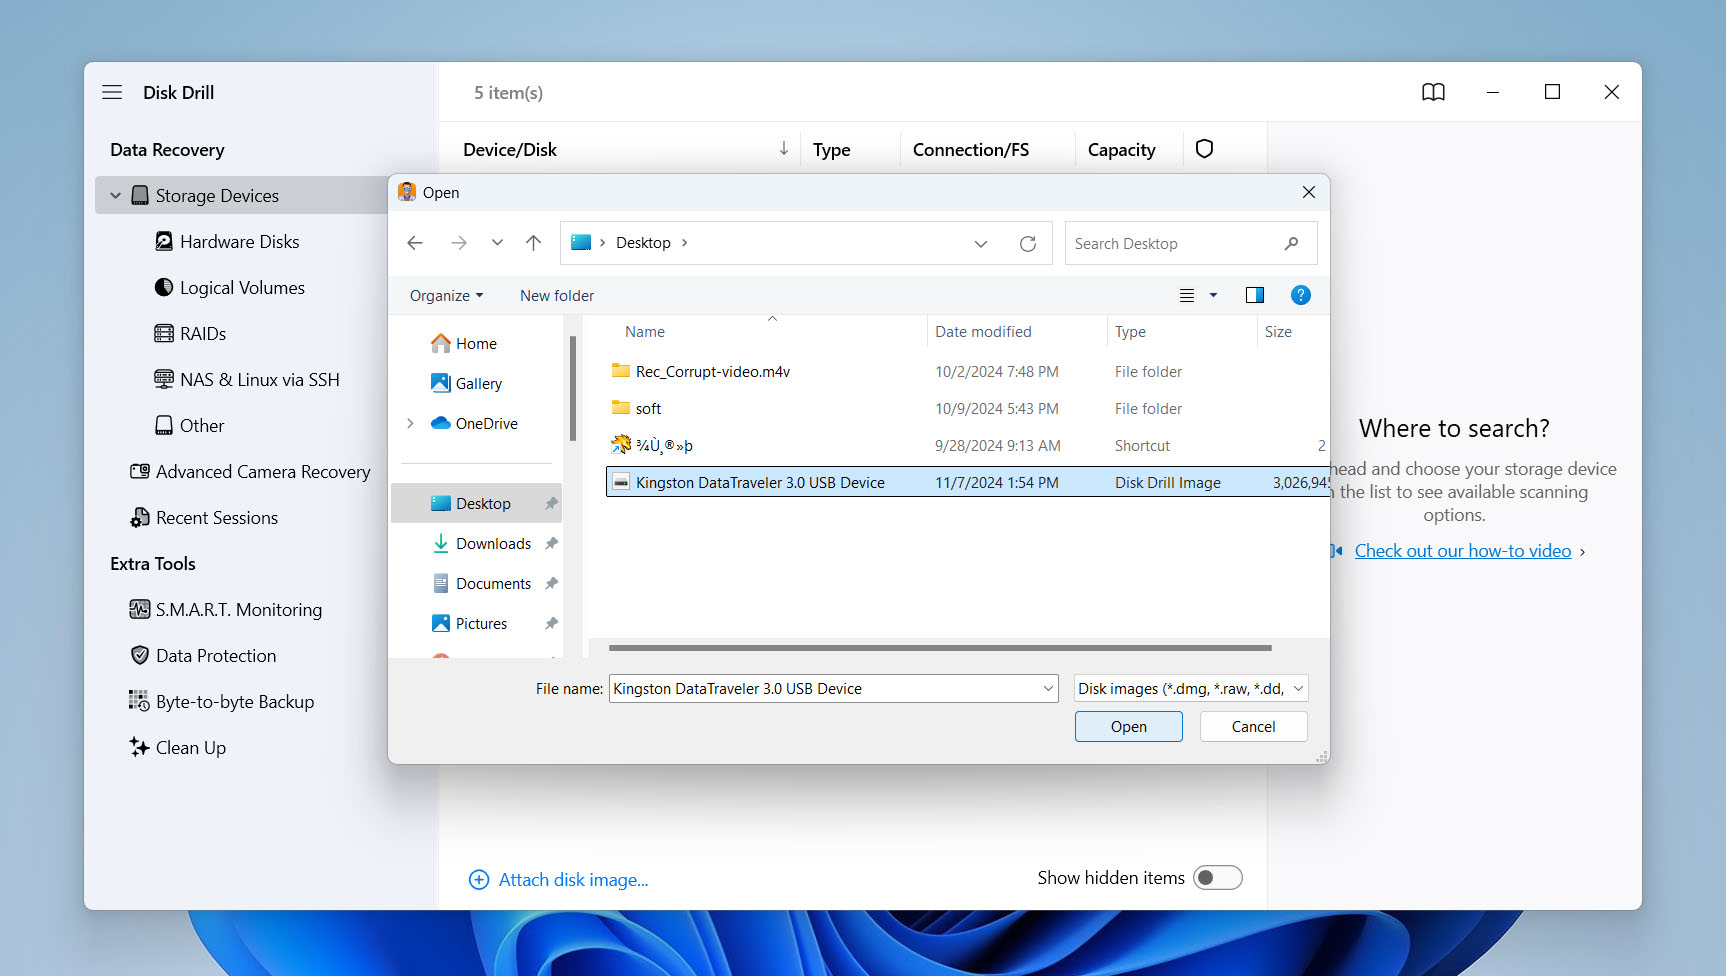
- Next, click Attach disk image in the lower-left corner. Find your disk image, select it, and hit Open. It’ll show up as a new drive in Disk Drill.
- Select the attached image and click Search for lost data to begin scanning. Files may start appearing during the scan, and you can recover them right away, but it’s better to wait until the scan finishes. Once it’s done, Disk Drill will show recovery chances for each file – high, average, or low.
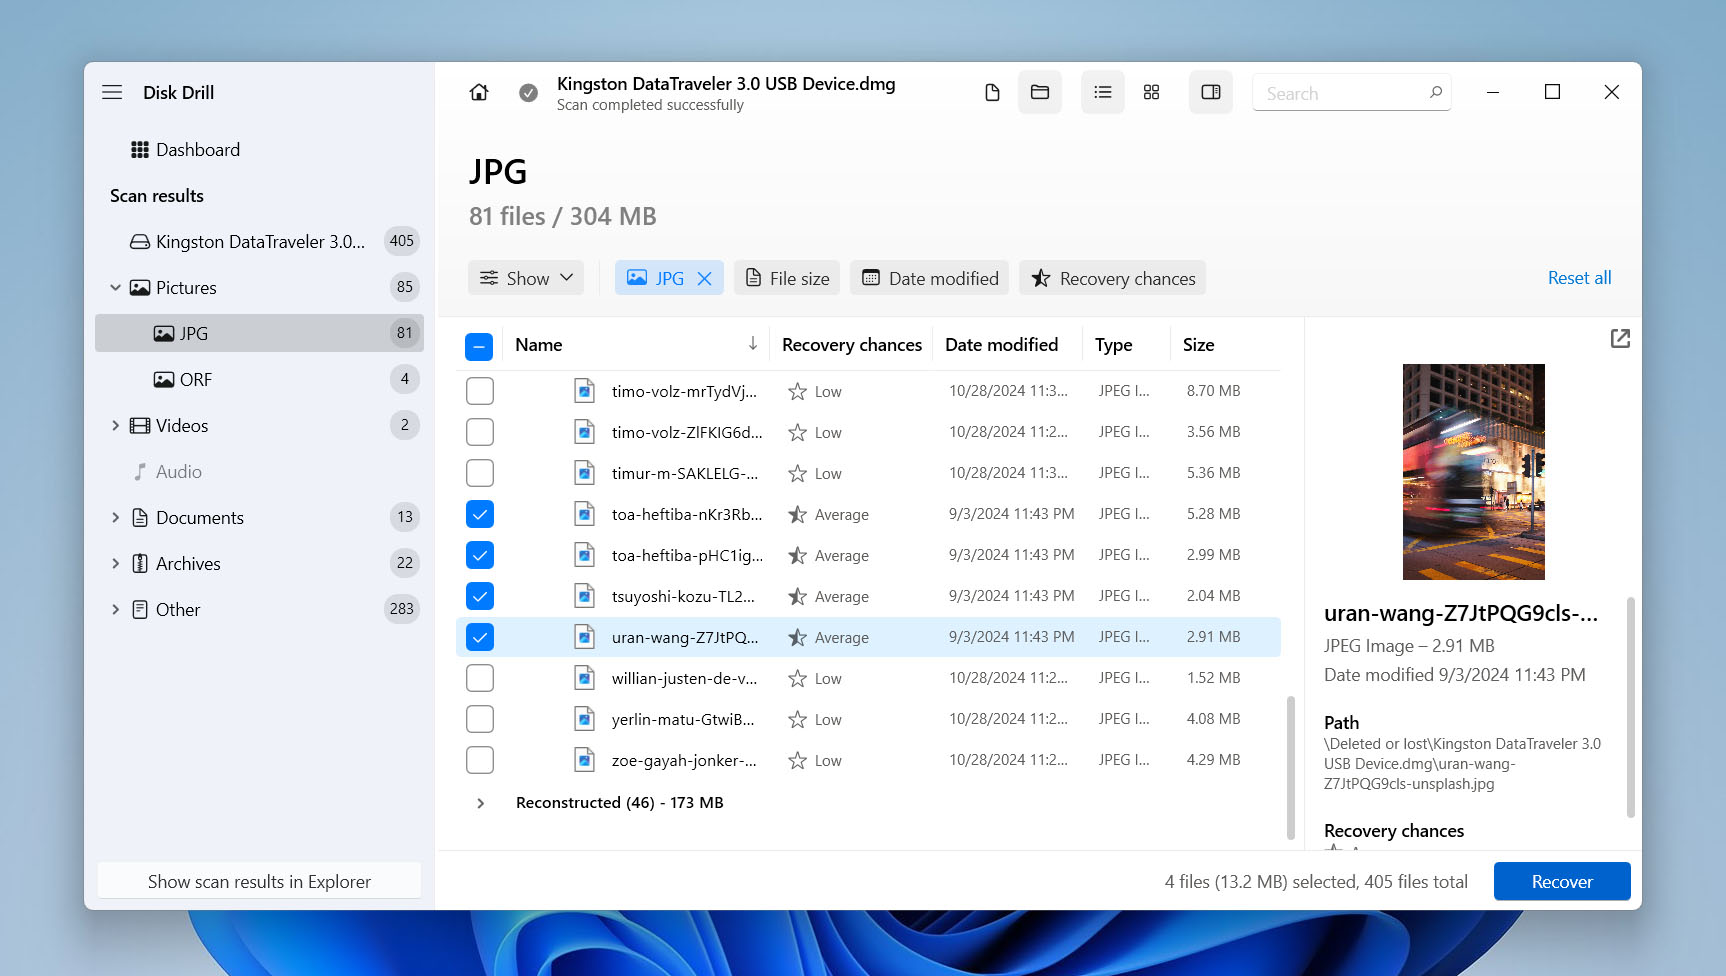
- Click Review found items to browse through everything on the drive – both existing and deleted files. You can also filter by file type, like Pictures, Video, Audio, Documents, Archives, or Other.
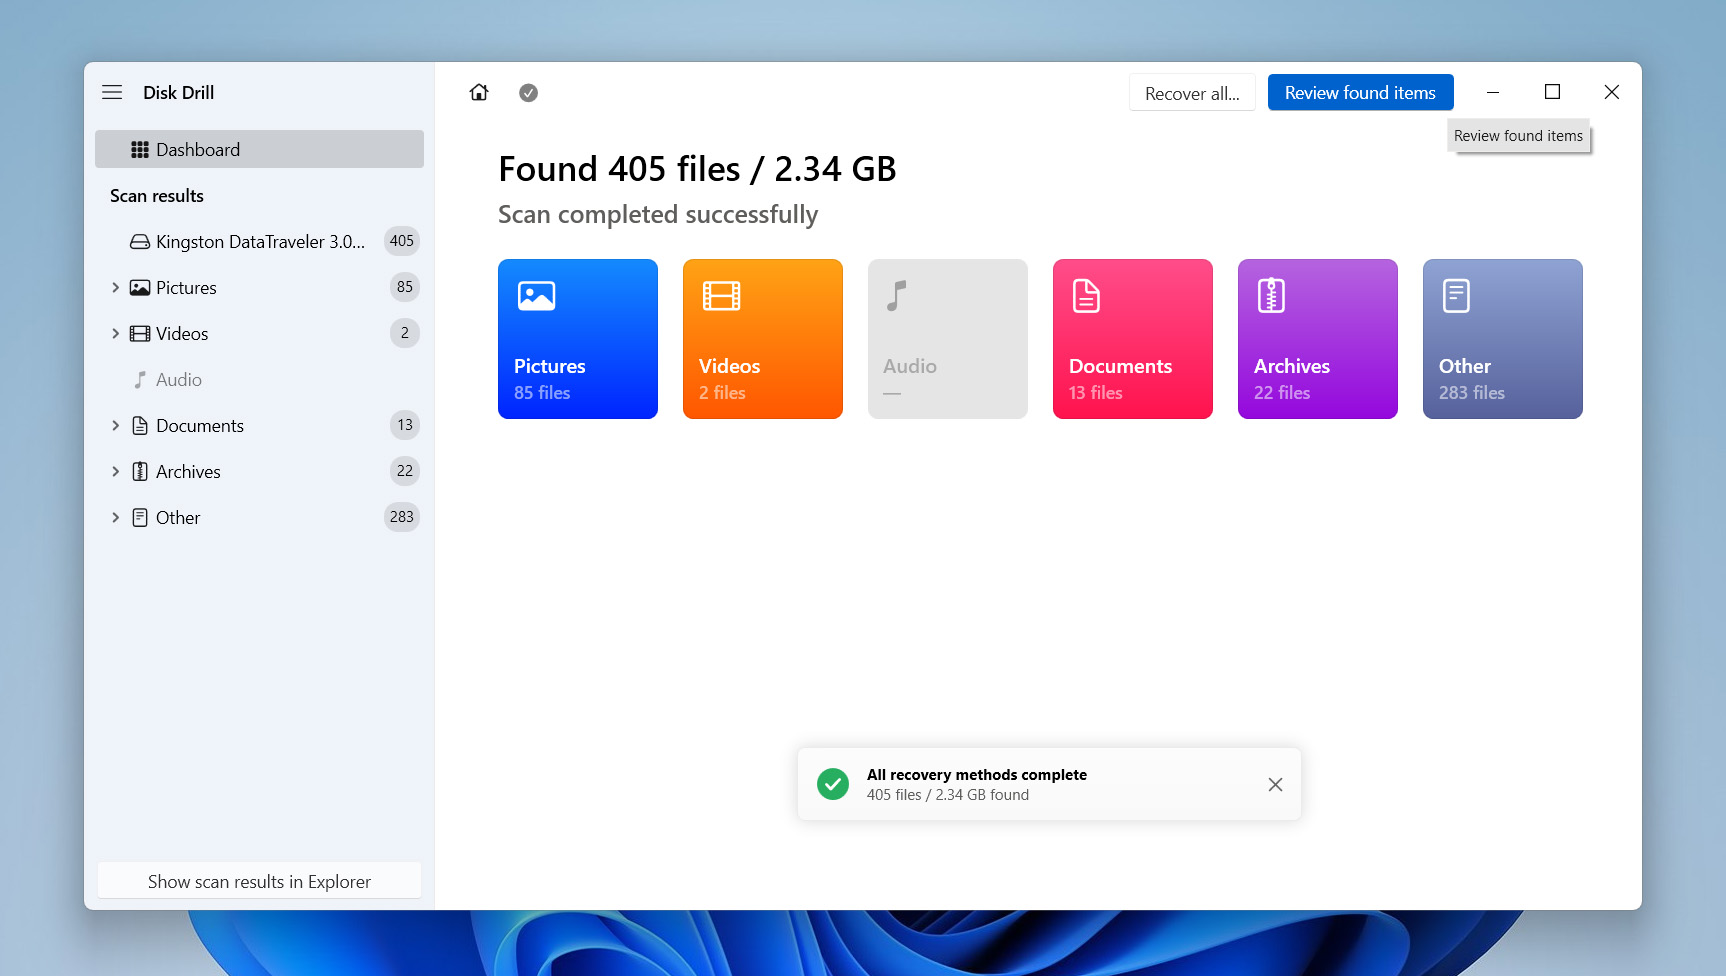
- Use the checkboxes to select the files you want to bring back. You’ll see a preview for each one (if your version of Windows supports those file types either natively or through third-party apps). Once you’ve confirmed your choices, click Recover.
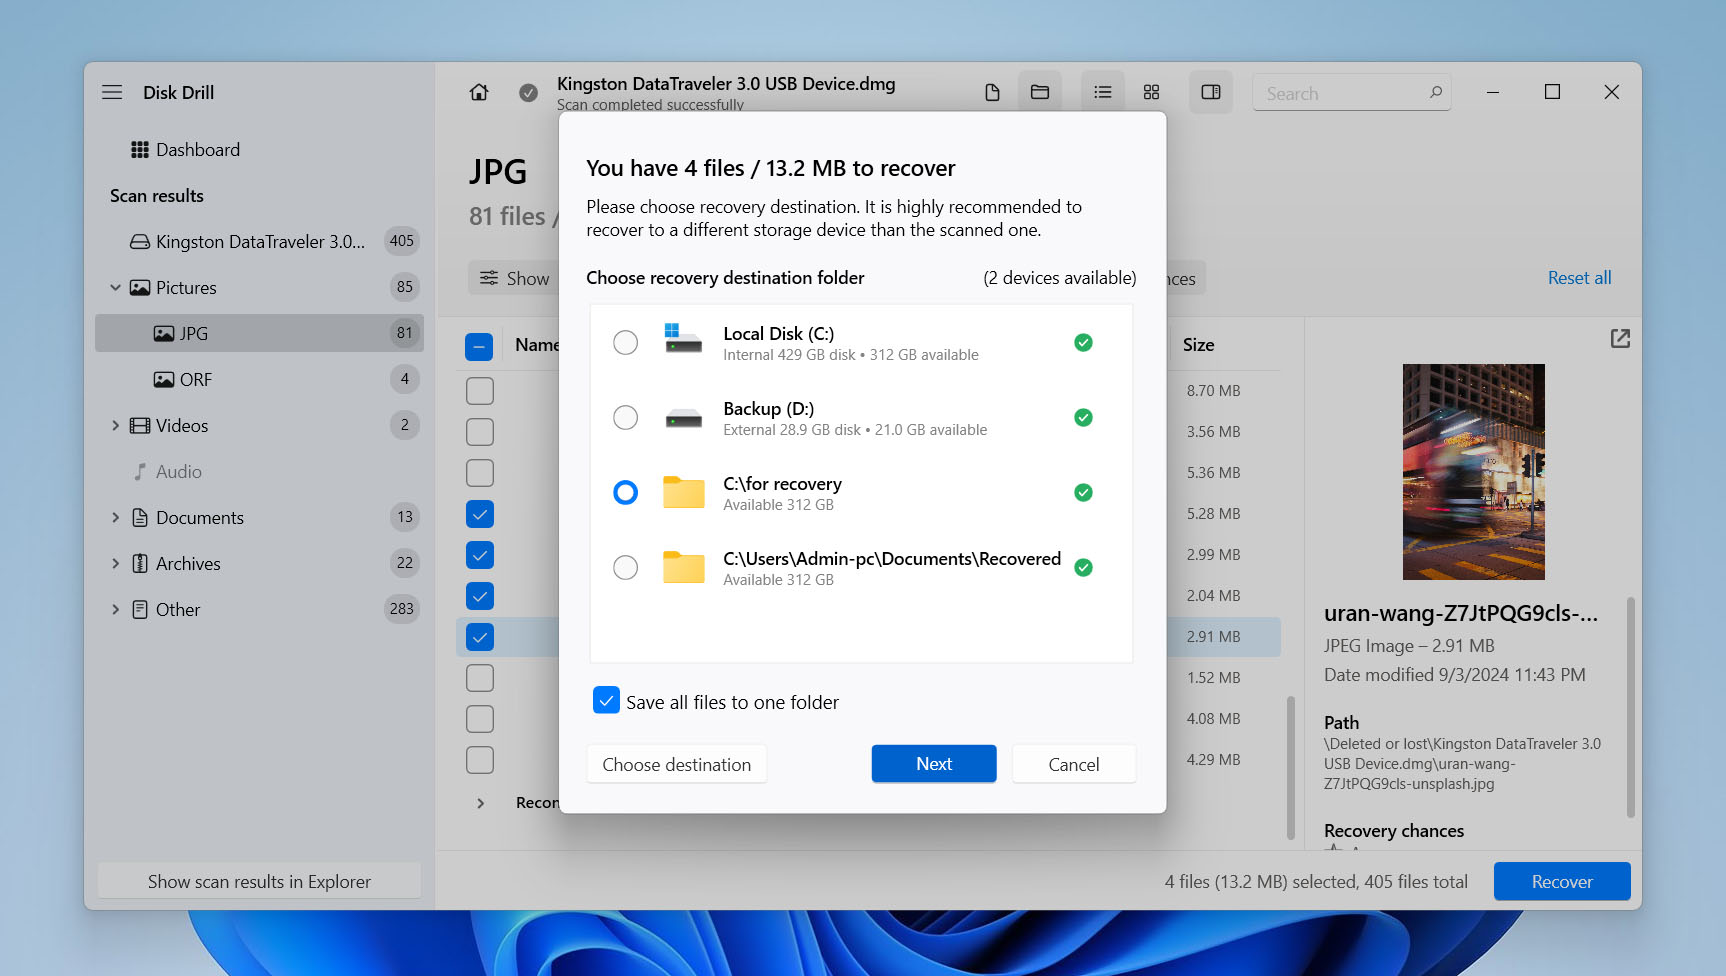
- Choose where to save the recovered files – just make sure it’s a different drive than the one you’re recovering from – and click Next.
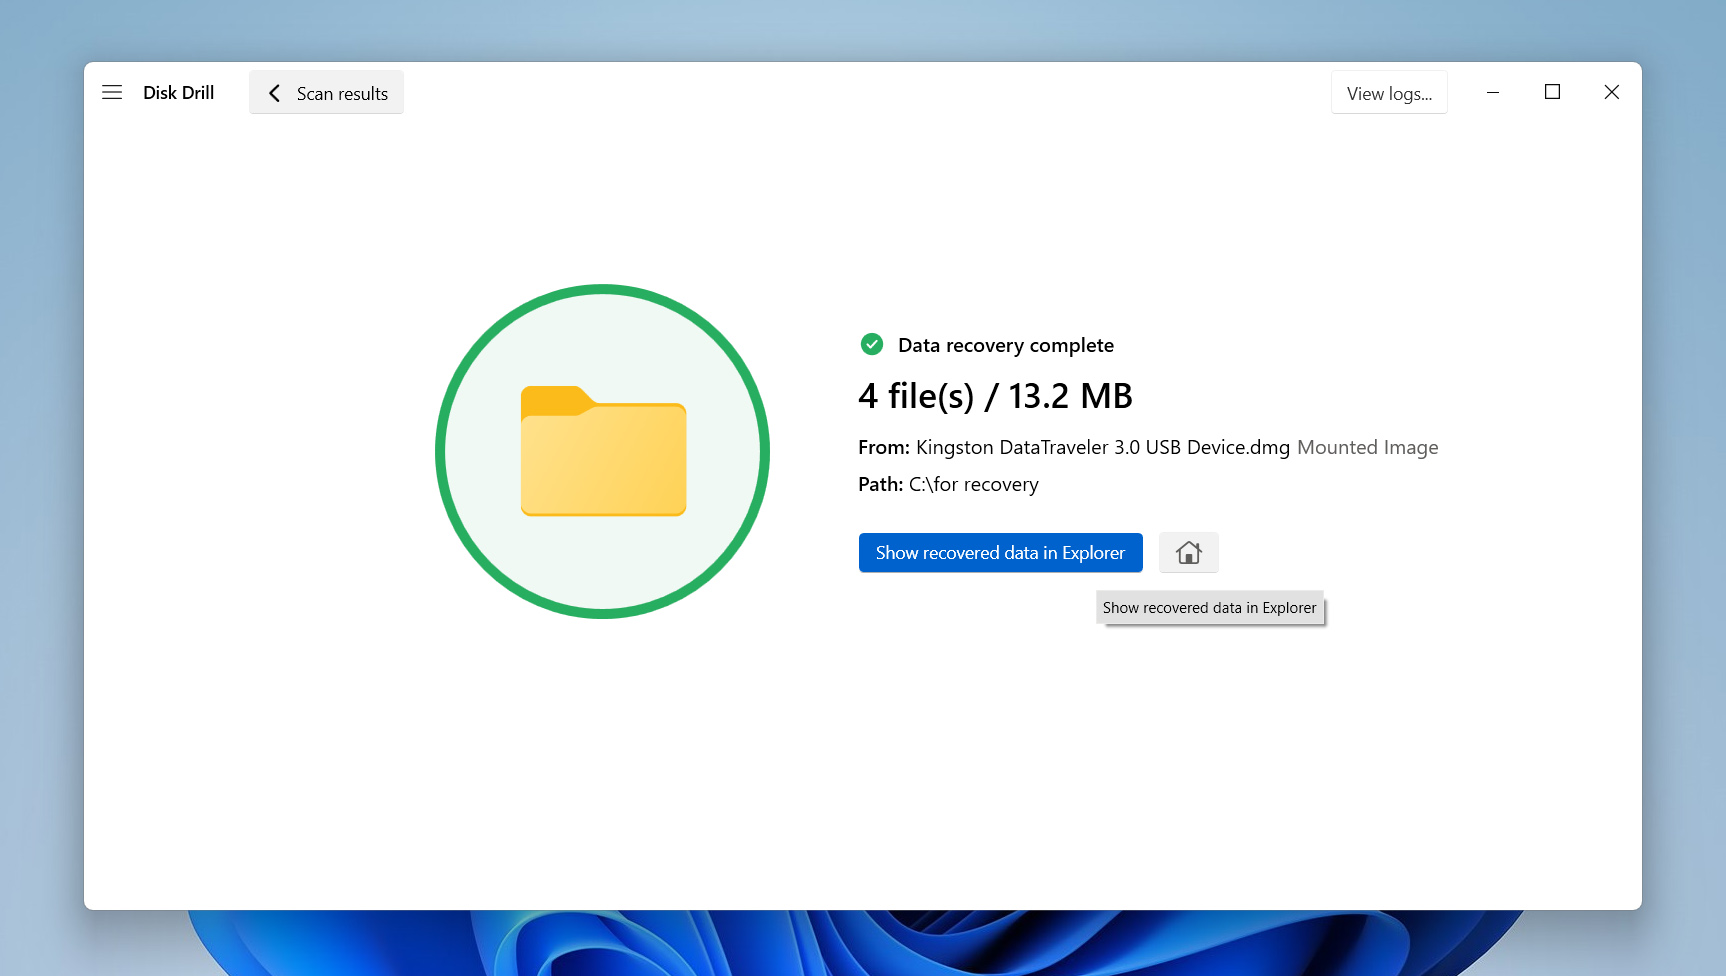
- Disk Drill will recover your files. You can click Show Recovered Data in Explorer to check them right away, or close the program and return to them later.


Keep in mind that the free version of Disk Drill allows you to create a disk image, scan it, and recover up to 500MB of data. To recover more, you will need to upgrade to the Pro version.
How To Fix the Cyclic Redundancy Check Error on Your Hard Drive
If your external hard drive is old, showing signs of slow performance, or making clicking/whirring sounds, it’s best to replace it. But if the Data error (Cyclic Redundancy Check) message appeared on an otherwise perfect hard drive, you can fix it at home, using the methods listed below.
- 📁 Try transferring the file to a different drive. If it works, your external drive might be the problem. If it doesn’t, the file itself is likely corrupted.
- 🔌 Plug the drive into a different USB port, ideally one directly on your computer’s motherboard, and try a different cable. If you still get the same error, the issue is probably with the external drive, not the connection.
Now let’s take a look at some software-operated methods to fix your external hard drive’s Cyclic Redundancy error:
Method 1: Run CHKDSK
CHKDSK is a built-in Windows tool that scans your hard drive for file system errors and bad sectors. It looks for problems that might keep your system from reading data properly and tries to fix them. When it comes to a Cyclic Redundancy Check (CRC) error, CHKDSK can sometimes repair the underlying issue.
That said, CHKDSK doesn’t just scan – it can also mark bad sectors and block them off. If you haven’t recovered the files stored in those spots beforehand, you could lose them. So it’s always a good idea to back up your data before running it.
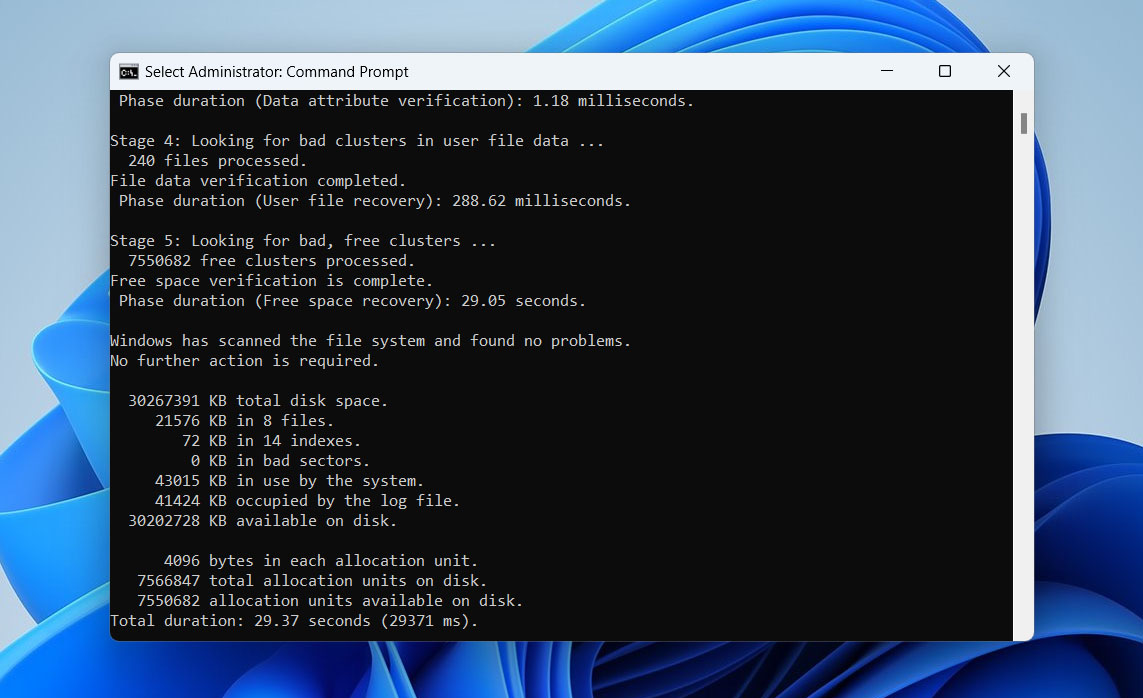
- Search for cmd in Windows Search (Windows Key + S). Right-click on Command Prompt > Run as administrator.
- In the console, type chkdsk X: /f /r, and press Enter. Replace X with the drive letter of your external hard drive.
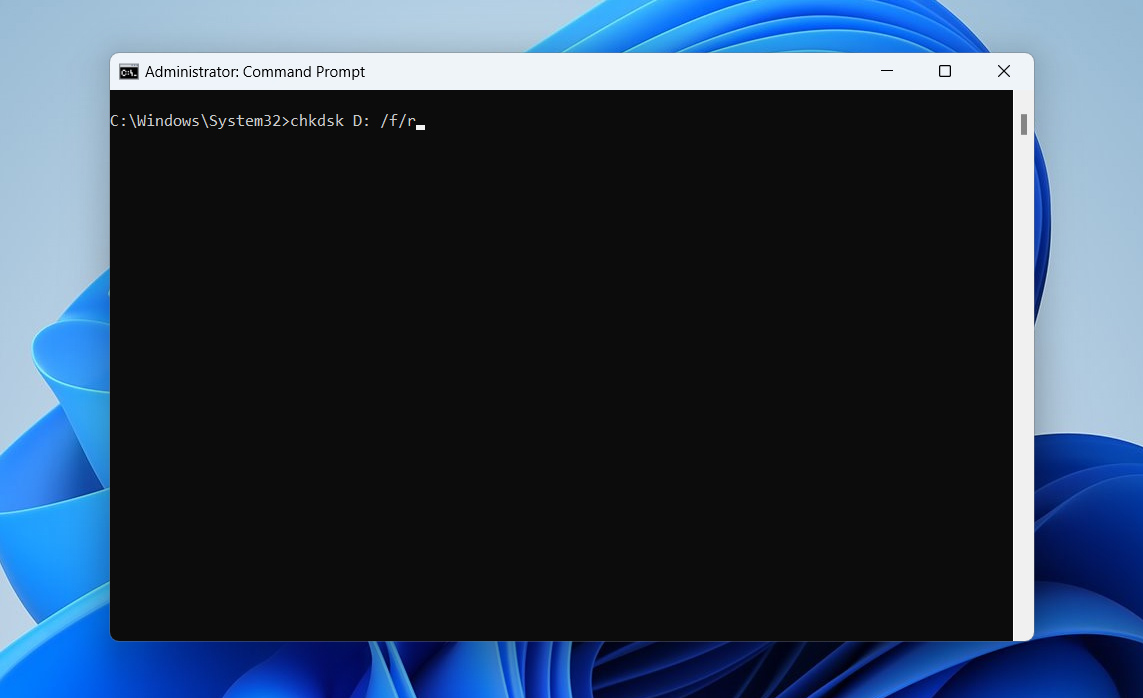
- That’s it! CHDSK will scan your drive and automatically fix any errors it detects.


Method 2: Format the Drive
Formatting is often the go-to fix for stubborn drive issues, including Cyclic Redundancy Check (CRC) errors. Most people (techs included) treat it as a last resort when nothing else works. It doesn’t directly fix the CRC error, but it does wipe the file system, clear out any corrupted data structures, and rebuild everything from scratch. That’s usually enough to stop weird or unstable drive behavior.
Just remember that formatting erases everything. If you haven’t recovered your important files yet, don’t skip that step. Go back and do it first – tools like Disk Drill can still pull data from drives that Windows can’t even read properly.
There are multiple ways to format a hard drive in Windows. We will show one of the simplest. To explore alternative methods, check out our article on how to format a hard drive without losing data.
- Open Windows Explorer.
- Right-click on the drive and choose Format.
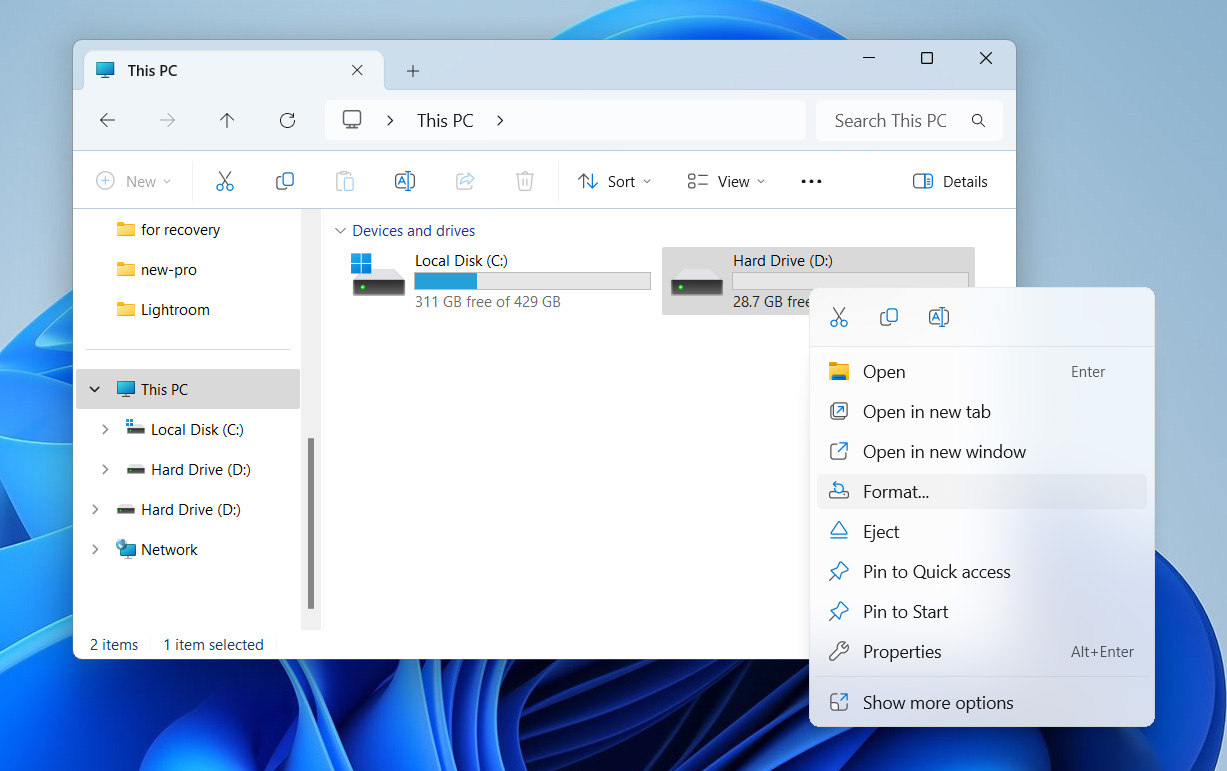
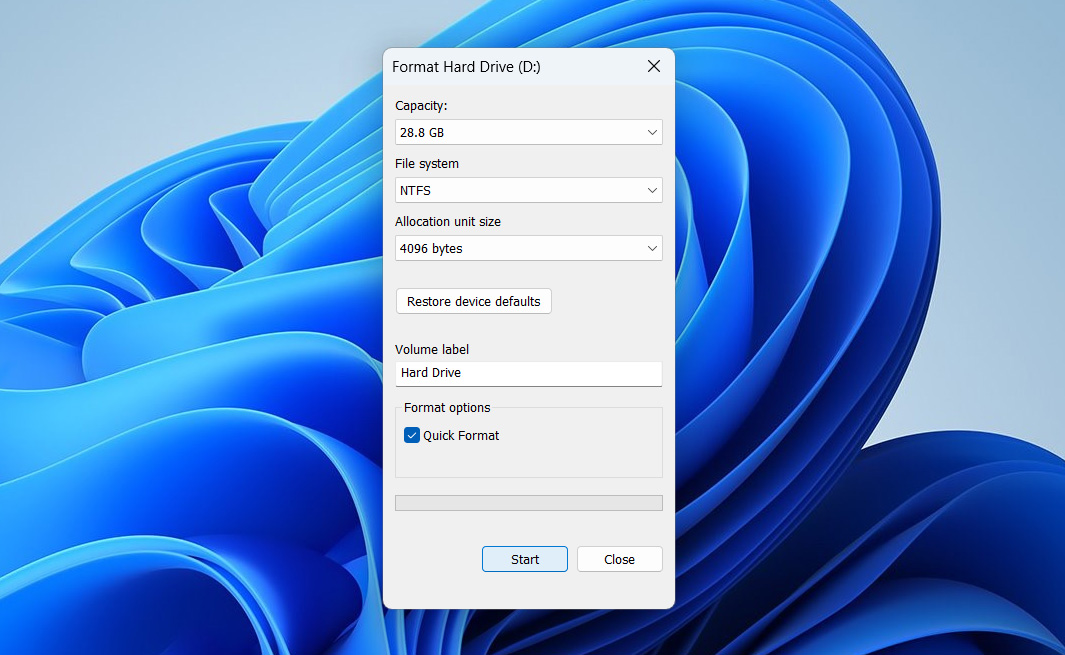
- In the Format Options window, leave the Perform a Quick Format option ticked. Click on Start. Windows will format the drive.


Method 3: Repair the Drive
If your external hard drive is showing physical damage along with a CRC error, don’t try to fix it yourself. Signs like clicking or grinding sounds, a weird burning smell, or visible damage to the case or ports usually mean there’s a serious hardware issue inside. That’s a job for professionals.
Take your drive to a certified repair center or a trusted data recovery specialist. They can check the damage and tell you if it’s worth fixing or if you’re better off replacing the drive.
In a lot of cases, fixing a broken external hard drive costs more than just buying a new one. These days, new drives come with more storage for less money, while repairing physical damage usually involves cleanrooms and specialized gear. If the drive holds important data, a pro might still be able to recover it, but whether it’s worth the cost depends on how valuable those files are and what you’re willing to spend.
Conclusion
The CRC check failed error can be a tricky issue to deal with because it can happen due to a file that’s simply corrupted or something more complicated, like a failing hard drive. Thankfully, even if you have to replace the drive, data recovery programs make it possible for you to retain your previous data. Once the data is secure, you can safely try the fixes listed above and fix the cyclic redundancy error on your external hard drive.
FAQ
- Open Disk Management. You can search for it in Windows Search.
- Right-click on the drive and choose New simple volume.
- Follow the instructions in the wizard to assign a drive letter and format your drive.
- A failing hard drive that has numerous bad sectors.
- Misconfigured files.
- Connection issues such as a damaged port or connector cable.
- Tick the Keep broken files option in the Extract options window. This bypasses the CRC check but, doesn’t repair the corrupt files in the archive.
- Reinstall WinRAR and ensure you’re on the latest version of the program.
- Update the SSD’s firmware.
- Use low-level formatting software to perform a low-level format on the SSD.
- Set the SSD as a Basic disk type in Disk Management.