
Reading Time: 7 minutesWhen you lose photos from an SD card it feels like a piece of your life is gone. It may feel even worse if you need those photos for work. The thought that they might be gone forever is truly depressing.
However, recovering deleted photos from an SD card is much simpler than you might expect. With advancements in data recovery, it’s now more accessible than ever for everyone to retrieve lost memories without needing extensive tech know-how.
Why Photos May Be Deleted from an SD Card
Digicams, smartphones, and drones all use SD cards to store photos and videos. SD cards are popular due to their user-friendliness and ability to store large amounts of data. However, SD cards are also notorious for malfunctioning with people often reporting photos that go missing without any logical explanation.
There are several reasons why this can happen:
- 🤷♂️ Accidental Deletion: This is probably the most common reason. It’s easy to hit the wrong button and delete a photo you meant to keep.
- 📄 Formatting the Card: Formatting an SD card erases all the data on it, so be sure to back up your photos before you do this!
- 🤕 SD Card Corruption: SD cards can become corrupt due to a variety of factors, such as extreme temperatures, physical damage, or even just normal wear and tear. This corruption can make it impossible to access your photos.
- 💽 Improper handling: Improper handling of SD cards can also cause unwanted deletions. For example, the sudden removal of an SD card may prompt data loss.
- 🦠 Viruses: Malware and viruses target SD cards too, which can result in the deletion of data depending on the maliciousness of the program.
How to Recover Deleted Photos from an SD Card on a Computer
As shown above, SD cards are really susceptible to data loss which can lead to precious memories or hours of work vanishing. Thankfully, there’s hope!
Recovering deleted photos from your SD card is totally possible, and you can do so with the help of a handy tool called Disk Drill regardless of the cause of deletion. Even if your photos were accidentally formatted or deleted a while back, Disk Drill’s advanced scanning algorithms can search for and recover them. On top of that Disk Drill boasts a user-friendly interface, making the data recovery process easy to navigate, even for non-technical users.
Here’s the step-by-step process:
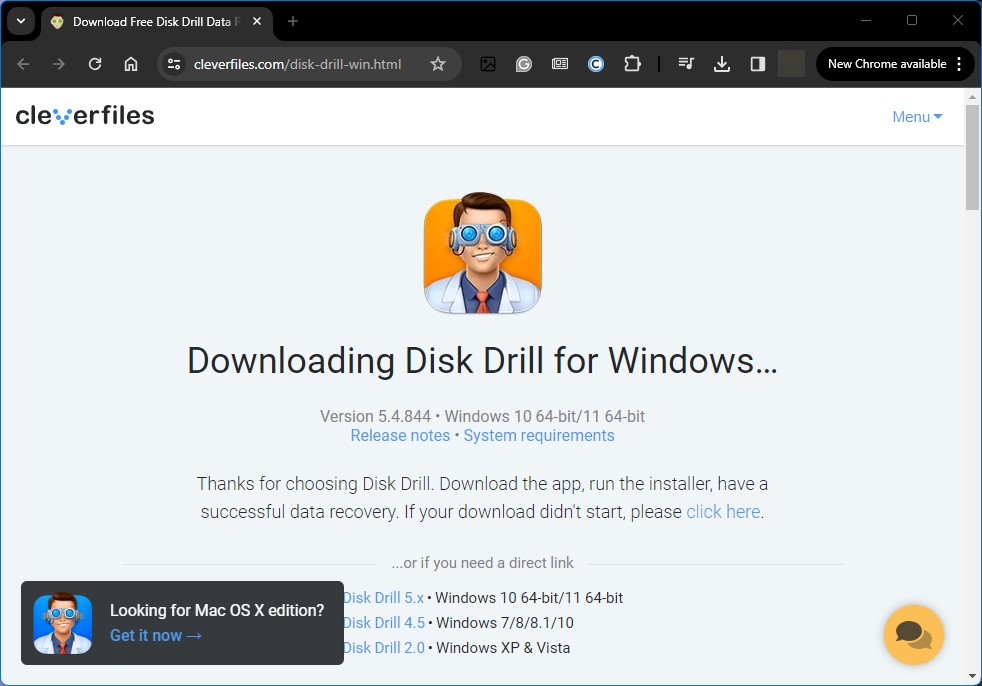
- Head over to Disk Drill’s download page to grab a copy of the software. Although we are focusing on recovering photos, the tool can also help you retrieve videos, audio, documents, and more. Once your download is complete, install the program.
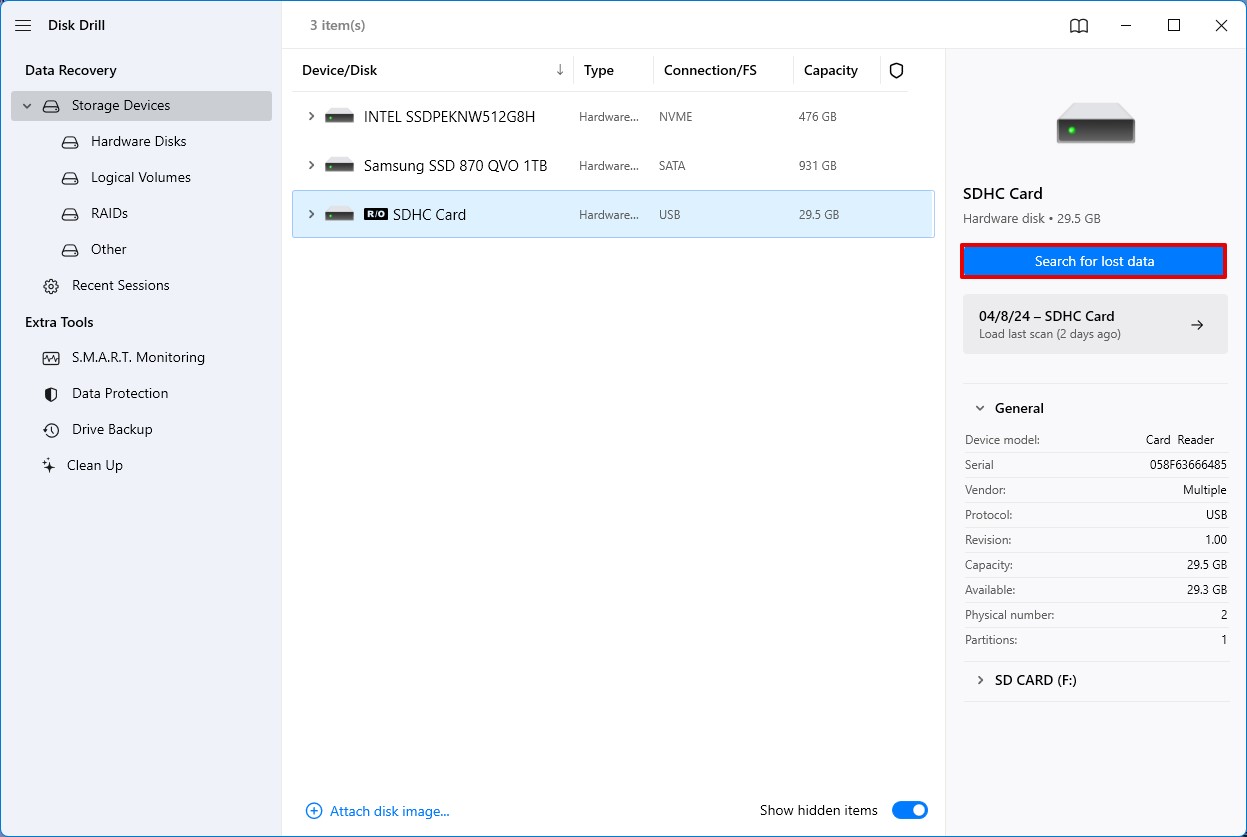
- To connect an SD card to your computer, you have two options. First, either connect your device (such as a camera) that contains the memory card directly to a PC or use an SD card reader. Once connected, launch Disk Drill. The program will display both internal and external devices, including your SD card.
- To begin the search for lost data, click the “Search for lost data” button on the bottom right or right-click your SD card on Disk Drill and find the same option from the drop-down. Disk Drill will take it from here, running all it’s algorithm without need for your input.
 Once you hit scan, Disk Drill will begin the search for recoverable data. Remember to be patient to allow the tool to thoroughly search for retrievable files from your card. Note that Disk Drill organizes recoverable data into categories by file type. Once the scan is complete click on “Review found items” to get a broad overview of all recoverable files.
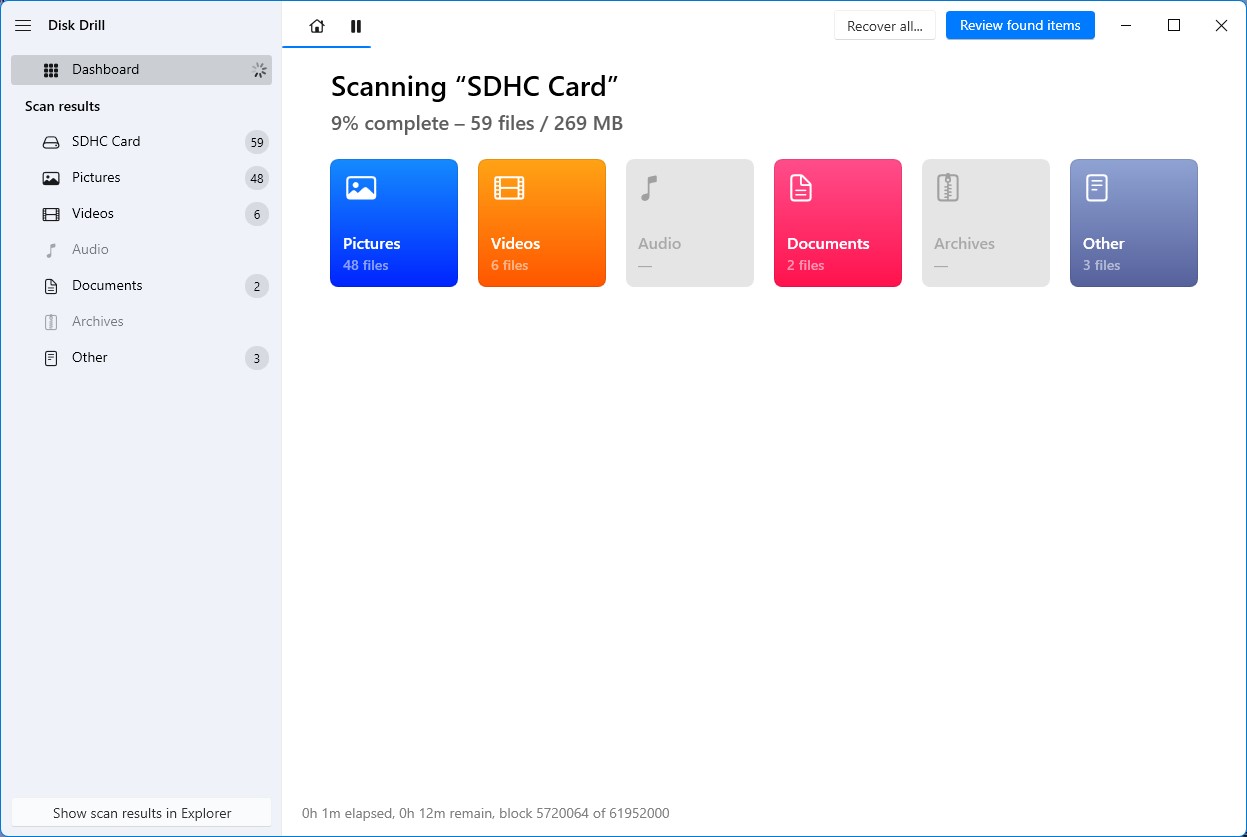
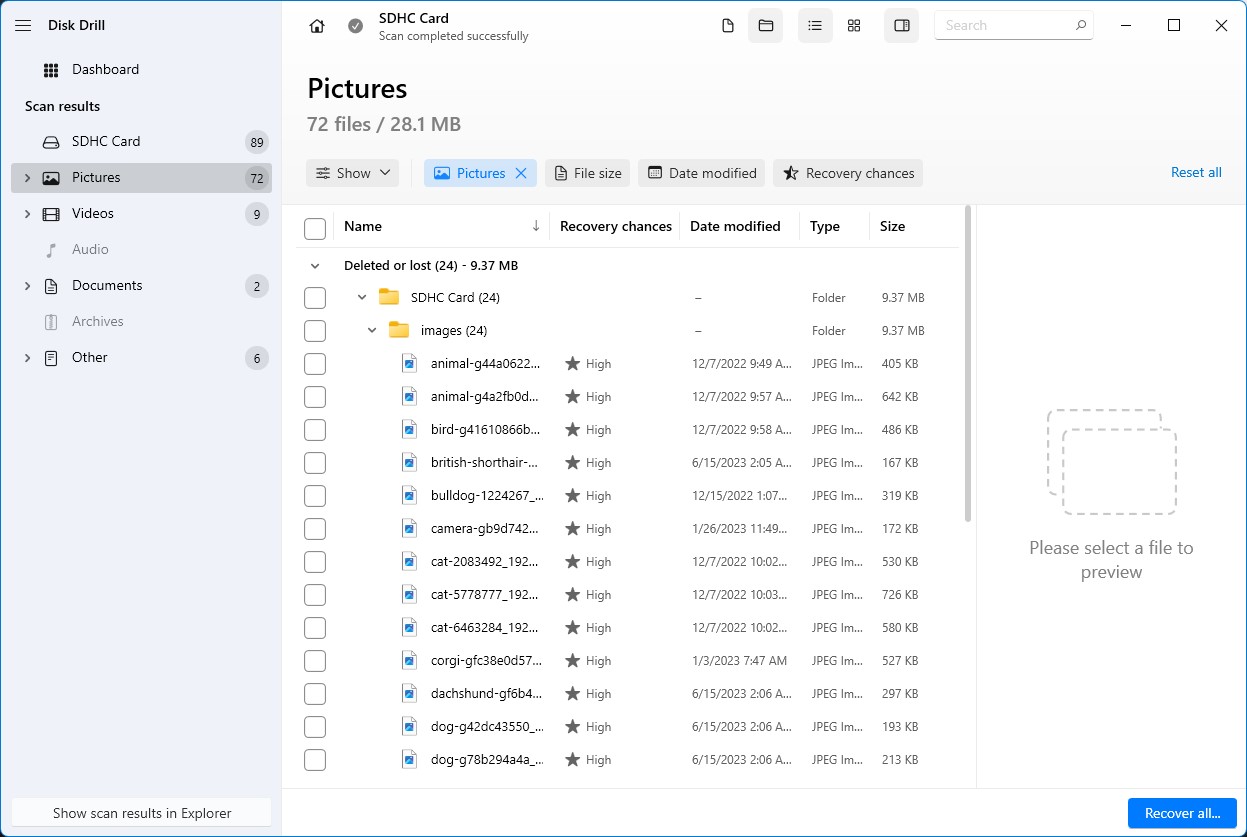
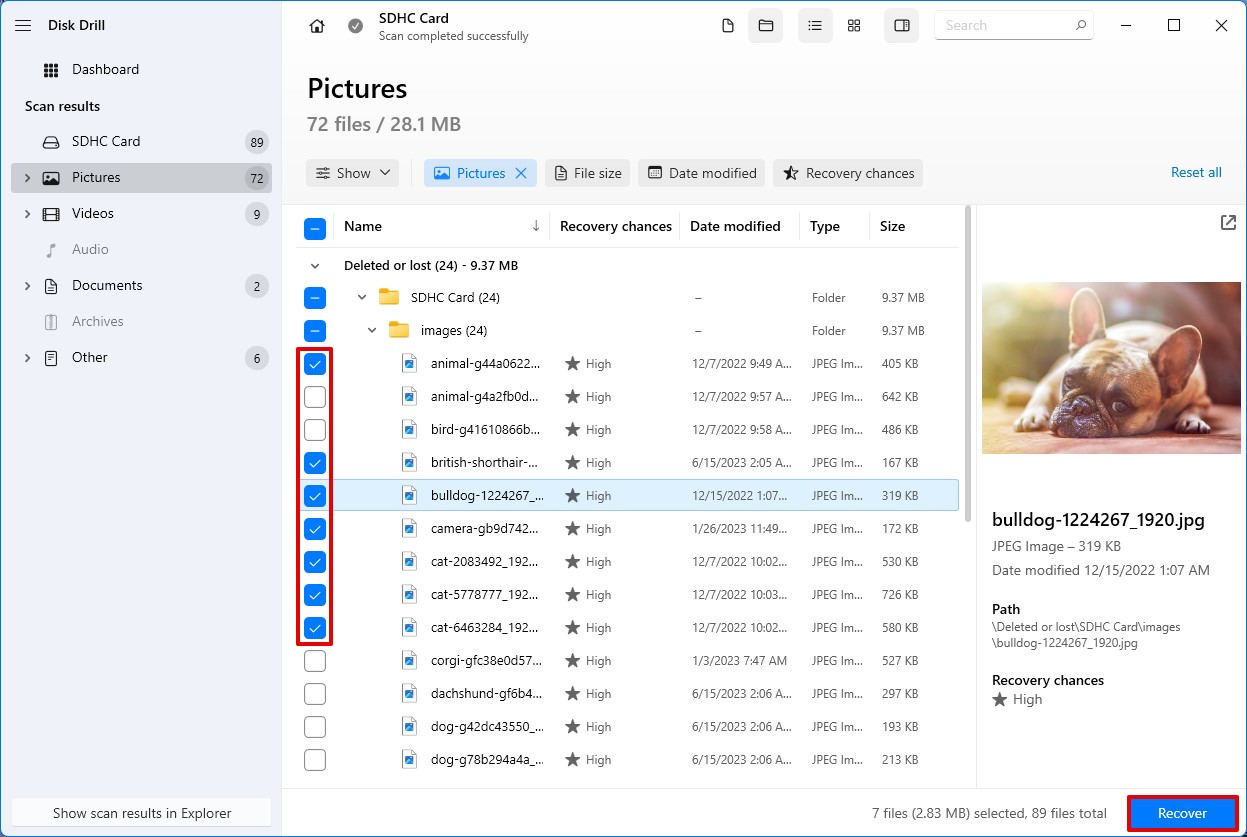
- To speed up the recovery process, Disk Drill lets you filter by file type so that you can focus only on the photos you want to restore. To optimize the process further, Disk Drill also lists the chance of recovery of each file next to it in the “Recovery chances” column.
- After selecting the files you wish to restore by ticking the checbox near them, simply hit the “Recover” button at the bottom of the screen to begin the process of recovering deleted photos from your memory card.
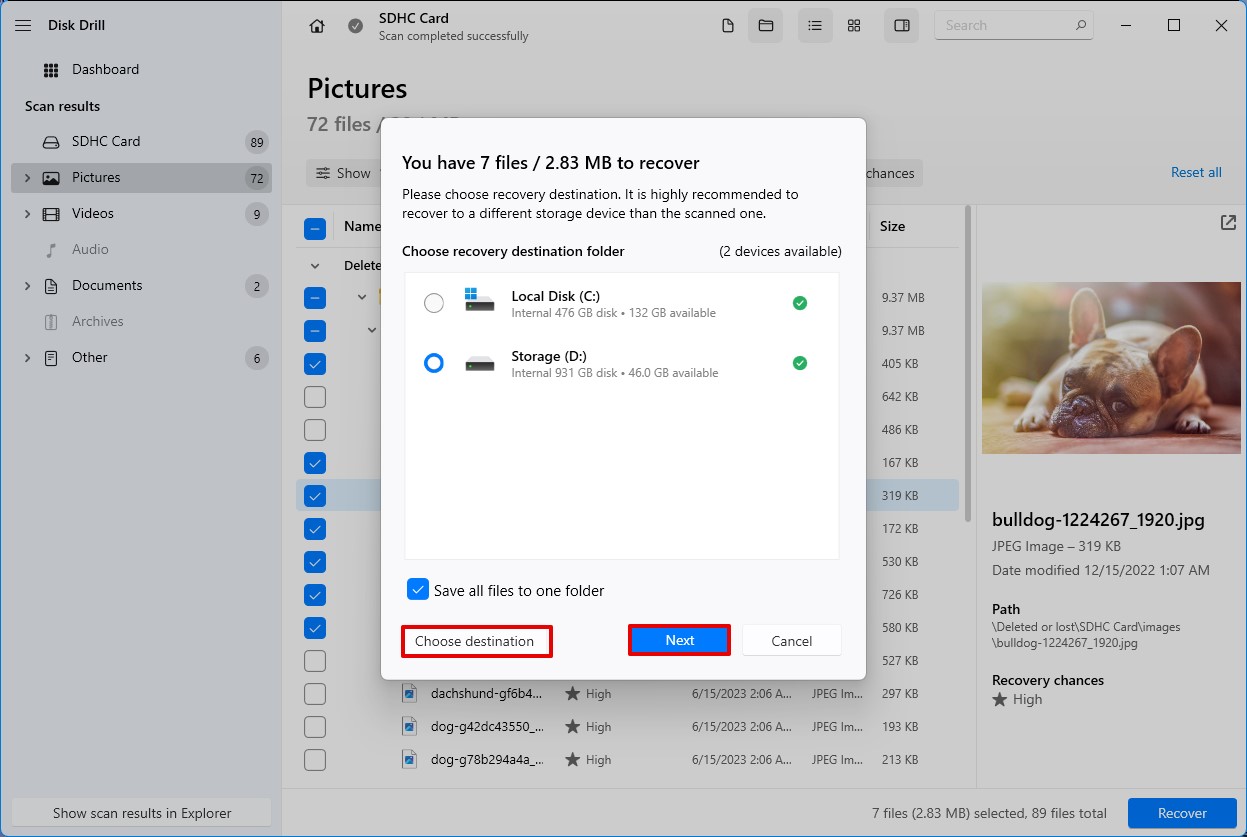
- Select a suitable destination folder (feel free to create a new location if needed for easy access) and hit “Next”.
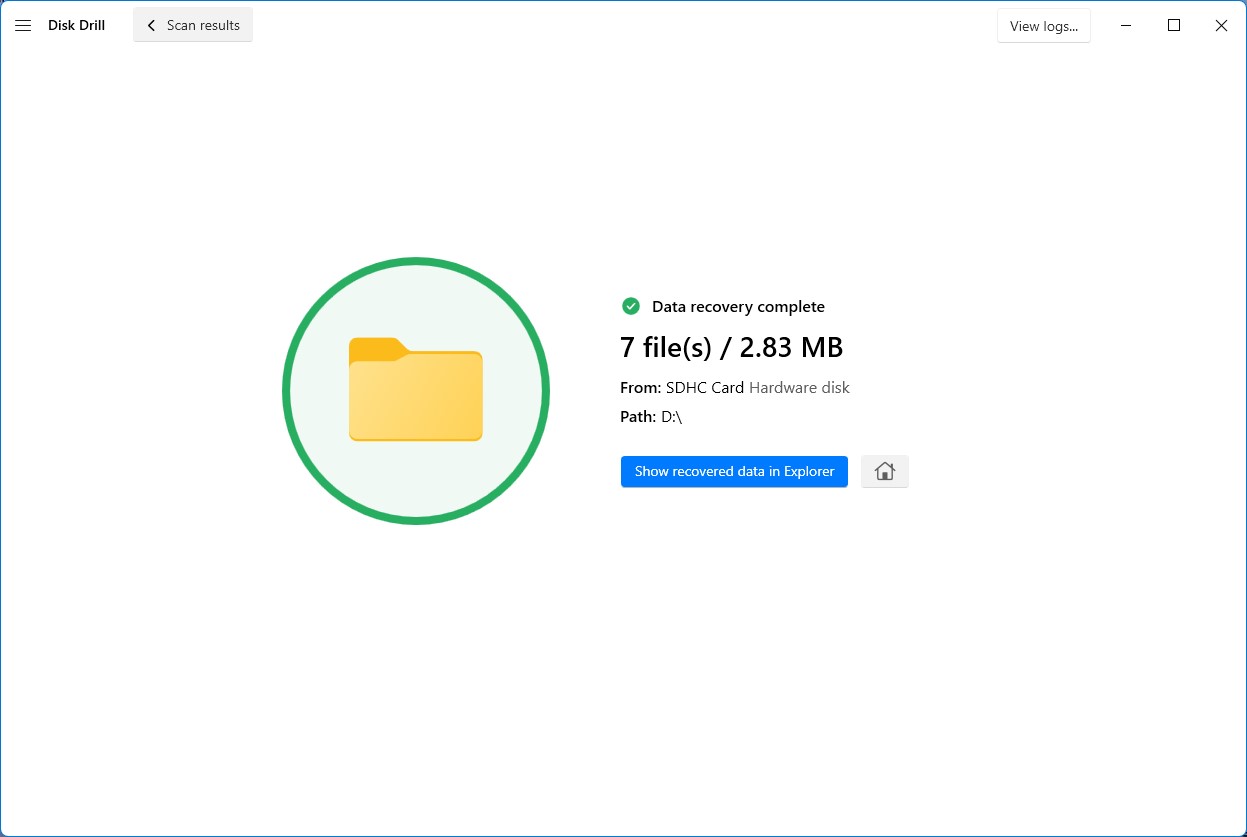
- Sit back and relax as Disk Drill works its magic to bring your memories back to life. Once the process is complete, you’ll have all your photos back in a folder of your desired choice.

 Once you hit scan, Disk Drill will begin the search for recoverable data. Remember to be patient to allow the tool to thoroughly search for retrievable files from your card. Note that Disk Drill organizes recoverable data into categories by file type. Once the scan is complete click on “Review found items” to get a broad overview of all recoverable files.


But you might be wondering, what should I do if I don’t have access to a PC at the moment? Even in this scenario, there are some solutions you might consider. However, for the best possible outcome we recommend disconnecting and ceasing the use of your card until you’re prepared to initiate recovery.
How to Recover Photos from an SD Card Without a Computer
We get it, there won’t be always the ability to connect a card to a PC to recover deleted photos. Fortunately, there are multiple ways to recover photos from an SD card on an Android phone.
Method 1: Check Internal Memory or Storage
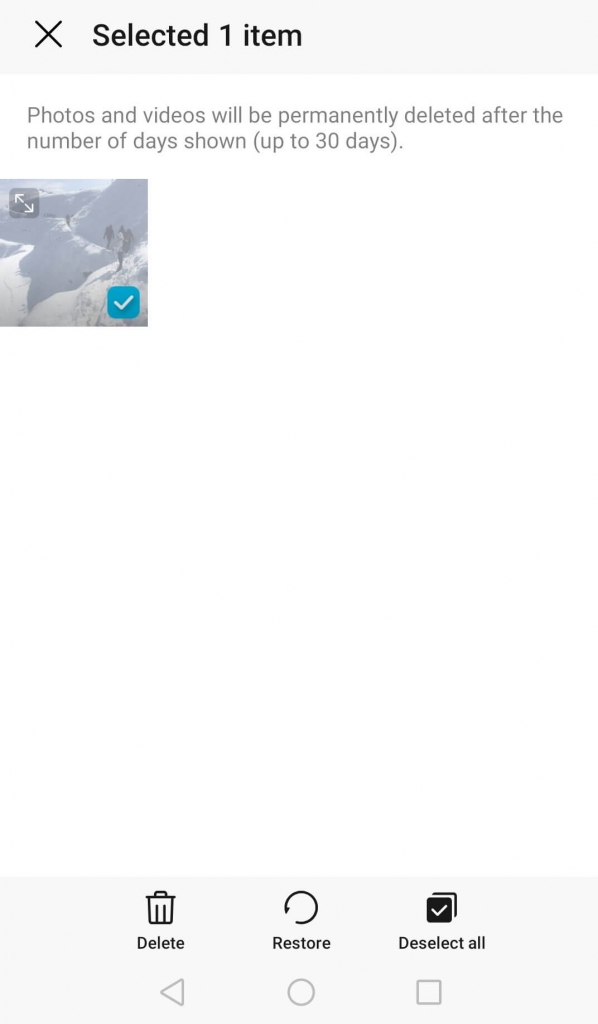
By default, Android phones store photos and videos in internal memory. Data deleted from the system is first sent to the “Recycle Bin” for 30 days. So, if you’ve lost your data recently, this is the first place to check for easy recovery.
Open the default photo gallery app on your phone and click the “Albums” option. Here, you should see a folder named “Recently Deleted”. If it’s been less than 30 days since you lost your photo, your file will still be visible here. To get them back, simply select the ones you want to recover and hit the “Restore” option.
However, if more time has elapsed, you’ll have to use the help of a third-party app (as we’ll see in a few moments).
Method 2: Use Backups such as Google Drive
If you have a Google account, your photos and videos are also automatically saved onto the cloud besides internal storage if the “Back up & Sync” feature is enabled. So, if you’ve recently lost your files and want to secure your data long-term, cloud storage is the way to go.
Note that this method only works for files deleted within the previous 60 days.
Here’s how you can restore photos from Google Drive:
- Open Google Photos on your app.
- Select the Library option on the bottom right.
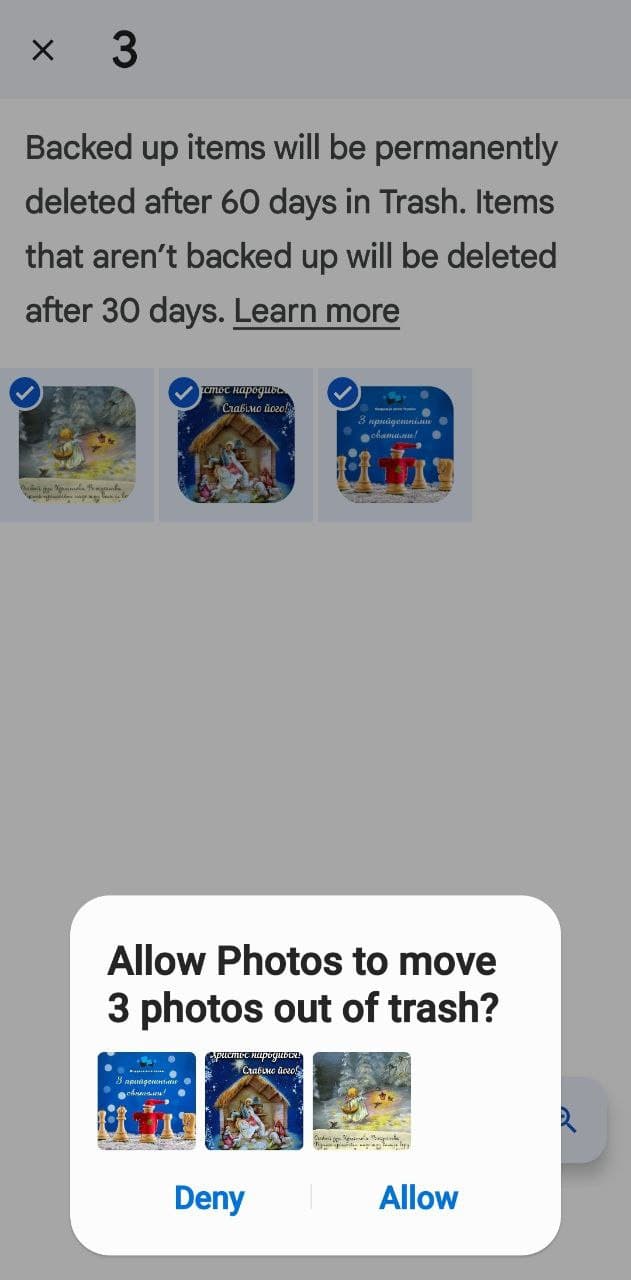
- Locate the trash folder.
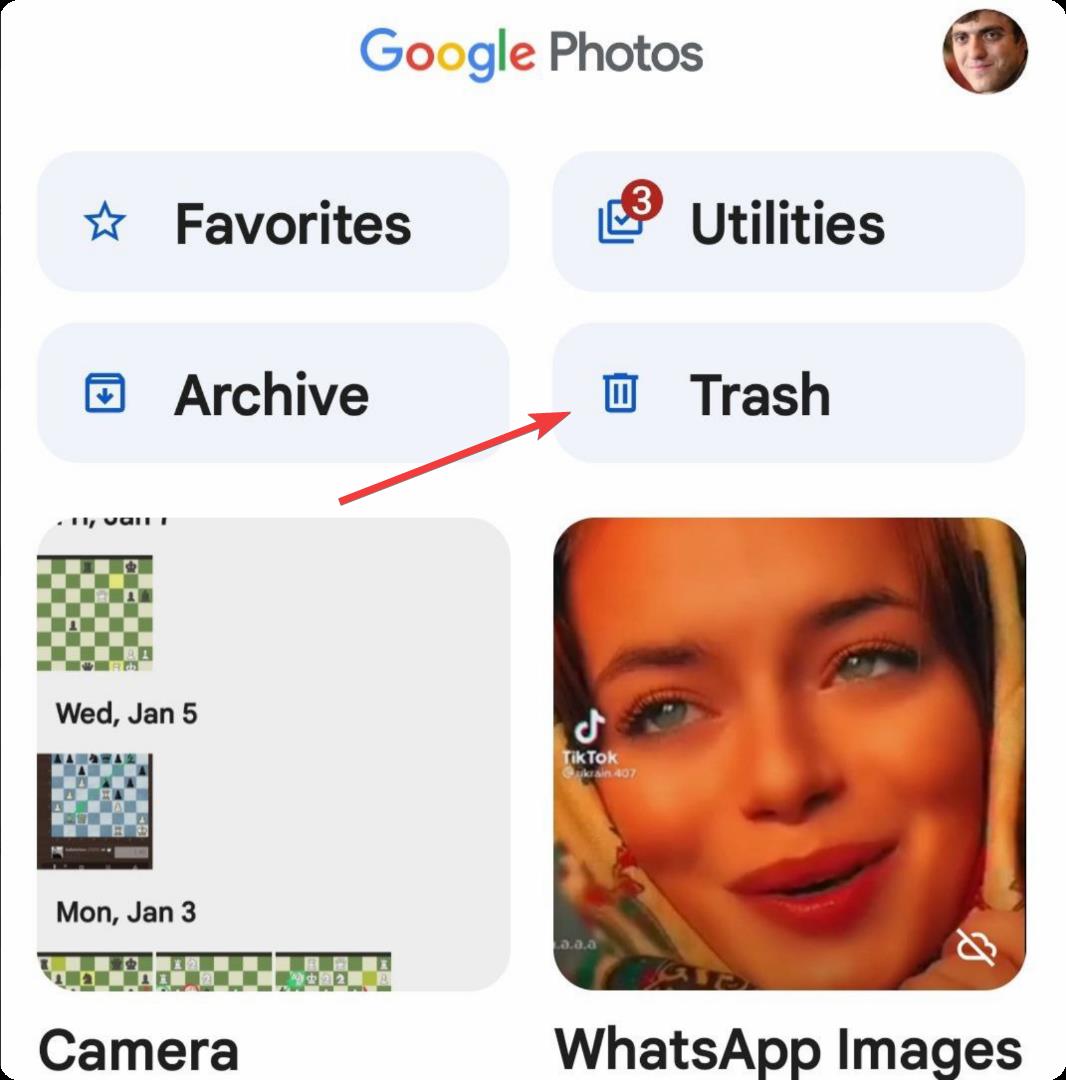
- Select the images you want to retrieve and click restore.
It’s a good idea to restore these images onto a cloud service like Google Drive to ensure you don’t ever lose them again.
Method 3: Use a Data Recovery App
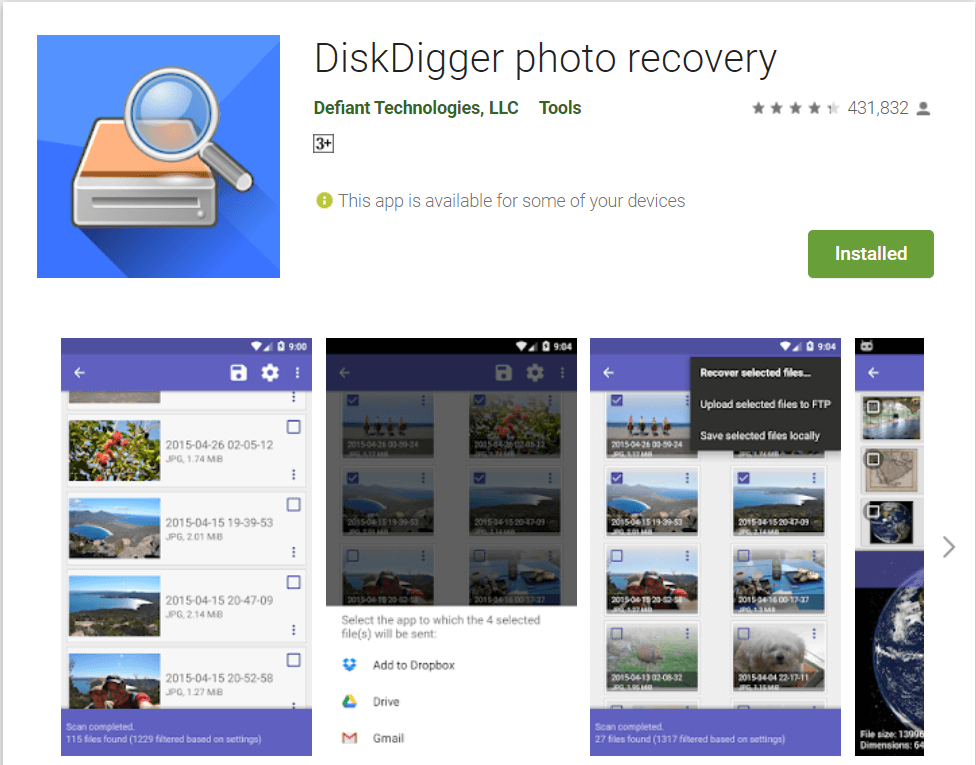
To retrieve photos lost for more than a few months, an alternative option is to use a third-party application such as Disk Digger. Disk Digger has a free basic scan and a paid version. Generally, running a basic scan is enough to recover lost data as it does not require phones to be rooted.
- To begin using it, download it from the Google Play Store.
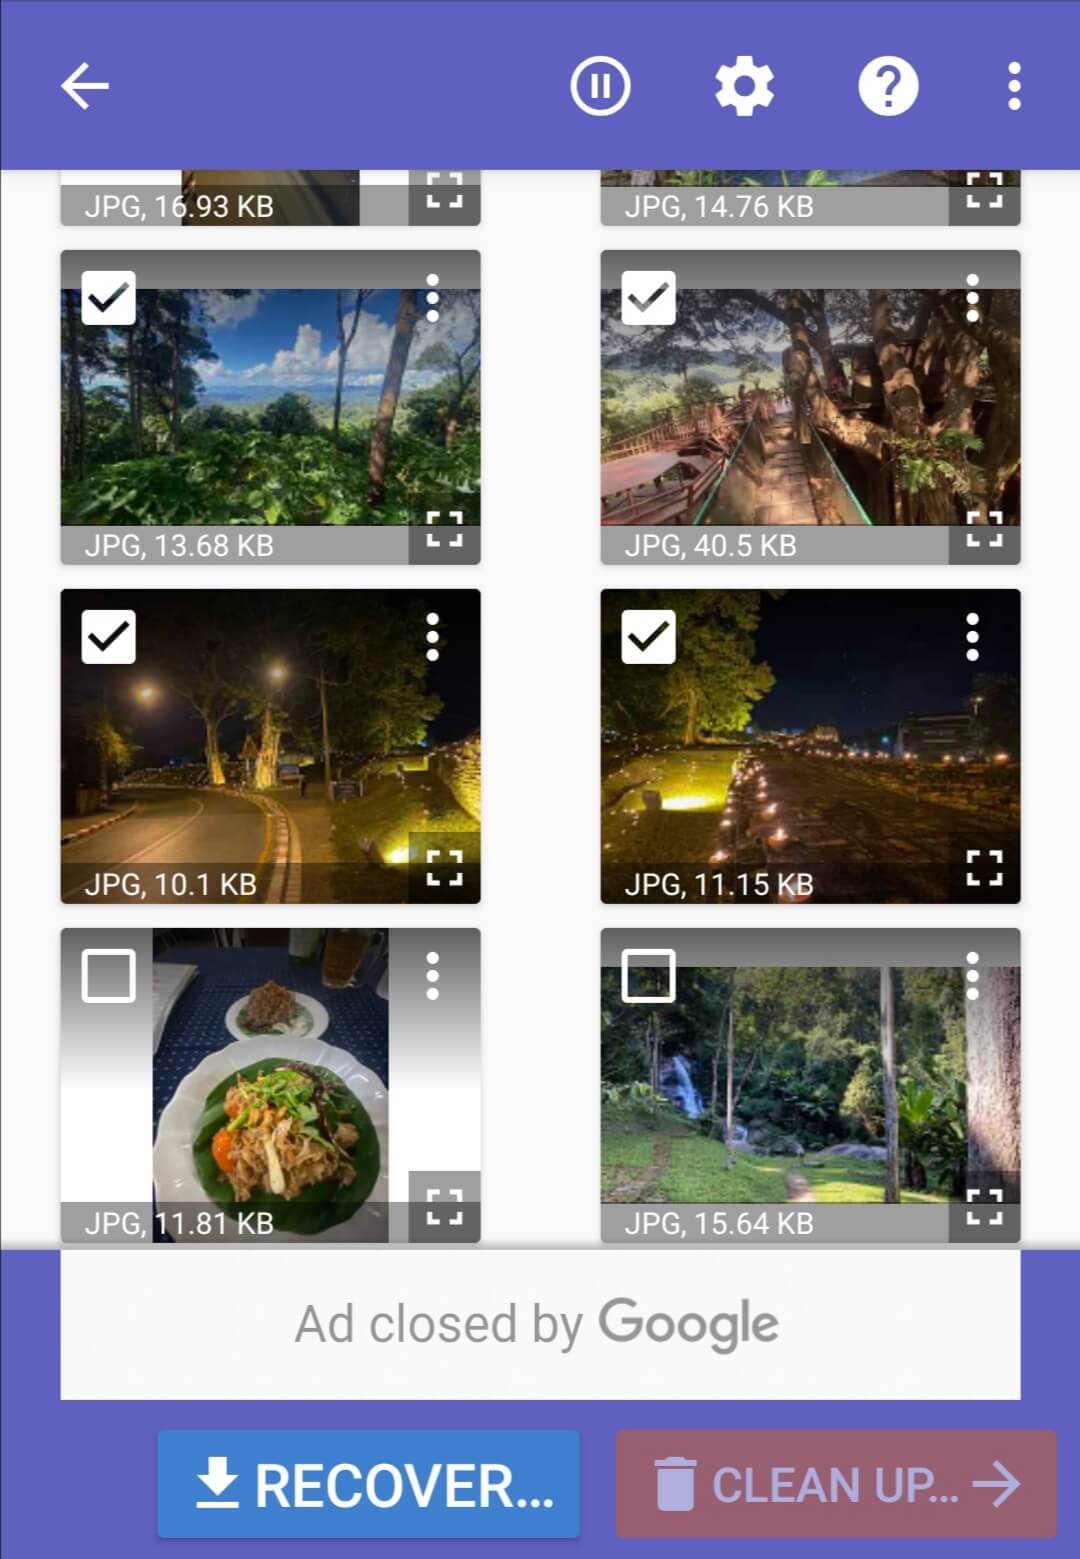
- Open Disk Digger and select “Start Basic Photo Scan”. The app will begin scouring your phone for recoverable photos.
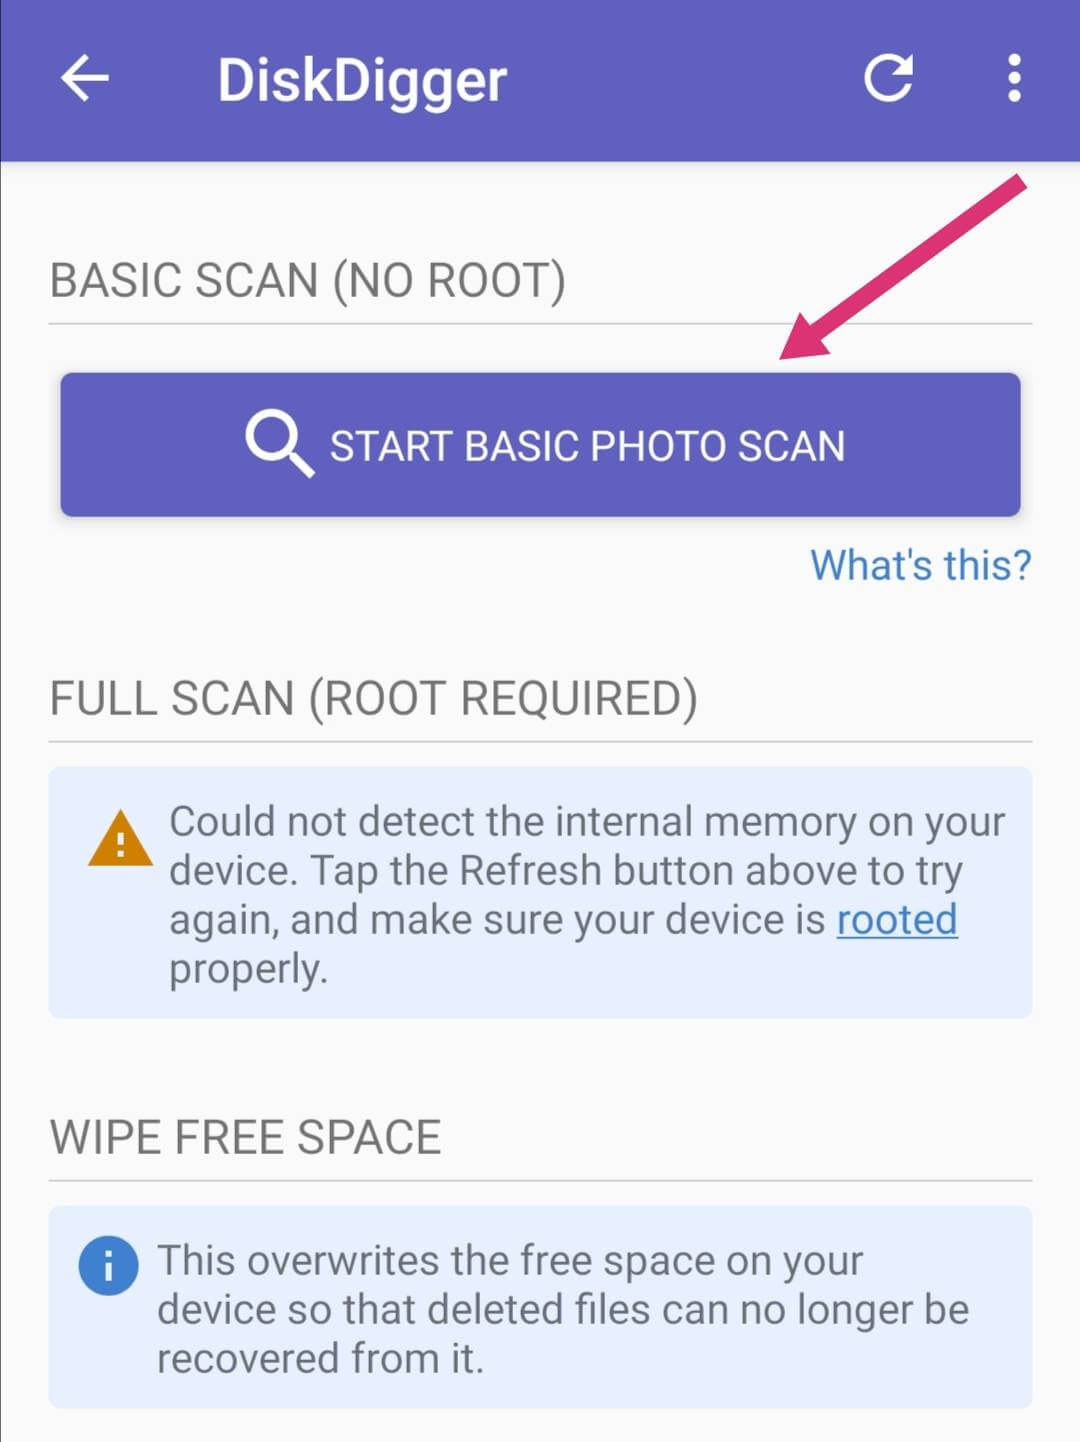
- Click on the thumbnails of each photo you want to recover and then hit the “Recover” button.
- The app will then prompt you to select where to restore your photos. To reduce the chance of losing your photos for a second time, it’s a good idea to back them up on a cloud service such as Google Drive.
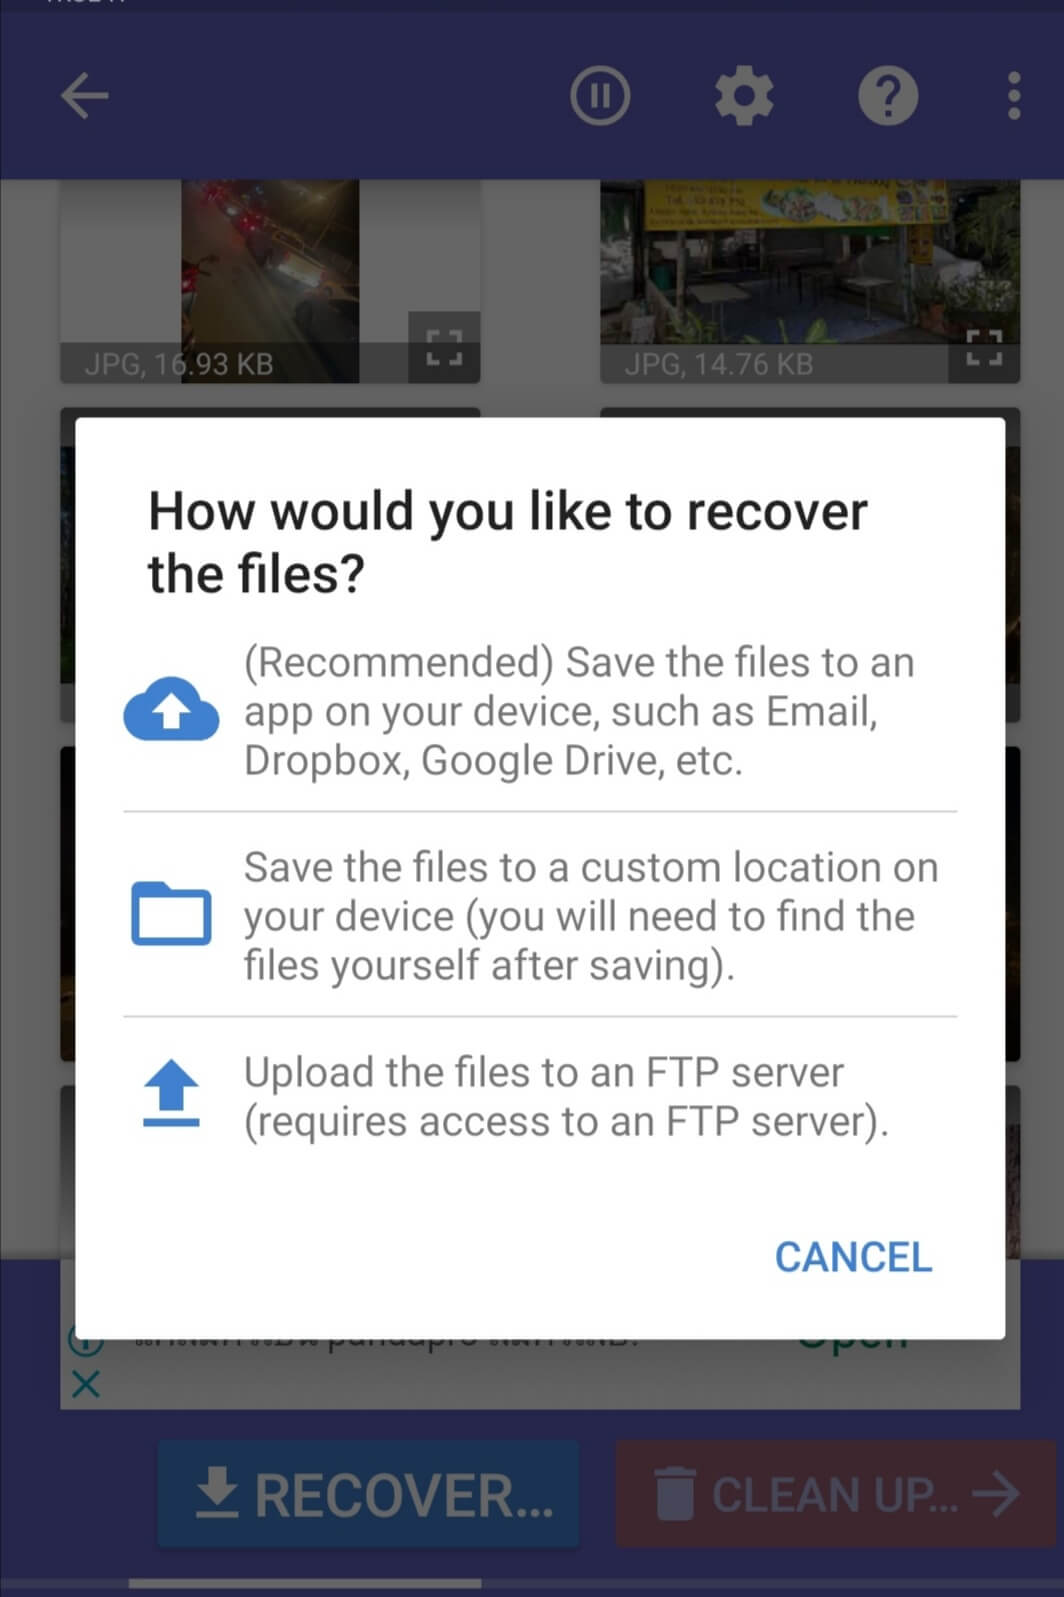
- Select the first option to get a list of apps to where you can send photos. If you’re logged into the Google platform, Disk Digger will ask you to select a location to send the photos.
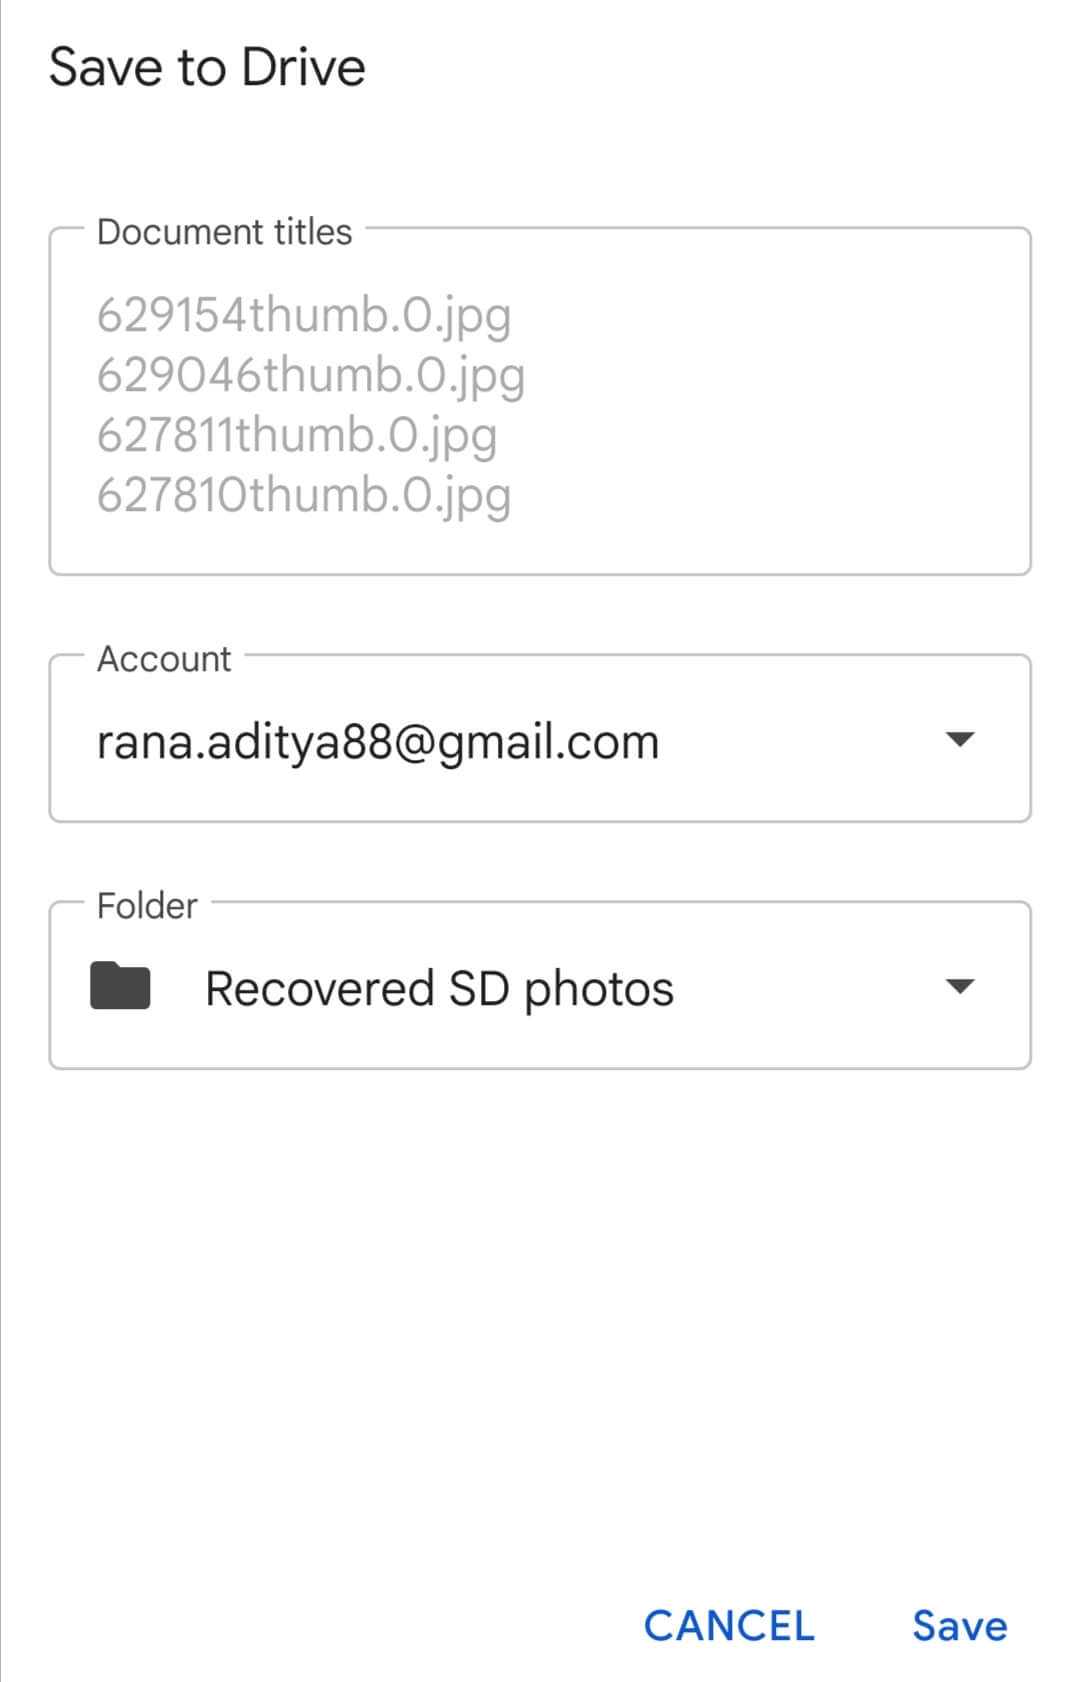
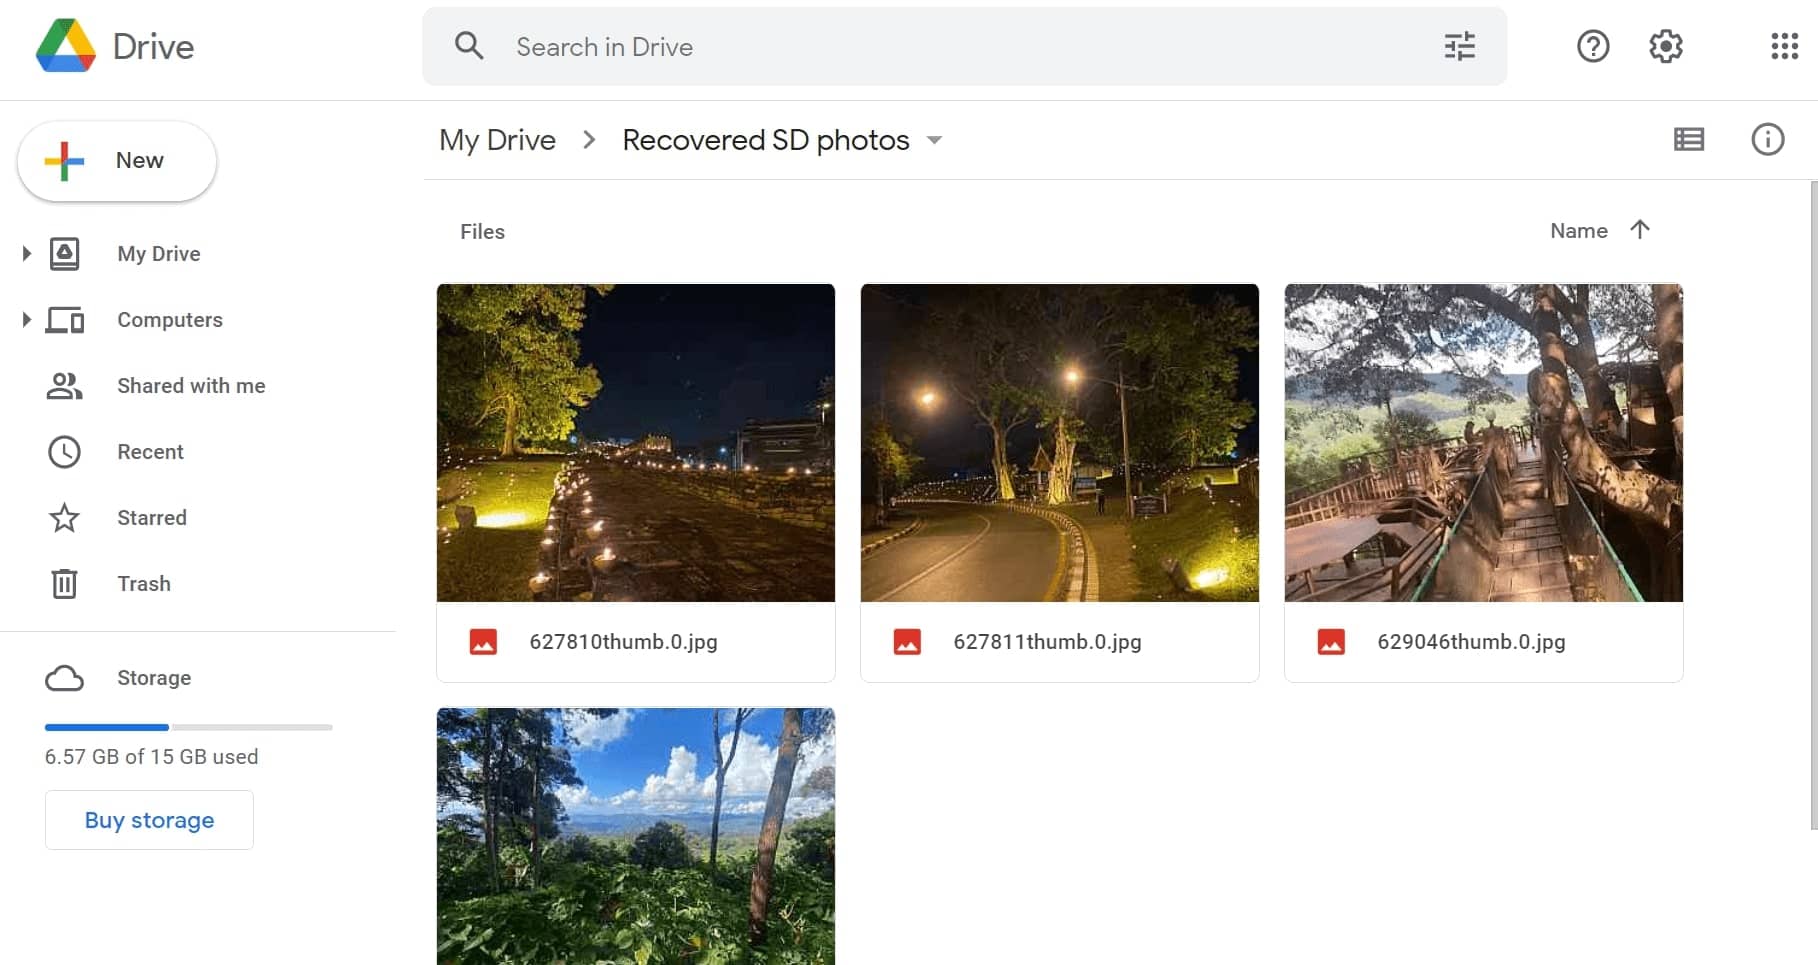
- Hit “Save” and you’re all done! Browse over to the folder on Google Drive and your deleted photos will be there.


Conclusion
Losing photos can be tough, but it’s not the end of the world. SD cards might fail us sometimes, but there are ways to get those precious memories back. Whether you’re a tech pro or new to this, there are tools that make it easy to recover lost photos from your SD card. And if you’re away from your computer, don’t worry! You can still try some tricks to get your photos back on your phone. Just remember to keep your SD card safe until you’re ready to recover your photos. So, don’t give up on your lost photos. With a little effort, you can bring those special moments back to life.