
Reading Time: 7 minutesOften following an operating system crash or power failure, you may notice files with the file extension “.chk” pop up on some of your storage mediums. A lot of people write this off as random Windows files and never think much of it. In this article, you’re going to learn what causes these files to show up, what they are for in the first place, and how to recover CHK files.
What Is a CHK File?
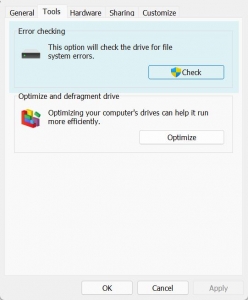
Check Disk is one of Windows’ many system tools and is responsible for verifying the integrity of storage mediums and repairing certain file errors. Sometimes, when a file is being written to a specific storage medium, the writing process may be interrupted due to unforeseen circumstances, like a power outage, operating system crash, or the abrupt removal of a storage device, leading to only part of the file being written to the disk.
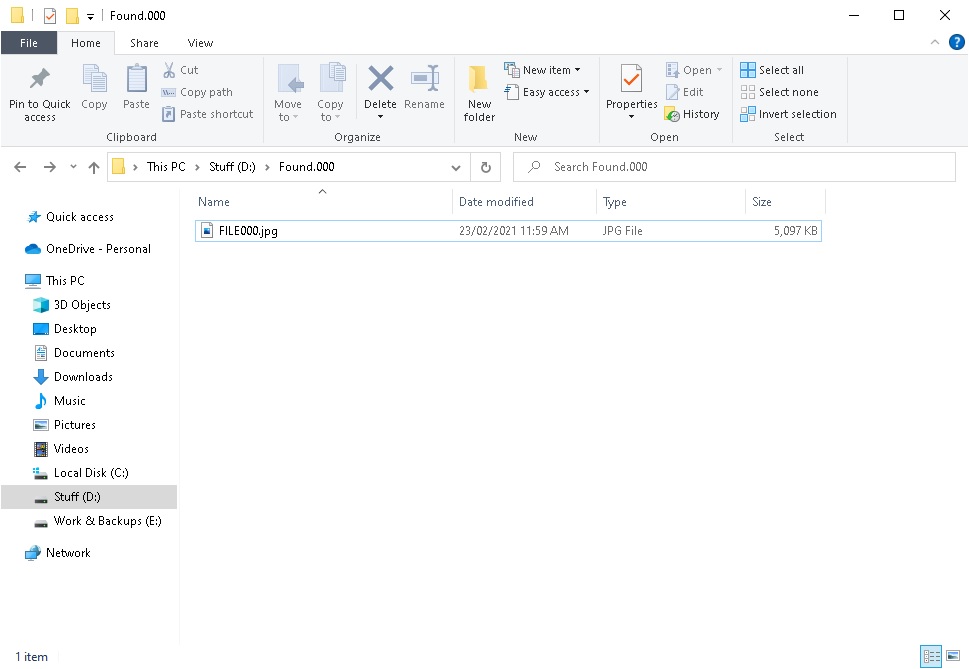
In cases like this, Windows often automatically deploys the Check Disk tool to attempt to fix the file system that was being written to. This process involves saving the chkdsk file fragments it comes across, placing them in a folder labeled “found.000”, and changing the file’s extension to “.chk”. You’ll find these files and folders on the root directory of the storage medium you were writing to.
How to Recover CHK Files
The problem with CHK files is that they don’t outright tell you the kind of file they were when they were being written. And if left as they are, these kinds of files are pretty much useless. Don’t lose hope just yet though, since there are a couple of tried and tested methods that can be used in recovering .chk files.
One involves figuring out the extension of the file on your own, while the other enlists the help of a third-party tool. We’re going to teach you how to do both. Bear in mind, however, that CHK files are considered corrupted and damaged, so it’s not uncommon that these files are too far gone to be recovered.
Method 1: Identify the correct extension manually
This method is considered more time-consuming and complicated than the alternative, but it can be accomplished without having to install a specific tool for the job. It relies on the fact that certain file types – when opened via Notepad or a hex editor – contain special characters near the beginning of the file that may serve as a hint towards what kind of file it originally was. Jpeg images, for example, contain the character string “JFIF”, while WinRAR archives show “Rar!”.
If you’d like to attempt this method, here’s what you’ll have to do:
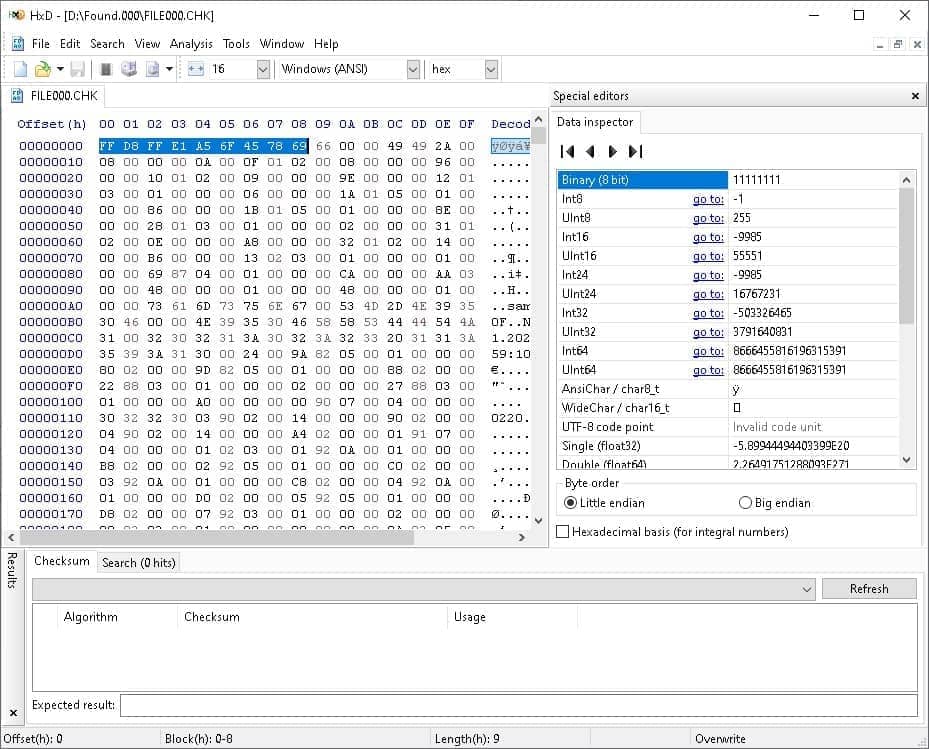
- Open the CHK file using a hex editor of your choosing. You can use Notepad as well, but hex editors are a lot more organized and make the whole process a lot easier.

- Highlight the first eight bytes of hex and copy them.
- Navigate to a website like www.garykessler.net which contains the file signatures of various file types.
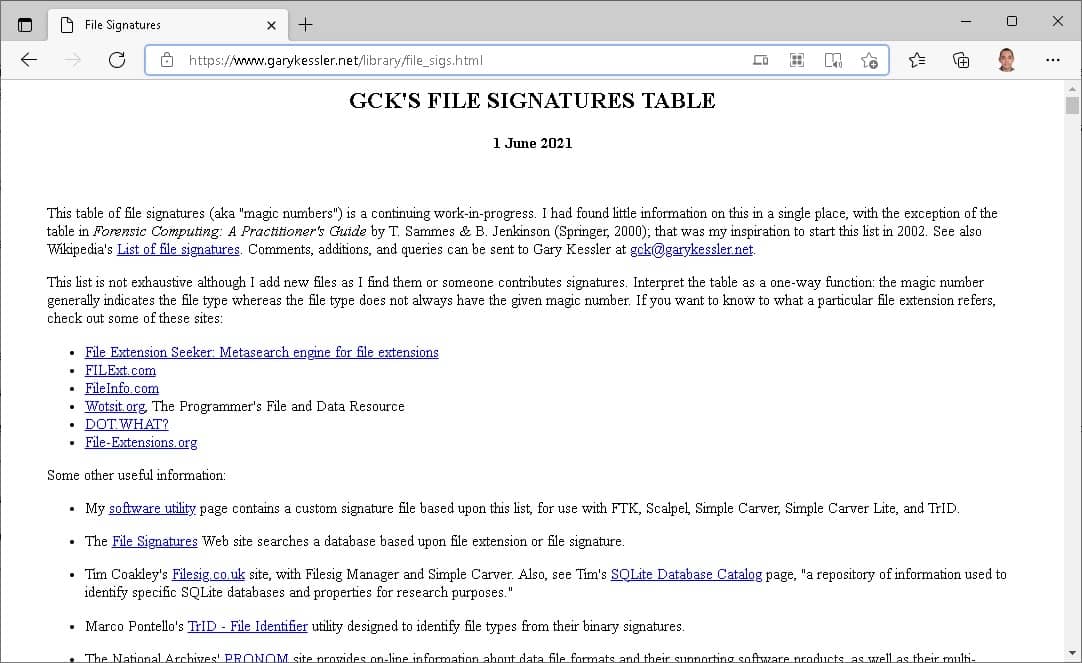
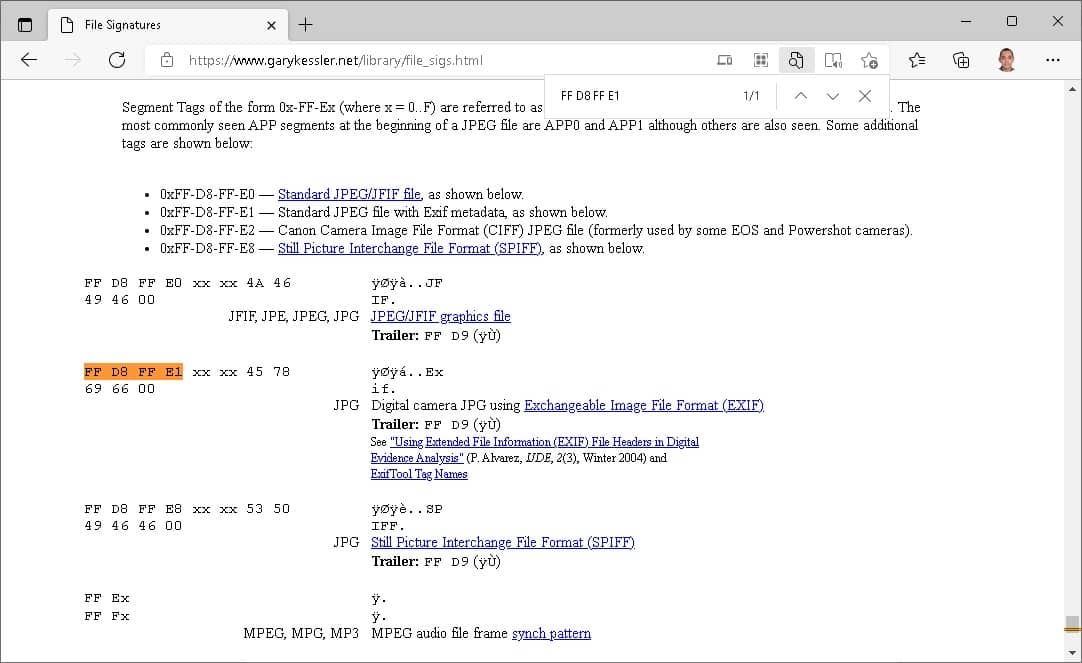
- Hit Ctrl + F to bring up the search function in your web browser and then paste the copied hexes into the search field.

- If nothing is immediately highlighted, delete the characters in your search field one by one until something is highlighted. Once you do get a highlight, you’ll see the corresponding file extension right beside it.
- From there, you just have to change the extension of the .chk file type to the one you just looked up.


Note: To make changing extensions easier, open any folder in Windows, navigate to the “View” tab along the top of the window, and make sure the “File name extensions” checkbox is ticked. This allows you to edit the CHK file extension by simply renaming the file.
Method 2: FileCHK Tool
FileCHK is perhaps the simplest and most straightforward CHK file recovery tool there is. To use this free solution, just follow these simple instructions.
- Download the zip file here.
- Unzip the contents of the file.
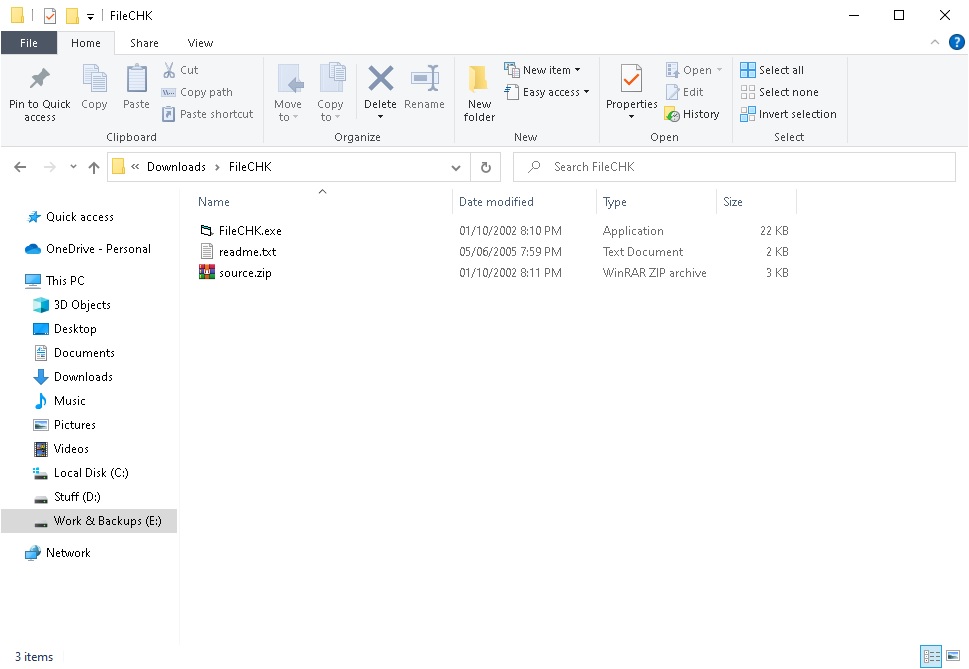
- Copy “FileCHK.exe” to the folder where your CHK file is located.
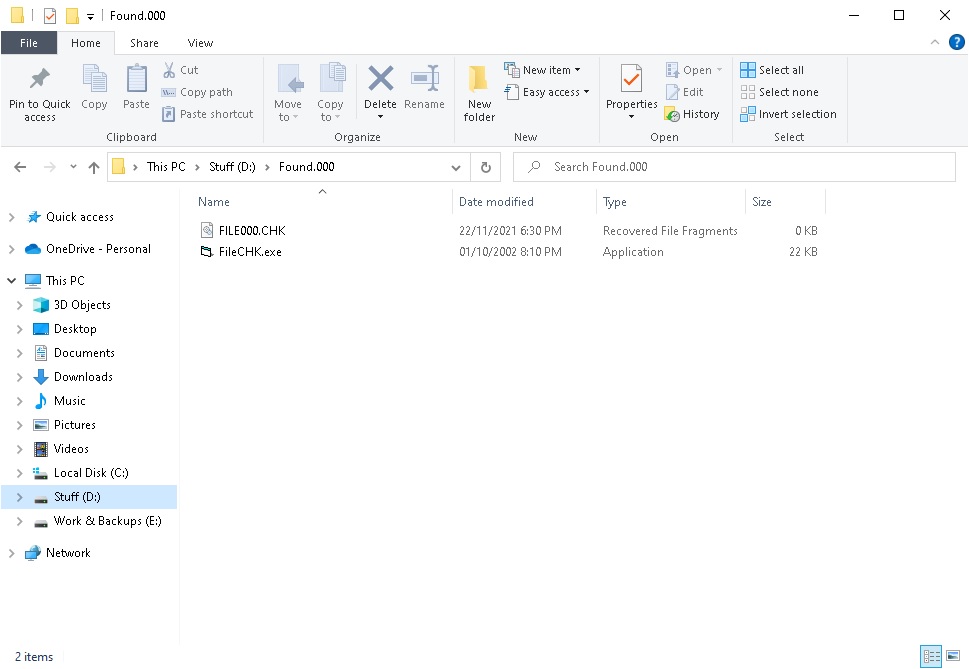
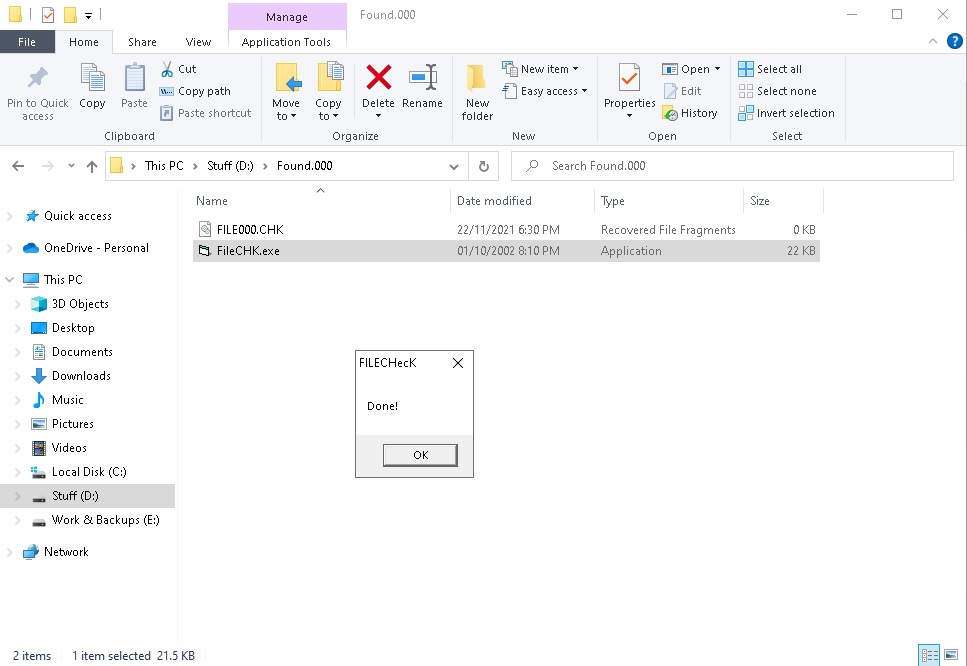
- Double-click “FileCHK.exe” and the tool will automatically assign the right extension to any file it recognizes.


You might want to create a backup of your CHK files before running this tool since it assigns extensions automatically once run. There are a lot of other tools that perform the same function as FileCHK, though some of them offer more recovery options. Some popular CHK files recovery solutions include UnCHK, CHK-Mate, and Chk-Back.
How to Recover Lost Files Without Using CHK Files
Have you lost important files but can’t see any CHK files? Don’t worry! There’s a way to recover your missing data even without them. The trick is to use data recovery software.
With data recovery software, you can scan your storage device and locate any lost files that are still physically present on it but not accessible from the Windows operating system anymore because the file system references leading to them have been severed.
Our top recommendation for Windows 10 data recovery software is Disk Drill because it excels in several ways:
- Even regular Windows users can achieve excellent results with Disk Drill thanks to its intuitive user interface and streamlined recovery process.
- Disk Drill can recover lost files from just about any Windows-compatible storage device, and it supports around 400 different file signatures.
- With the free version of Disk Drill, you can recover up to 500 MB of data without spending a dime.
Here’s how Disk Drill can help recover lost files without using CHK files:
- Download Disk Drill from official website. The correct version for your operating system should download automatically, and you can install it just like you would any Windows software.
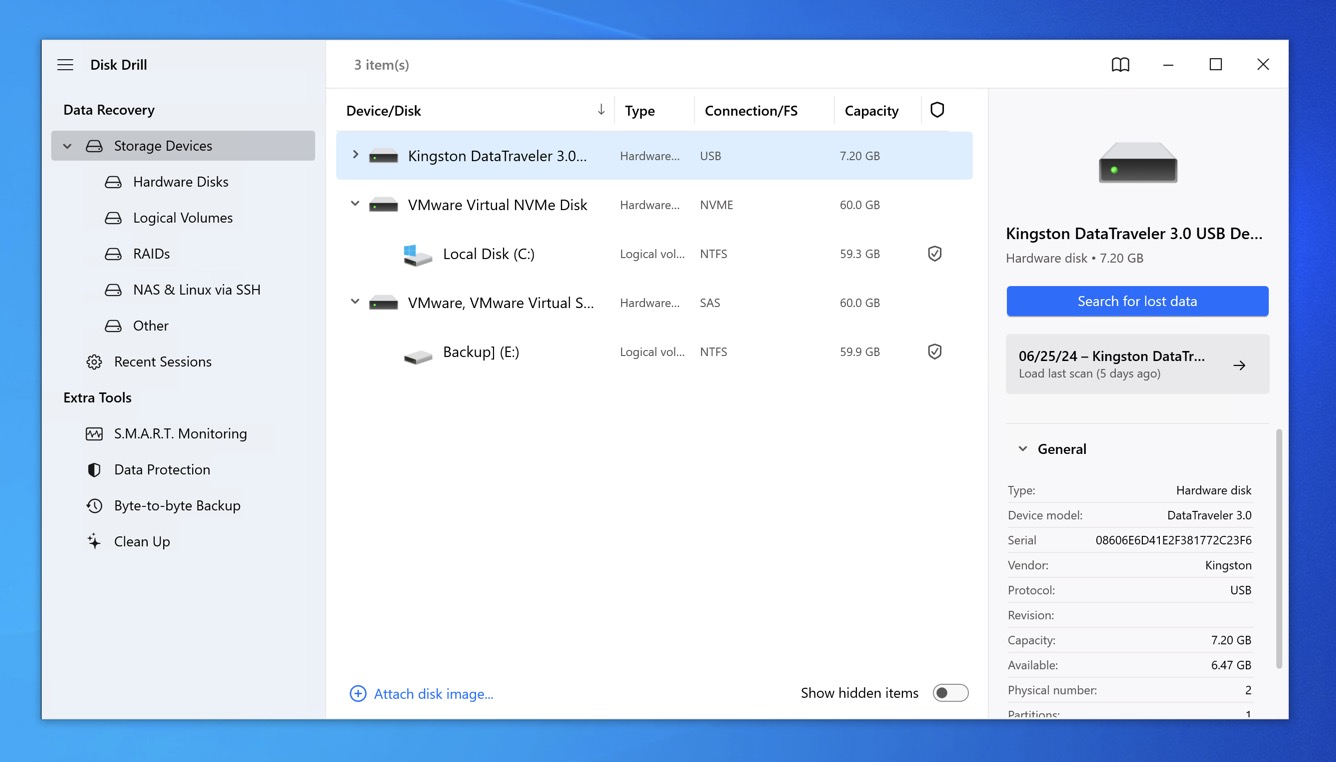
- Launch Disk Drill and select the storage device on which your lost files were last seen. Click the Search for lost data button to start scanning.
- Give Disk Drill all the time it needs to apply its advanced algorithms to locate all lost files on the storage device you selected in step 2. You can preview results in real time if you want to.
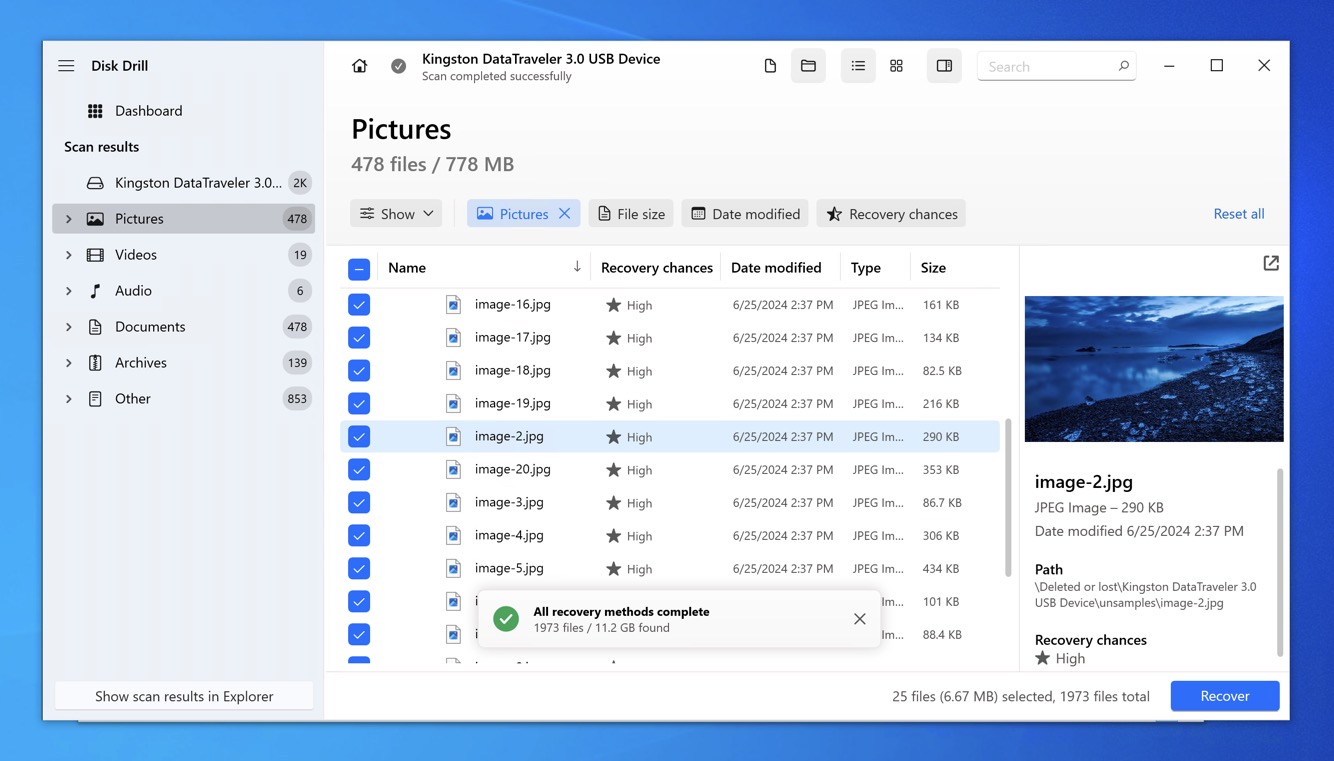
- Choose the files you want to recover and then click the Recover button. Disk Drill offers many filters that make it easy to find exactly what you’re looking for. For example, the screenshot below shows how you can display only image files.
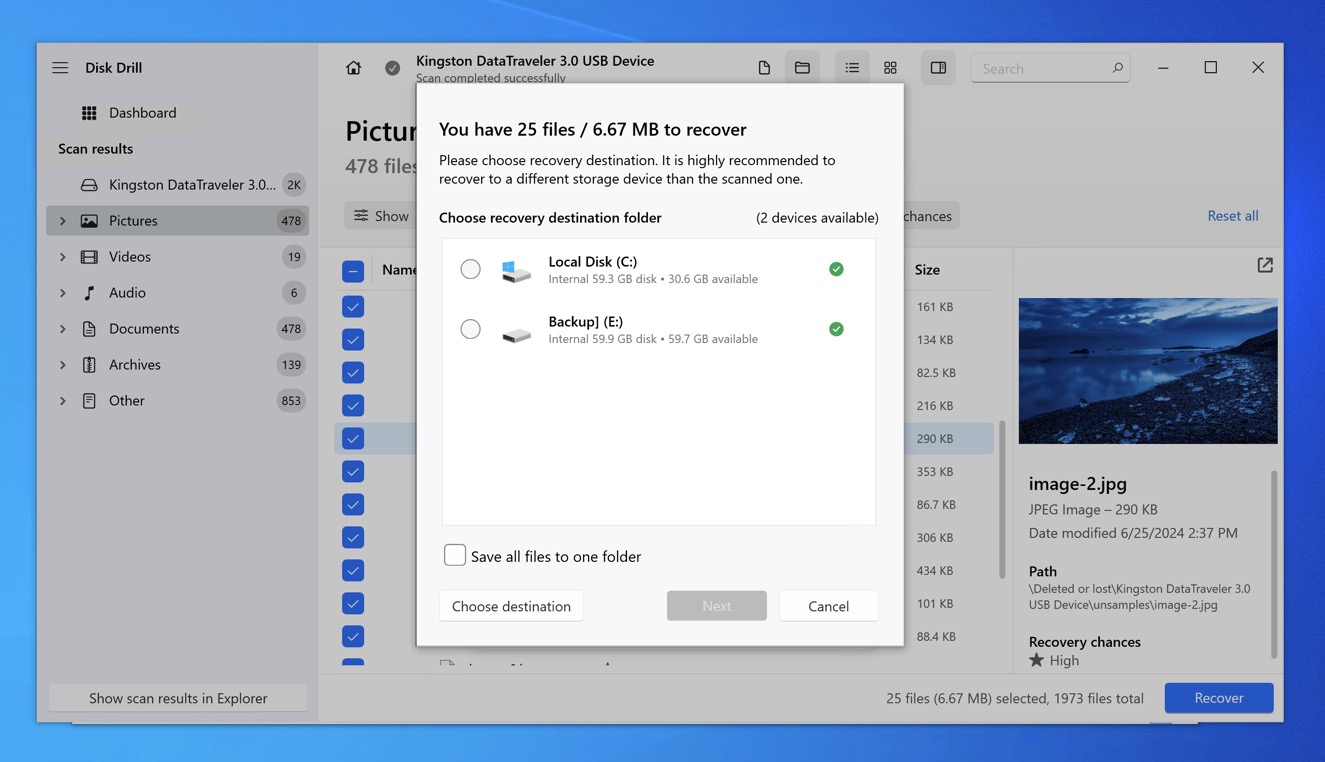
- Pick a recovery destination (must be on a different storage device to avoid overwriting) and confirm.


These exact same steps can be applied to recover any lost files from any storage device.
Conclusion
Despite typically serving as a means of data recovery, CHK files can also become its target because they, just like all files, can become accidentally deleted or lost. In this article, we’ve explained how you can recover CHK files manually and using intuitive data recovery software like Disk Drill. We hope that this information helps you understand CHK files better and provides you with the tools to recover valuable data when needed.
FAQ
- Press the Windows key + R to bring up the Run command window.
- Type in “cmd” and hit the Enter key.
- Type “cd/” and press Enter to head to the root directory of the drive you’re currently on.
- Navigate to the drive where the “Found.000” folder is located by typing in the drive letter followed by a colon symbol. (E.g D:, E:, F:, etc.)
- Type the command “cd Found.000”.
- Type “ren *.chk *.jpg” minus the quotation marks, where “.jpg” can be substituted with any file extension of your choosing.