
Reading Time: 6 minutesWord documents play an important role in the lives of most Windows 10 users, and their loss can be terribly painful. The good news is that an unsaved or deleted Word document often isn’t as lost as it may seem at first. With the right techniques and tools, recovery is often possible, and we explain how in this article.
How to Search for a Lost Word Document in Windows 10
Before you explore more sophisticated methods to recover unsaved or deleted Word documents on Windows 10, it’s worth trying a simple search. The goal is to verify that the files are really gone and not just hiding in some unexpected place.
Fortunately, Windows 10 has a powerful built-in search function that can help you locate files you might have misplaced or forgotten about. Here’s how to use Windows Search effectively:
- On your Taskbar, click the Search icon.
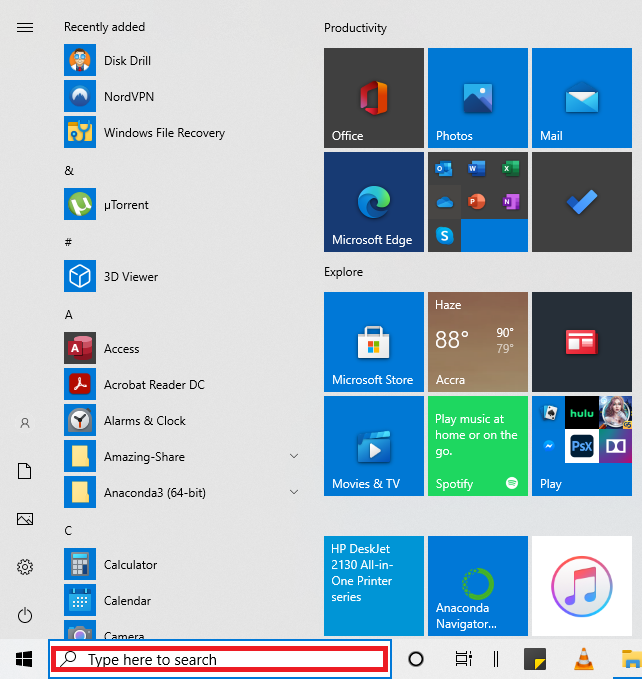
- Type the document name in the search box and press Enter. Give the search feature some time to find your Word documents.
- If your Word document pops up in the list of files, double click it to open in Word.
Note that if your File does not appear in the file list, you need to move on to the next methods described in this article.
Methods to Recover Unsaved Word Documents in Windows 10
If the Windows search didn’t locate your Word document, all hope is not lost yet. There are several other methods to recover unsaved files, whether due to a computer crash or accidental closure.
Method 1. Use Word AutoRecover
Microsoft is well aware that Word users often forget to save their documents until it’s too late. That’s why Word comes with a built-in feature designed to help you recover unsaved documents. The name of this feature is AutoRecover, and it automatically saves hidden copies of files you’re working on. If the feature detects that Word has crashed unexpectedly, then it will prompt you to recover your unsaved work when you next launch the application.
Here’s how to use AutoRecover to recover an unsaved Word document:
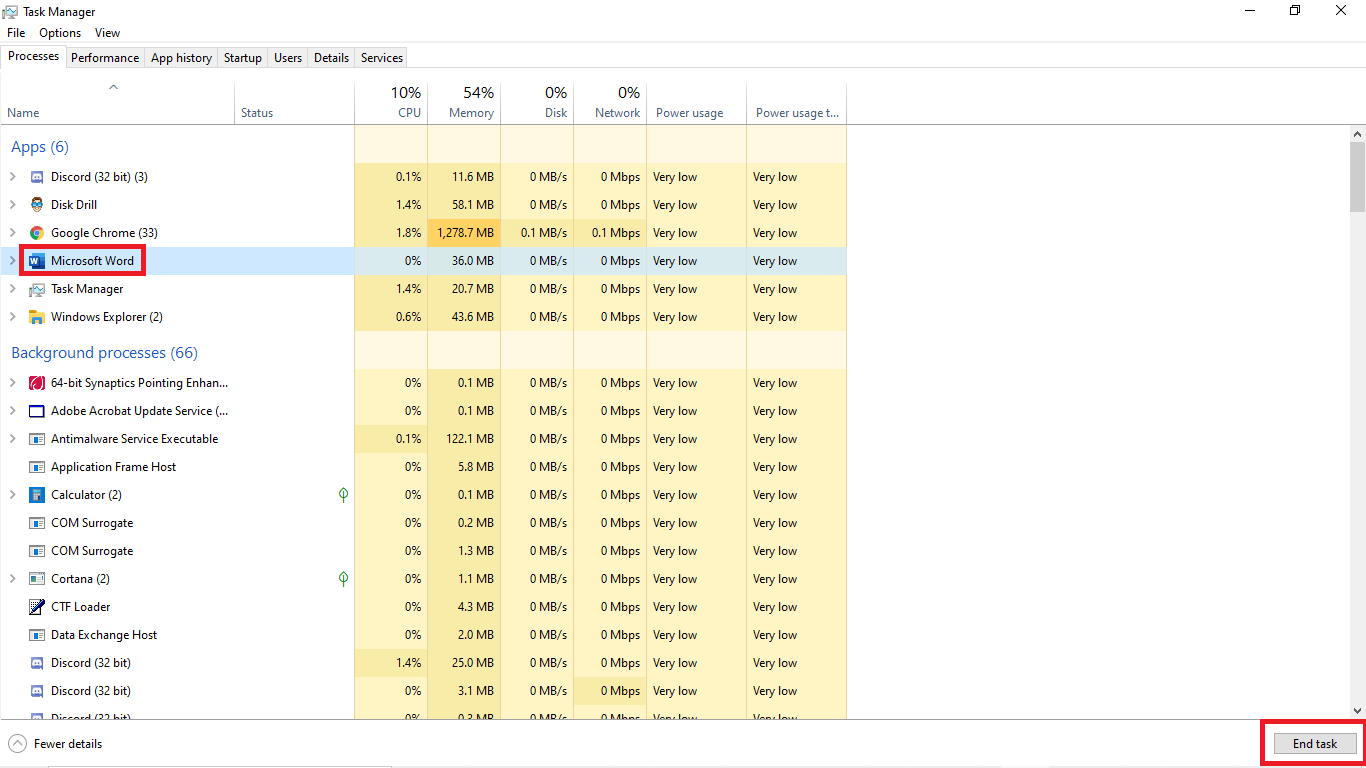
- Launch Task Manager and make sure that Microsoft Word isn’t running in the background (this can sometimes happen after a crash, and it would prevent AutoRecover from triggering). If you notice that it is indeed running, then you need to select it and click the End task button.
- Launch Microsoft Word again. It should automatically locate any auto-recovered files and display them in the Document Recovery task pane on the left side of the screen. Recovered files are listed as either “document name [Original]” or “document name [Recovered].”
- You can save the recovered file in any location you want.
Alternatively, you can manually look for AutoRecover backup files (they have the .asd extension) in the folders where they are typically stored:
- C:\Users\<UserName>\AppData\Roaming\Microsoft\Word
- C:\Users\<UserName>\AppData\Local\Microsoft\Office\UnsavedFiles
If you find them there, then you can:
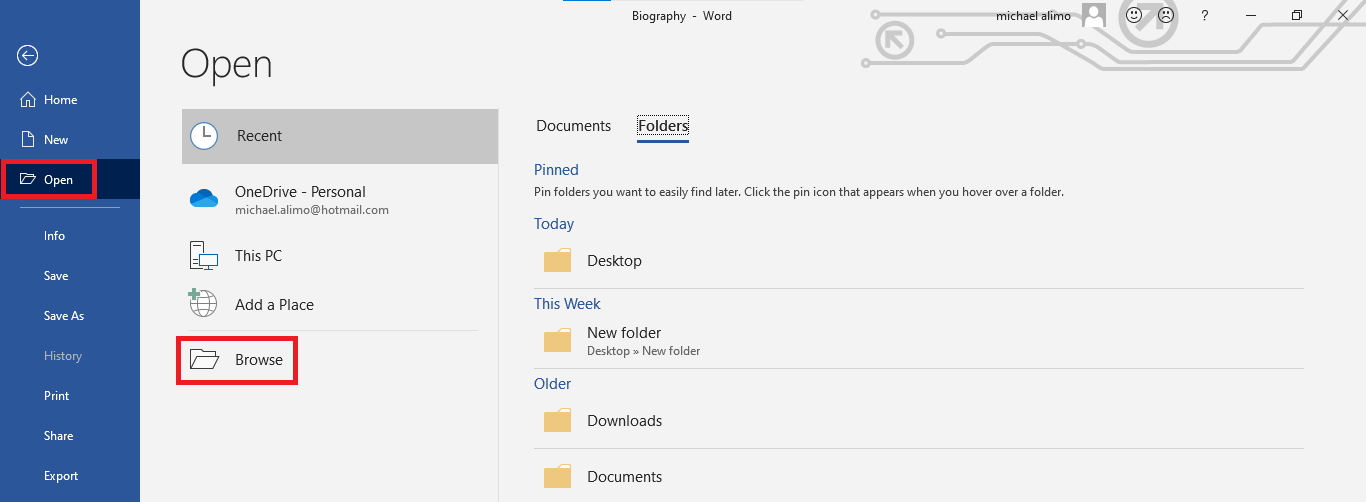
- In the File menu, select Open, and then Browse.
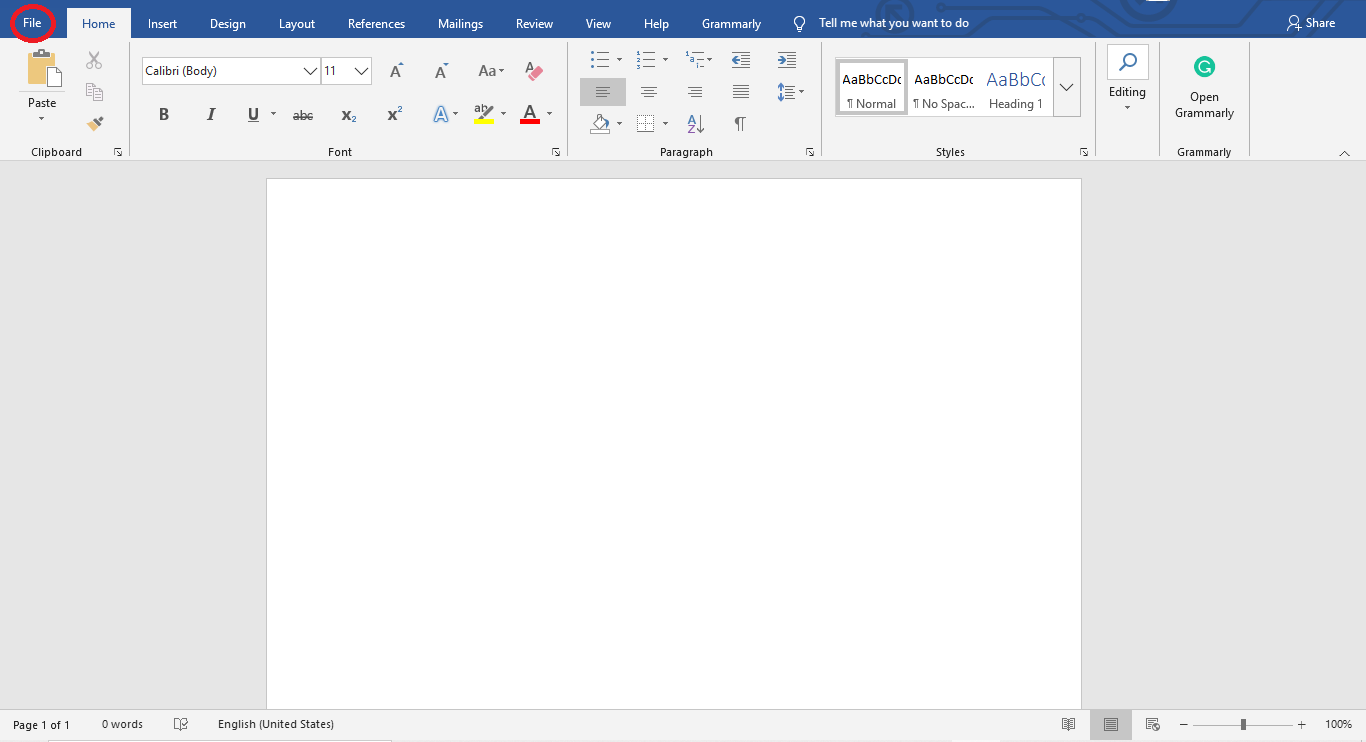
- Navigate to the folder where the .asd file is stored and open it just like you would a regular Word file.
No luck with the AutoRecover feature? Don’t despair! There are still more places where you can look for your unsaved Word document.
Method 2. Search for Temporary Files
Another method you can employ to recover your unsaved Word document is by digging through temporary files in Windows. Temporary files are used to store data temporarily while a document is being edited. Here are some locations where you might find temporary files created by Microsoft Word:
- C:\Users\Your_username\AppData\Local\Microsoft\Word
- C:\Users\Your_username\AppData\Local\Temp
You can also look for temporary folders and files (often called tmp) using the search feature in Windows 10:
- Go to your search box (mainly on the bottom left corner of your screen by default screen orientation).
- Then type .tmp in the search bar.
- Analyze the search results.
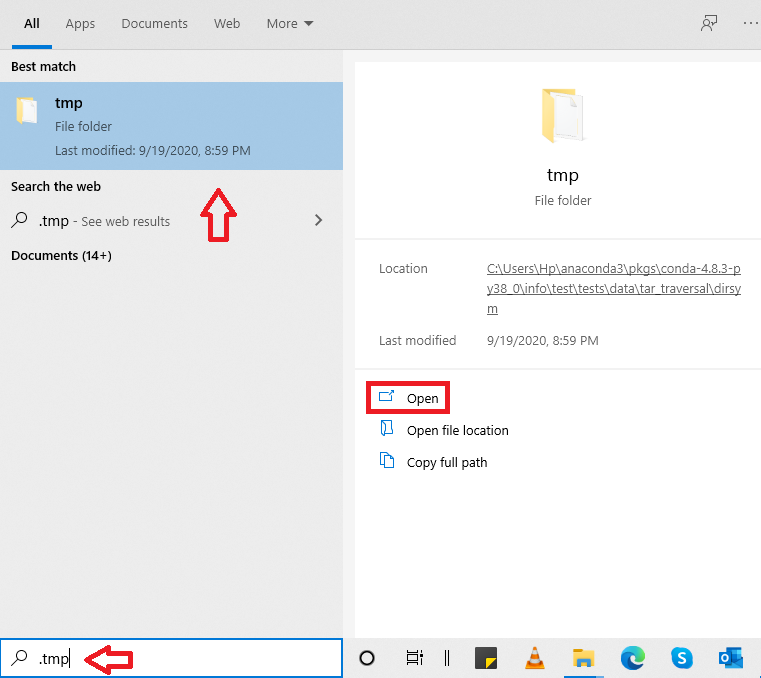
If you find a promising temporary file, you can attempt to open it directly in Microsoft Word. With some luck, you might recover all or part of your lost document.
Methods to Recover Deleted Word Documents in Windows 10
Compared to unsaved files, deleted Word files require a different approach for recovery. That’s because deleted Word documents are very likely to still be located in the Recycle Bin, in your backups, or on your hard drive.
Method 1. Look for Deleted Word Documents in the Recycle Bin
The Windows Recycle Bin is the most obvious place to begin your search for lost or deleted files. Why? Because that’s where deleted files typically go (unless you delete them using the Shift + Delete combination) before they become permanently deleted. To restore deleted items from the Recycle bin, follow these steps.
- Double-click the Recycle Bin icon on the desktop.

- Search through the list of items and locate the document you want to retrieve.
- Right-click the Word document and select Restore.
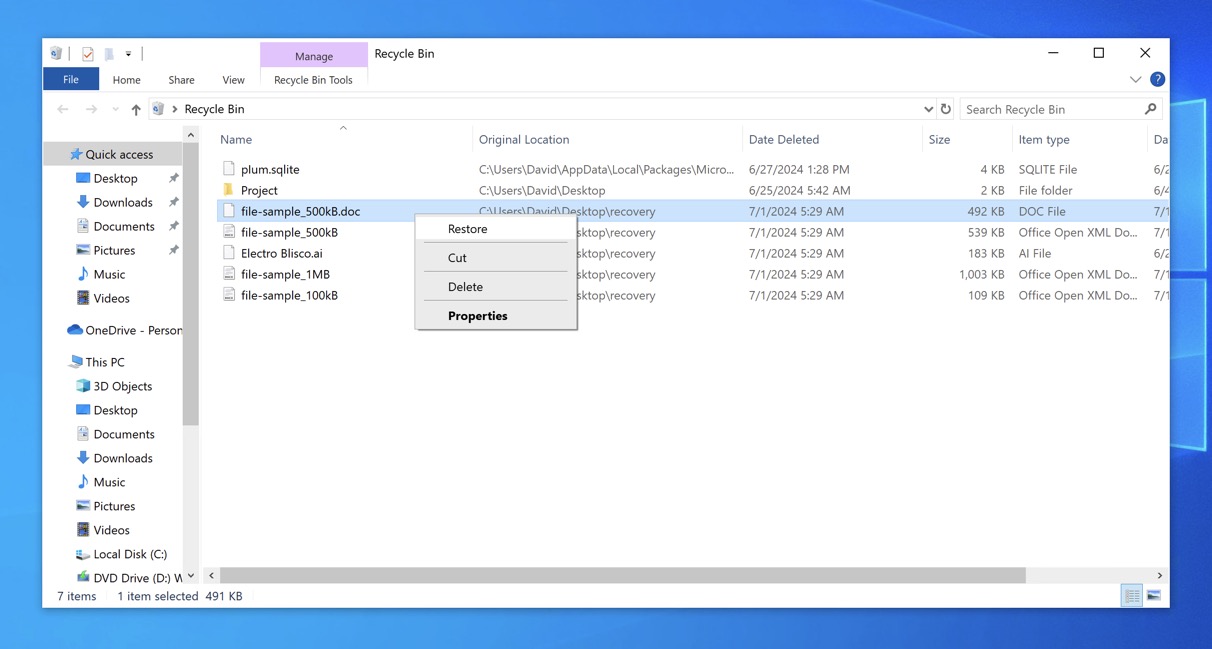

The restored Word document will now be sent to its previous location. If you can’t find it in the Recycle Bin, then your next step are backups.
Method 2. Use the Previous Versions Feature in Windows
When configured to do so, the Previous Versions feature (also called File History) in Windows automatically creates backup copies of your files and folders. When you lose important data, such as a Word document, you can view all backed-up versions of your data right from File Explorer in Windows 10.
Tip: You can check if the Previous Versions feature is enabled on your computer and see which locations from Settings > Update & Security > Files backup. There, look for the “Back up using File History” section and check if there’s a backup drive. If not, the feature isn’t enabled, and this method most likely won’t help you.
To restore previous versions of files in Windows 10, please follow these steps:
- Browse to the folder containing the Word document or folder, right-click it, and then select Restore previous versions.
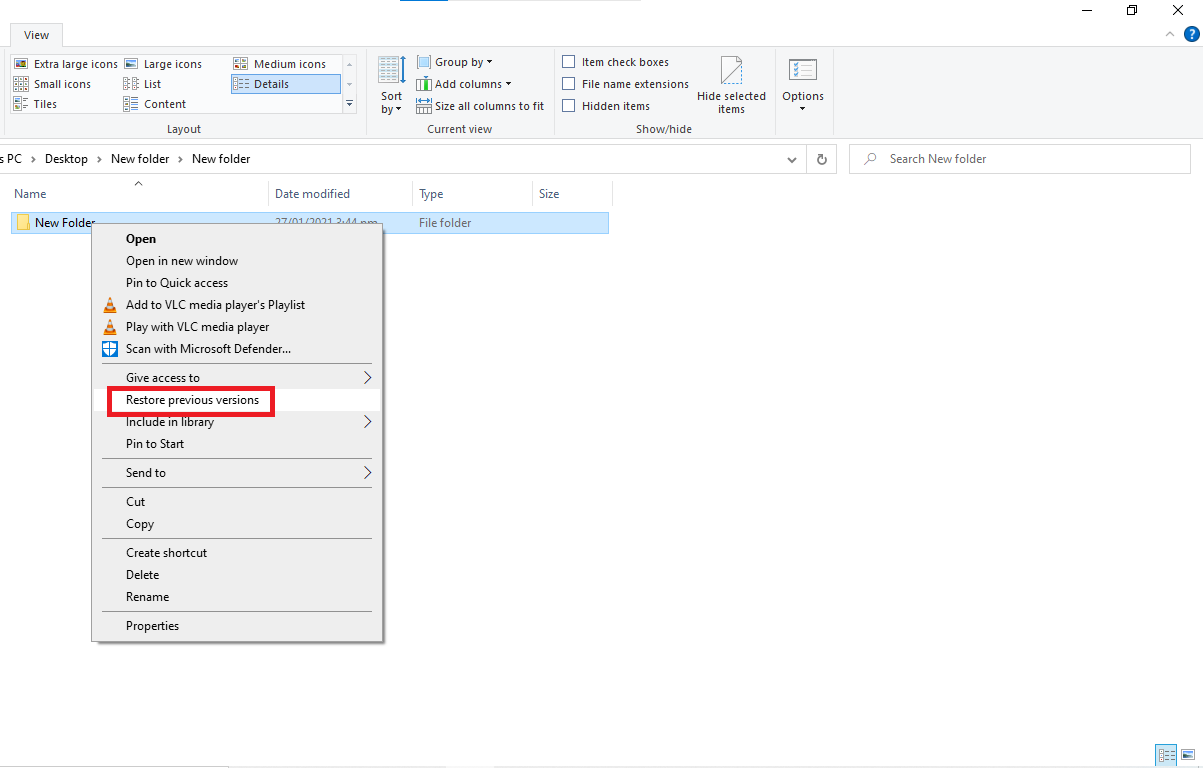
- Pick a previous version of the folder (one that contains your missing Word document) and click the Restore button.
- Open the restored version of the folder in File Explorer and look for your Word document—it should be right there.
Unfortunately, many Windows users don’t have the Previous Versions feature enabled, so this method won’t help everyone. If you’re among them, then your next best step is to try data recovery software.
Method 3. Use Data Recovery Software
When all else fails, data recovery software can be your last line of defense in retrieving deleted Word documents because it can get them back as long as they’re still physically present on the storage device (no other data has overwritten them.
One excellent option for Windows users is Disk Drill, which stands out for several reasons:
- Supports Word file formats: Disk Drill can recover various Word document formats, including .doc, .docx, and .rtf.
- It can recover files based on both file system information and file signatures, making it effective even when the file system is severely damaged or non-existent.
- The application is designed for average Windows users, and its fast scanning speed can make the recovery process less time-consuming.
- The free version of Disk Drill can recover up to 500 MB of data, which is enough for hundreds of smaller Word files.
Here’s how to use Disk Drill to recover your lost Word documents:
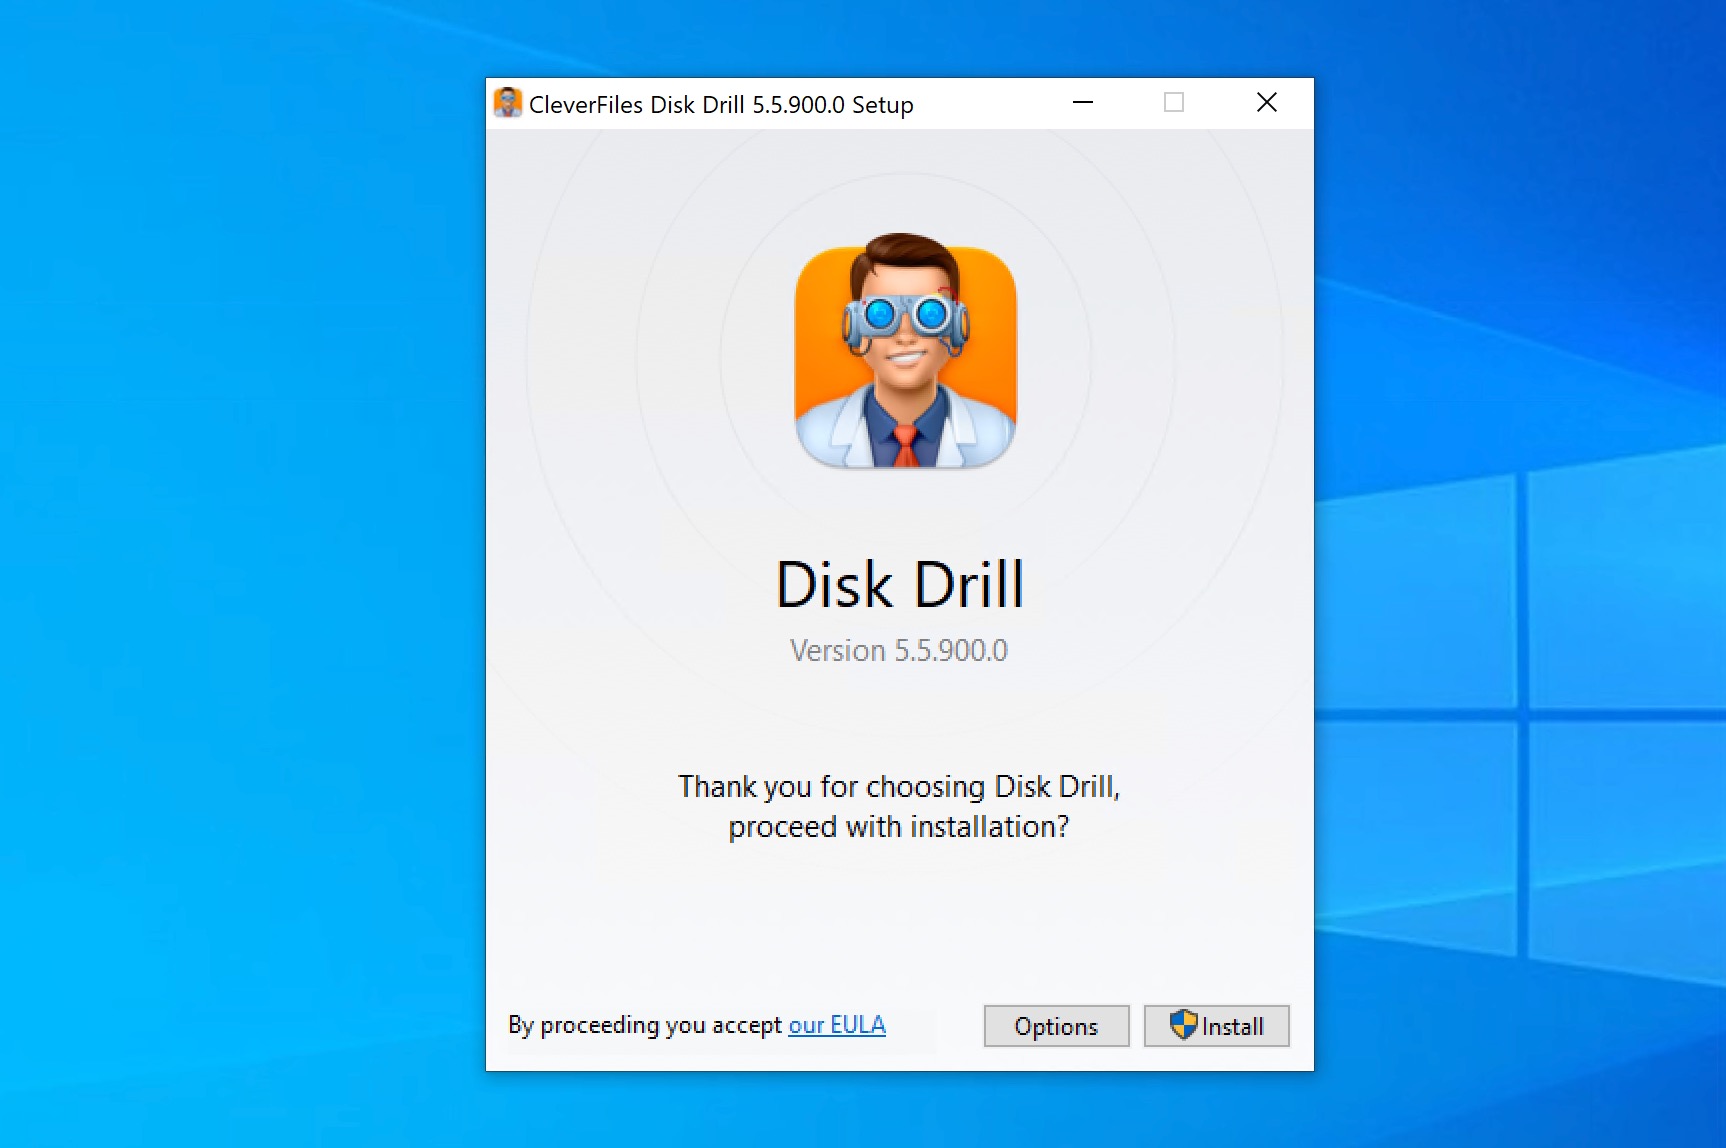
- Download and install Disk Drill from the official website.
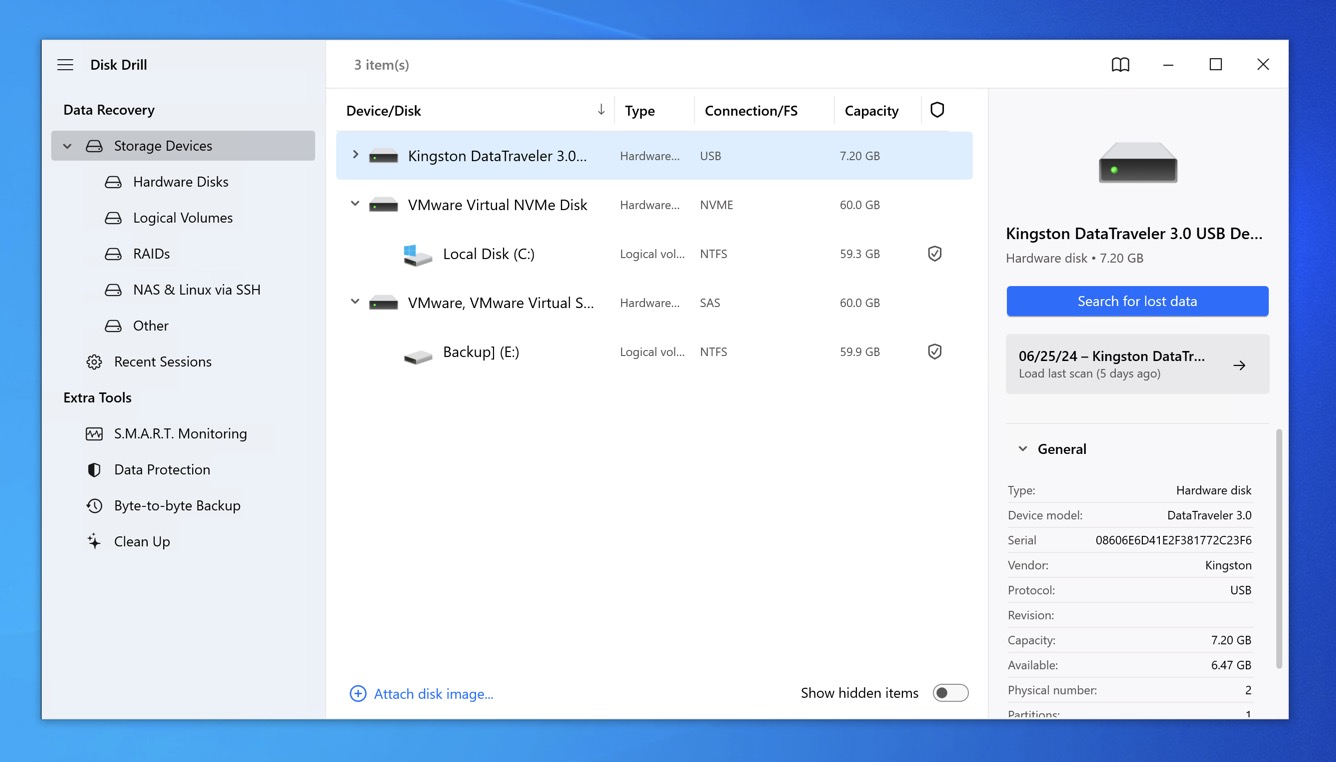
- Launch Disk Drill and select the drive where your Word documents were stored. Click the Search for lost data button to start scanning.
- Once the scan is complete, click on Documents in the left sidebar to filter the results.
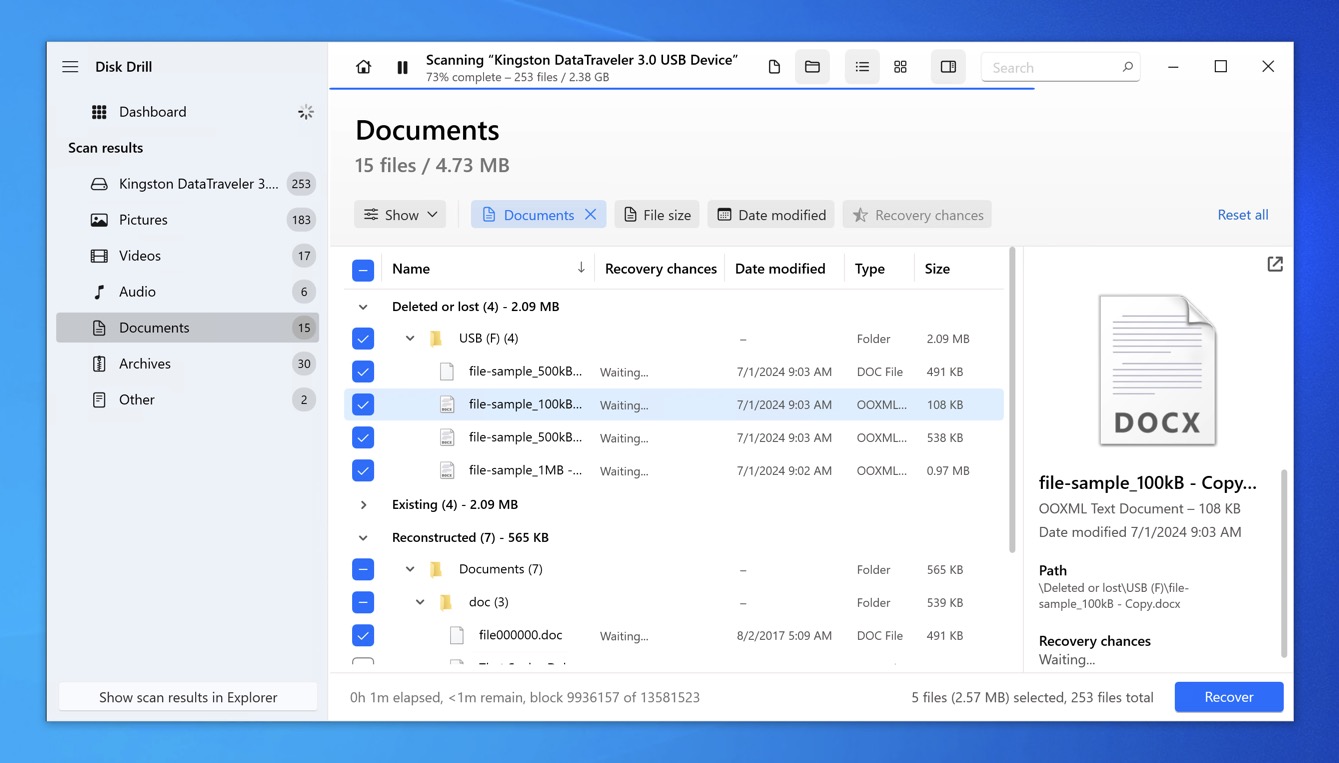
- Select the Word documents you want to recover and click the Recover button.
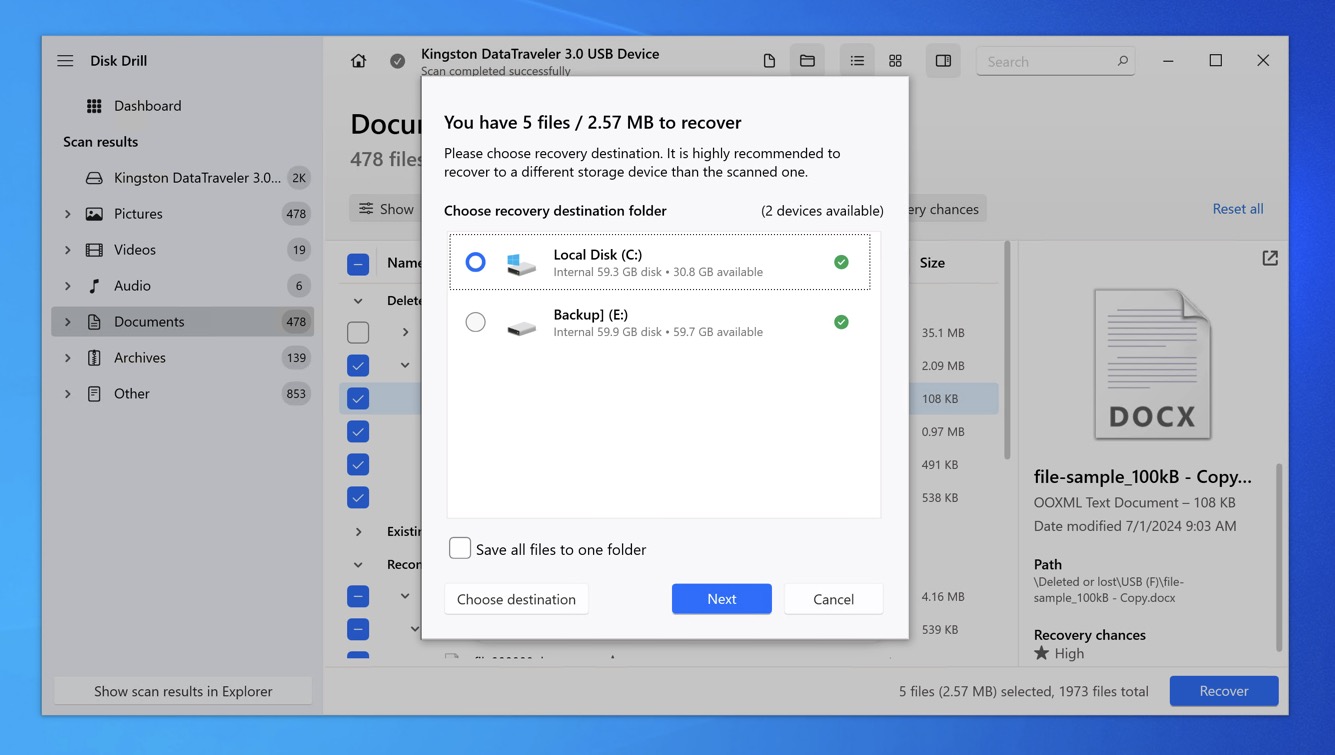
- Choose a safe location to save the recovered files (avoid the original location to prevent overwriting).


Note: Disk Drill is also available for macOS users, offering similar functionality for Word document recovery on Apple computers.
Conclusion
As we’ve seen, there are multiple ways to potentially recover your unsaved or deleted Word documents, from native features to third-party data recovery apps like Disk Drill. We hope that at least one method described in this article has helped you successfully recover your lost Word documents. Remember that prevention is always better than cure, so make sure to turn this data loss experience into a valuable learning opportunity by leveling up your backup practices.