Reading Time: 7 minutesWhile they may not be quite as popular as the likes of Western Digital, Samsung, or Adata, Maxtor hard drives are still a great way to store backups and important information. But just like any storage device, these drives are susceptible to data loss and accidental deletion.
We’ve detailed the best DIY method for Maxtor hard drive recovery for those who have found themselves facing such a dilemma. Furthermore, we’ll discuss the different ways you can potentially save a failing or corrupted Maxtor hard drive.
What is a Maxtor External Hard Drive?
Maxtor is a well-known hard drive manufacturer based in the United States. It was founded in the early eighties and, at one point, managed to make its way into the top three hard disk developers around the globe.
Just like many other brands in the industry, Maxtor was leaning more towards storage mediums of the external variety. Their OneTouch model was particularly popular, as it had a nifty feature that allowed you to back up your computer’s drive with the push of a button.
The company was eventually bought out by hard drive juggernaut Seagate in 2006. From there, the Maxtor name would end up returning to the hard drive scene ten years later, offering competitive prices, durable products, and a SafetyKey feature that promises to keep your data safe.
How to Recover Data from an External Maxtor Hard Drive
The first thing you should do when attempting to recover lost data from a Maxtor external hard drive is to immediately stop using the device. This lessens the chances of the drive incurring further data loss resulting from corruption or information overwriting.
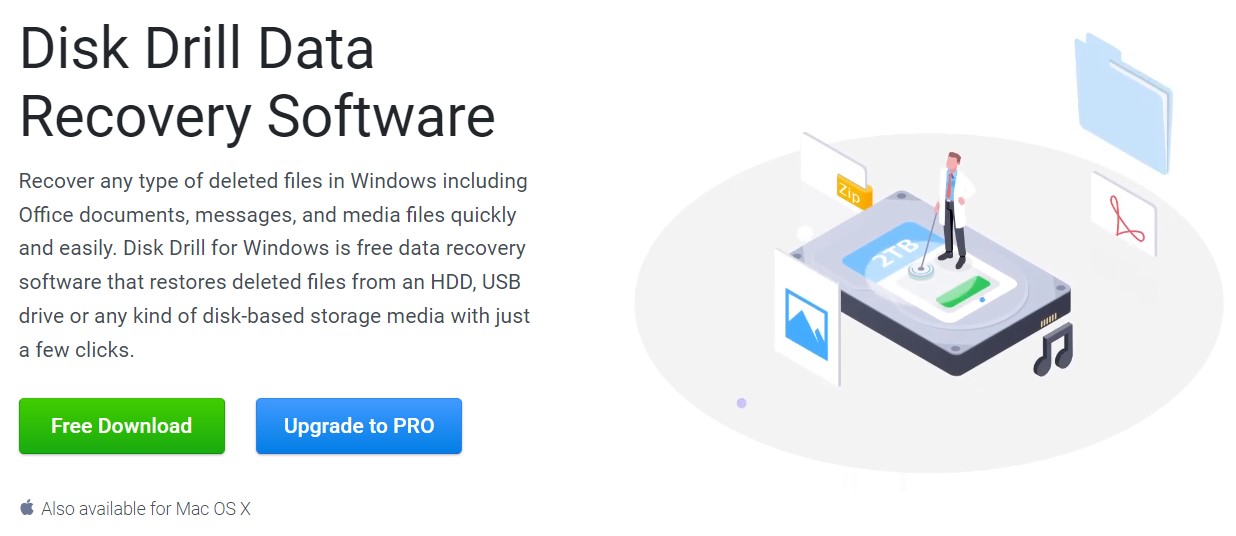
Next, you’ll need the help of an excellent data recovery program, and they don’t get much better than Disk Drill. It offers exceptionally high recovery rates, a simple interface that any average computer user can maneuver, and it supports the retrieval of pretty much any kind of file type.
It even has a trial version that allows you to experience all of the program’s features with a recovery limit of half a gigabyte.
It also comes with some incredibly handy tools. Its byte-to-byte image feature is particularly helpful, as it is highly recommended to make an image of the drive you’re trying to retrieve information from and attempt the recovery process from the image instead of the original. That way, you can minimize data loss even further.
Follow the steps below to create a hard disk image and recover data from it:
Creating a Maxtor Hard Drive Image Using Disk Drill
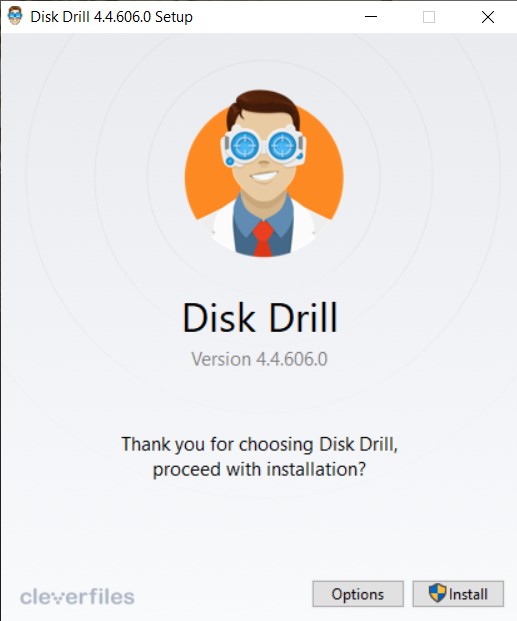
- Head to the Cleverfiles website and download the Disk Drill setup file.
- Run the setup file and follow the on-screen instructions until the installation is successful.
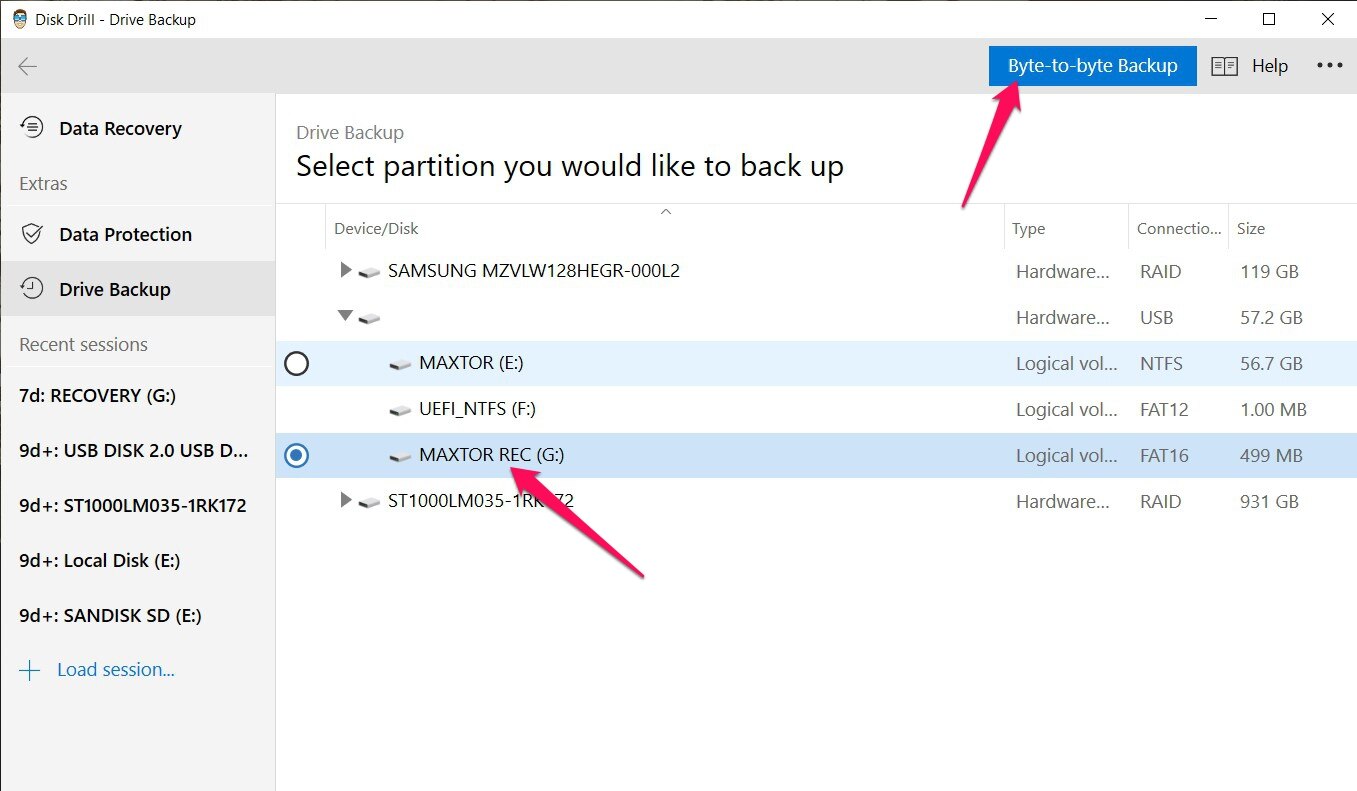
- Launch Disk Drill and select Drive Backup from the left panel.

- Select your Maxtor hard drive from the list of available devices and click the Byte-to-byte Backup button from the top-right corner.
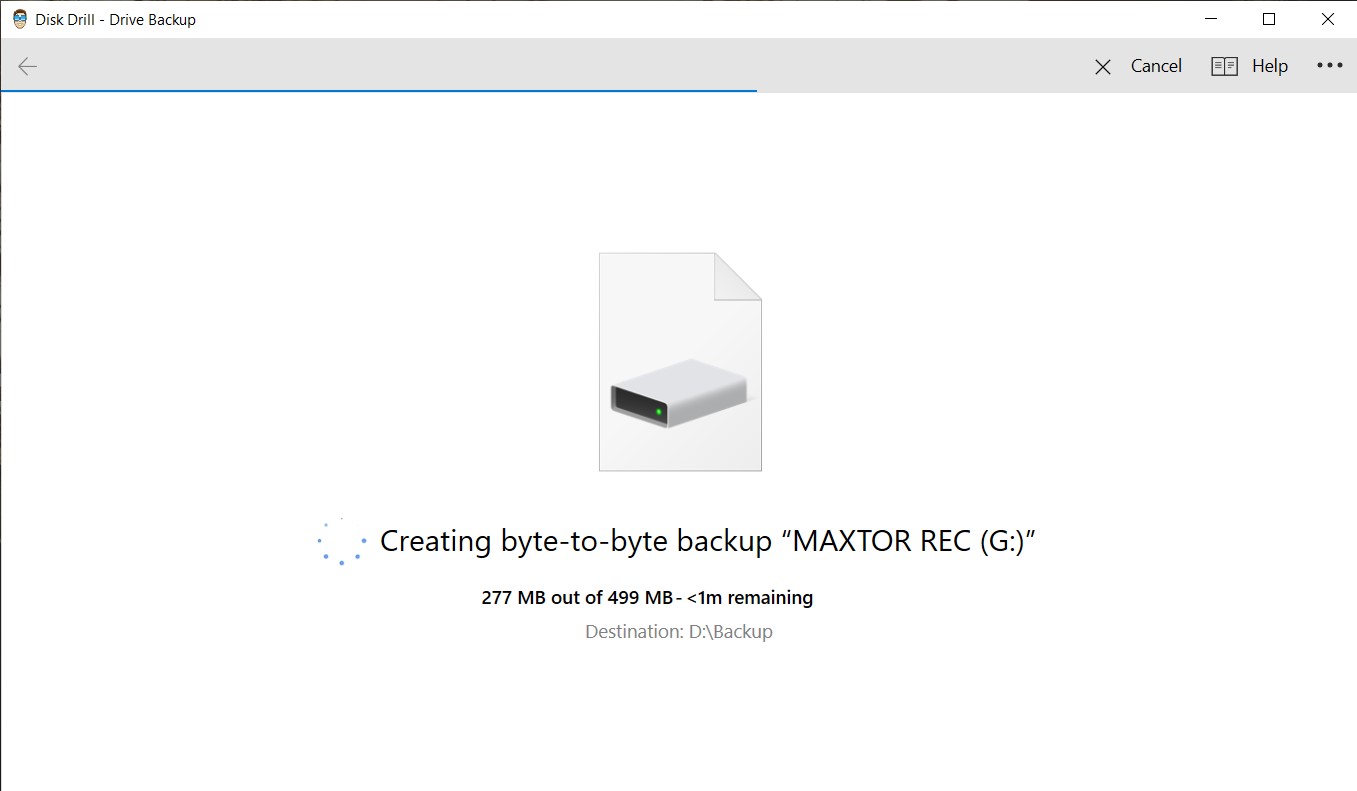
- Decide on the filename, type, and path of your image and click OK to continue.

- Disk Drill will now begin creating the image. How long this takes depends on the size of your hard drive.
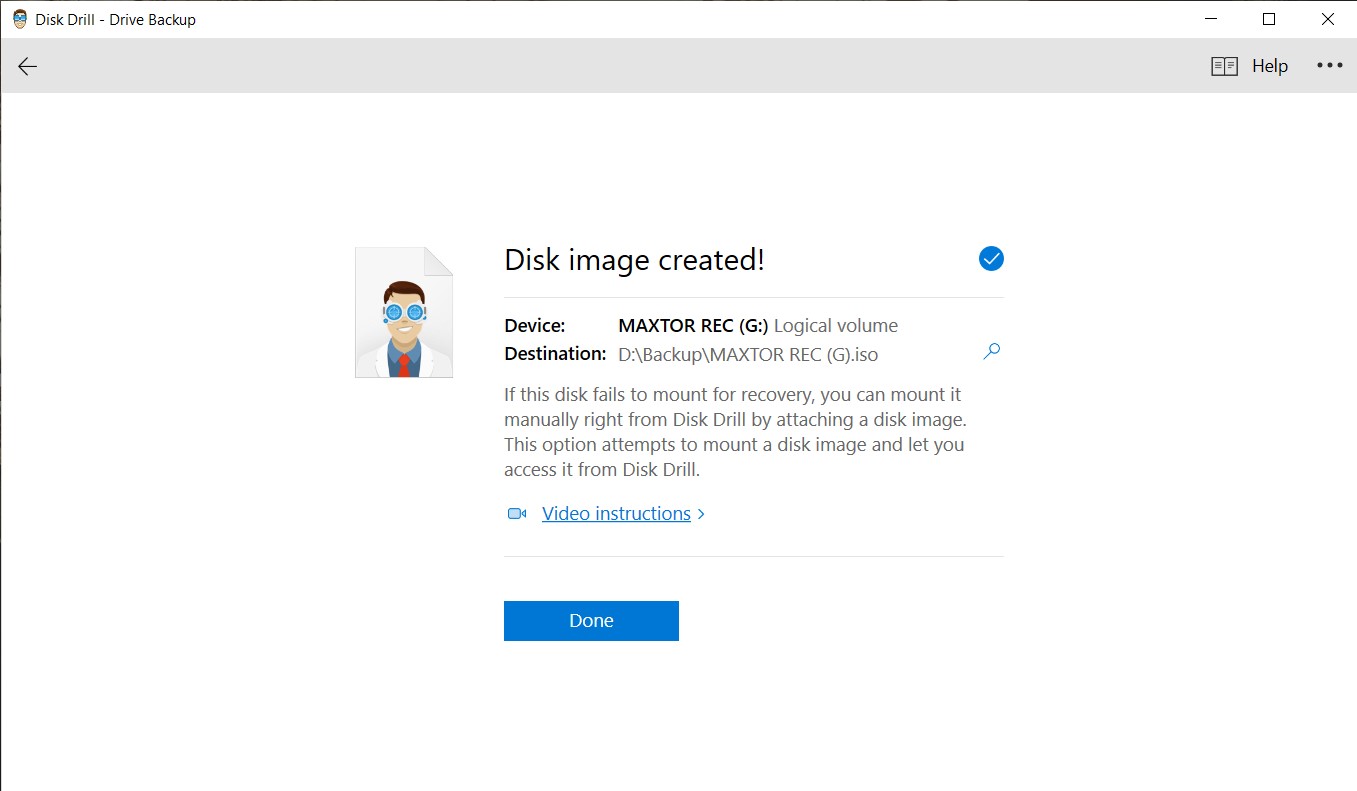
- Once done, you’ll be greeted by a completion screen. Click Done, and you’ll be taken back to the Disk Drill homepage.


Recovering Lost Files from a Maxtor Hard Drive Image Using Disk Drill
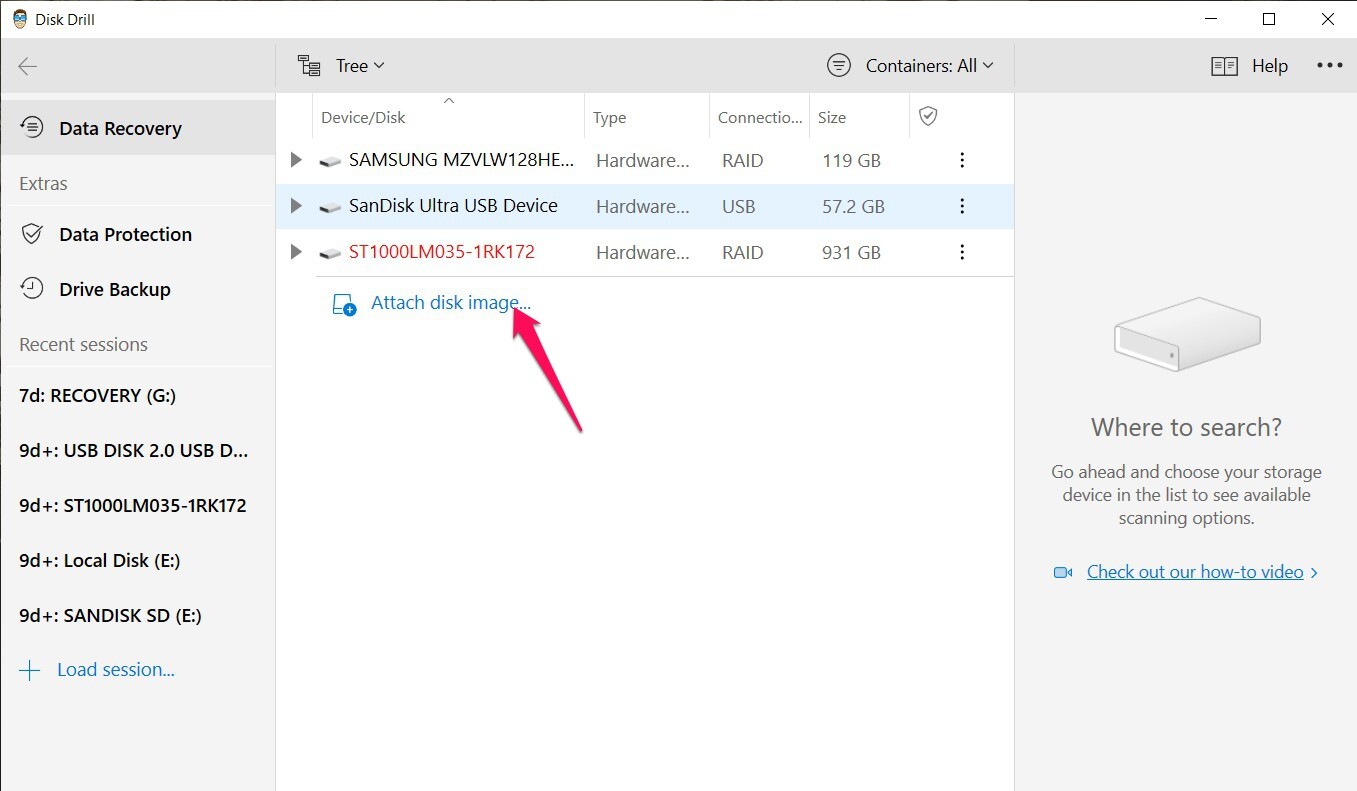
- From the Disk Drill homepage, make sure you’re on the Data Recovery section on the left panel, then click the Attach disk image link. A small pop-up window will appear that will allow you to browse for the image and select it.
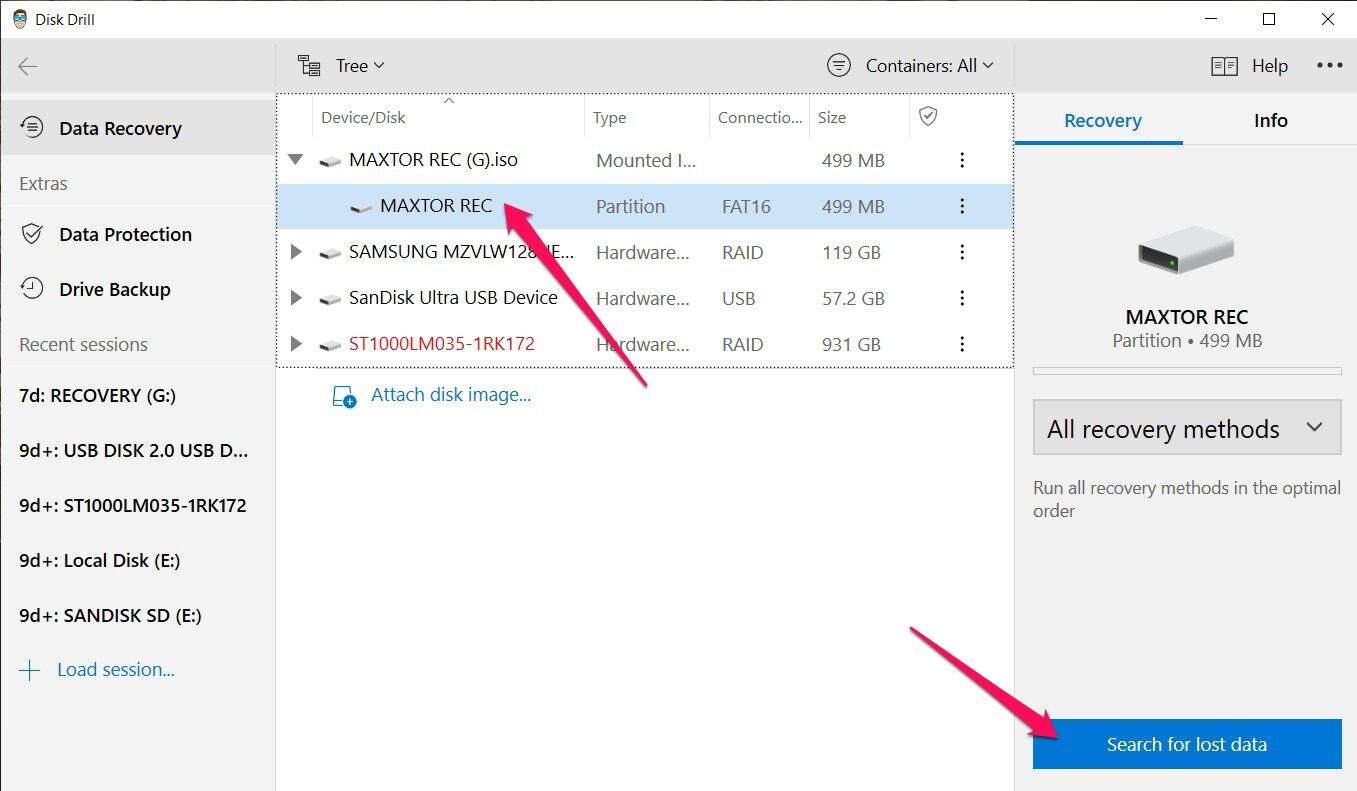
- The image will now appear on the list of available devices. Select the image from the list and click the Search for lost data button on the bottom-right corner.
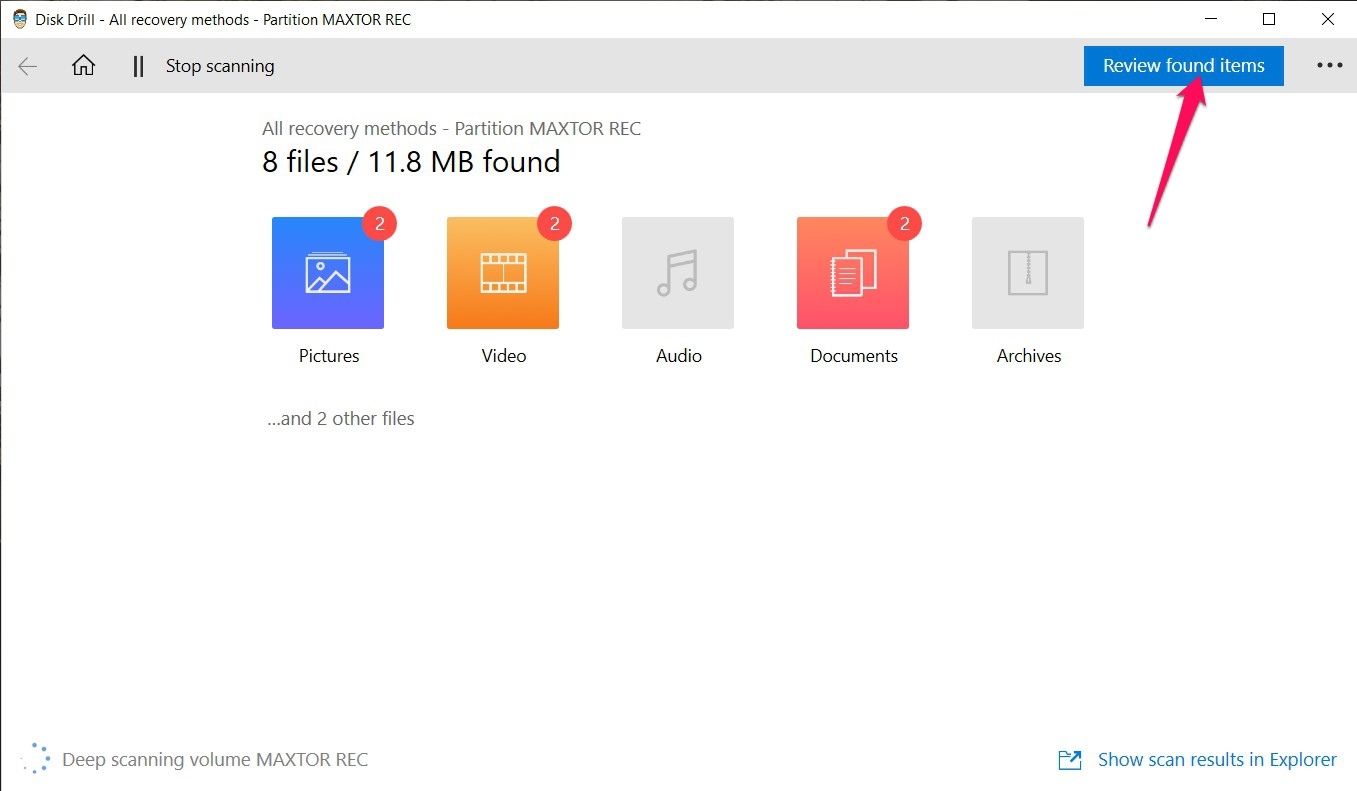
- Disk Drill will start scanning your Maxtor hard drive image for recoverable files. This could take some time, depending on the size of the image. Once it’s done, click the Review found items button on the top-right corner to proceed to the results screen.
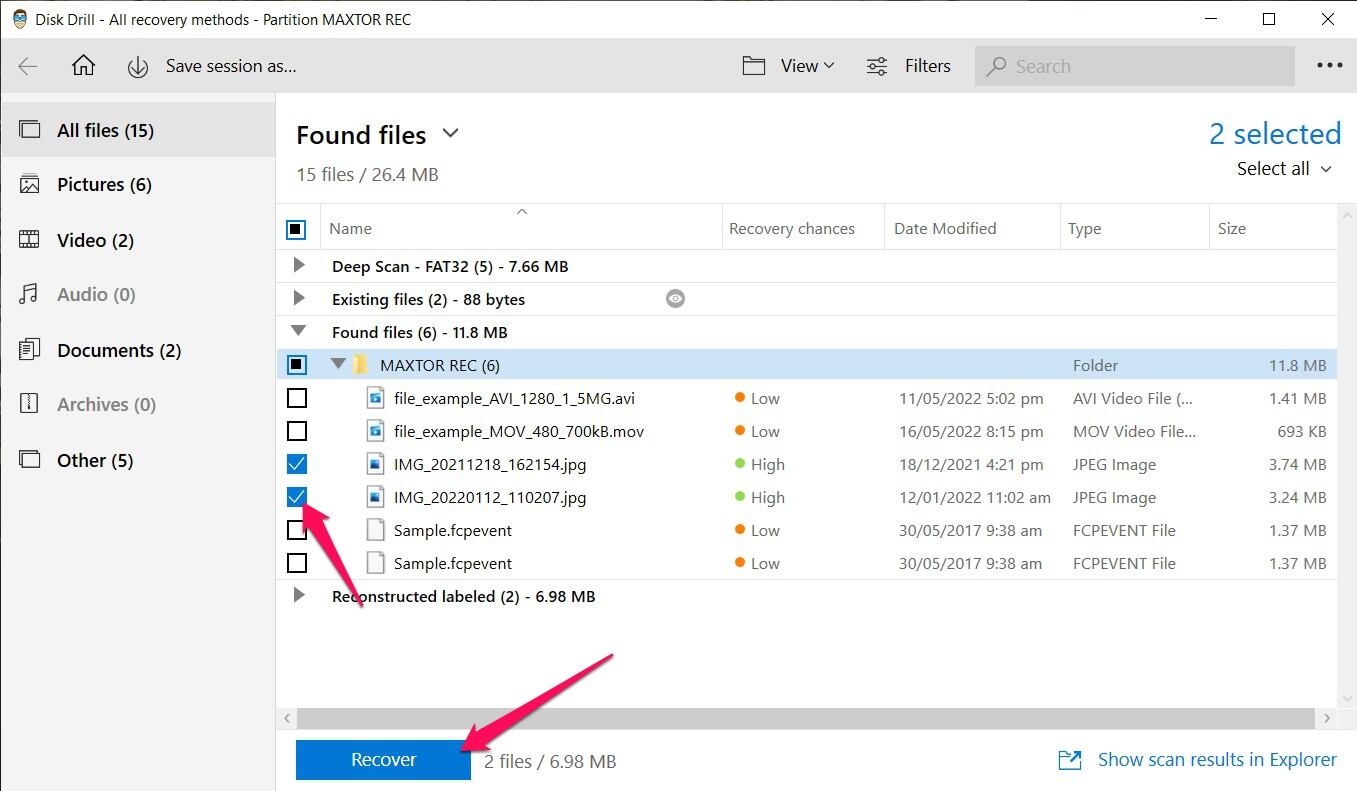
- Recoverable files are usually located under the Found files dropdown. First, select the files you want to recover by ticking the checkboxes on the left of the file names, then click the Recover button along the bottom of the window to continue.
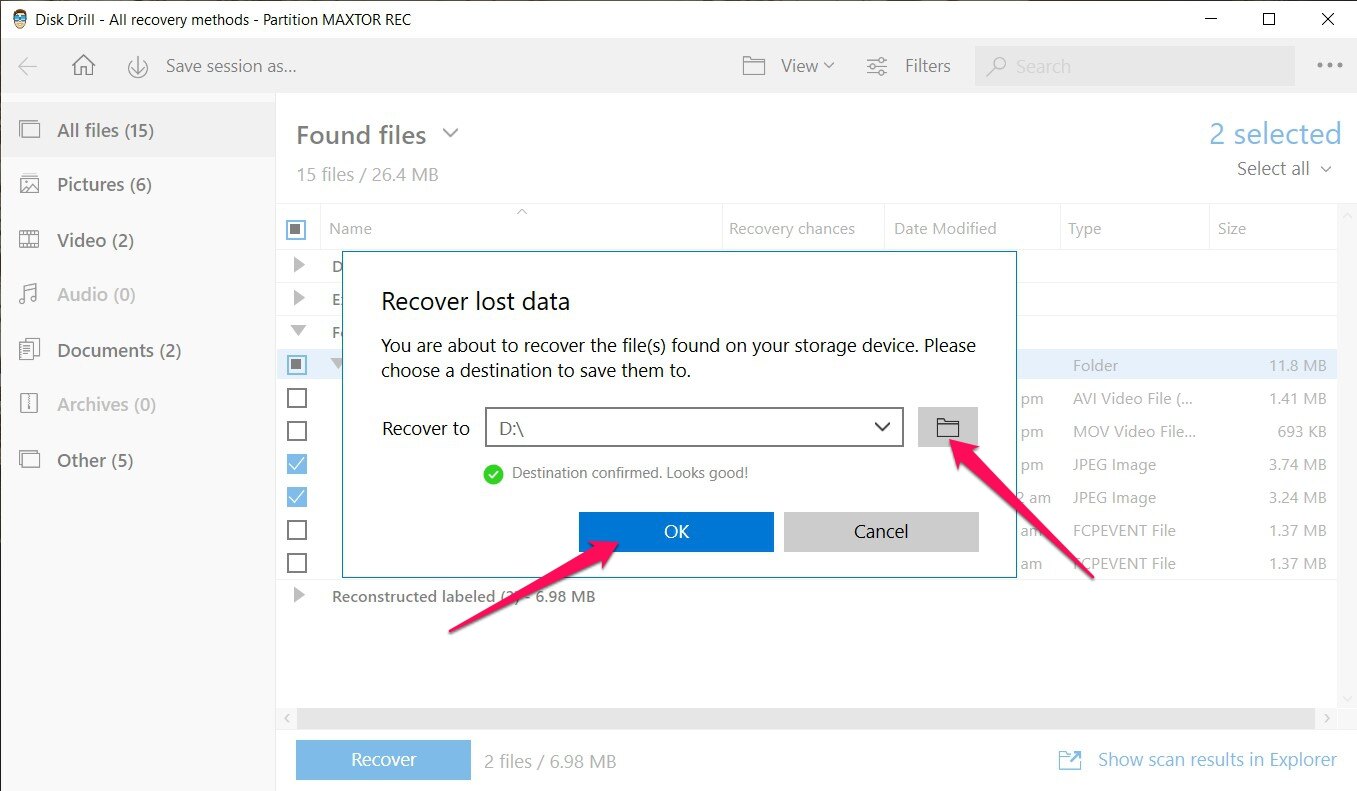
- You’ll get a pop-up asking you to decide on the path where you want the recovered files to be stored. This must be on a different drive than the one you’re recovering from, or else you’ll end up getting an error. Click OK to finalize the process.
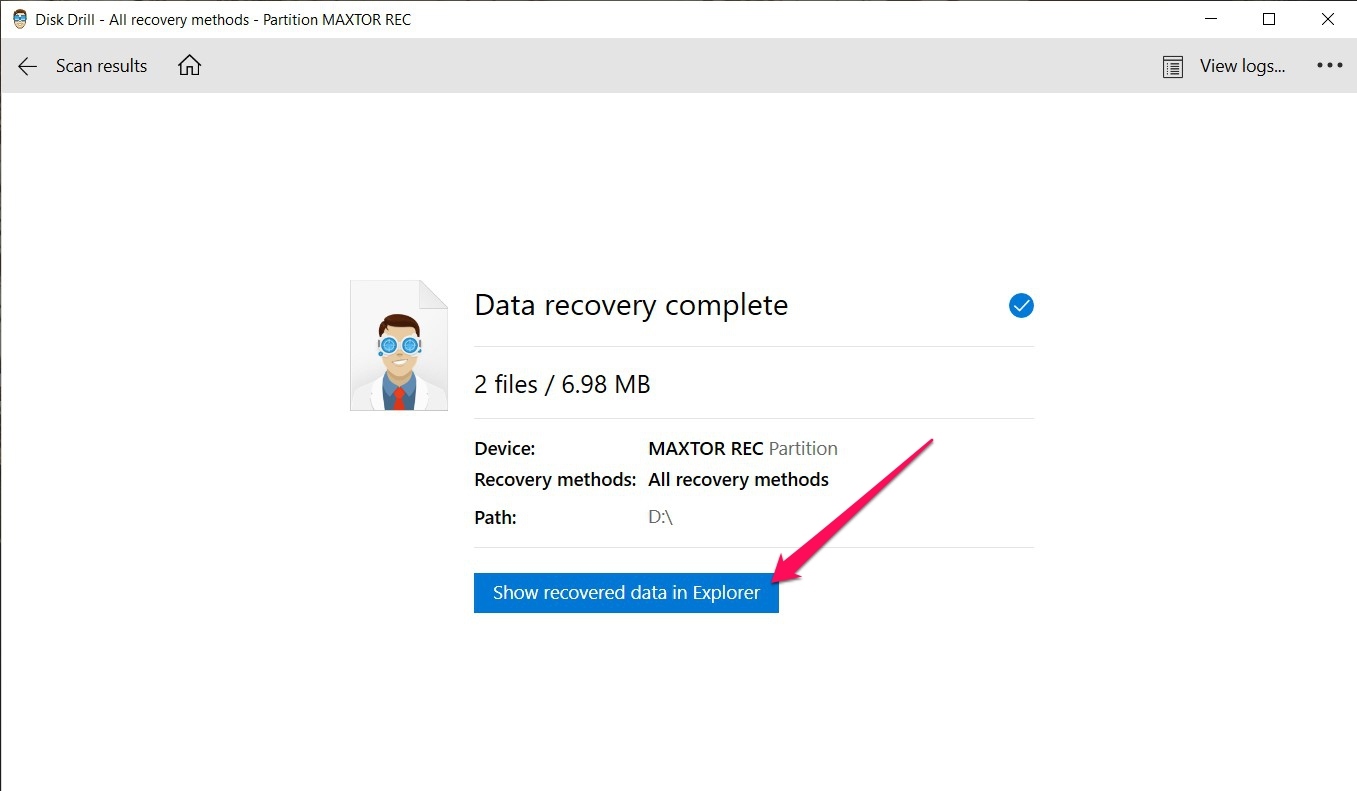
- The program will now try to get back your lost files. If successful, you’ll be greeted by a completion screen and a button labeled Show recovered data in Explorer that you can click to go straight to your rescued files.


How to Fix Failing or Corrupted Maxtor Hard Drive
Your Maxtor hard drive may start failing or becoming corrupted for a variety of reasons, such as age, virus/malware attacks, improper disconnection, and more. The most common signs of a failing or corrupted hard drive include the inability to access the storage medium and files going missing randomly. Fortunately, there are a few methods you can try that might help fix a failing or corrupted hard drive.
Method 1: Chkdsk
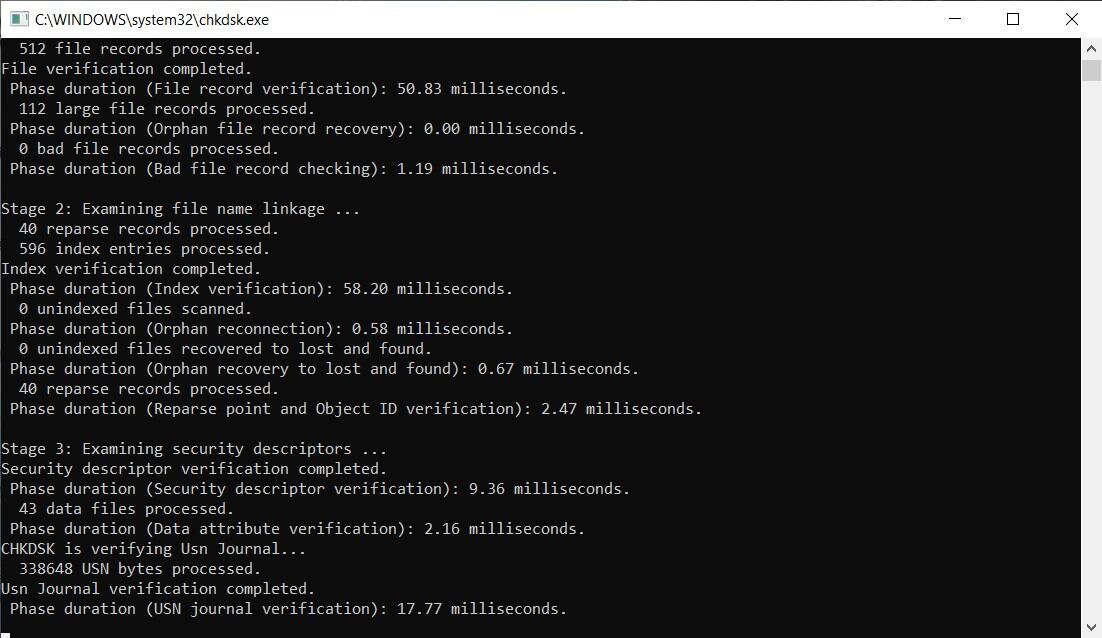
Chkdsk is a built-in Windows tool that scans hard drives for errors and attempts to repair them. Of course, it won’t be much good for major errors and physical damage, but it will at least fix any minor file errors and bad sectors. Here’s how to use chkdsk on your hard drive:
- Press the Windows + R keys to bring up the Run tool, then type in “chkdsk G:,” where G: is the drive letter of the hard drive you are trying to fix.
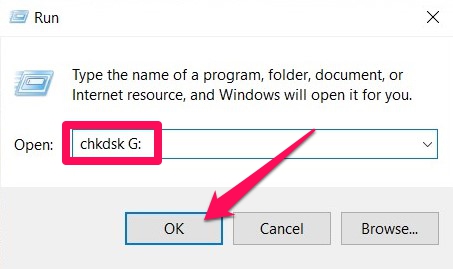
- Hit Ctrl + Shift + Enter to run chkdsk as administrator (click Yes if asked for authorization), and a command prompt will appear that will scan the designated hard drive and automatically fix any errors it finds.


Method 2: Driver Update
Outdated drivers could be another reason why your Maxtor hard drive is inaccessible. To check if your drive needs a driver update, follow these steps:
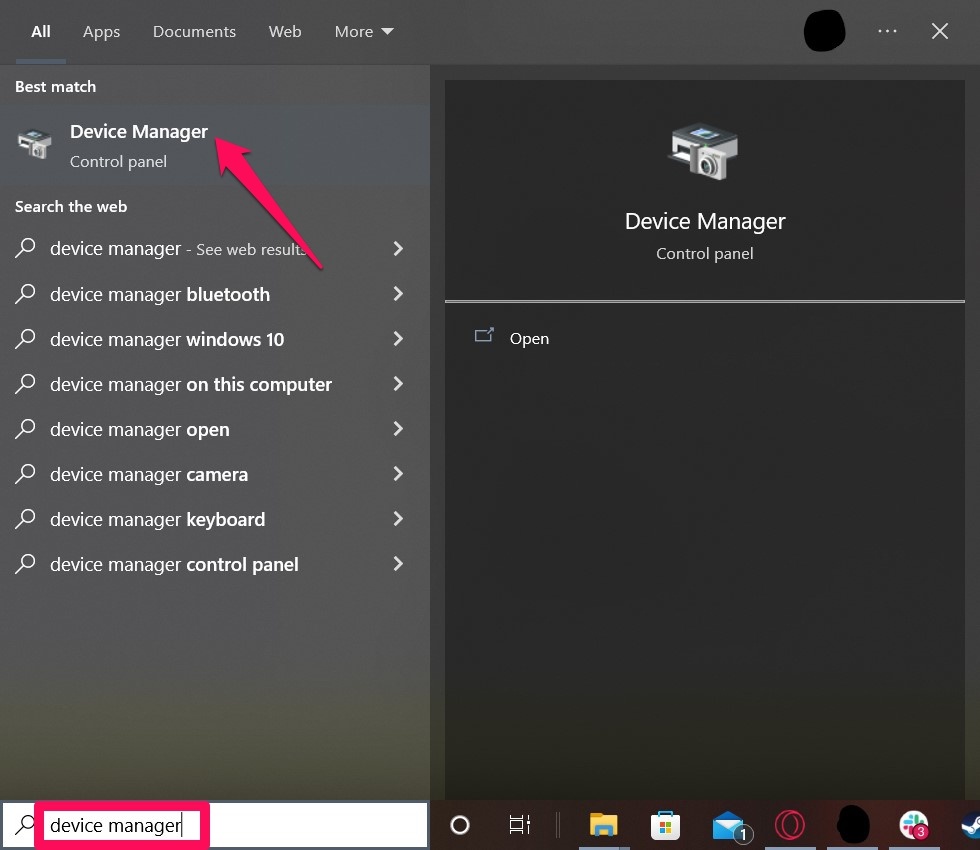
- Type “device manager” into the taskbar search box and choose the top result.
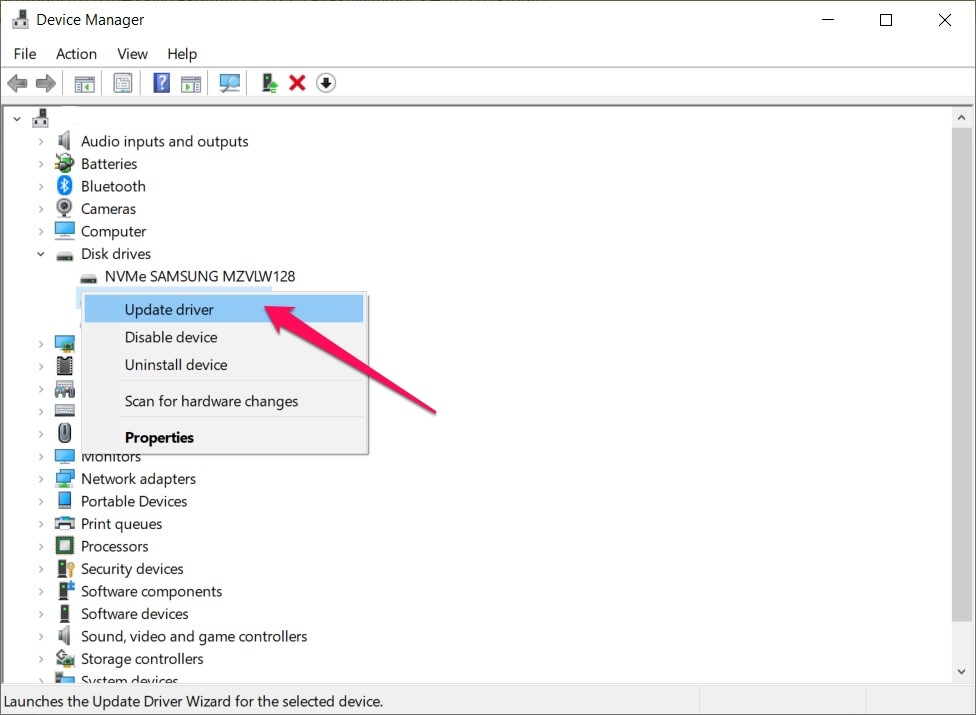
- Find your Maxtor hard drive under the Disk drives dropdown, then right-click it and select the Update driver option.
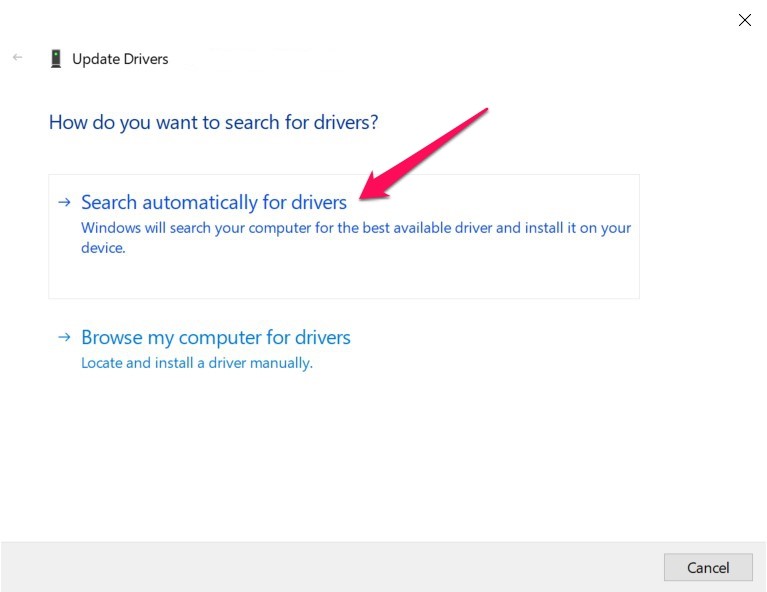
- Click Search automatically for drivers, and Windows will look for available drivers online and install them on its own if needed.


Method 3: Formatting
When all else fails, a good old-fashioned format might just be the thing to help get your Maxtor hard drive up and running again. Here’s how to quickly format your drive:
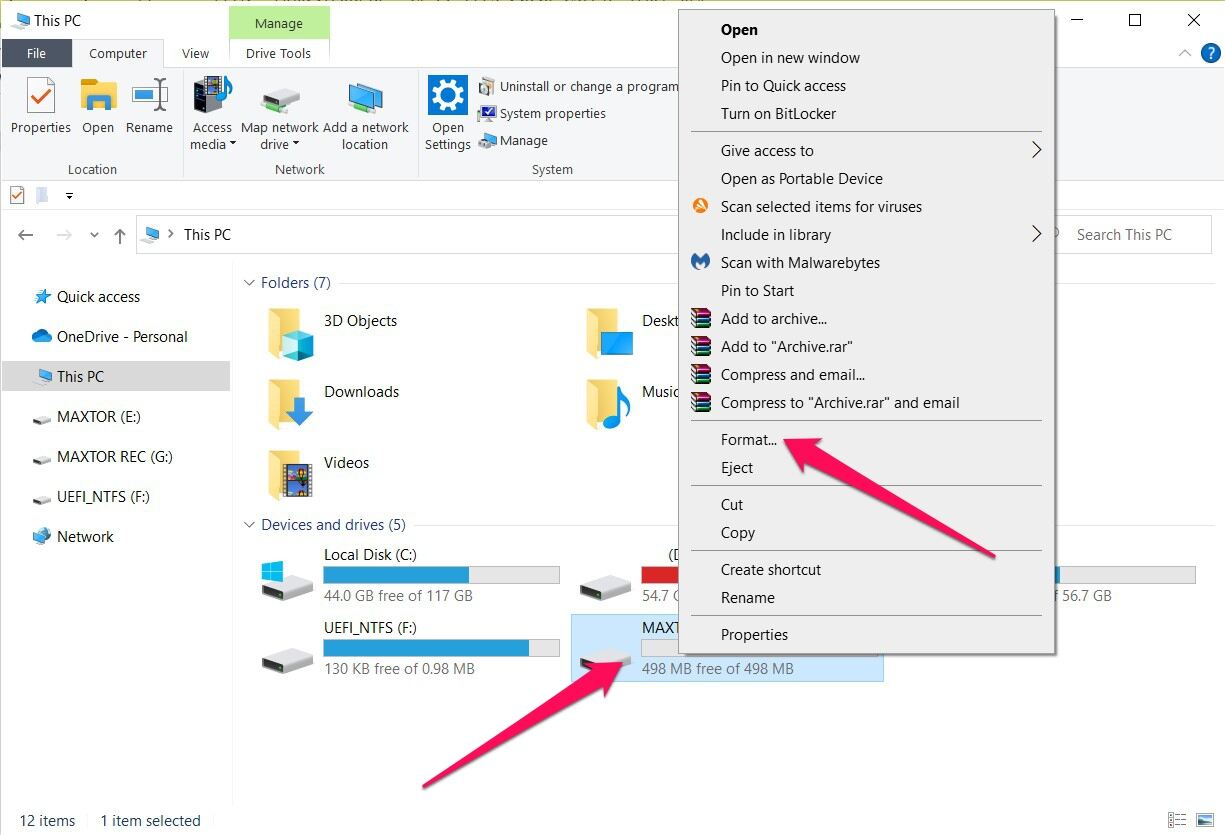
- Press the Windows + E keys to bring up a file explorer instance, then navigate to This PC.

- Right-click the Maxtor hard drive you want to format and select the Format option.
- A pop-up will appear where you can decide on the name and file system of your drive. You can also leave the Quick format checkbox ticked for a faster wipe or uncheck it for a Full format. When you’re ready, click the Start button, and Windows will start formatting your drive.
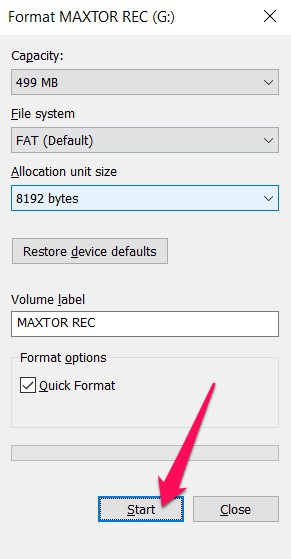
Note: As its name suggests, a Quick format is the faster option, as it simply erases all the data but leaves behind remnants that can be retrieved by a data recovery program. A Full format, on the other hand, wipes the drive of all data, as well as scans and fixes any bad sectors. Furthermore, the data erased in a Full format is permanently lost.