Reading Time: 9 minutesIt has happened to all of us; losing important data is a frustrating but common occurrence that happens to tech-savvy professionals and novices alike. So, in this article, we’re going to talk about how you can recover files from a formatted hard drive when using a Windows 10 device with a number of data recovery software programs.
How To Increase The Probability of a Successful Data Recovery
Before we start looking into different data recovery approaches you can use, let’s talk quickly about a couple of things you can do to help increase the likelihood of restoring your files from the formatted hard drive.
To successfully recover your lost files on the hard drive of your Windows 10 device, there are two things you’ll want to do first: stop using your device and start your data recovery process ASAP.
Stop Using the Device
![]()
While it may seem obvious, it is essential that you stop using your Windows 10 device immediately. If you want to have any chance of recovering your files from your formatted hard drive, put the device down and step away from it. Trying to fiddle with it further will only make the files that much more difficult to recover.
As soon as you attempt to modify any part of your missing files, your chances of recovering it successfully drop to almost zero. So, if you notice that a file is missing from your Windows 10 device, immediately start the recovery process.
Start the Data Recovery Process ASAP

Now that you’ve stopped using the device, it’s time to start the process to recover the data from your formatted drive. There are few different ways you can do this. The easiest option to restore your formatted hard drive and all the data on it is to utilize the data recovery software.
There are a few things you can do to start your data recovery process: you can utilize a hard drive backup, a data recovery service, or data recovery software. The latter solution offers both free and paid options and is typically the route most people decide to take. Next, we’ll look at these various options and give an especially in-depth view of a couple of the best free and paid data recovery software programs.
3 Methods to Recover Data From a Formatted Hard Disk on Windows 10
While data recovery software is the most popular option for restoring your formatted hard drive, it’s not the only thing you can do. Before we look at data recovery software or data recovery services, let’s look at the oldest trick in the book: backing up your formatted hard drive.
Method 1: Backup
Long before data recovery software came onto the scene, backing up your files was oftentimes your only option. And sometimes the first idea is the easiest and the best! However, this will only work if you have previously decided to backup your hard drive via an external source.
If File History is set up on your computer, you can restore files by following these steps:
Step 1. Open the Settings app and then go to Update & Security > Backup. Select Restore files from a current backup to get started.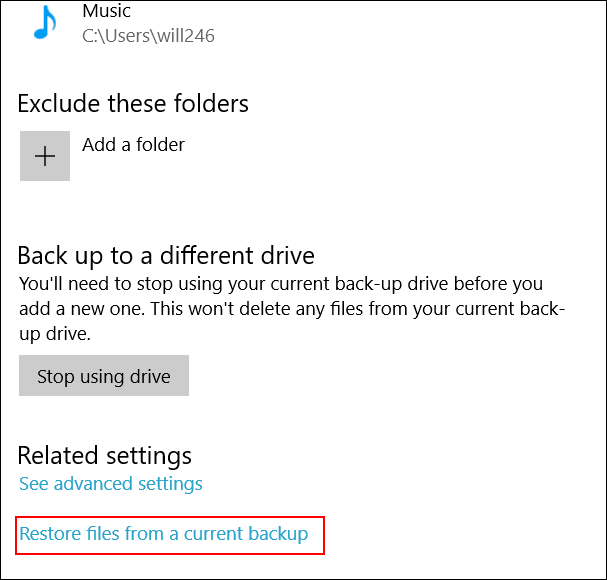
Step 2. Browse to the folder where the files that were deleted were originally located. From there, you can select the green Restore button.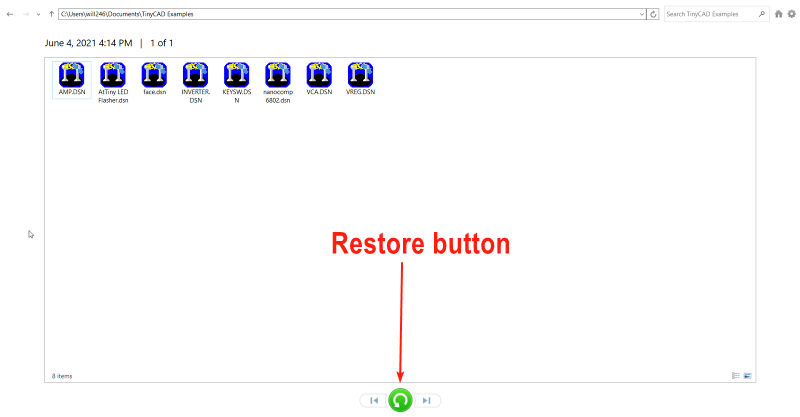
Method 2: Data Recovery Software
Let’s look more in-depth at some of the software options you have to choose from.
💲 Paid Software
While everyone loves free stuff, paid data recovery software has the best chances to recover lost data. After all, you often have to pay for quality. Of all of the paid options out there, there is one that stands out: Disk Drill.
Disk Drill is compatible with Windows 10 and actually does offer an unpaid option: a free trial program that will allow you to recover up to 500 MB of files. However, if you need to recover more than 500 MB of files from your Windows 10 hard drive, it’s best that you look at their paid options. Currently, the pro version costs $89.00, which allows you to recover an unlimited amount of data.
The main reason why this software is so popular isn’t just because of how efficient it is; it is also incredibly easy to use, making it an attractive option for professionals and newbies alike. You don’t have to be a software engineer to figure this program out! It also includes additional tools that can help you with other Windows 10 issues you may run into, such as data backup and insufficient storage space.
Here are the steps needed to recover deleted data from a formatted hard drive using Disk Drill:
Step 1. Download the free version of Disk Drill.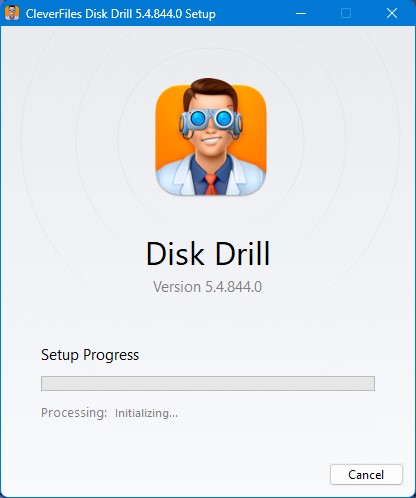
Step 2. Attach to your computer the drive that you want to recover and double click on the Disk Drill icon to launch the software.
Step 3. Click on the Search for lost data button for the drive you would like to recover. Next Disk Drill will provide all of its scanning options to find the deleted files.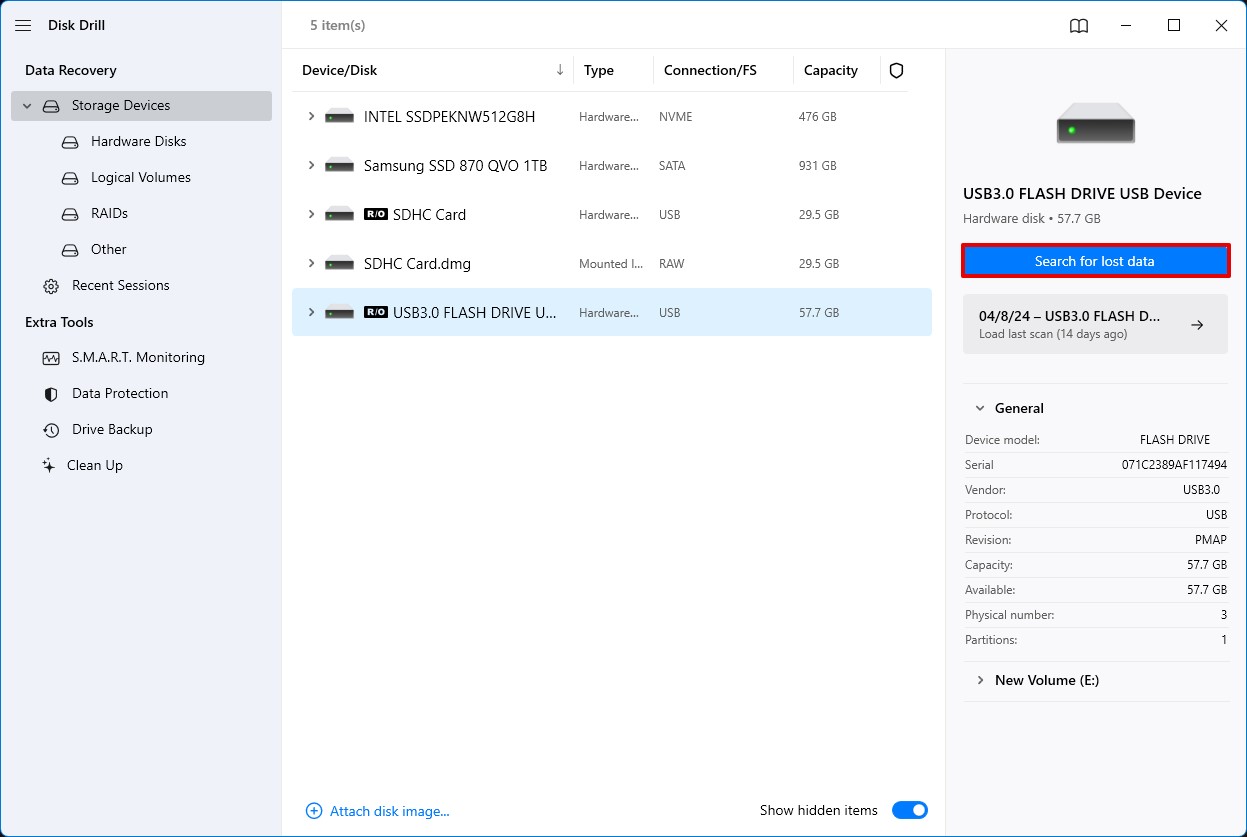
Step 4. Preview the found data. You can choose the ‘eye’ icon next to your file if you want to preview them.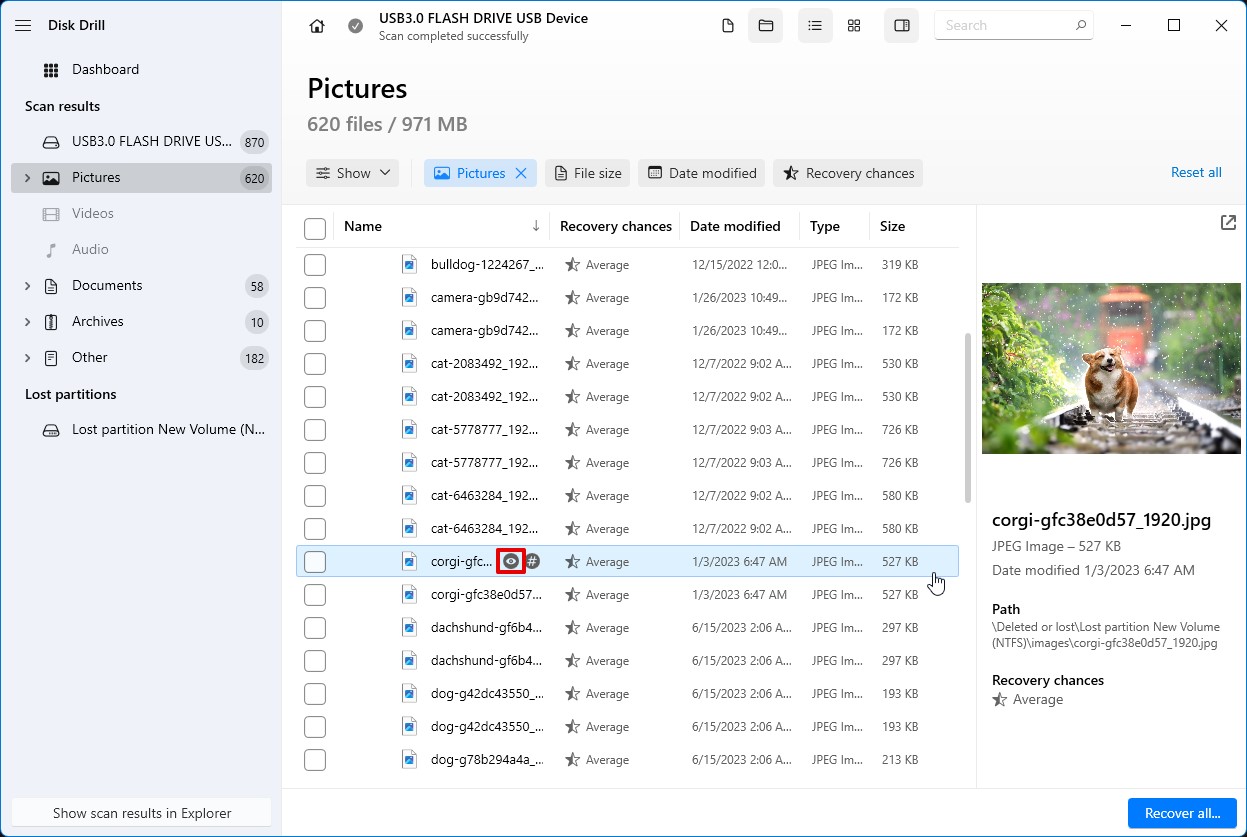
Step 5. Recover the deleted data by selecting the files that you want to recover from the list displayed by Disk Drill And clicking Recover button. You will be asked to select a storage location where the recovered files will be stored.
💸 Free Software
Now, not everyone can afford paid data recovery software, and that’s okay. There are a lot of free software options out there, but one data recovery software application has caught our attention: TestDisk. To download TestDisk, visit www.cgsecurity.org/wiki/TestDisk_Download
TestDisk has been designed to recover deleted data, lost partitions, and make non-booting disks bootable again. TestDisk is a great tool that can be used in many data loss scenarios, but its command-line interface puts it out of reach for many users.
Here are the steps you will need to take to recover data from a formatted hard disk in Windows 10 using Test Disk:
Step 1. Download it from TestDisk Download.
Step 2. Start TestDisk using an account in the Administrator group.
Step 3. Log Creation – Select the Create option if you want Testdisk to create a log file. The log file will feature technical details and messages. If you want to append data to the log you will need to set up the log in a different location. In case you do not want to receive messages and details of the process just choose NONE. Press Enter to proceed with your choice.
Step 4. Disk selection – During this step, you will need to choose the hard drive with the lost partition/s. Use the up/down arrow keys to do so. Once you have selected the hard drive you can press Enter to Proceed.
Step 5. Partition table type selection – choose the partition table type; typically the default value is the right one. Now, press Enter to go to the next step.
Step 6. Current partition table status – The default menu “Analyse” needs to be selected to check your current partition structure and look for any lost partitions. Press Enter to proceed.
Step 7. Quick search for partitions – During the Quick Search, TestDisk will list all found partitions including the missing ones.
Step 8. Highlight the missing logical partition and press p to list your files. If you need to go one stap back to the previous display, just press q to Quit. Press Enter to proceed.
Step 9. Once all the partitions are available and the data has been correctly listed, go to the menu Write to save the partition structure.
Step 10. The Extd Part menu will provide you the opportunity to decide if the extended partition will be able to use all available disk space or just the minimal space.
Step 11. In case the partition is still missing you will need to highlight the menu Deeper Search and press Enter.
You can check the extended list of recommended data recovery apps here.
Method 3: Data Recovery Service

Your final option when it comes to restoring your formatted hard drive’s files is using a data recovery service. For this option, you are essentially outsourcing your data recovery to a team of experts who will restore your formatted hard drive for you. This solution is great for people who do not consider themselves to be technologically knowledgeable or do not have time to recover data from the formatted drive themselves.
The Data Recovery Lab at Clever Files has a 98% success rate and only charges you if your data is successfully recovered. To learn more about this data recovery service and see if it’s right for you, visit their site.
If the lost files are missing as the partition they were located on has been deleted, you should not assume the worst. The files that were stored on it are not gone for good. Disk Drill is also capable of scanning individual partitions in addition to entire storage devices and attempt to recover files from the deleted partition on Windows 10 so you can get your missing files back. If this is the case, you can read more on How to Recover Deleted Partitions on Windows 10 here.
How To Setup a Backup
Now that your data is, hopefully, safe and sound, you’ll want to avoid data loss in the future. And while following certain routines will surely help – nothing beats backup in this regard. If you haven’t set any sort of backup up yet – better to do it now to avoid a recovery hustle in the future.
Here are the steps you will need to take to back up the irreplaceable files you most care about using built-in Windows 10 features:
Step 1. Open Settings and Click on Update & Security.
Step 2. Click on Backup and then choose Backup and Restore.
Step 3. Select the Create a system image option available on the left pane.
Step 4. Choose the On a hard disk option.
Step 5. From the “On a hard disk” drop-down menu choose the location to export the Windows 10 full backup.
Step 6. Click on the Next button. At this point, you will be able to select any additional hard drives that you would like to backup.
Step 7. Click on the Next button. You will be prompted to a new screen. All you need to do here is click the Start backup button.
Step 8. Additionally, you will get a prompt to set up a system repair disc, however, this can be skipped by simply clicking the No button.
If you’ve done that, great! Simply download your external hard drive back onto your computer and voila! Now you can easily restore your formatted hard drive.
Conclusion
In conclusion, if you’ve formatted your hard drive on a Windows 10 device and need to get your files back, it’s definitely possible with the right tools and skills. Just remember that immediate action and refraining from using the device substantially increase the likelihood of successful data recovery. Additionally, setting up a backup will reduce the risk of future data loss and will help avoid the need for recovery altogether.