Reading Time: 7 minutesWhen a hard drive becomes unallocated, it may seem that all data stored on it is gone for good. Fortunately, the situation is often much less serious because it’s possible to recover data from an unallocated hard drive on Windows, and we explain how in this article.
What Does Unallocated Hard Drive Mean?

An unallocated hard drive in Windows is clearly identified by the “Unallocated” label in the Disk Management tool (as the screenshot above shows), but what does it actually mean?
Well, a hard drive needs something called a file system to store data. The file system is basically a standardized way of organizing and structuring data on the drive. The Windows operating system supports the following file systems: FAT/FAT32, exFAT, NTFS, ReFS, HPFS.
When your hard drive doesn’t have any file system, then it’s considered unallocated. This can happen due to a user error during partitioning, malware attack, hardware malfunction, logical corruption, and several other factors.
Your computer is aware of the existence of your unallocated hard drive (that’s why you can see it in the Disk Management tool), but it can’t read/write data from/to it, and the drive isn’t displayed in File Explorer.
However, just because your hard drive is unallocated doesn’t mean that it’s empty.
In fact, all your data might still be there, hiding in plain sight. It’s just that the information about where exactly this data is physically located on the drive is missing—kinda like when a book doesn’t have a table of contents.
You can regain access to this data using specialized data recovery software that can locate files based on their file signatures and/or recover lost file system metadata. In the next section, we describe how to recover data from an unallocated hard drive using two such data recovery software solutions.
How to Recover Data from Unallocated Hard Drive
As explained in the previous section, you can’t simply open an unallocated hard drive in File Explorer. Instead, need to roll up your sleeves and use data recovery software. Many great data recovery tools for Windows are available, but the one we recommend the most is Disk Drill. Another solid option is TestDisk, which can retrieve an entire partition after a partitioning mistake.
Method 1: Recover Data From Your Unallocated Hard Drive Using Software
Disk Drill is our top choice because it makes the recovery process super simple and because it has what it takes to deliver excellent results. Specifically, it supports all file systems found on the hard drives of Windows users, and it also recognizes around 400 file signatures.
Included with Disk Drill is a free byte-to-byte backup feature that you can use to create a complete backup of your hard drive before you begin the recovery process. If you suspect that your unallocated hard drive is corrupted or mechanically damaged, then we certainly recommend you do create a backup before you begin just to be extra safe. You can find instructions on how to do so in our full Disk Drill review.
To recover data from your unallocated hard drive with Disk Drill, you need to:
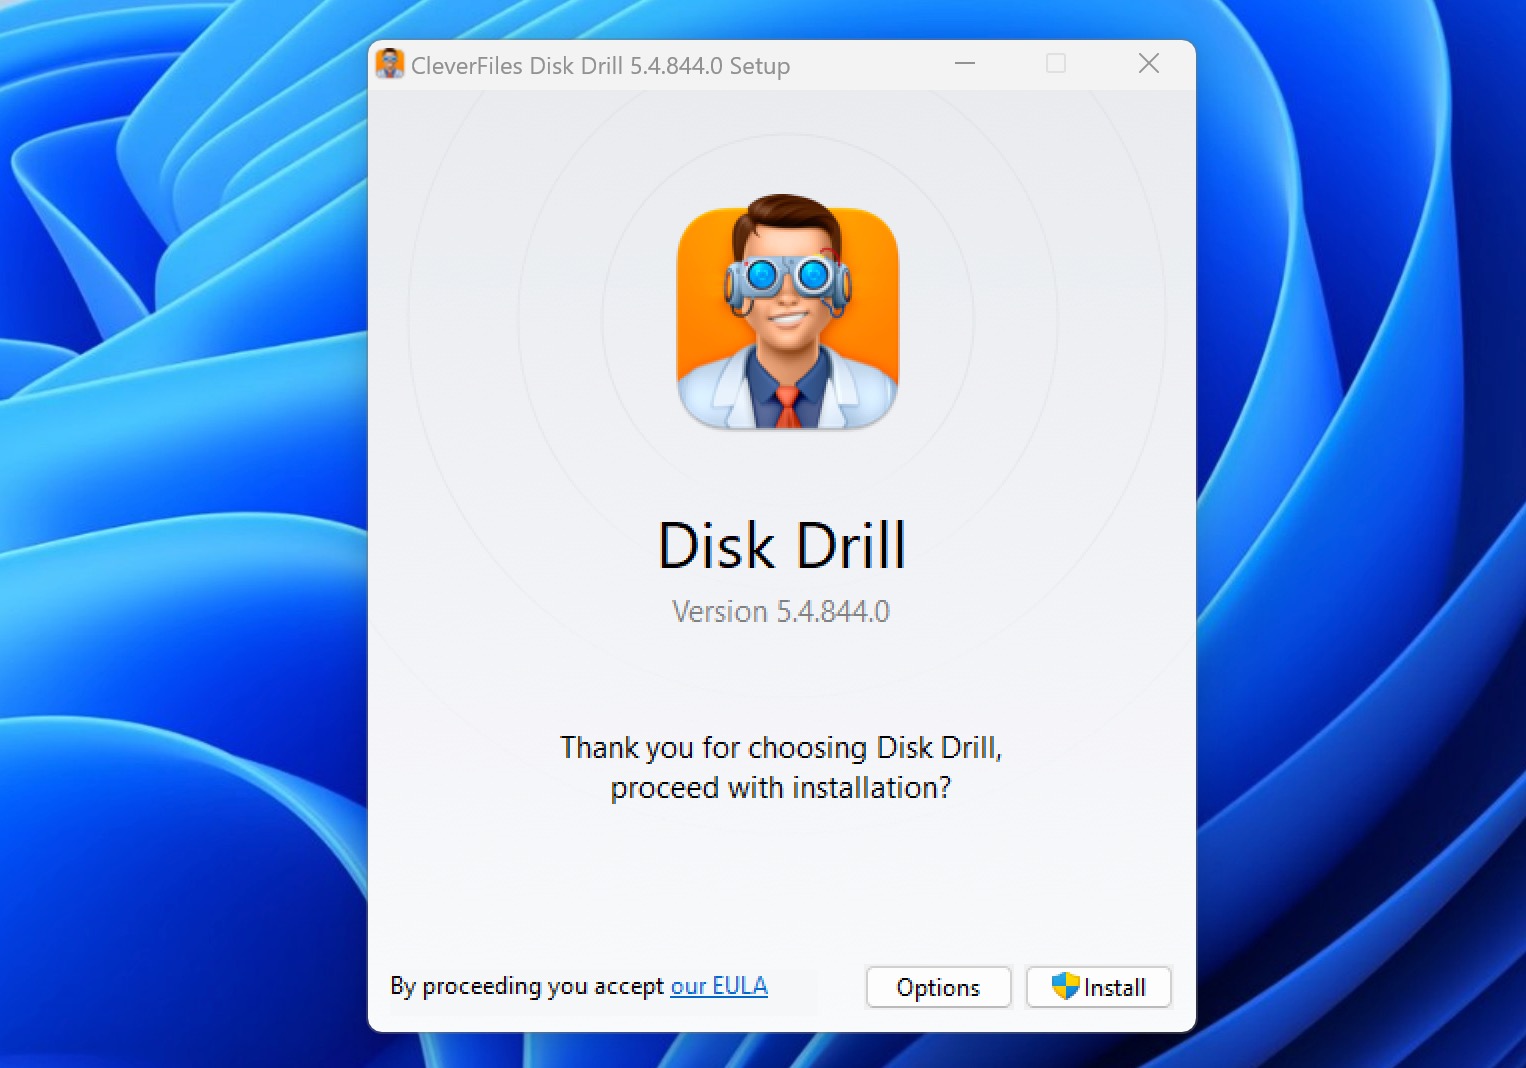
- Download and install Disk Drill.
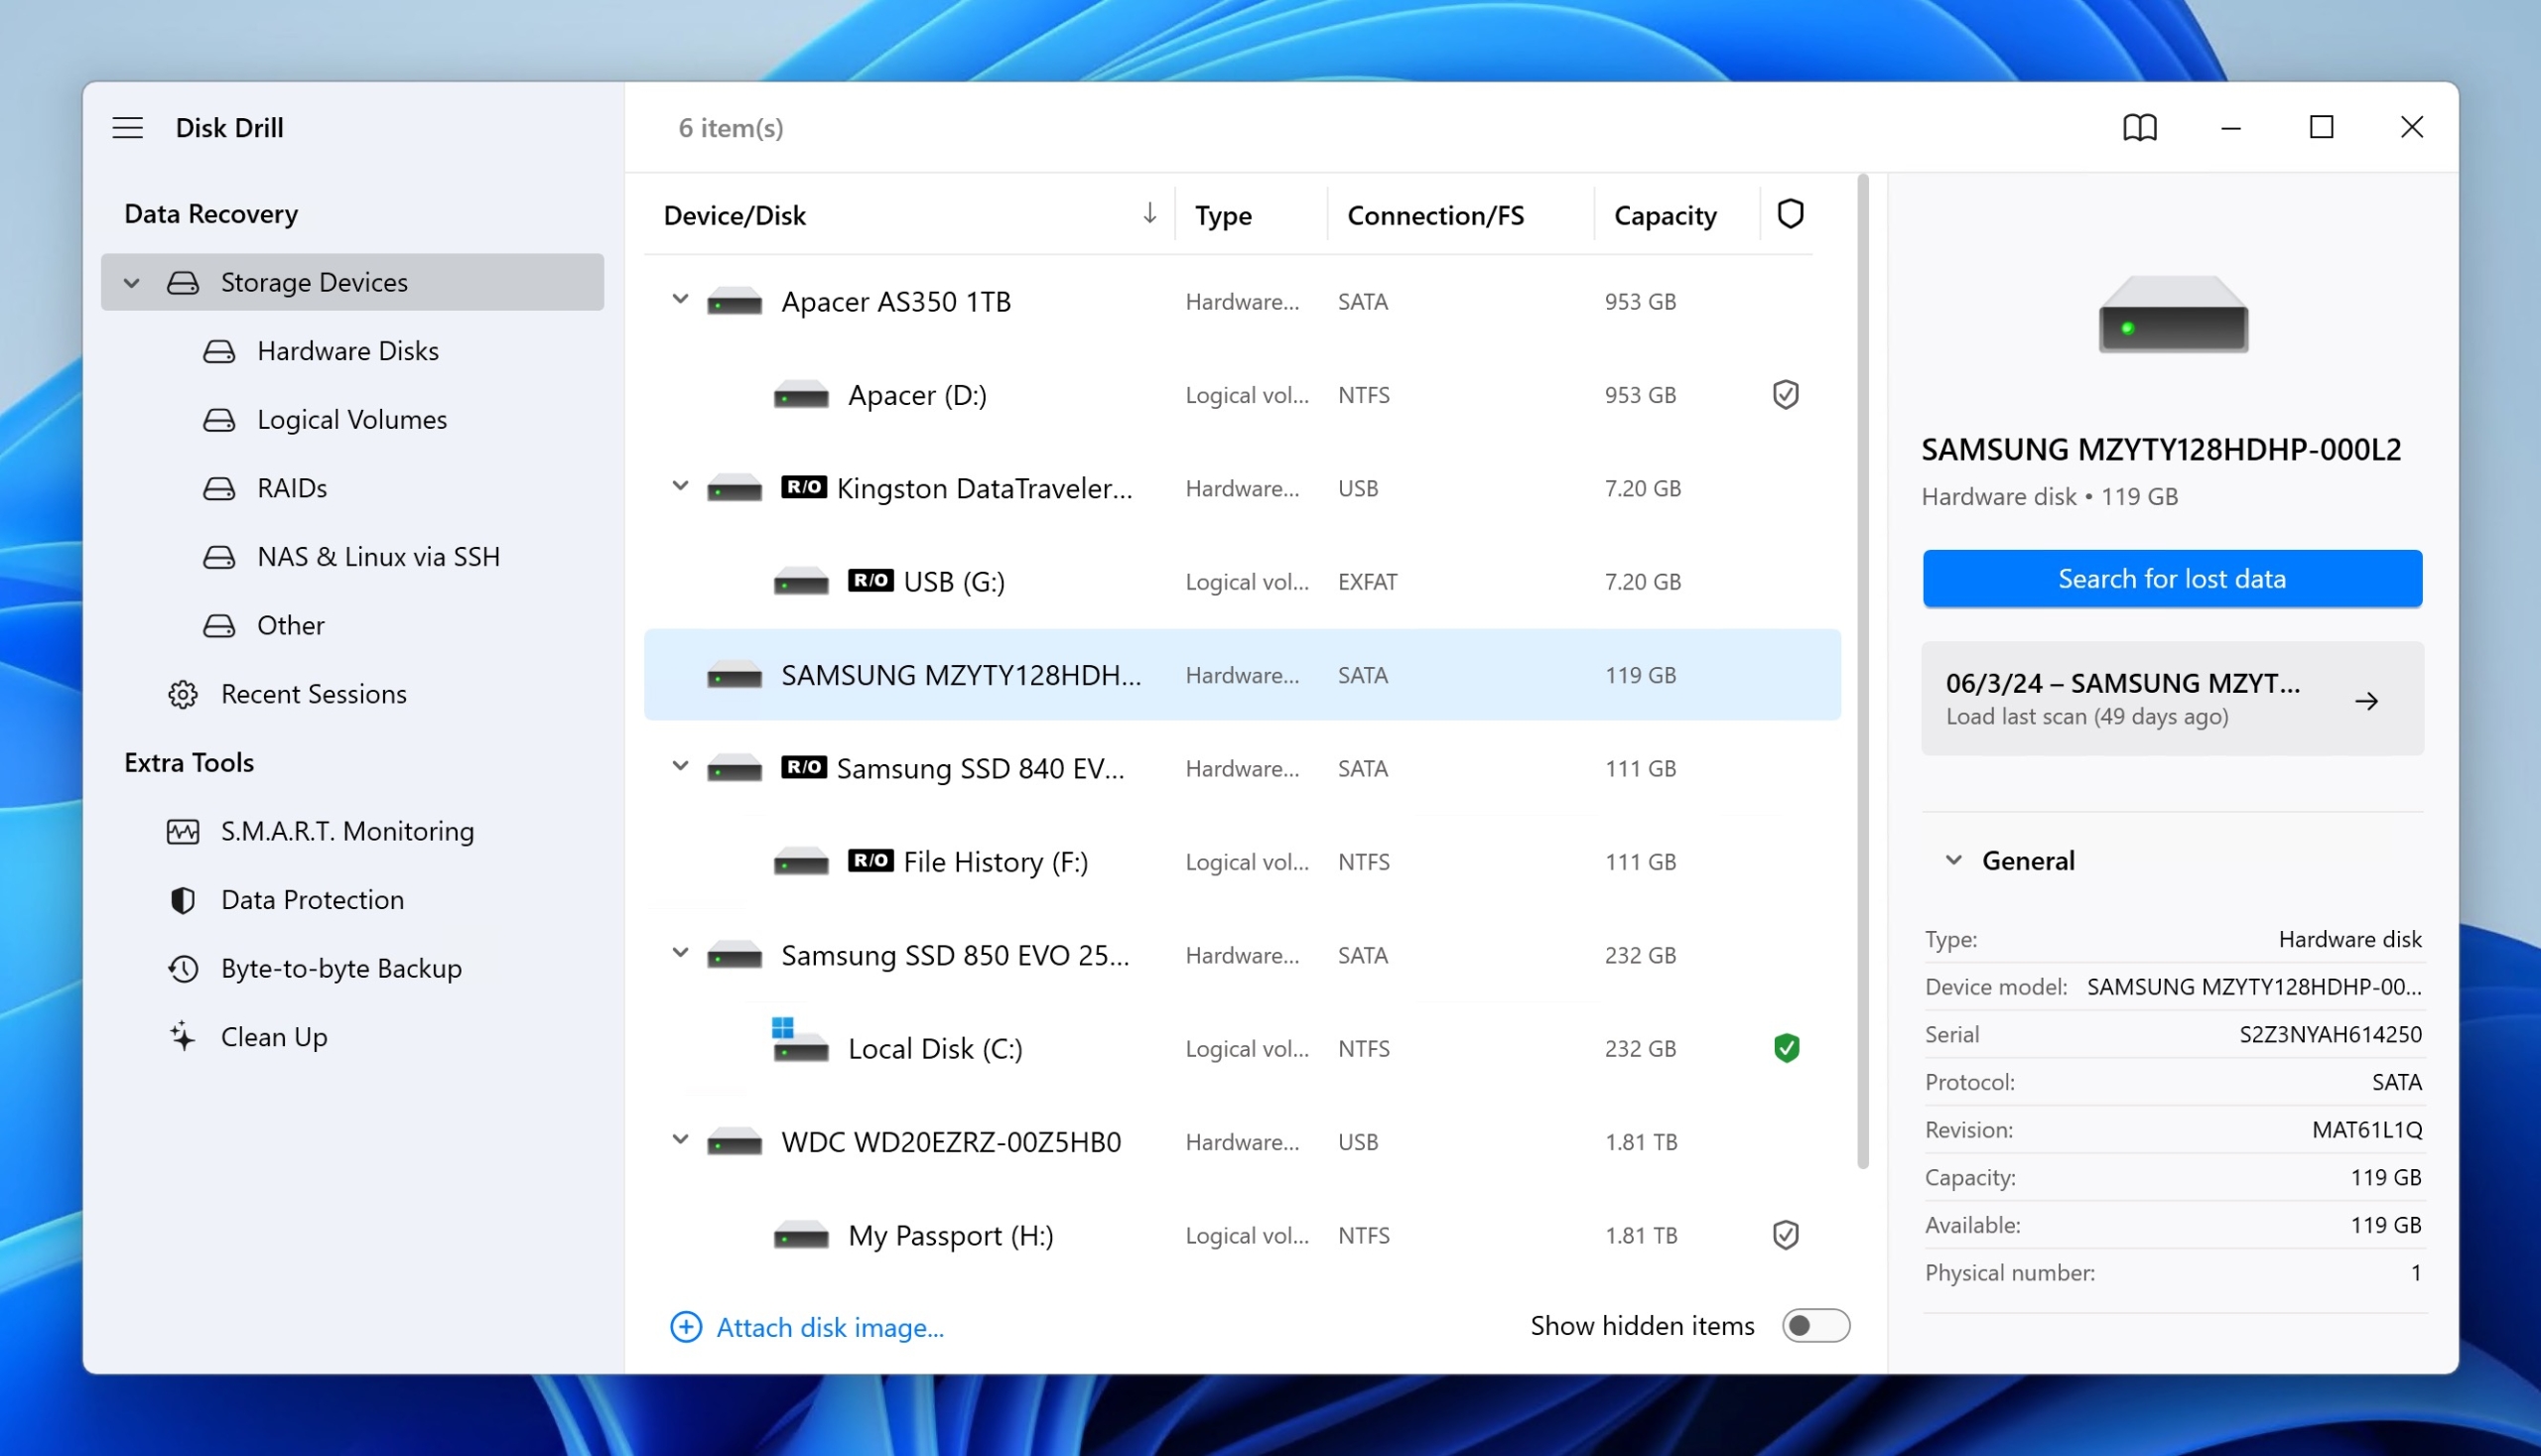
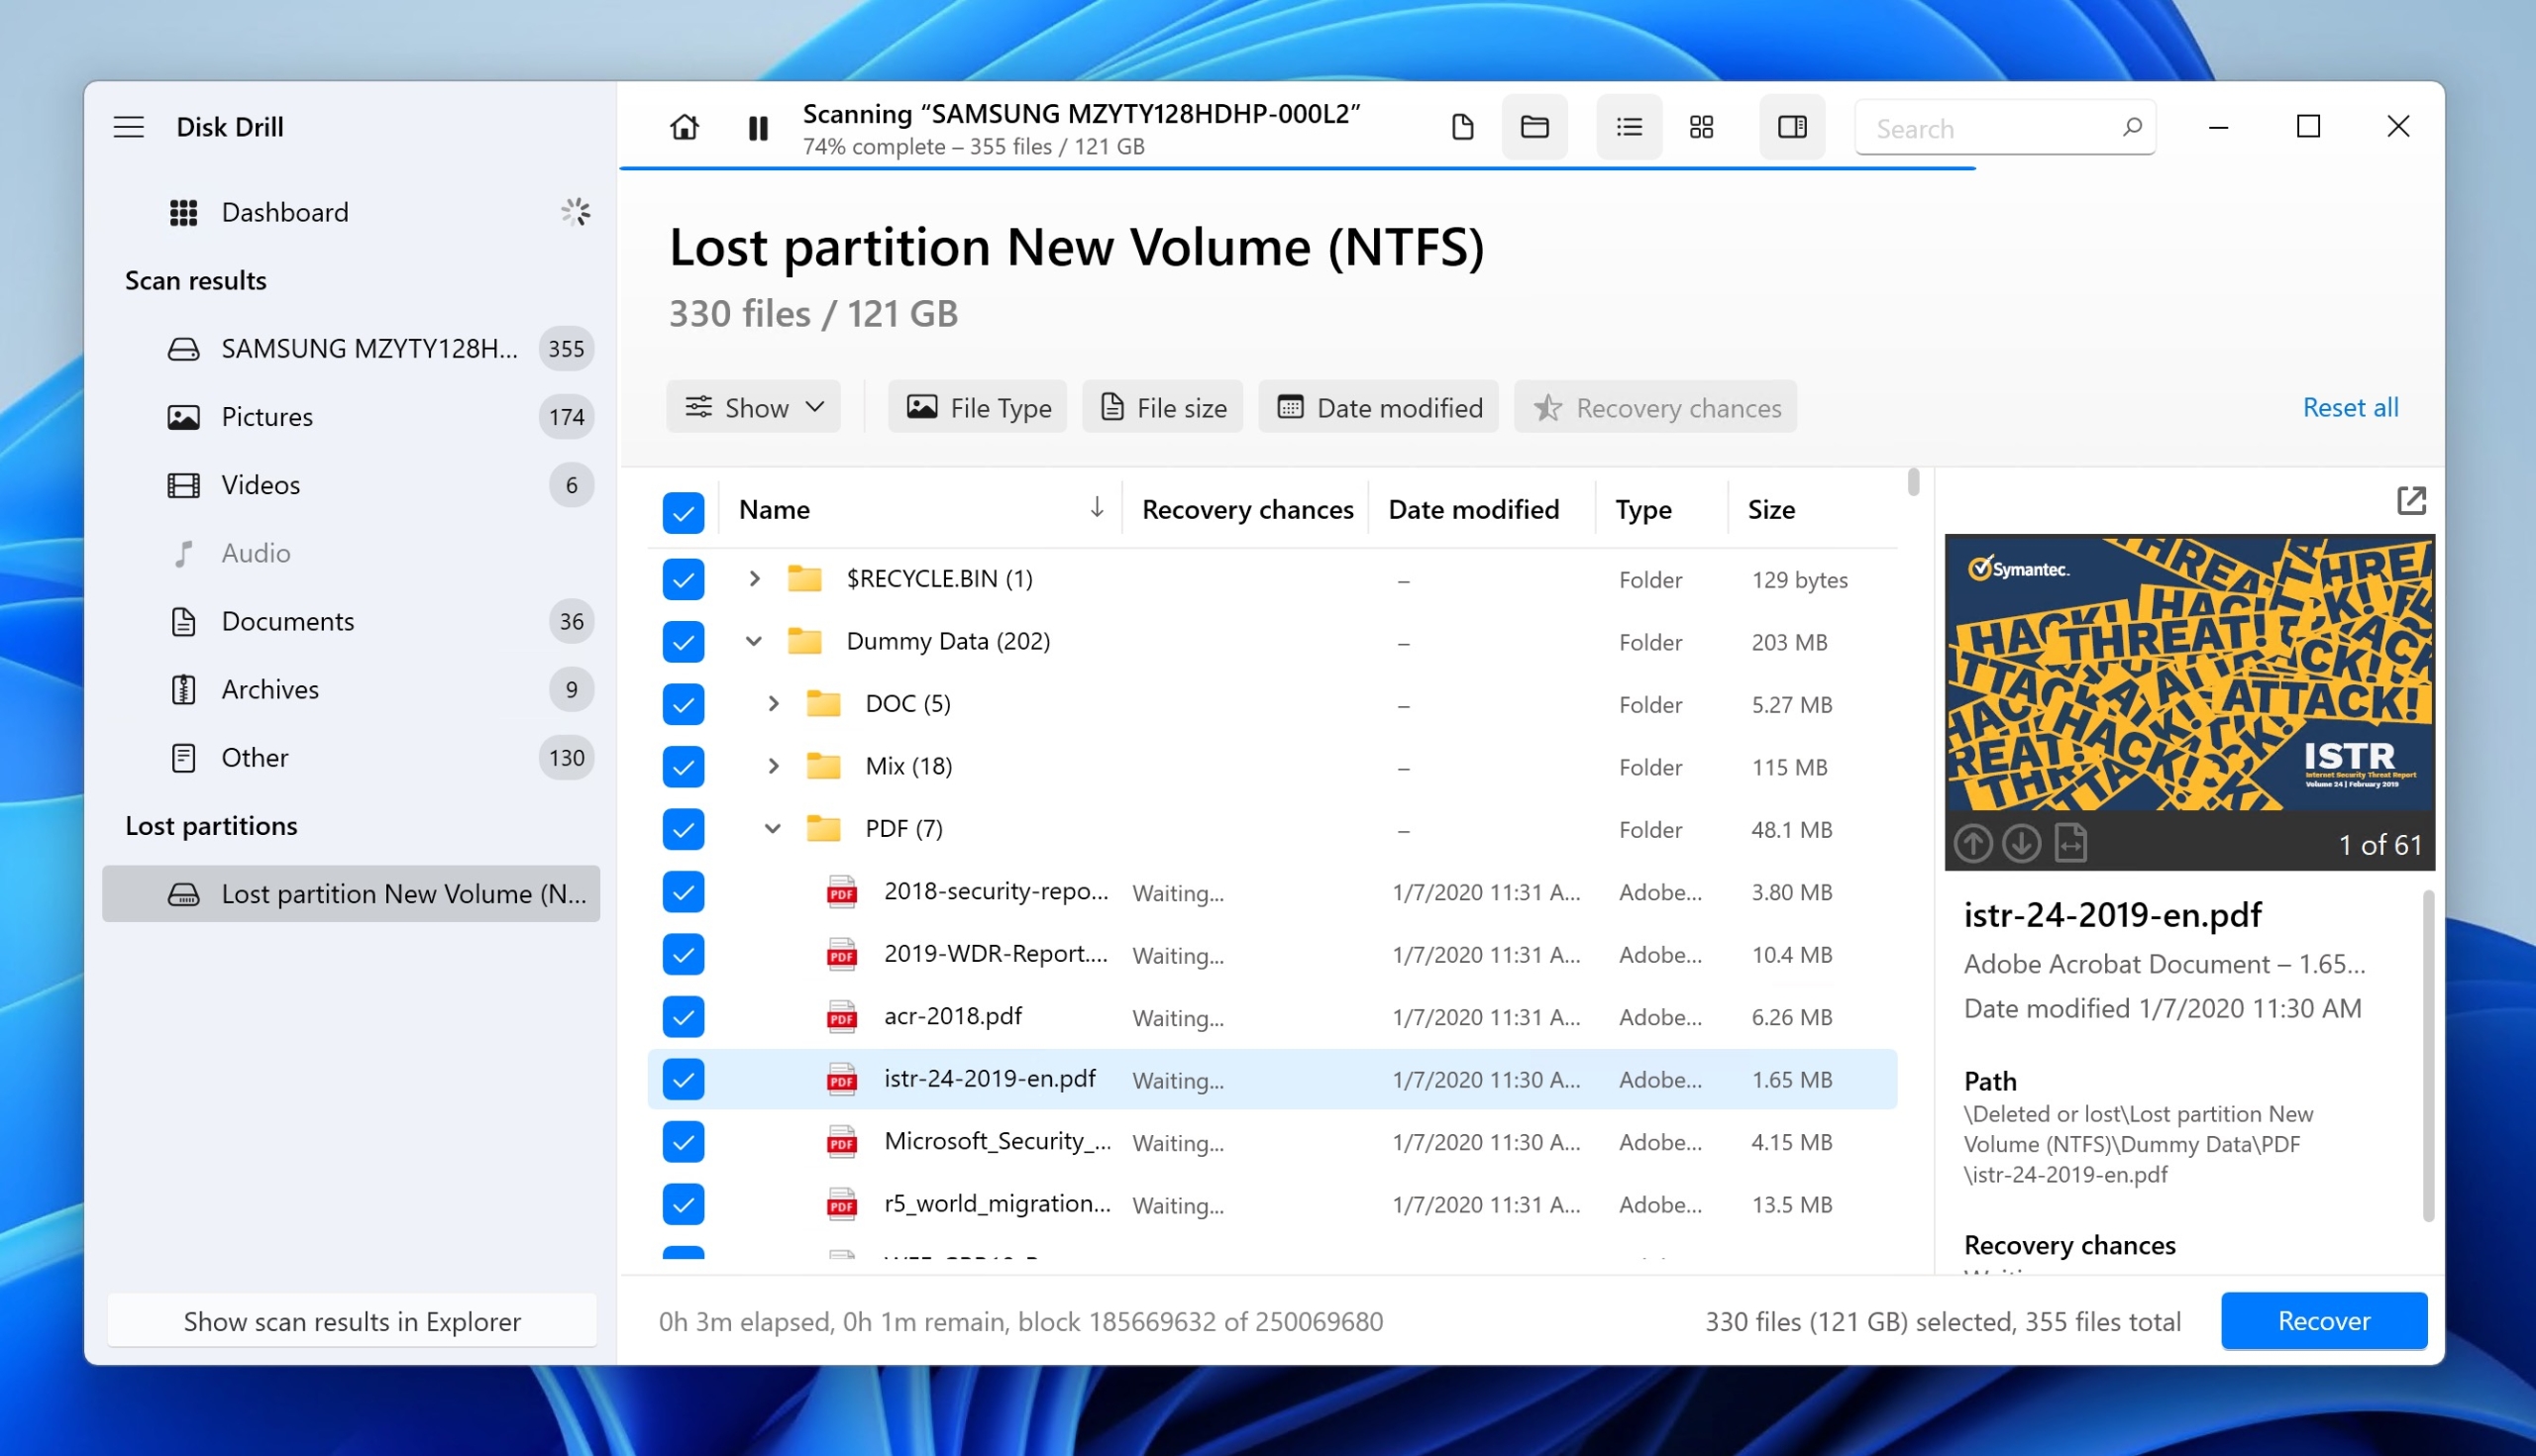
- Launch the Disk Drill app and select the unallocated hard drive from the list of available storage devices. Proceed to click on Search for lost data.
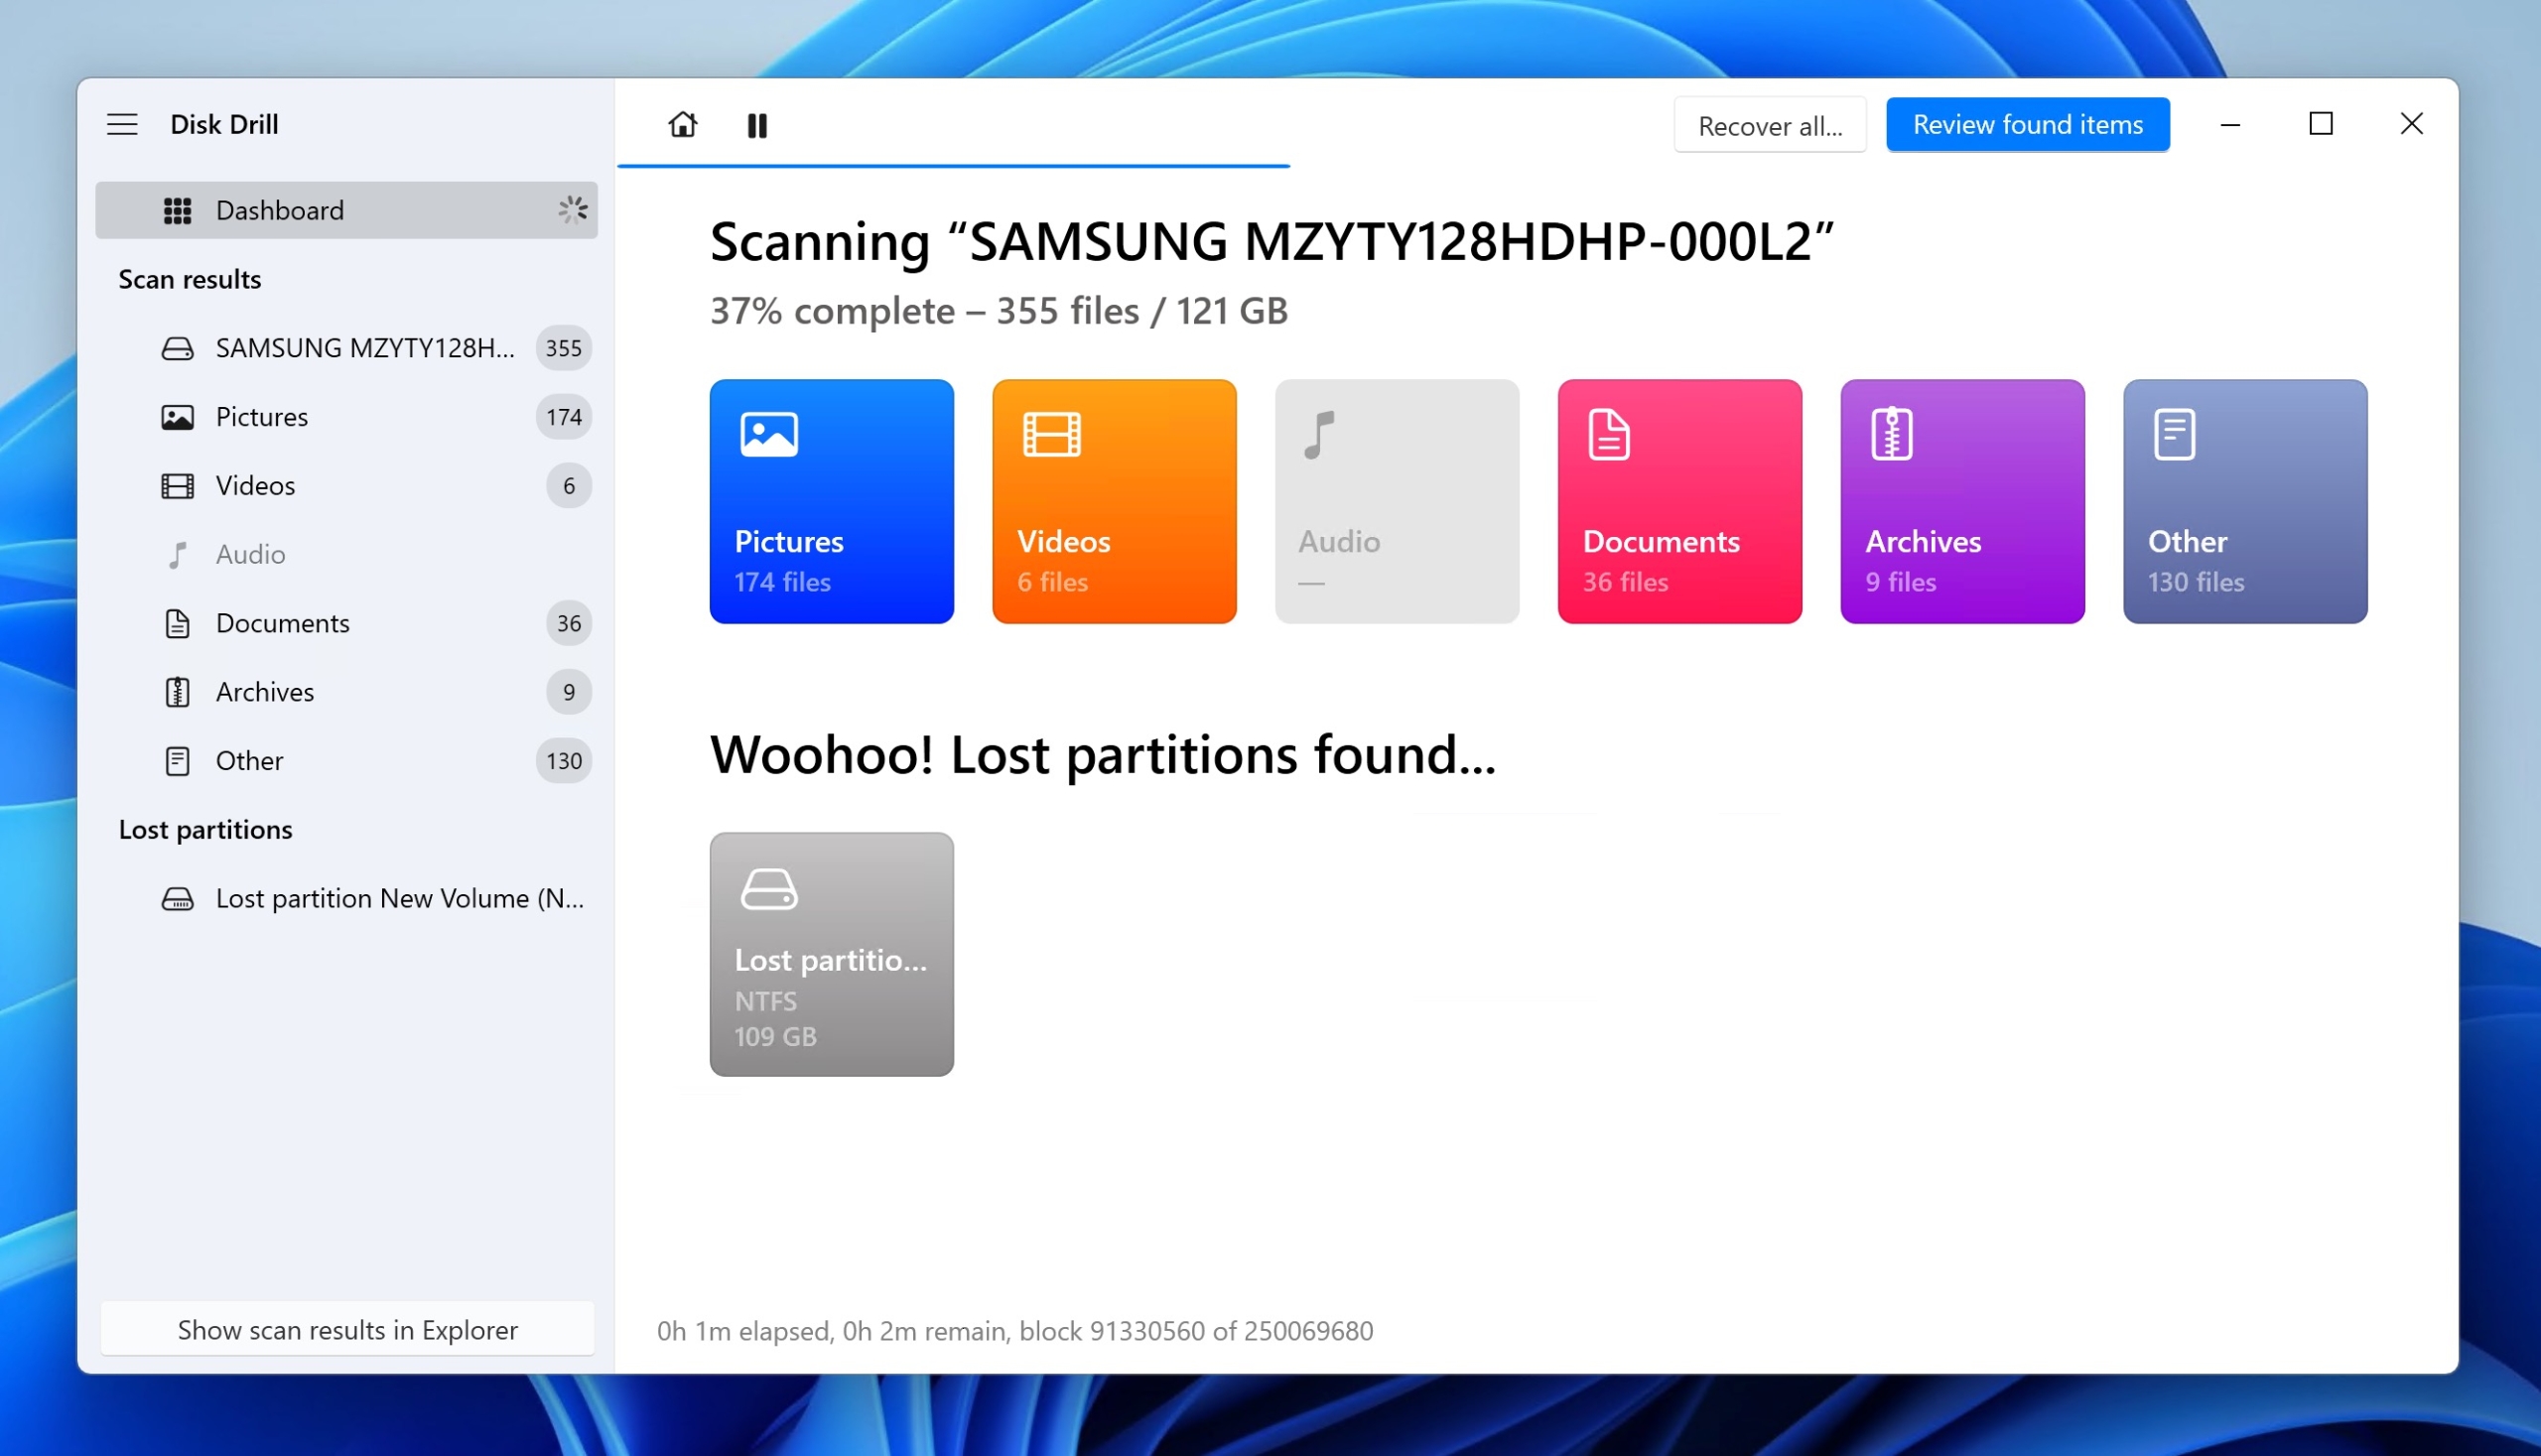
- Wait for the scan to complete or click on Review found items to analyze the scan results with scanning continuing in the background.
- Select the files you intend to retrieve and click Recover.
- Choose an appropriate destination to recover your files and confirm.


The free version of Disk Drill for Windows can recover up to 500 MB of data, which almost certainly won’t be enough to retrieve everything from your unallocated hard drive. The good news is that you can purchase an unlimited lifetime license for an affordable price.
Method 2: Restore Partitions From Your Unallocated Hard Drive
If your hard drive has become unallocated due to a partitioning mistake, there’s a chance you can recover the entire partition if you use an open-source tool called TestDisk.
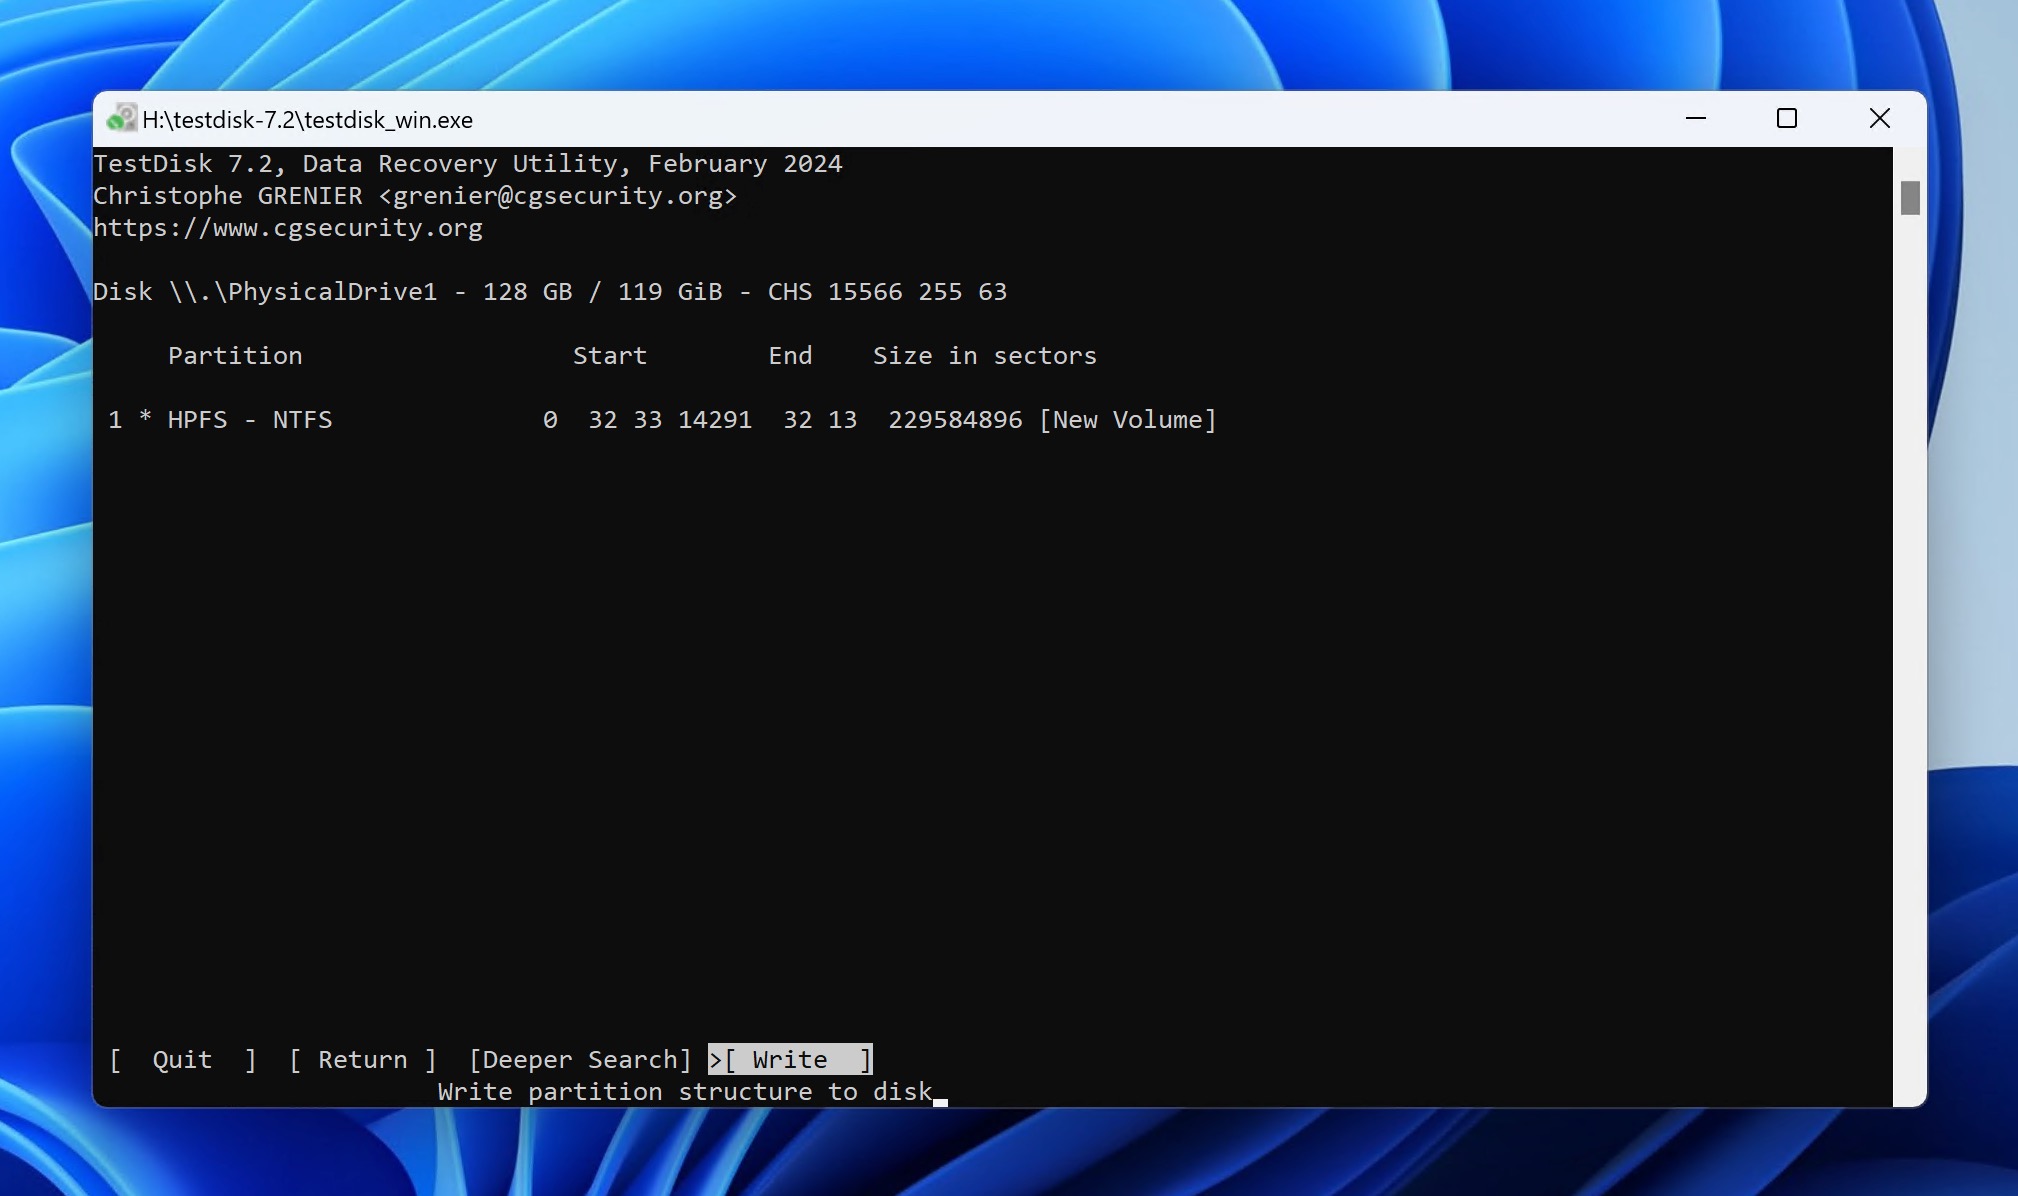
With TestDisk, you can locate and recover lost file system information to essentially un-unallocate your hard drive, but you won’t be able to do so in a few clicks because the tool runs in the command line. That said, the recovery process isn’t all that complicated—you just need to follow our instructions step by step:
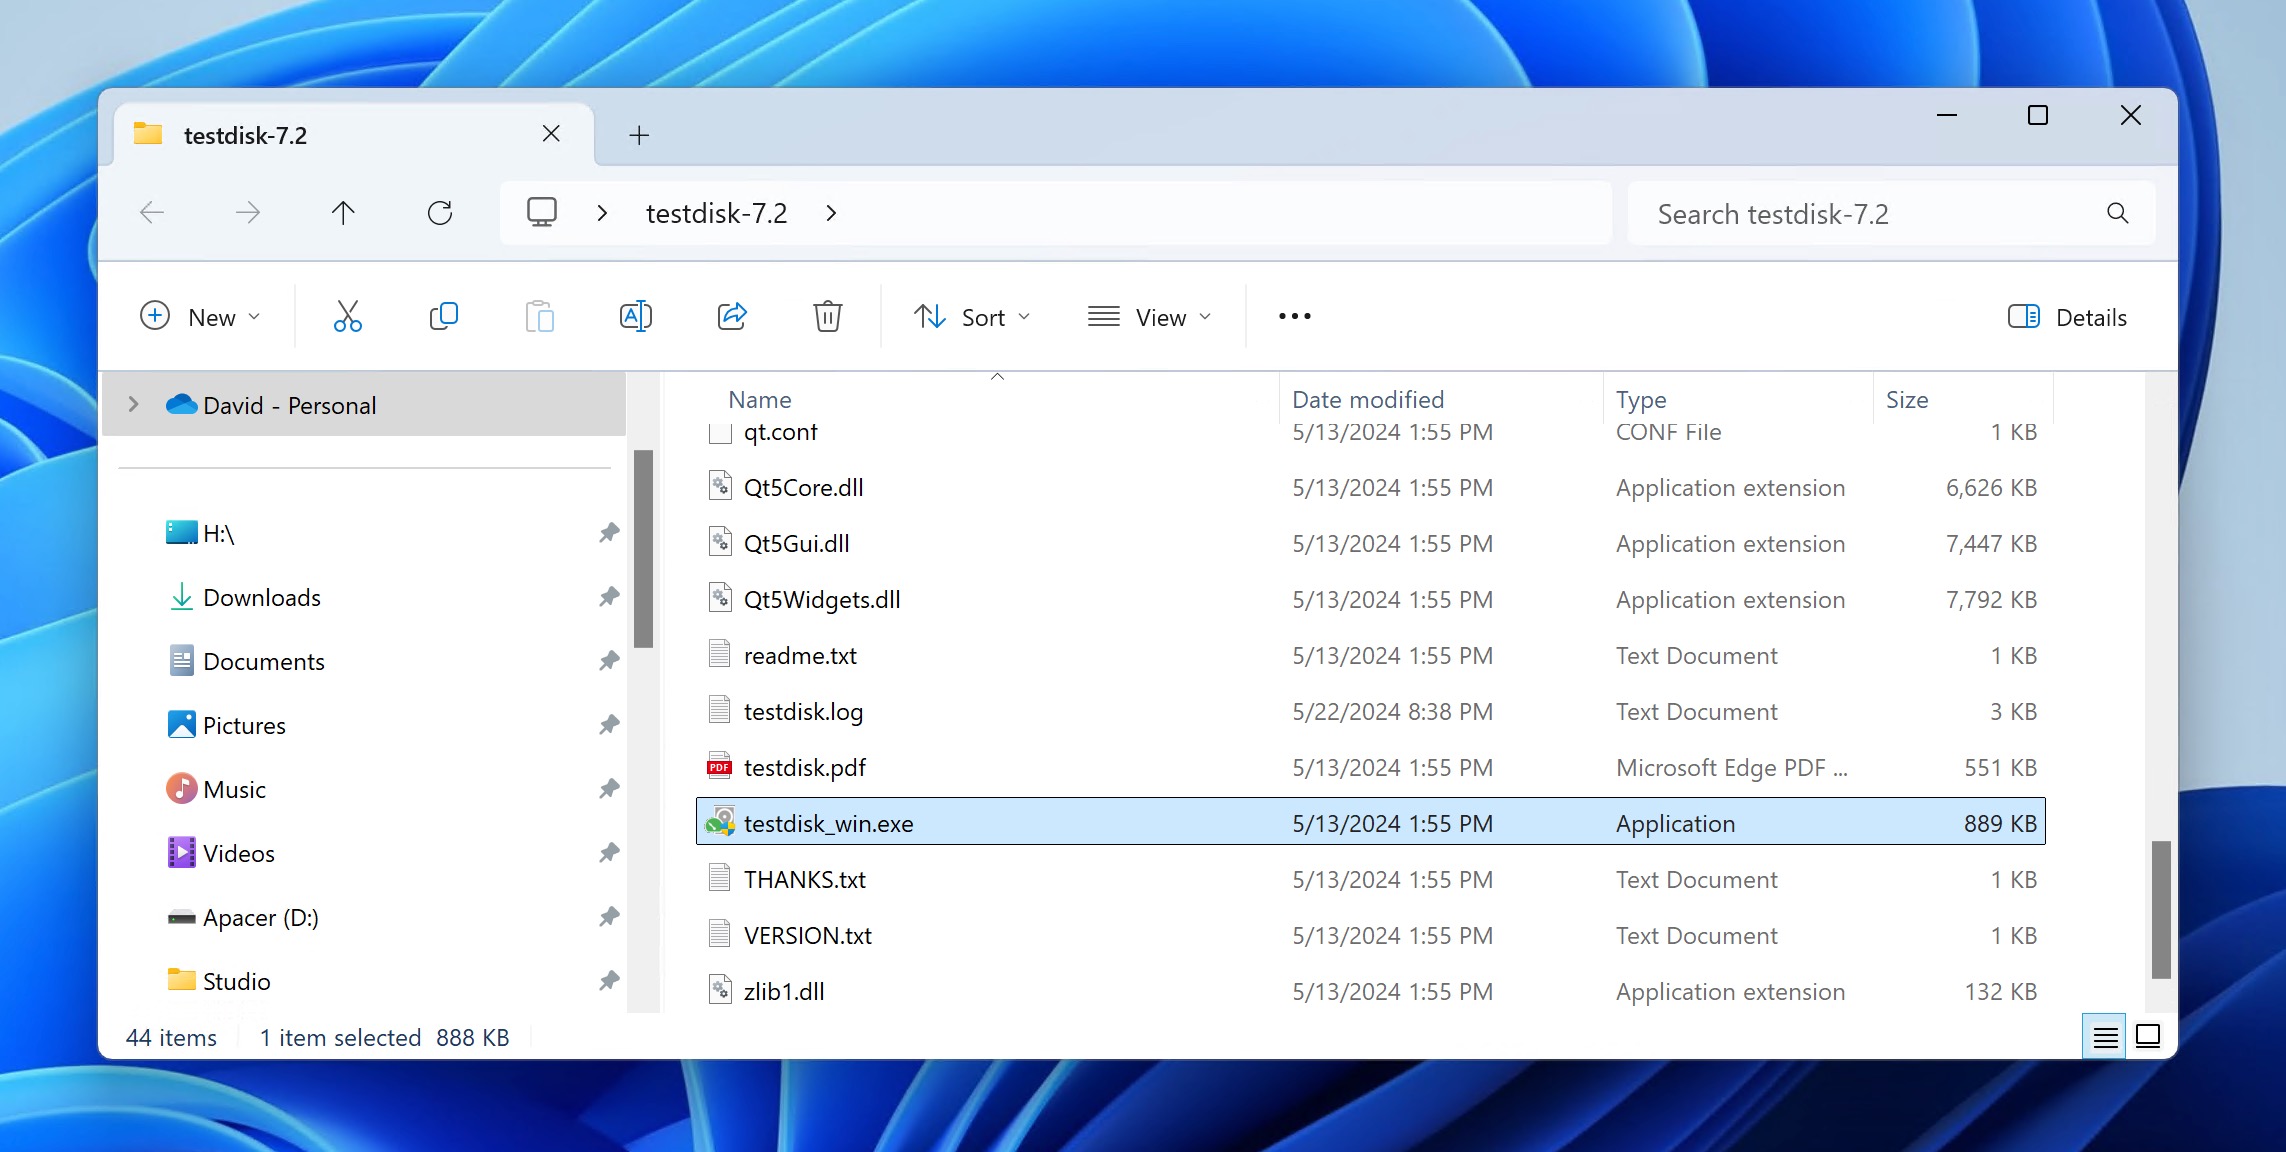
- Download TestDisk from the official website and extract it.
- Run the TestDisk executable file as an administrator. You’ll be greeted by a command-line interface.
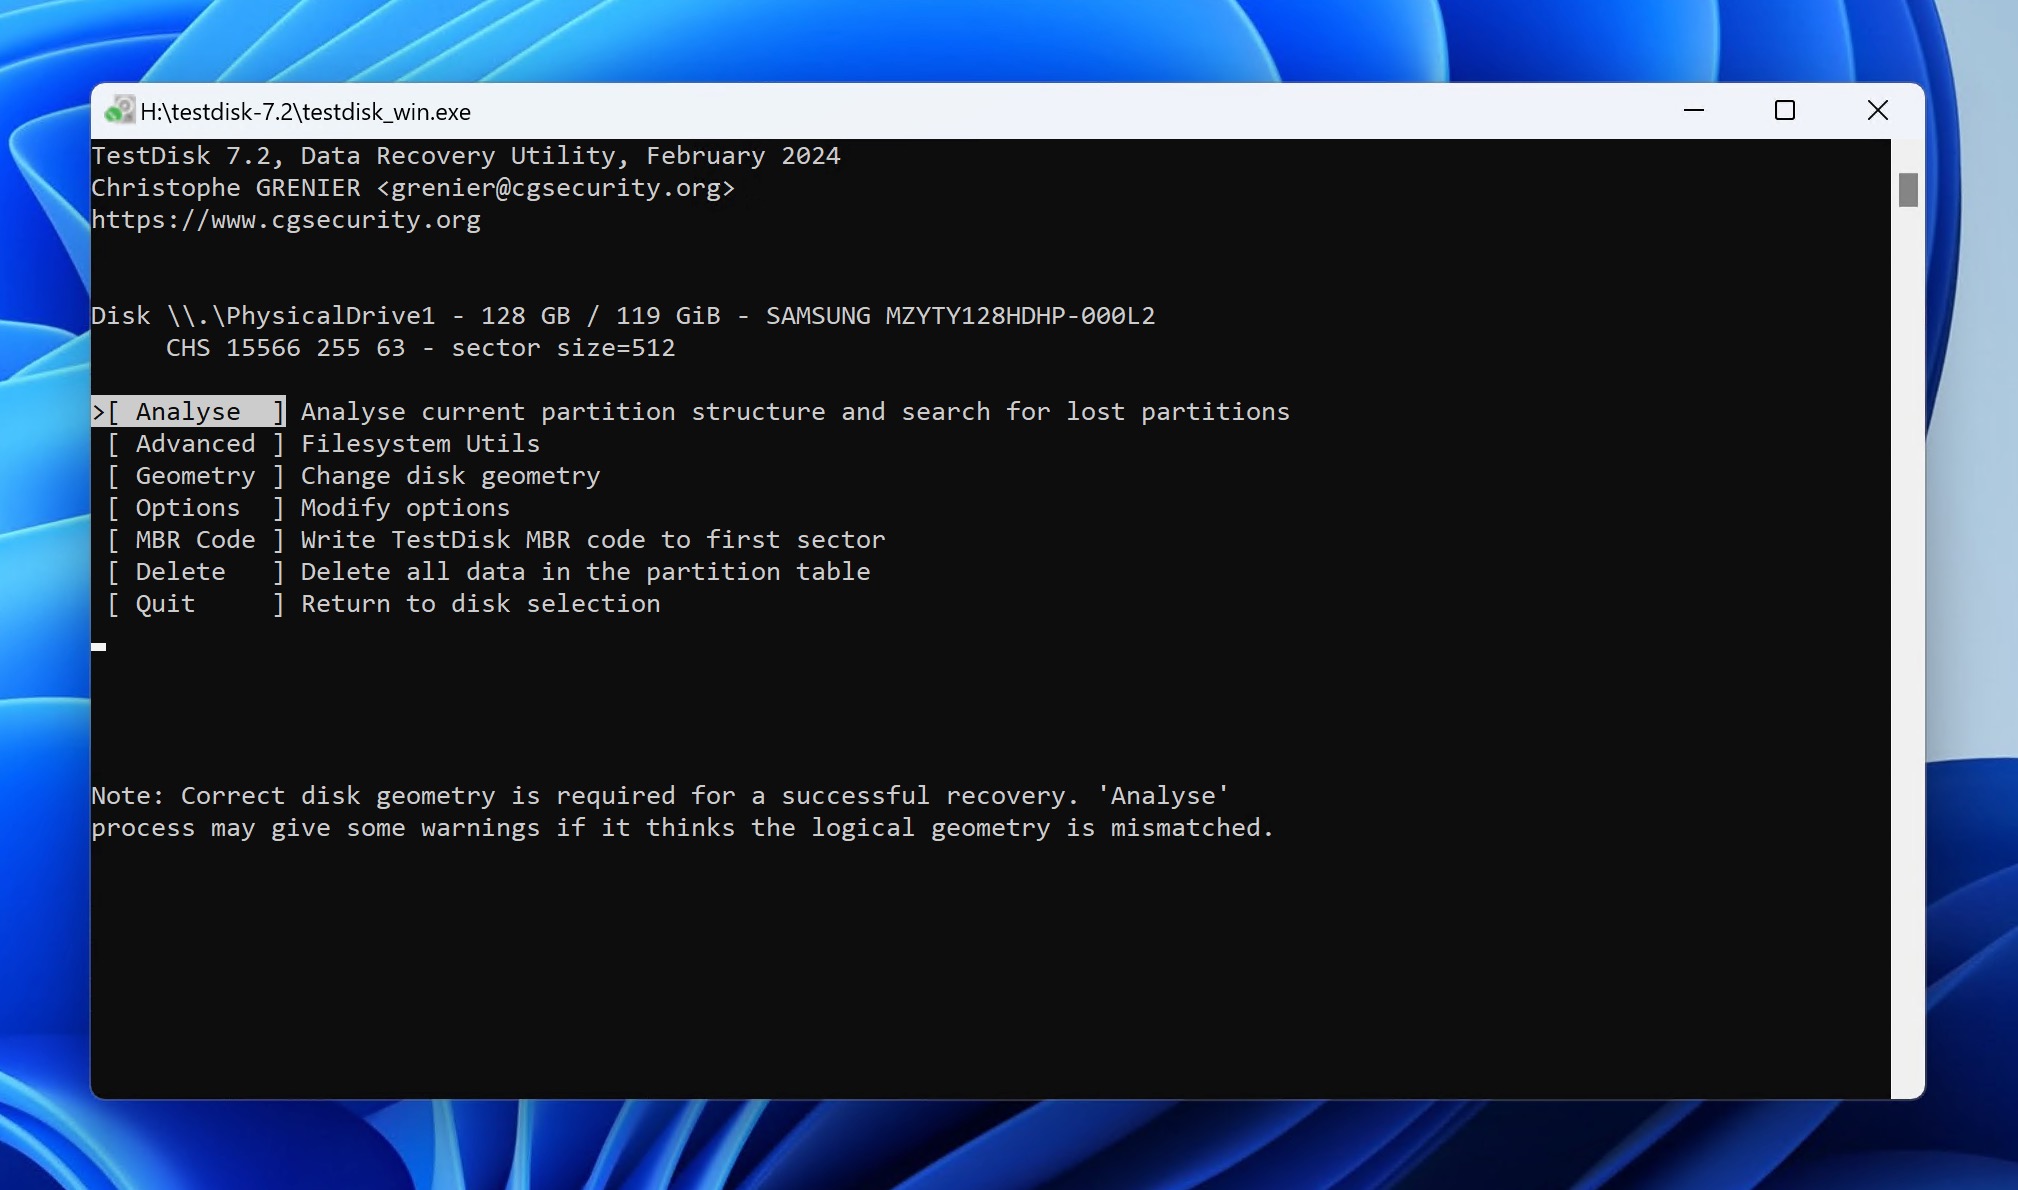
- Choose Create to start a new log file.
- Select the unallocated disk from the list and pick the partition table type (usually, TestDisk will detect this automatically).

- Select Analyze and then Quick Search to scan for lost partitions.
- Review the found partitions. If your lost partition isn’t there, try Deeper Search.
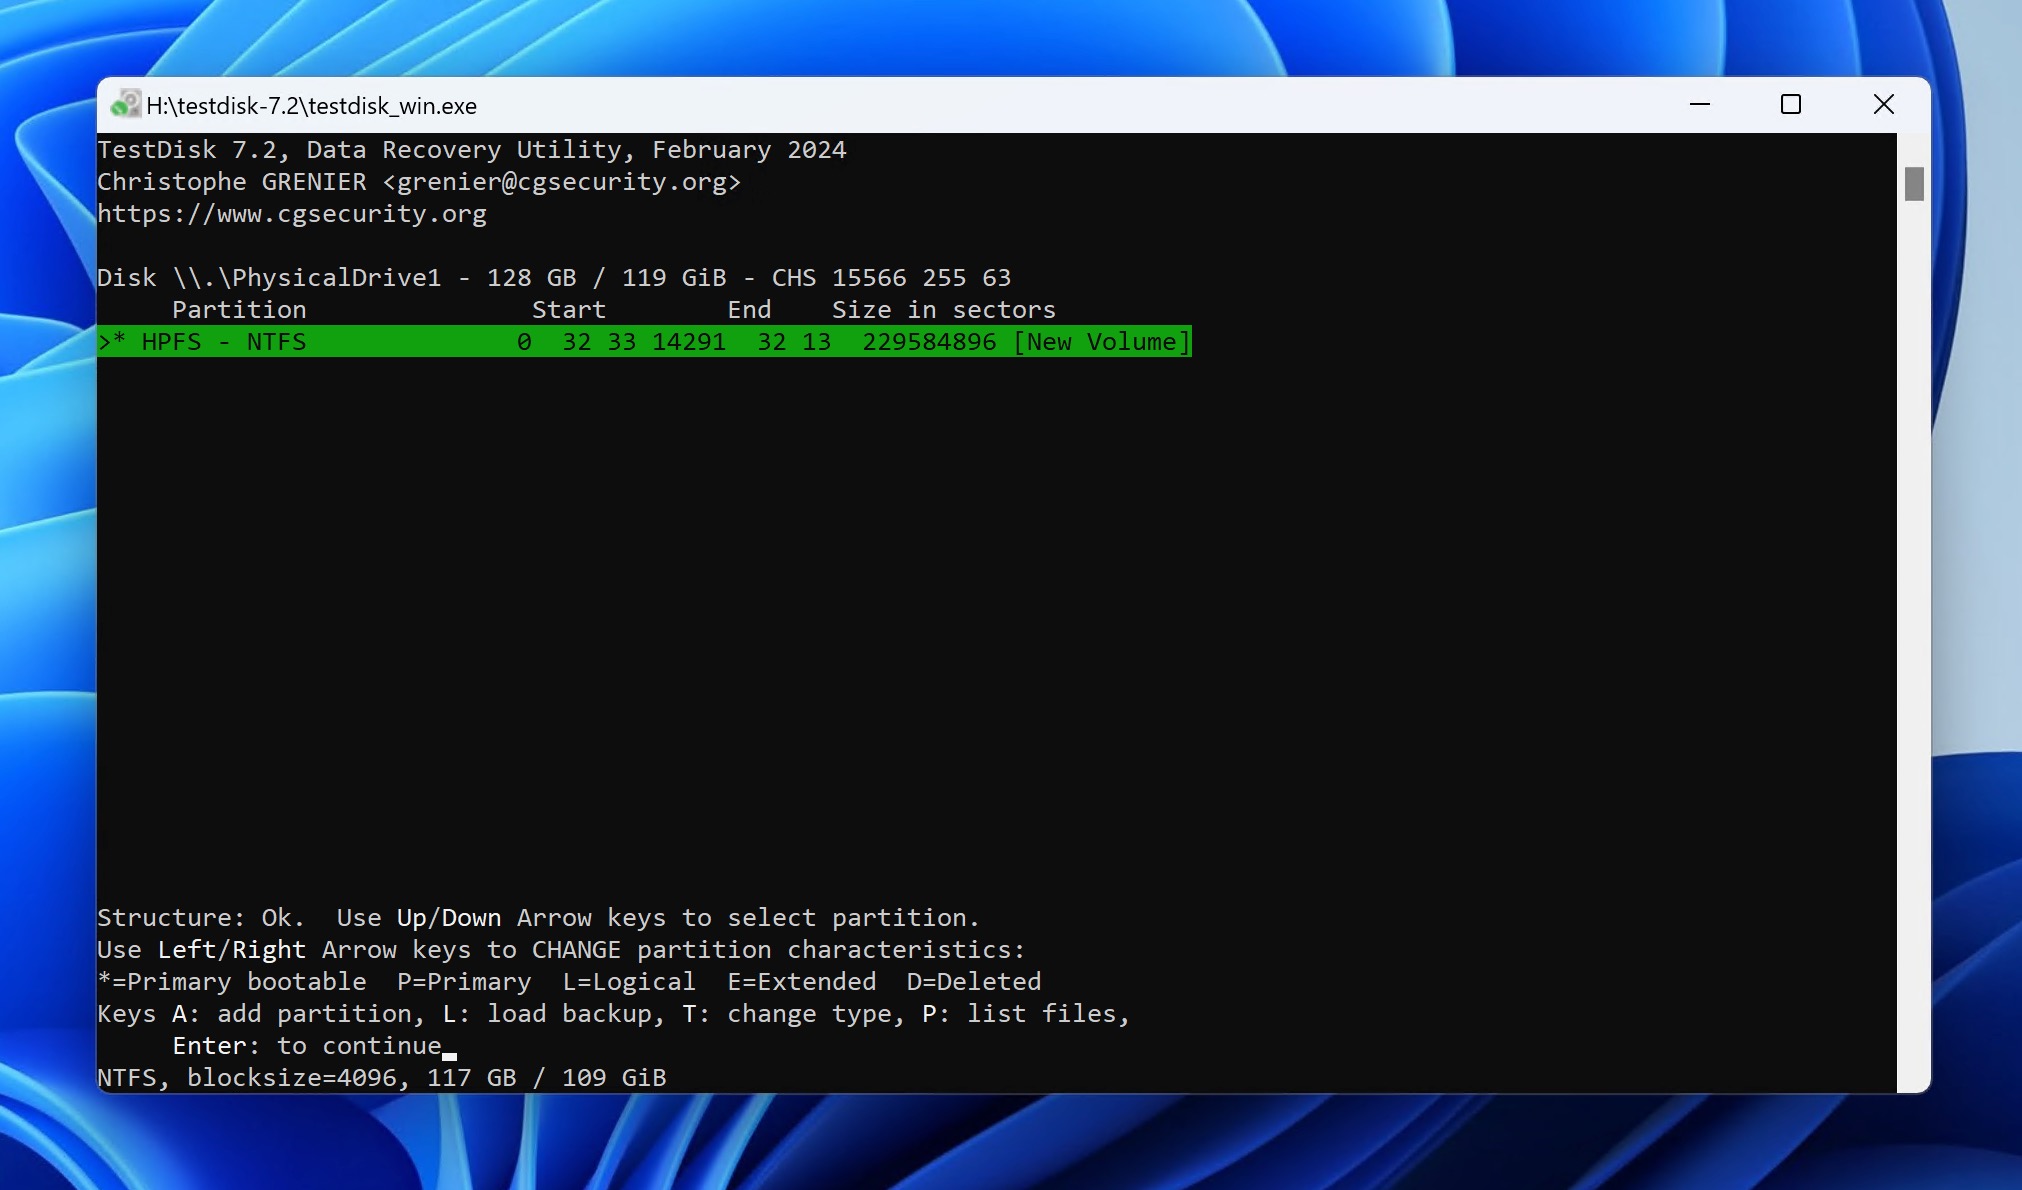
- Once you’ve found your partition, select it and choose Write to save the changes.
- Reboot your system to apply the changes.


Tip: The developer behind TestDisk, Christophe Grenier, has developed another data recovery tool that can help you recover data from unallocated hard drive on Windows: PhotoRec. Despite what its name suggests, PhotoRec can recover hundreds of file formats based on their signatures, and it’s also free and open source like TestDisk.
How to Fix Unallocated Hard Drive on Windows
Hopefully, you’ve managed to successfully recover all important data from your unallocated hard drive. Congratulations! But there’s one problem left to solve: you need to fix the unallocated hard drive on Windows so that you can use it again. The good news is that’s an easy thing to do. You just need to format it.
Since your unallocated hard drive isn’t visible in File Explorer, the formatting must be performed using the Disk Management tool:
Step 1: Right-click on the Start button and select Disk Management.

Step 2: In the list of available partitions, right-click on the unallocated drive. Select New Simple Volume and click next when the New Simple Volume Wizard launches.

Step 3: Choose your preferred size for the new partition (use the same number as the maximum disk space if you want to use all of the usable storage space) and click Next.

Step 4: Assign a drive letter to the partition and click Next.

Step 5: Finally, select the desired file system and, optionally, give the new partition a memorable name. We recommend you use the NTFS file system for internal hard drive and exFAT for external hard drives or hard drives that need to be accessed by macOS or Linux systems.

Step 6: Click Next, and finally click Finish.
You should now be able to open the hard drive in File Explorer and copy data to/from it without any issues.
Tip: Alternatively, you can also format an unallocated hard drive using the diskpart command-line utility. To do that, open Command Prompt as an administrator, type “diskpart” and press Enter. Then, use these commands in sequence: “list disk” to see all disks, “select disk X” (replace X with your disk number), “create partition primary” to create a new partition, “format fs=ntfs quick” (or replace ntfs with your preferred file system), and finally “assign letter=Y” (replace Y with your desired drive letter).
Conclusion
Despite how scary an encounter with an unallocated hard drive may seem, it’s actually one of the least serious data loss scenarios out there. That’s because an unallocated hard drive is impossible to access from File Explorer, so the chance of your valuable data becoming overwritten by new data is relatively low. As long as you act quickly and follow the methods described in this article, you should be able to recover most, if not all, of your files.