
Reading Time: 6 minutesHave you recently encountered the “Access Denied” message when trying to use your external hard drive? You’re not alone! Many Windows users have experienced the same issue. Alas, attempts to solve it often don’t produce the desired results because a large percentage of available resources online are either outdated or downright misleading.
That’s why we’ve decided to step in and provide you with the following reliable and easy-to-follow fixes for the external hard drive access denied error.
Why Is Windows Not Allowing Access to Your External Hard Drive?

The external hard drive access denied error is a common issue that can affect the users of Windows 11, Windows 10, and earlier versions of the operating system. But what exactly causes it? Well, there are two main reasons why Windows may not be allowing access to your external hard drive:
- Insufficient permissions: Your user account lacks the necessary privileges to access the external hard drive or certain files within it. This can happen if the drive’s ownership or permissions were changed, either intentionally or by accident. In such cases, you can take ownership of the drive.
- Logical damage: Hard drives aren’t invincible. Over time, they can develop bad sectors–think of them as potholes on a road. These potholes can corrupt data or make parts of the drive inaccessible, triggering all sorts of unpredictable errors, including the dreaded access denied to external hard drive error.
The good news? Regardless of whether your hard drive access denied error stems from permissions or physical damage, the fixes outlined in this article should help you regain access.
How to Retrieve Data from the Inaccessible Hard Drive?
We understand that your external hard drive might be holding some very important data that you need to access as soon as possible. That’s why we’ll first explain how you can retrieve your data.
Method 1: Access the Hard Drive Using Linux
Linux systems, such as Ubuntu, tend to handle file permissions and system errors differently than Windows, so they don’t care if the hard drive and the data stored on it technically belong to a different user.
How to do it:
- Download an image file of a live Linux distribution like the aforementioned Ubuntu operating system.
- Grab a USB flash drive that doesn’t have any important data stored on it and connect it to your computer.
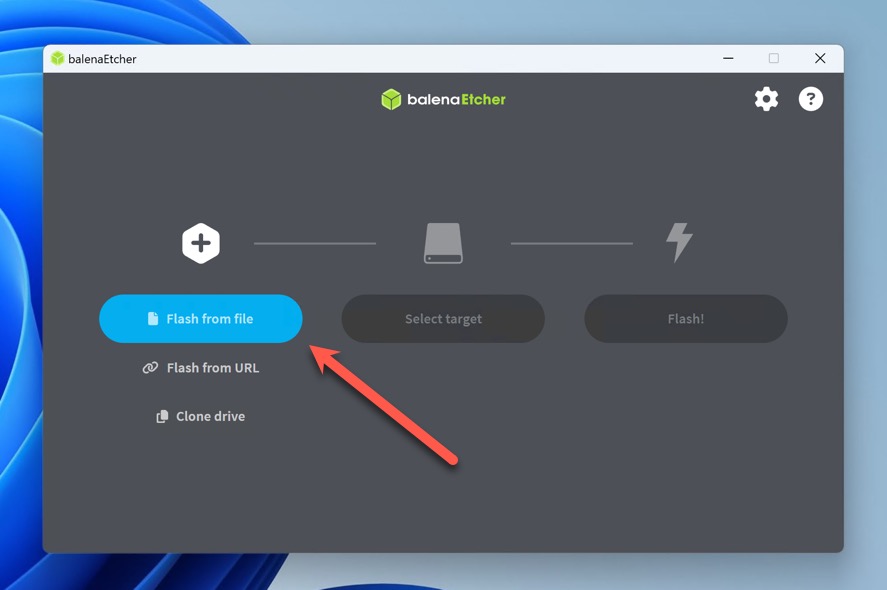
- Create a bootable USB flash drive with balenaEtcher or Rufus.
- Boot your computer from the USB flash drive.
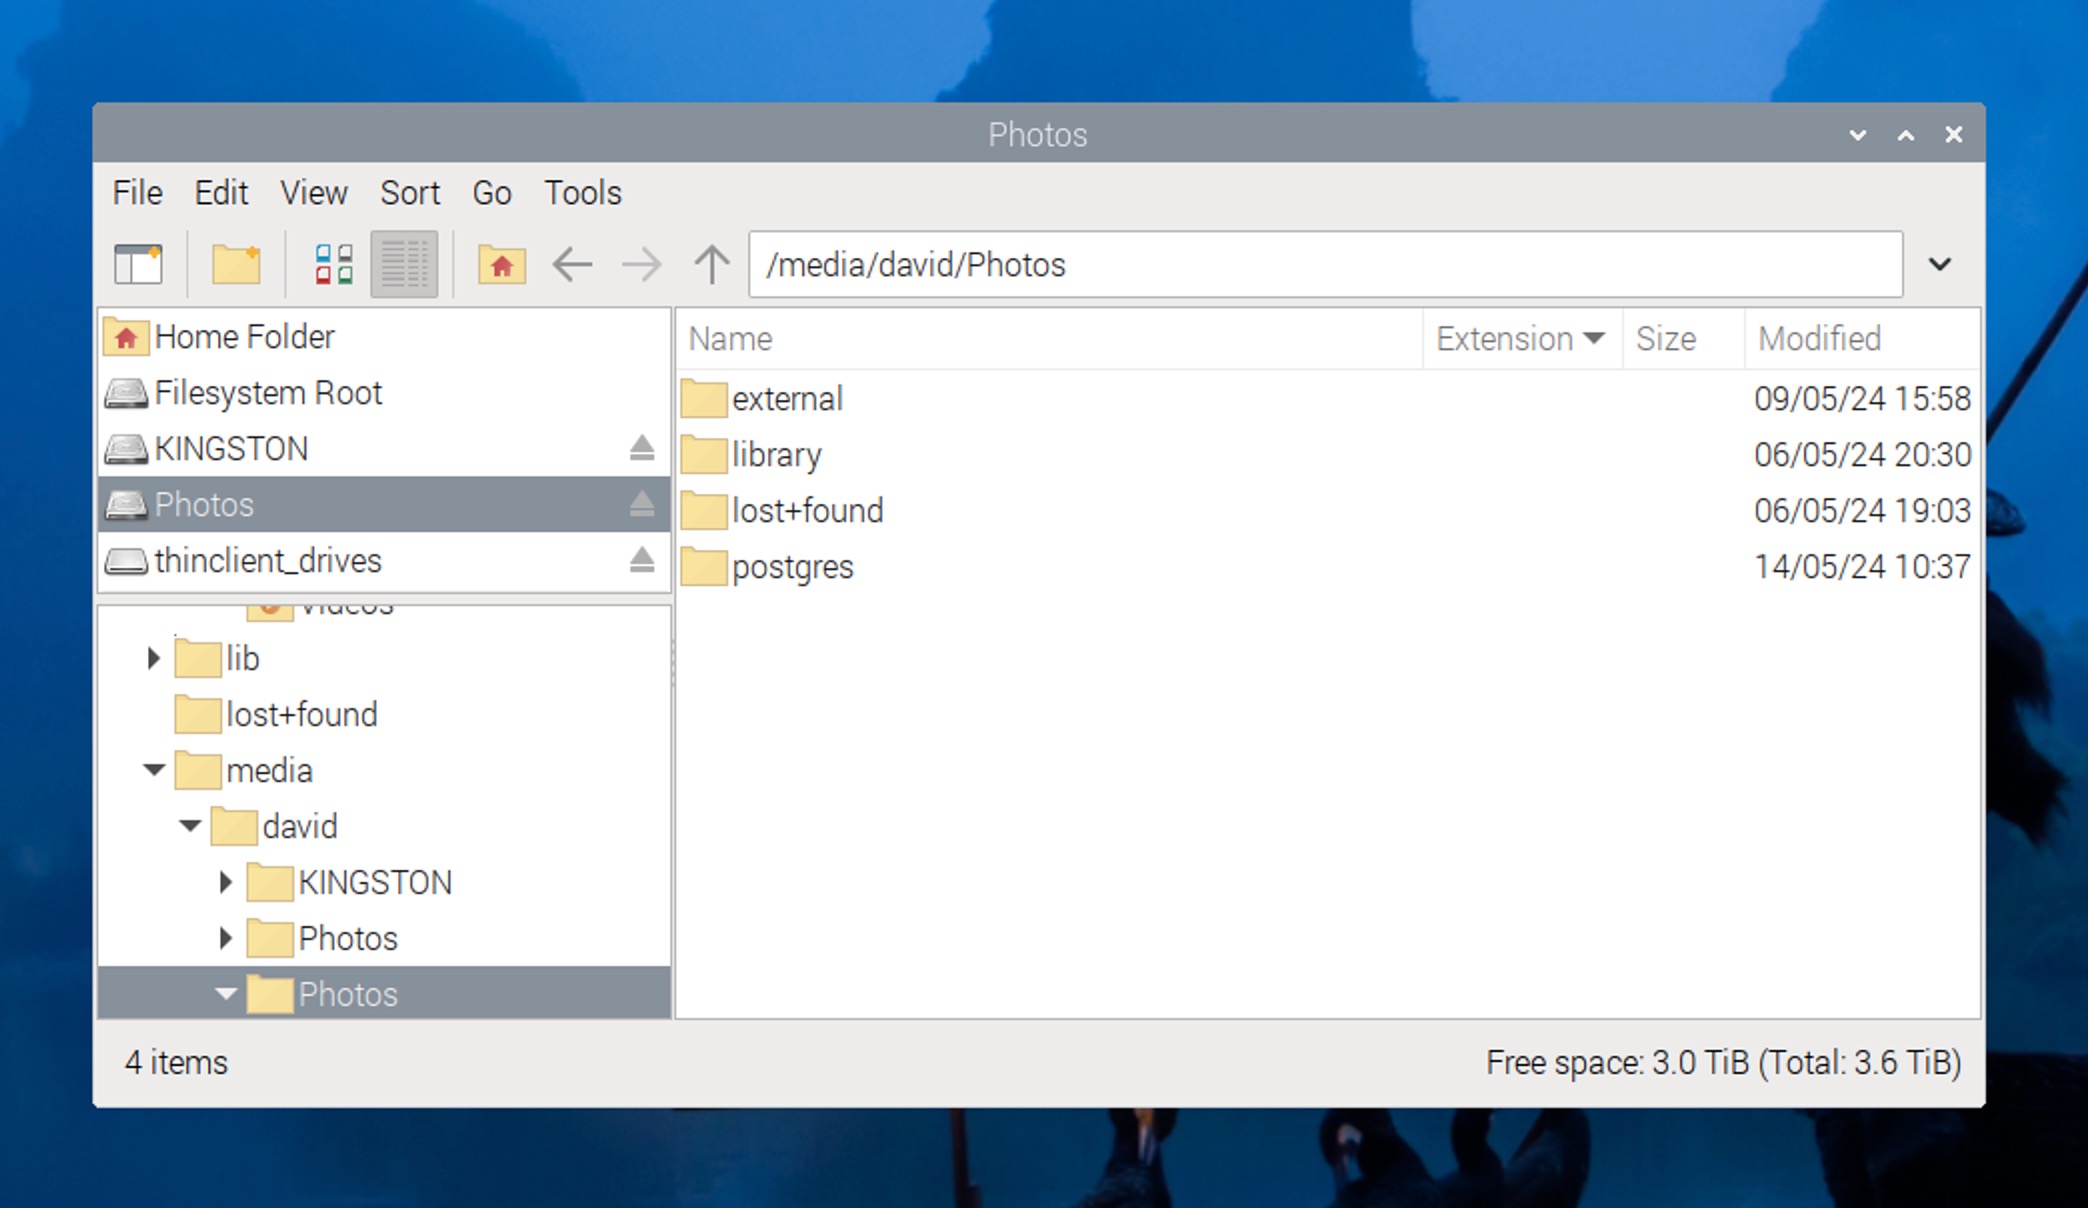
- Use the Linux distribution’s file manager to access your files. You can copy them to a different external storage device (most Linux distributions can’t write data to NTFS storage devices, so your system drive is likely out of question).


Method 2: Use Data Recovery Software
If Linux isn’t your cup of tea, or if the method seems too complicated to you, then you can try using data recovery software. These programs scan your drive directly, bypassing any operating system restrictions that might be preventing access.
We recommend using Disk Drill, as it offers excellent compatibility with Windows and supports all major external hard drive file systems like NTFS, FAT32, and exFAT. Plus, it can recover both existing and deleted data based on file system information and file signatures.
How to do it:
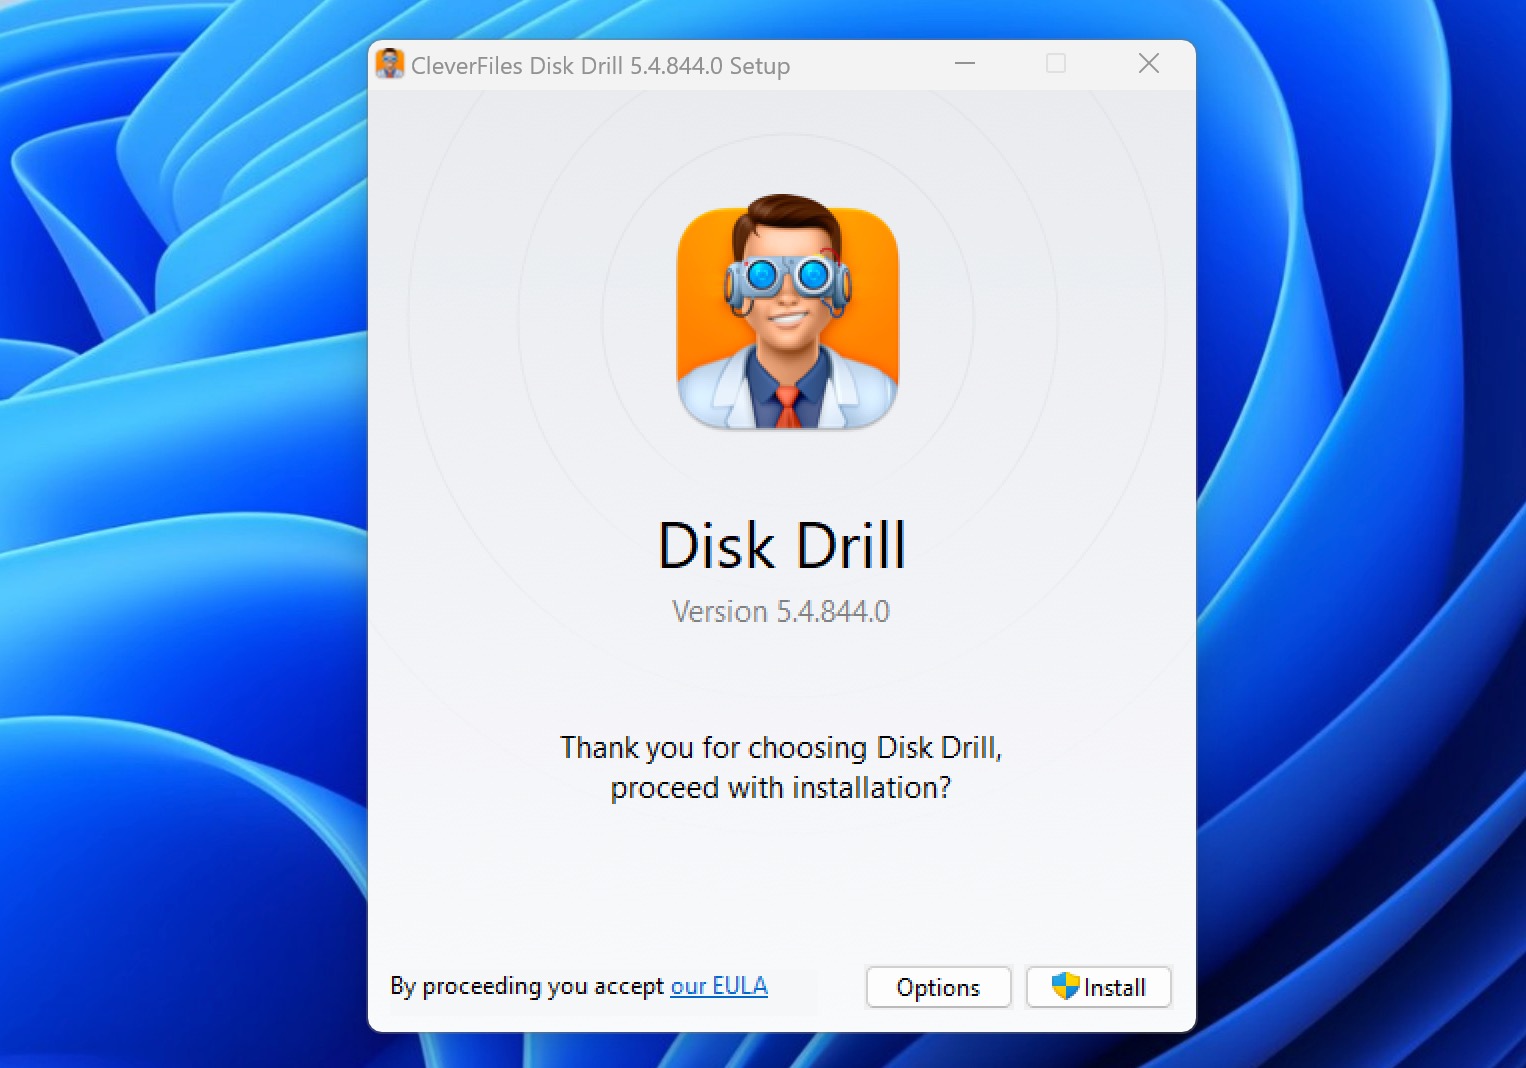
- Download and install Disk Drill on your Windows computer.
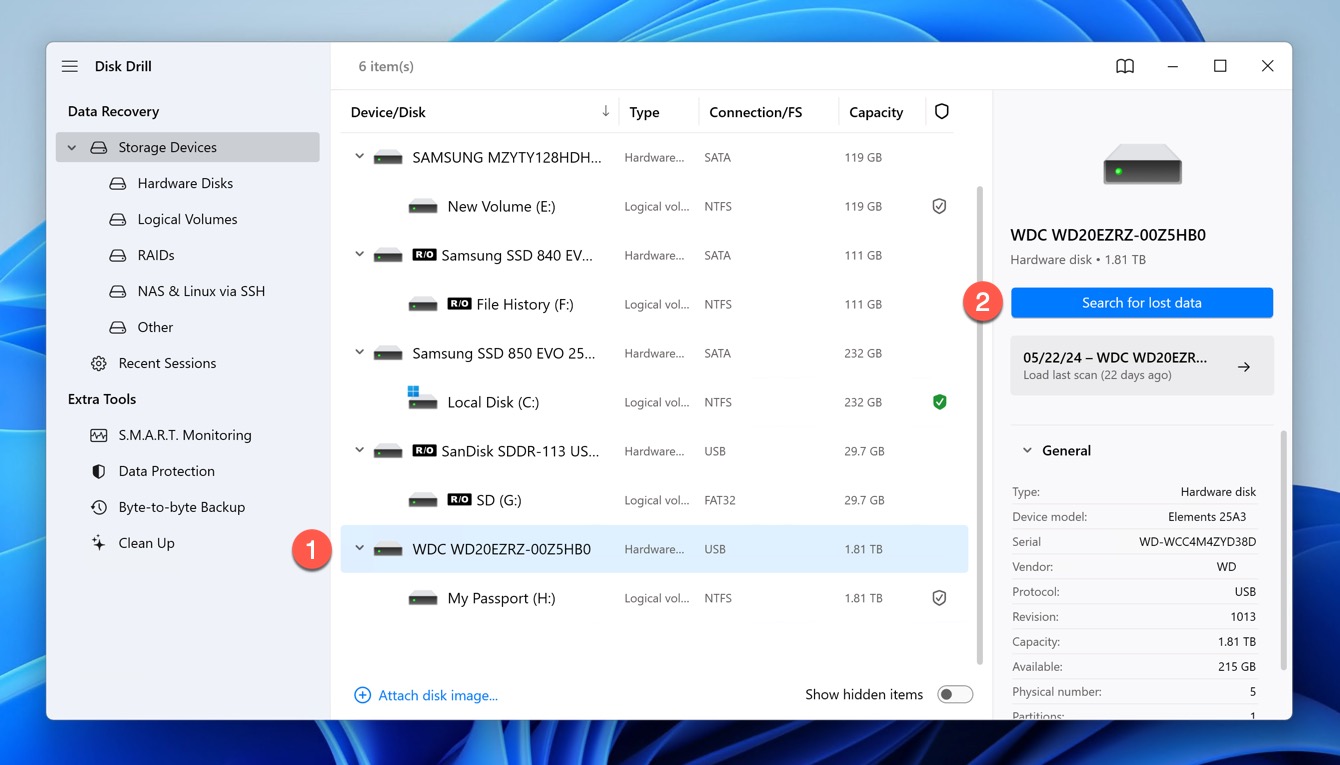
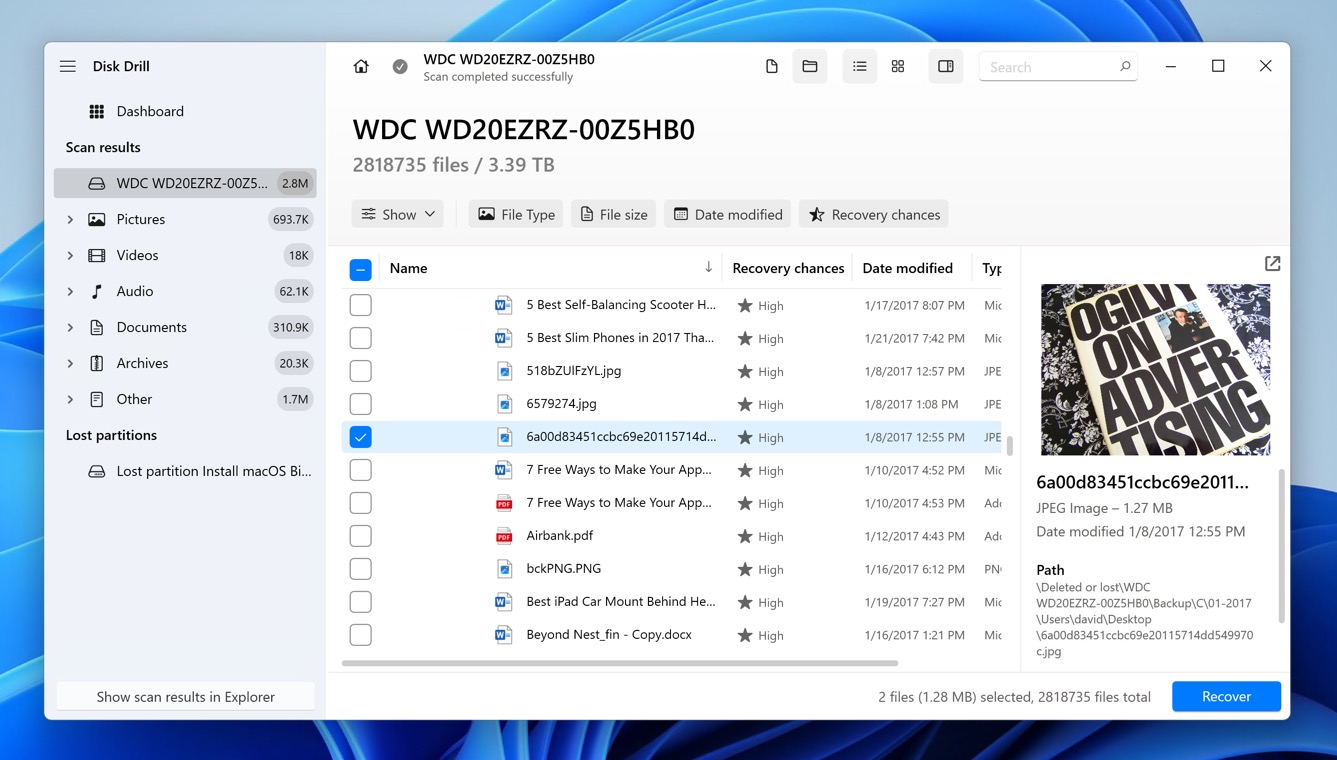
- Connect the external hard drive to your computer and launch Disk Drill and select the external hard drive from the list of drives.
- Click the Search for lost data button to start the scanning process.
- Select all files you want to retrieve from your external hard drive. You can preview files directly in Disk Drill and narrow them down using various filters.
- Click the Recover button and choose a location on your computer to save the recovered files.
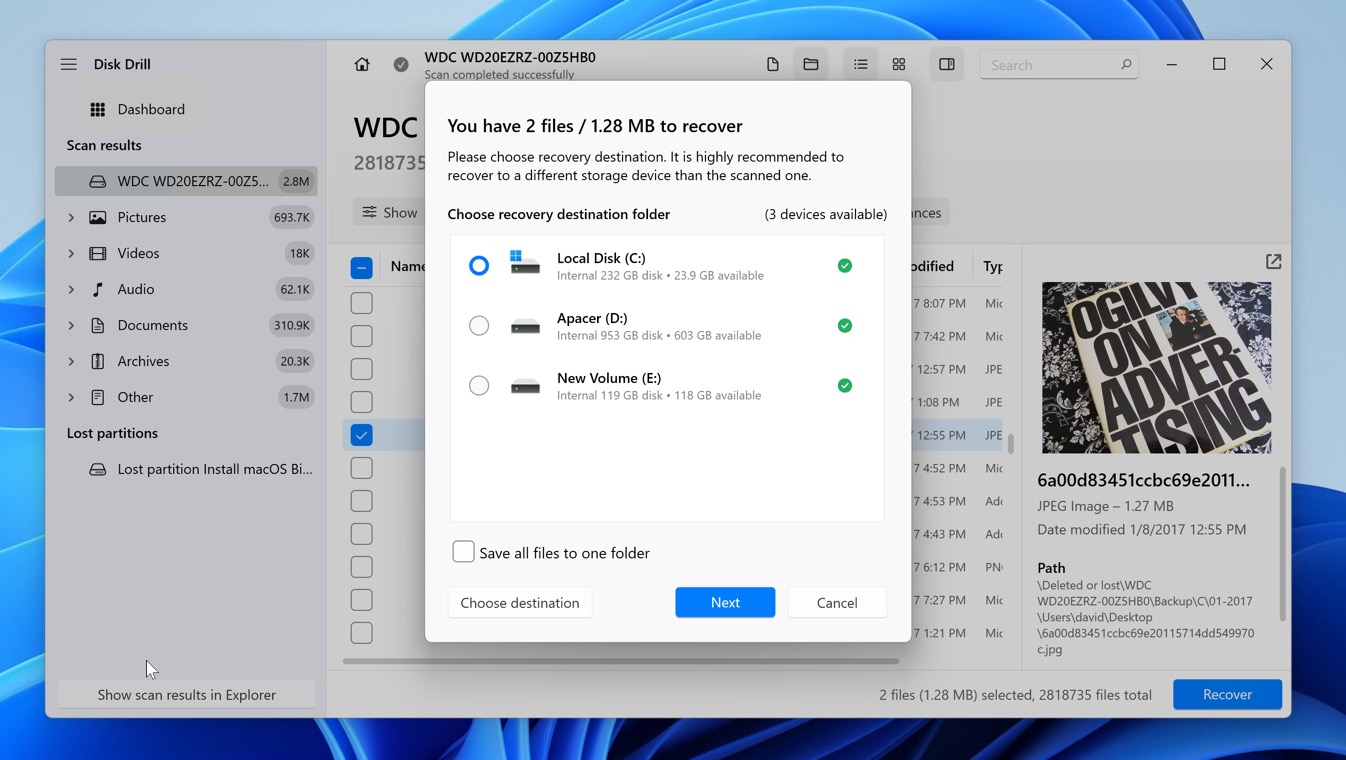


Note that the free version of Disk Drill can recover up to 500 MB of data for free. If you need to recover more data, you can purchase a one-time license that lets you recover unlimited data.
How to Fix External Hard Drive Access Denied Error
Alright, now that you know how to retrieve your data from an inaccessible external hard drive, it’s time to roll up our sleeves and get into the fixes.
Fix 1: Grant Full Control Permissions to Your User Account
If the access denied error is caused by insufficient permissions, the easiest way to fix it is to give your Windows user account full control over the external hard drive.
How to do it:
- Open File Explorer and navigate to This PC.
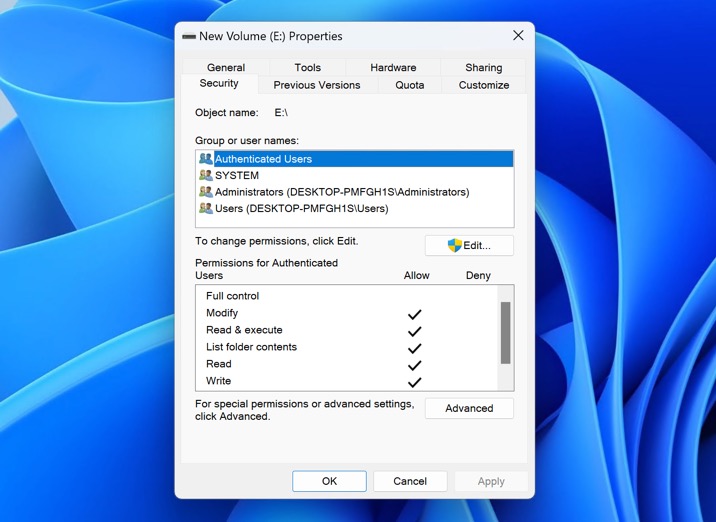
- Right-click on your external hard drive and select Properties.
- Switch to the Security tab and click the Edit button under Group or user names.
- Select Users from the list and check the Allow box next to Full control.
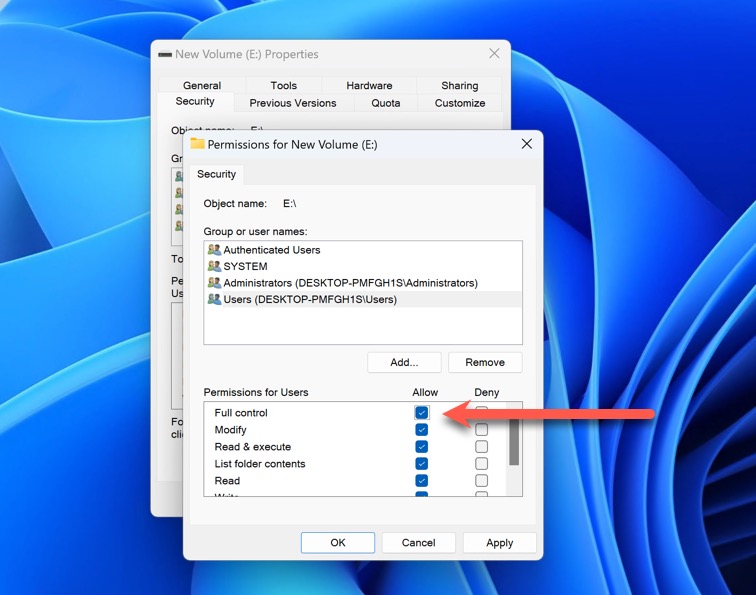
- Click Apply and then OK to save the changes.


After completing these steps, you should have unrestricted access to your external hard drive.
Fix 2: Recursively Take Ownership of the Drive
The previous fix didn’t work? Then you can try taking ownership of the external hard drive using the command prompt. This method involves using the “takeown” command to recursively take ownership of all files and folders on the drive.
How to do it:
- Press the Windows key on your keyboard or click the Start button in the lower-left corner of the screen.
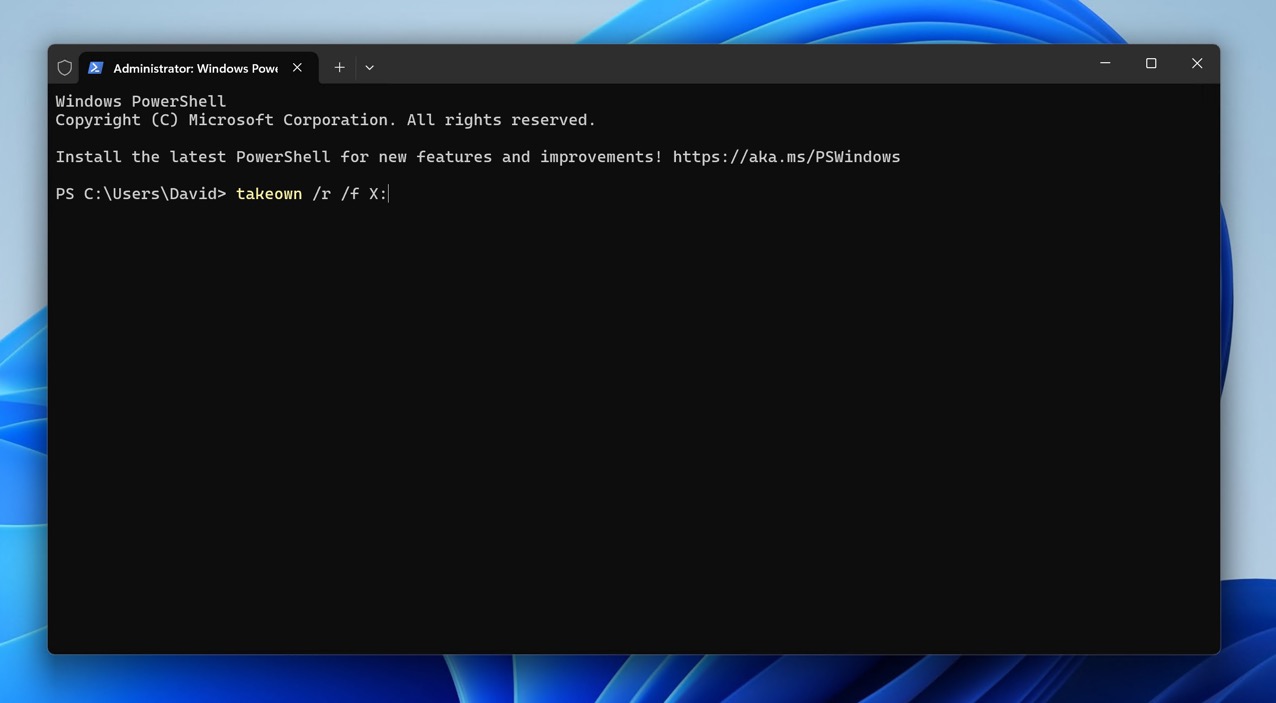
- Enter “terminal” and launch Windows Terminal with administrator privileges.
- In the terminal, type the following command and press Enter, replacing “X” with the actual drive letter of your external hard drive: takeown /r /f X:

Wait for the command to complete. Depending on the size of your drive and the number of files, this process may take several minutes.
Fix 3: Scan the External Hard Drive Using CHKDSK
As we’ve said earlier, it’s possible that the issue stems from logical damage to the file system. In such cases, running the built-in CHKDSK (Check Disk) utility can help identify and repair these errors.
How to do it:
- Press the Windows key on your keyboard or click the Start button in the lower-left corner of the screen.
- Enter “terminal” and launch Windows Terminal with administrator privileges.
- Type the following command and press Enter, replacing “X” with the letter of your external hard drive: chkdsk X: /f /r /x
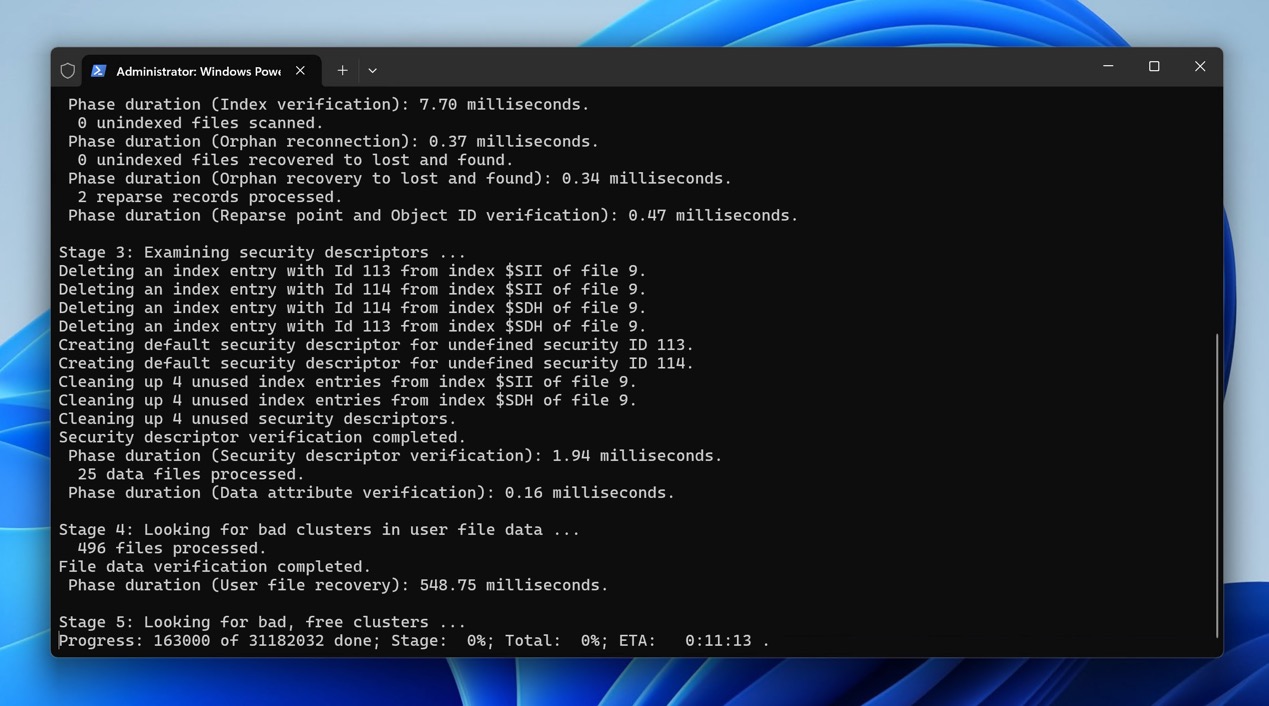

The “/f” switch tells CHKDSK to fix any errors it finds, the “/r” switch locates bad sectors and recovers readable information, and the “/x” switch forces the drive to dismount before the process starts.
Conclusion
By following the fixes outlined in this article, you should be able to regain access to your external hard drive regardless of whether the problem was caused by insufficient permissions or logical damage. Best of all, the same fixes can also be used to address internal hard drive access denied errors, so their mastery makes you a more proficient Windows user.