Reading Time: 4 minutesThe HFS and HFS+ file systems are usually associated with macOS. Naturally, to read and write to a HFS/HFS+ formatted drive, you’ll need a Mac device. To use HFS/HFS+ on Windows, you’ll need third-party file explorers. But what if you lost data from an HFS/HFS+ formatted drive, and don’t have access to a macOS computer? Well, HFS recovery is completely possible on Windows. Read on to find out how.
What Is HFS File System and How It Differs From HFS+
HFS stands for Hierarchical File System, and it’s a proprietary file system format developed by Apple for use on computers running macOS. The format is quite old, as it was released way back in 1985. It was introduced as a replacement to the Macintosh File System (MFS).
The primary reason behind development of the HFS file system, was that MFS was designed for use in small size media, such as floppy disks. HFS successfully fixed some of the performance issues that arose with the use of MFS in large media storage devices such as hard disk drives.
Essentially, the HFS+ file system allows data to be stored more efficiently on large disks The HFS+ file system can also be used on other storage media like compact disks, unlike its predecessor, the HFS file system.
The HFS+ file system is the successor to the HFS file system. It’s also called the HFS Extended file system. When compared to the HFS file system, HFS Plus offers several improvements. This includes support for 32-bit length block addresses, filename support of up to 255 characters in length, and a 32-bit allocation mapping table, rather than HFS’ 16-bit one.
How to Use an HFS Partition on Windows
Windows cannot read or write to an HFS/HFS+ formatted storage device without the help of third-party software. Even then, functionality is quite limited. There are no free programs that will allow you to write data to an HFS/HFS+ drive on Windows.
A few programs that can read APFS and HFS+/HFS on Windows, include:
- Paragon APFS for Windows.
- UFS Explorer Standard Access.
- Paragon HFS for Windows.
- HFS Explorer.
- MacDrive.
How to Recover Data From an HFS Drive
In order to recover data from an HFS/HFS+ drive on Windows, you’ll have to use third-party data recovery programs. However, not all these applications support HFS recovery. Even if they do, the extent and chances of data recovery are low. But, there are some programs that can effectively recover data from an HFS partition on Windows.
Disk Drill is one such program that supports data recovery from an HFS or HFS+ drive on Windows. You can also use the program to recover data from RAW partitions. It comes with an intuitive UI that is welcoming and a perfect fit for novice and expert users alike. The program also has a free trial of up to 500 MB data recovery, so you can test the program before any financial commitment. Let’s see how easy it is to recover data from Disk Drill:
- Connect the HFS/HFS+ drive to your Windows computer.
- You’ll be prompted to format the connected drive before you can use it. DON’T format the drive and simply close the prompt.
- Now, download Disk Drill for Windows.
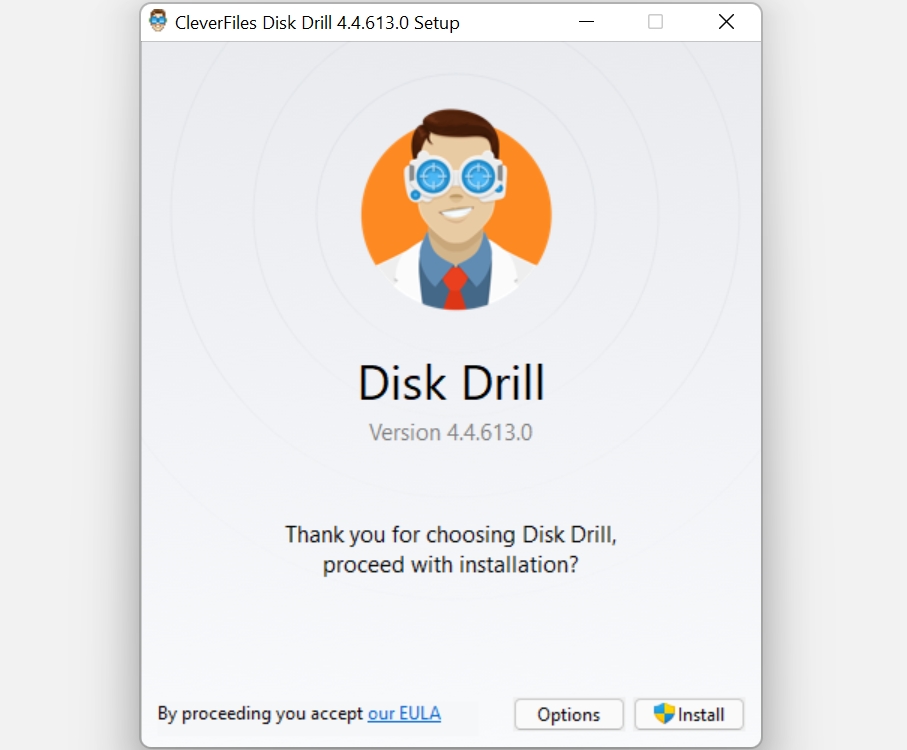
- Once the download is complete, run the Disk Drill setup file and follow the instructions on the setup wizard.
- After installation, run Disk Drill.
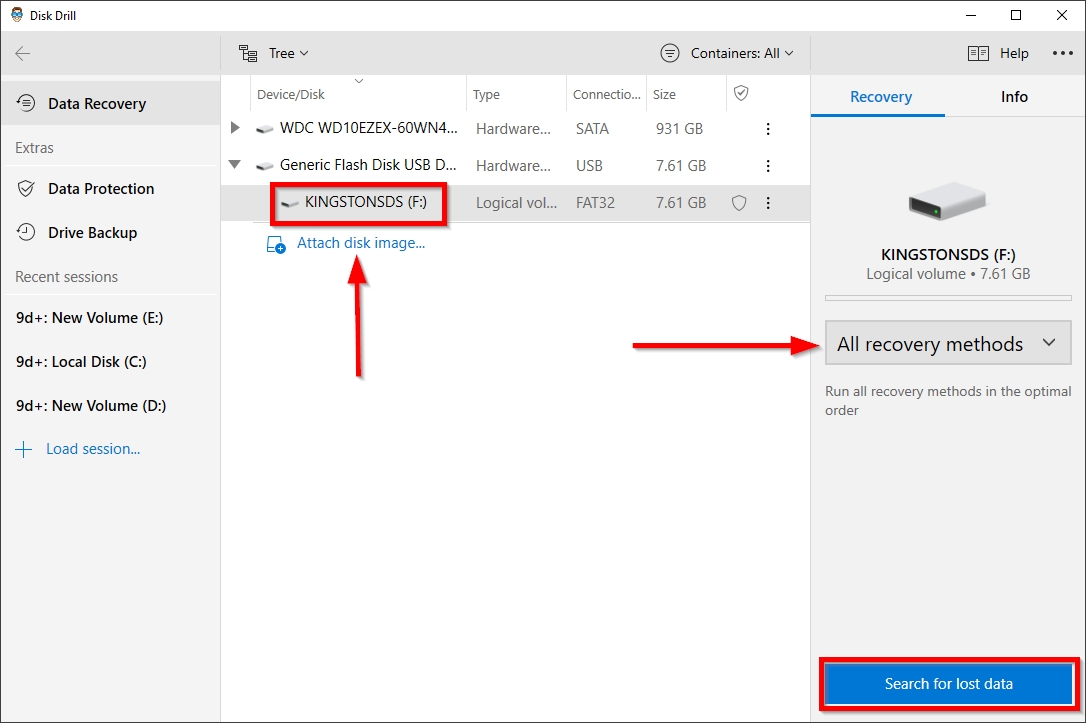
- In the list of storage devices, look for the HFS/HFS+ drive. Disk Drill will automatically detect it.
- Select the drive.
- Now, click on Search for lost data. Ensure that the scan type is set to All recovery methods, as it ensures you recover the most amount of data.
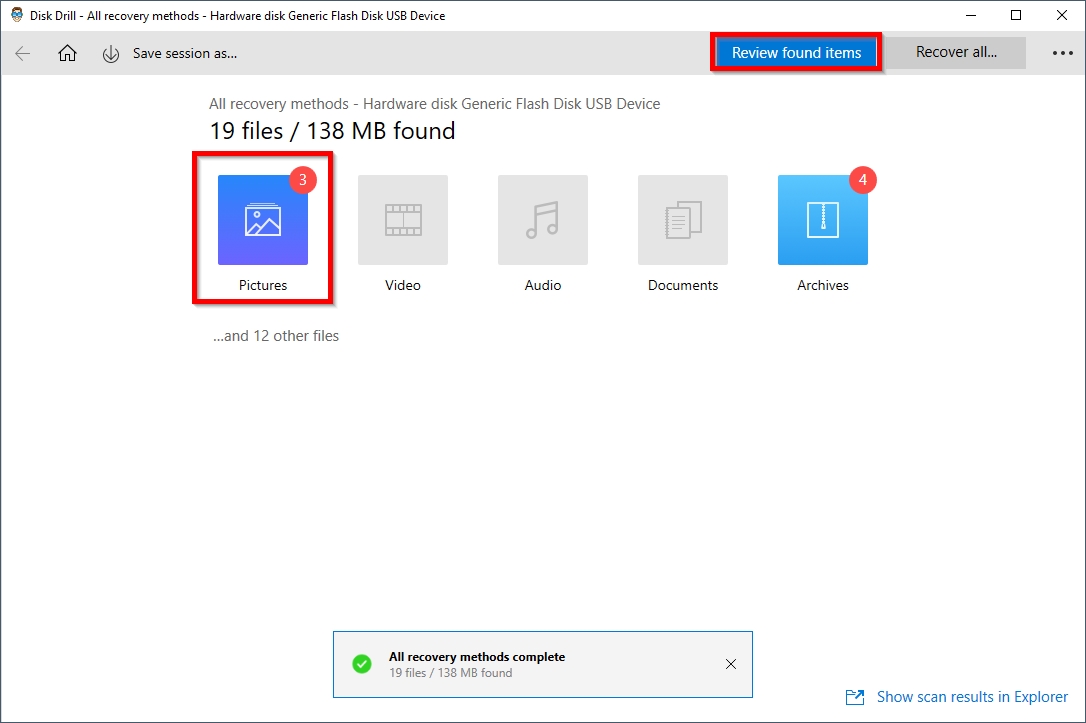
- Wait for the scan to be over. Once it’s complete, click on Review found items. Alternatively, you can directly select a file type such as Videos or Pictures to only display those files.
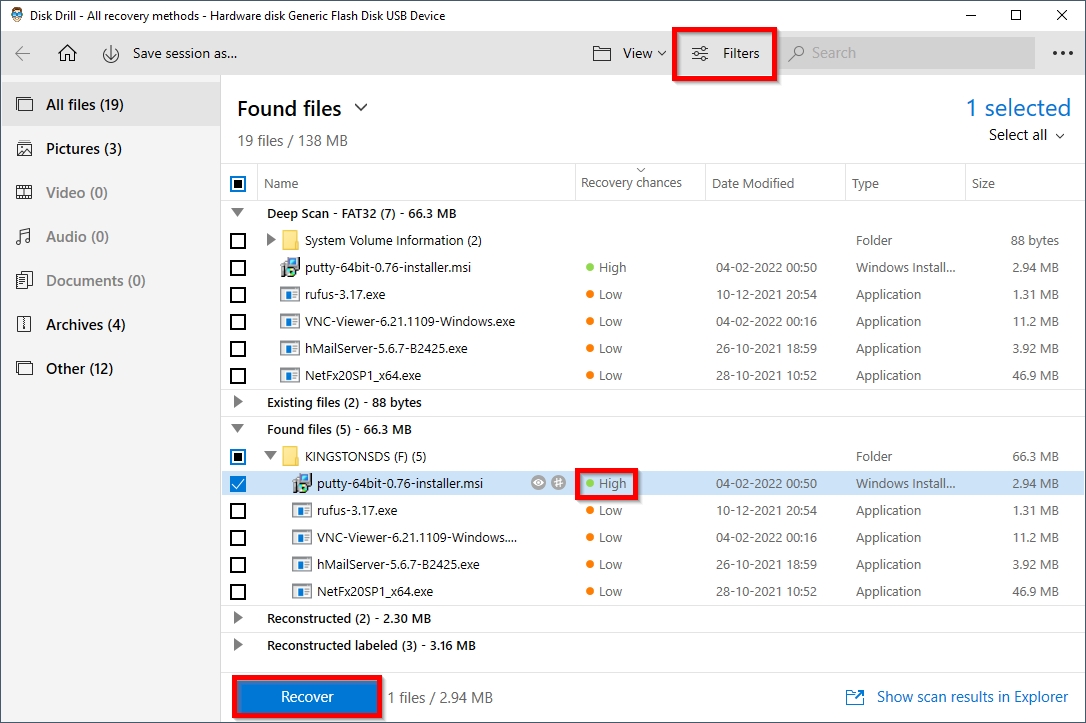
- Select the files you want to retrieve using the checkbox next to them. Additionally, you can double-click a file to preview it. Disk Drill will also display the recovery chances next to each file.
- Click on Recover.
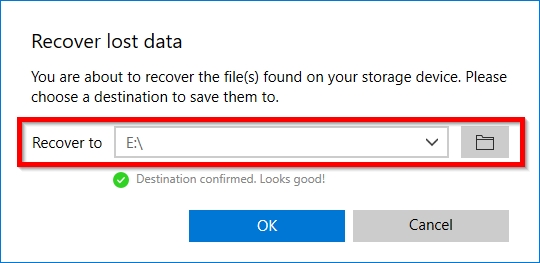
- Select a recovery directory for the files, and click on OK.
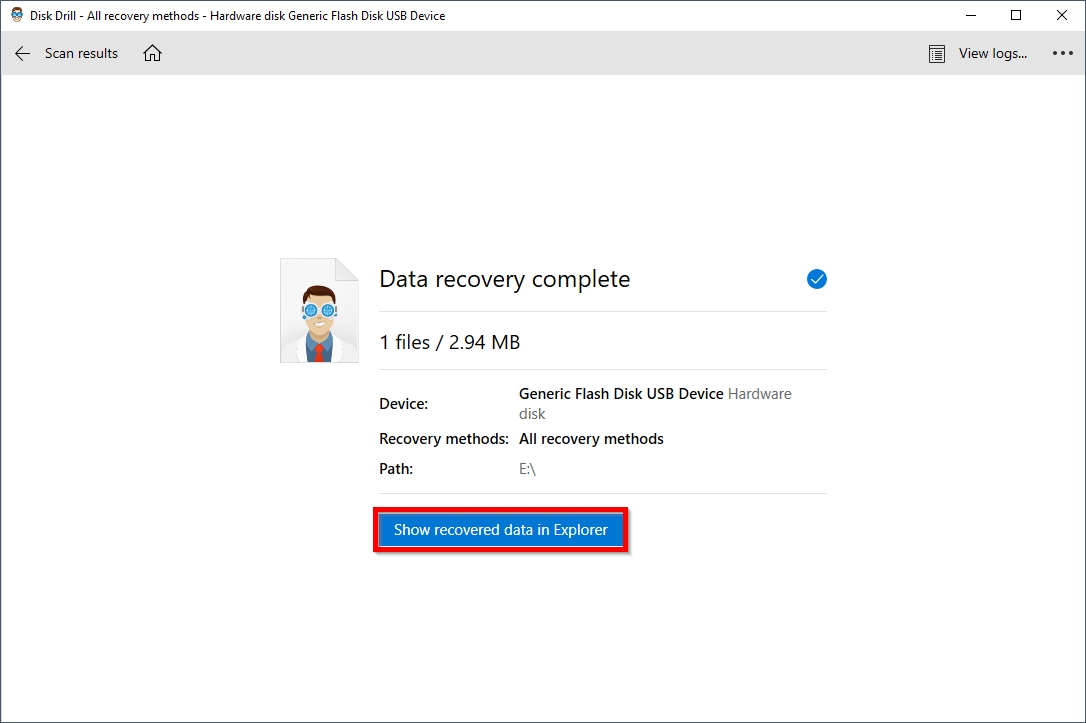
- On the recovery complete screen, you can directly view the files in Windows Explorer using the Show recovered data in Explorer button.