Reading Time: 6 minutesThere are various reasons users might need to reinstall their Windows operating system. It might have become unstable after years of use, gotten infected by serious malware, or slowed down heavily due to all the installed software.
Depending on how you reinstall your OS, there is a good chance that you might end up losing some important data. In this guide, we’ll explain the best ways to recover files after reinstalling Windows, and we’ll walk you through the two different ways you can install the operating system.
Does Reinstalling Windows Delete Files?
Reinstalling an operating system has a lot of uses, but will reinstalling Windows 10 delete files? You don’t necessarily have to lose your files whenever you perform a Windows reinstall. As long as you’re familiar with the process, you can ensure that all of your files are retained. Here’s are the steps on how you can start the reinstallation process on Windows 10 :
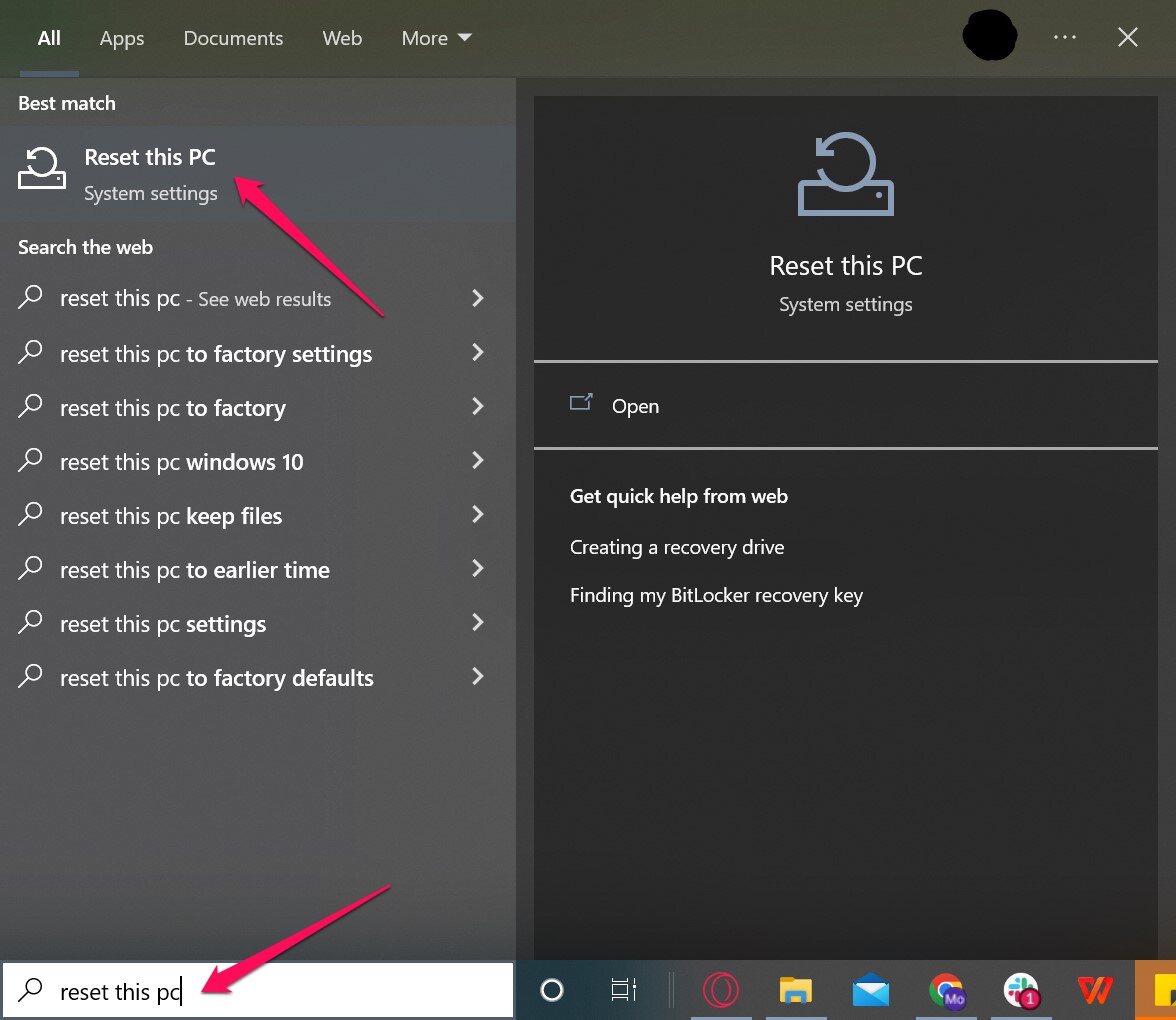
- Type reset this pc into the taskbar search box and select the top result.
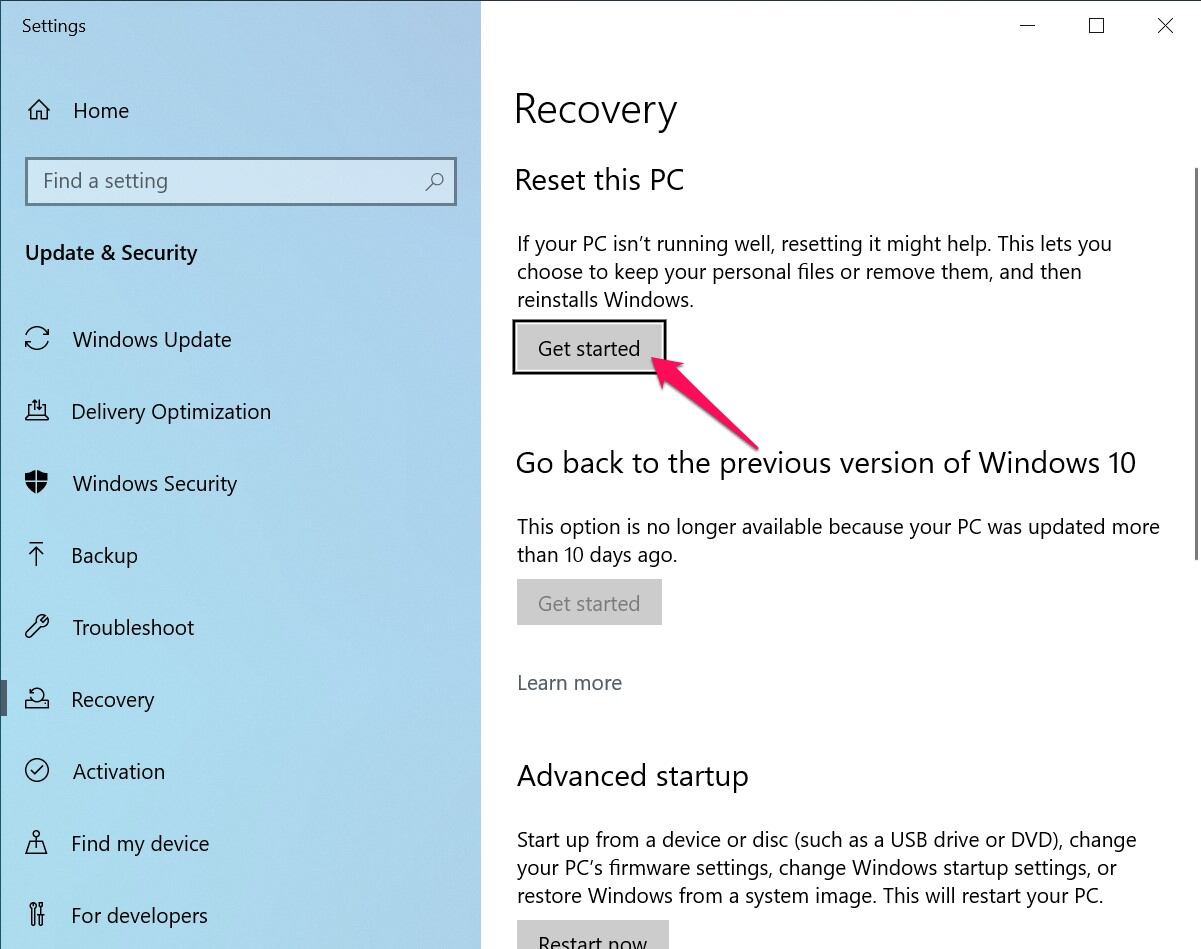
- Click the Get started button under the Reset this PC header.
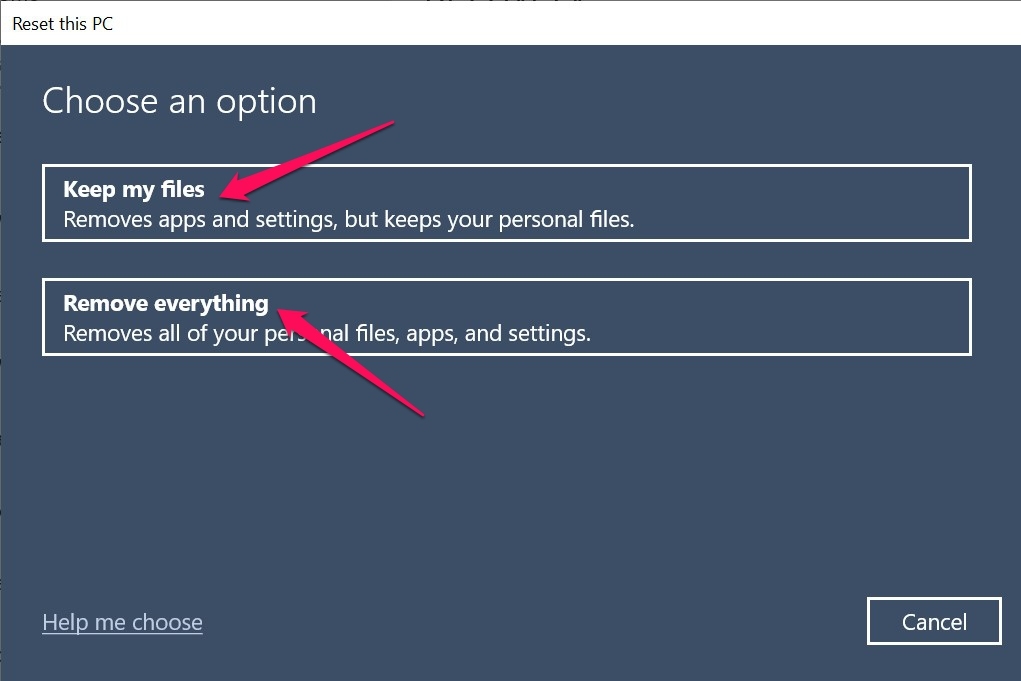
- You’ll see two options to choose from – Keep my files and Remove everything.
Keep my files
The Keep my files option allows you to retain all of your personal files and folders, removing just the apps and system settings. Select this option if you have important data on your computer that you haven’t backed up or if you just don’t want to go through the hassle of having to copy your backed-up files.
Remove everything
The Remove everything option essentially wipes all the data from your PC and reinstalls a fresh copy of Windows on your computer. Only select this option if you are confident that you don’t have any important files on your PC that haven’t been backed up yet. This option is the best course of action if your device was infected by a major form of malware/virus or if your drives are encountering issues.
Whichever option you decide on, the succeeding steps for reinstallation are fairly similar. Just follow the instructions on-screen until Windows is reinstalled successfully.
How to Recover Files After Reinstalling Windows
There are several ways you can get back your files after Windows 10 has reinstalled itself. The easiest way would be if you selected the Keep my files option in the previous section, but there are also techniques to retrieve files that were lost during the Remove everything method.
Method 1: Windows Old Folder
If you went with the Keep my files method, Windows will automatically create a new Windows system folder on your chosen hard drive, while renaming the old one to Windows.old. The Windows.old folder essentially contains all the data from your previous installation of the operating system, and you can browse through it to look for the files that you would like to recover.
Once you locate all the files you want to retrieve, you can copy them over to another drive or folder and then delete Windows.old since it takes up quite a bit of space.
Method 2: File History
File History is a fantastic recovery feature that has become a part of modern iterations of Windows since its introduction in Windows 8. It is capable of creating regular backups of specific Windows files and folders, allowing you to recover various versions of your data whenever you like.
The thing is, you’ll need to enable the feature before data loss takes place, and you’ll need a separate drive to store the backup data on. In the case of Windows reinstallations where data was wiped, the feature should have been turned on before the process took place, and backups should have already been created. If these conditions were met, here’s how to use File History to recover your files after reinstallation:
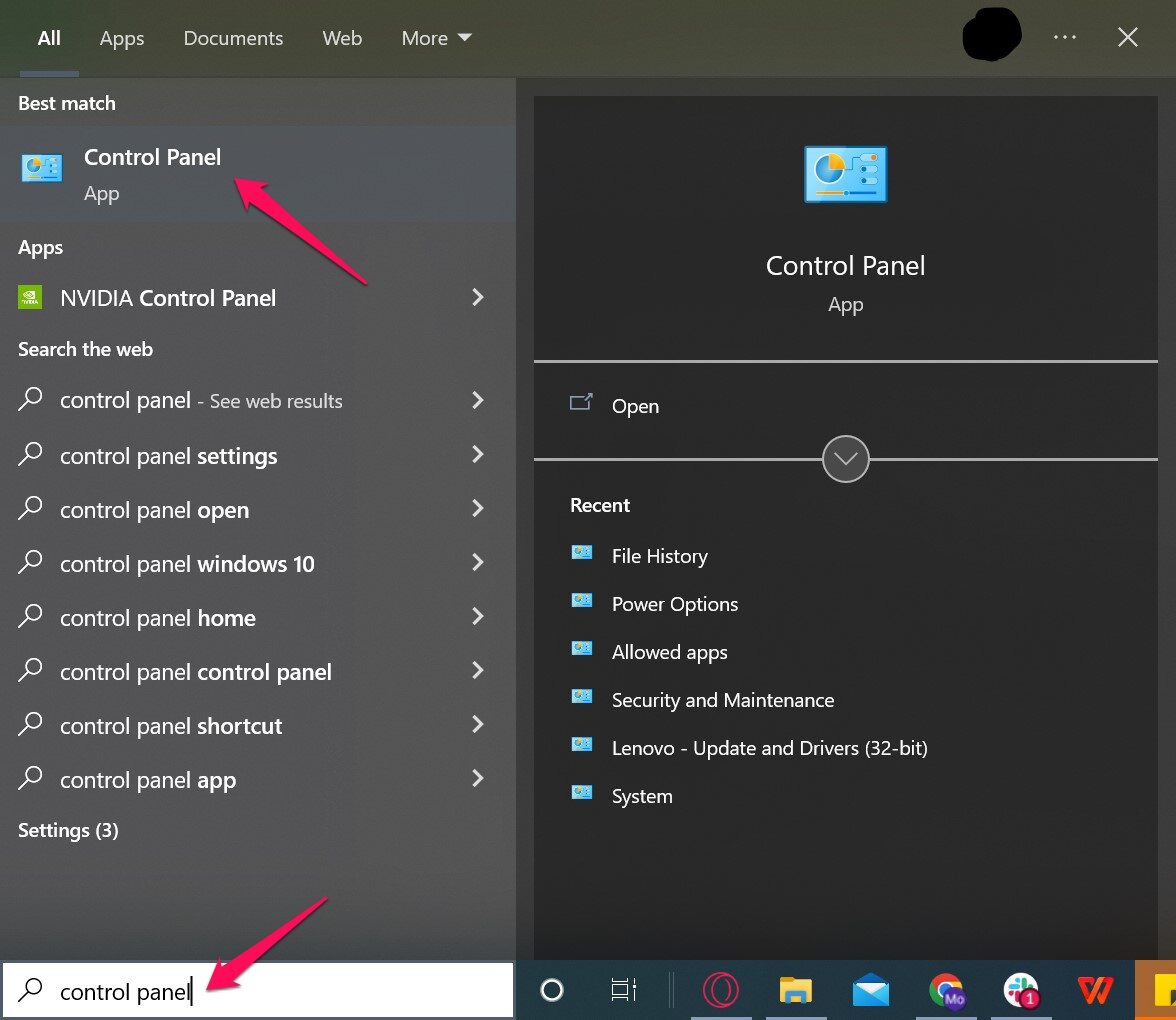
- Type control panel into the taskbar search box and select the top choice.
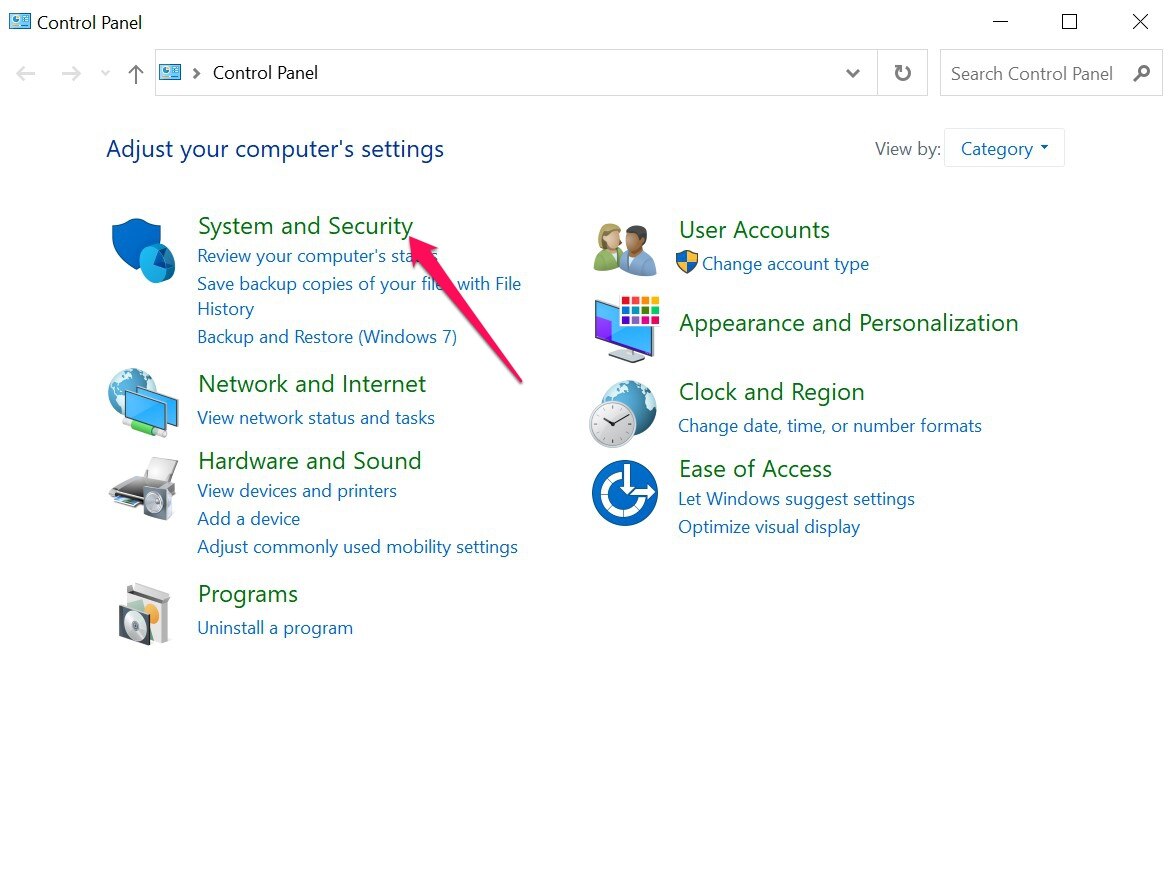
- Navigate to System and Security.
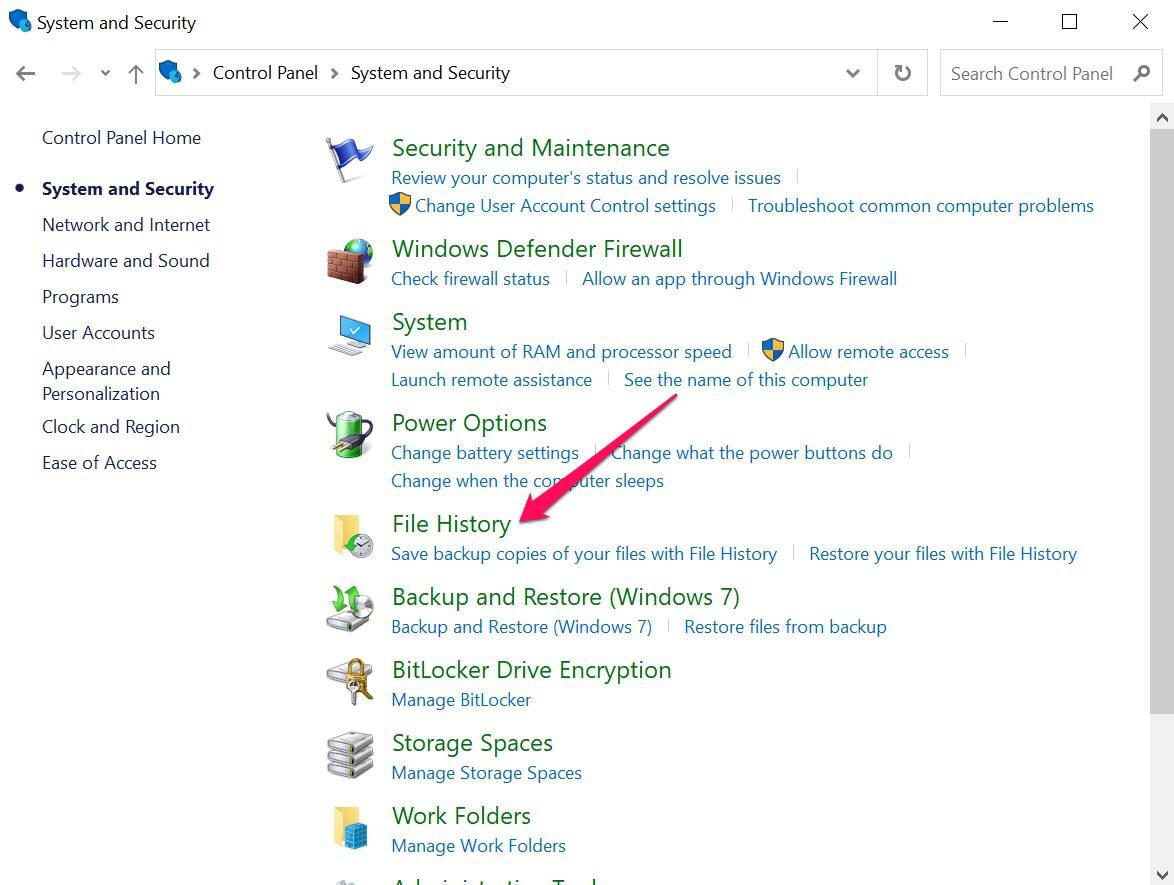
- Then File History.
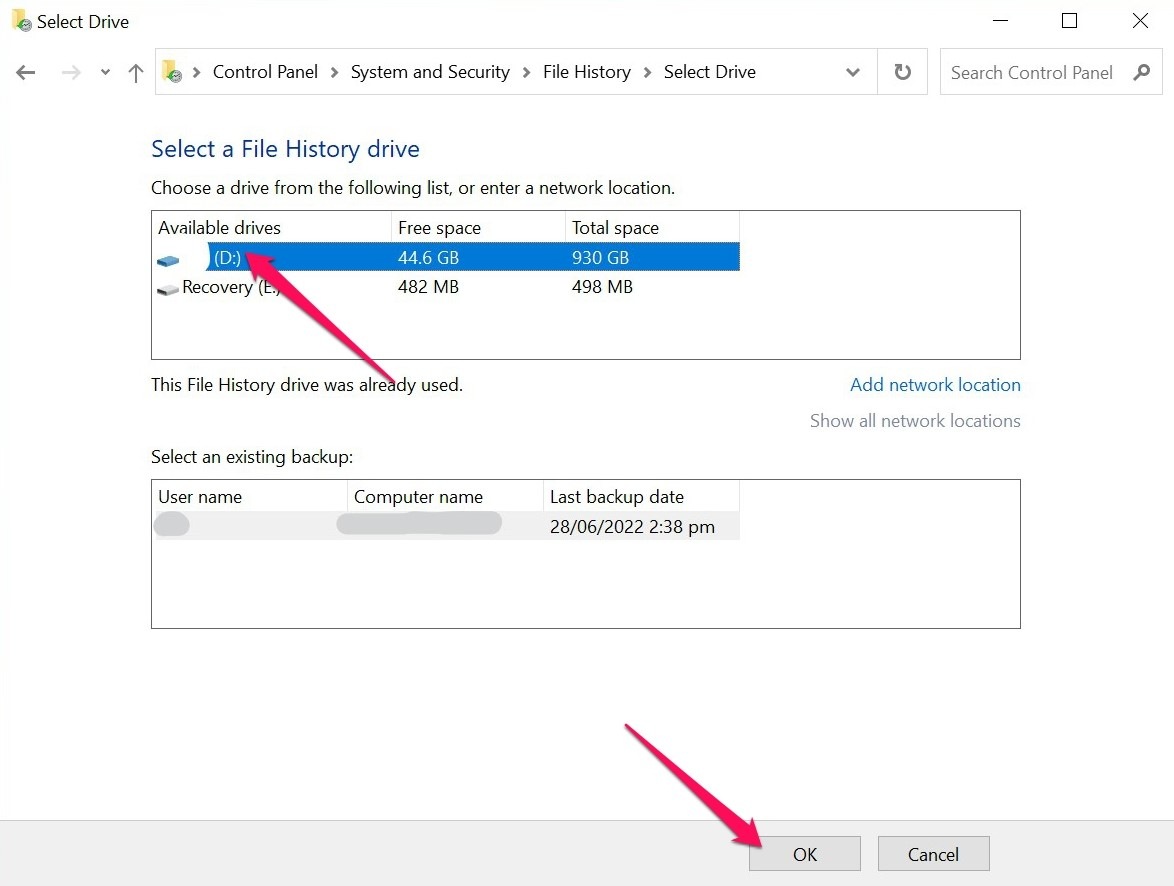
- Click Select drive from the left side of the window.
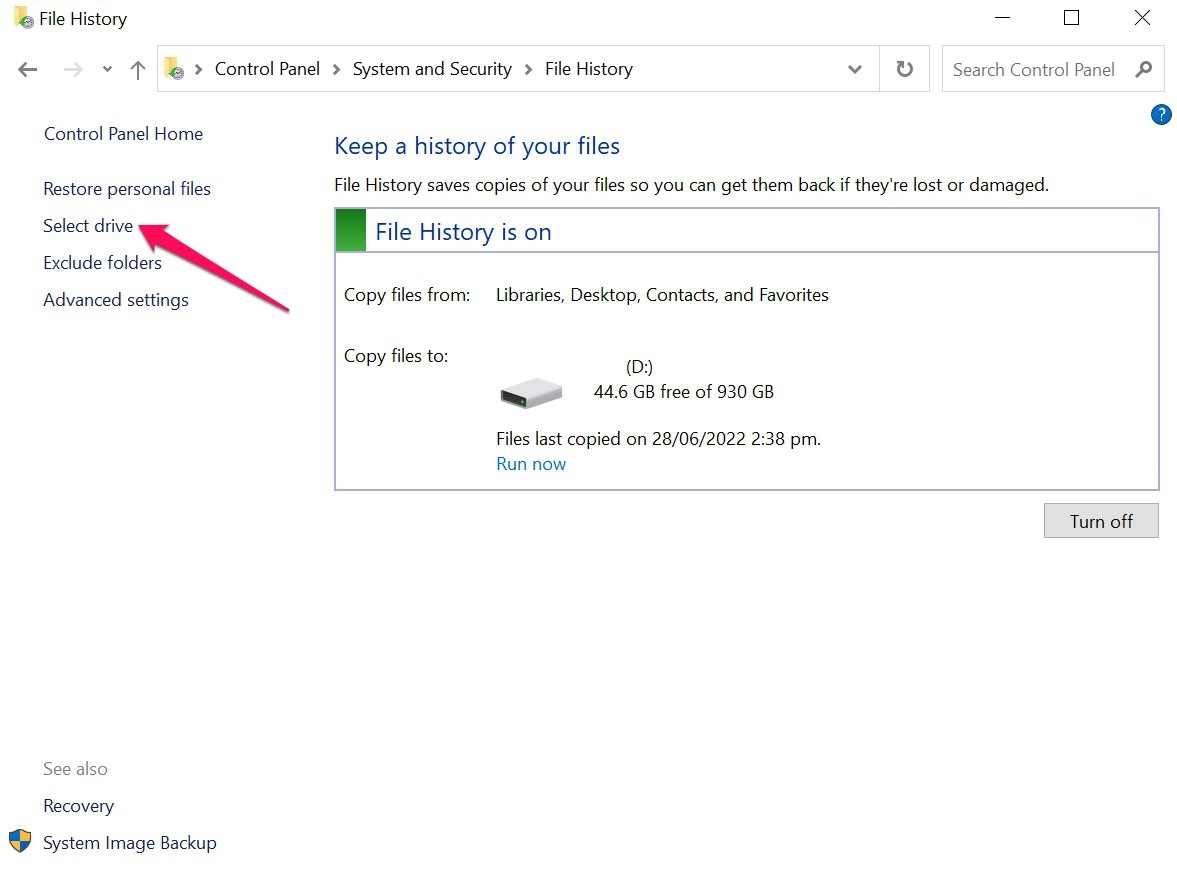
- Choose the drive that contains the backups of your files and click the OK button. A pop-up will appear asking you to confirm the selection. Hit Yes.
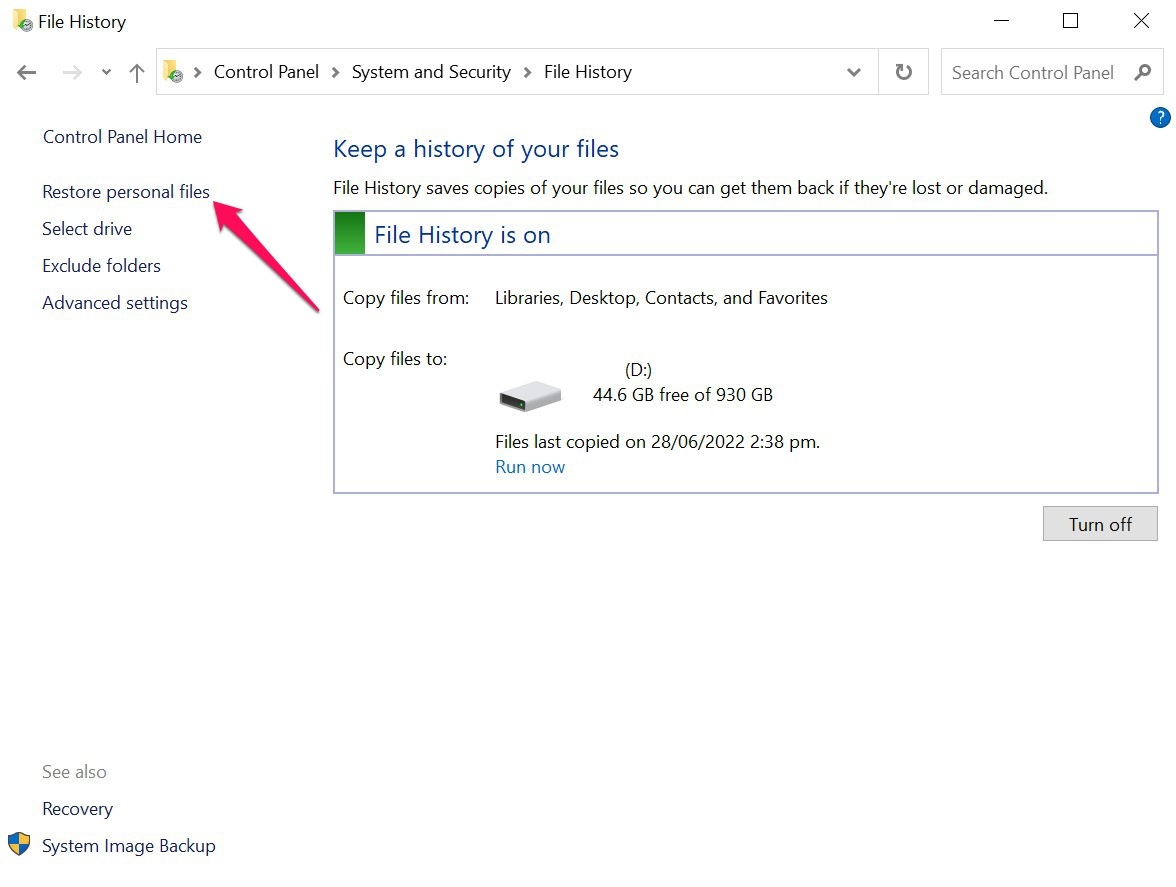
- You should now be returned to the previous section. Next, click Restore personal files from the left side of the window.
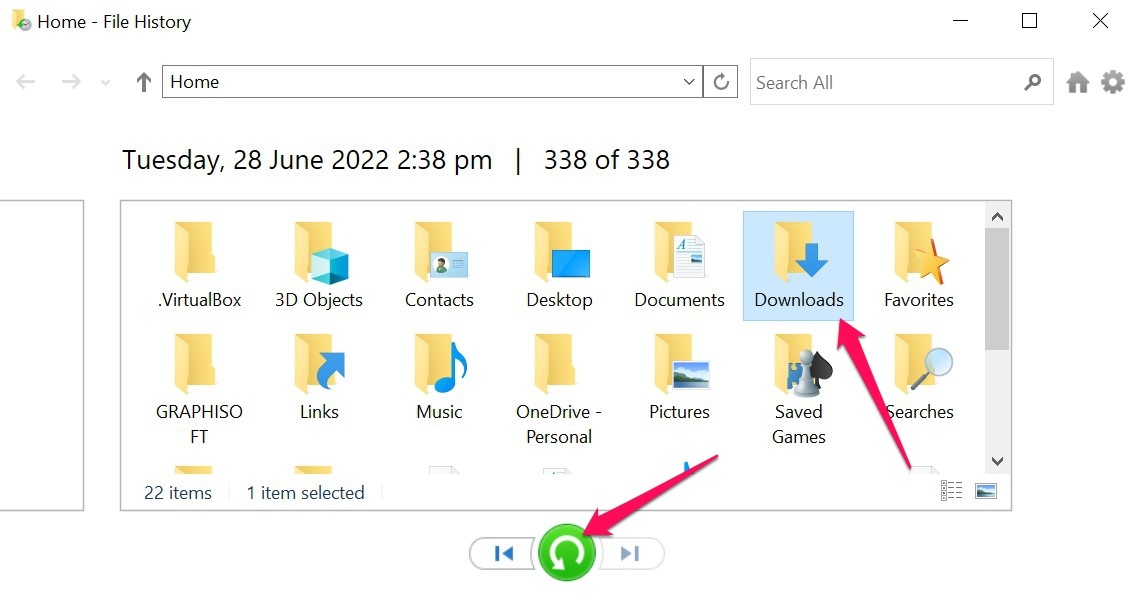
- Navigate to the folder that contains the files you want to recover, then highlight them and click the green rounded arrow button along the bottom of the window to recover those files to the same location. Note: You can click the left or rightmost edges of this window to cycle through different backup dates.
Method 3: Data Recovery Software
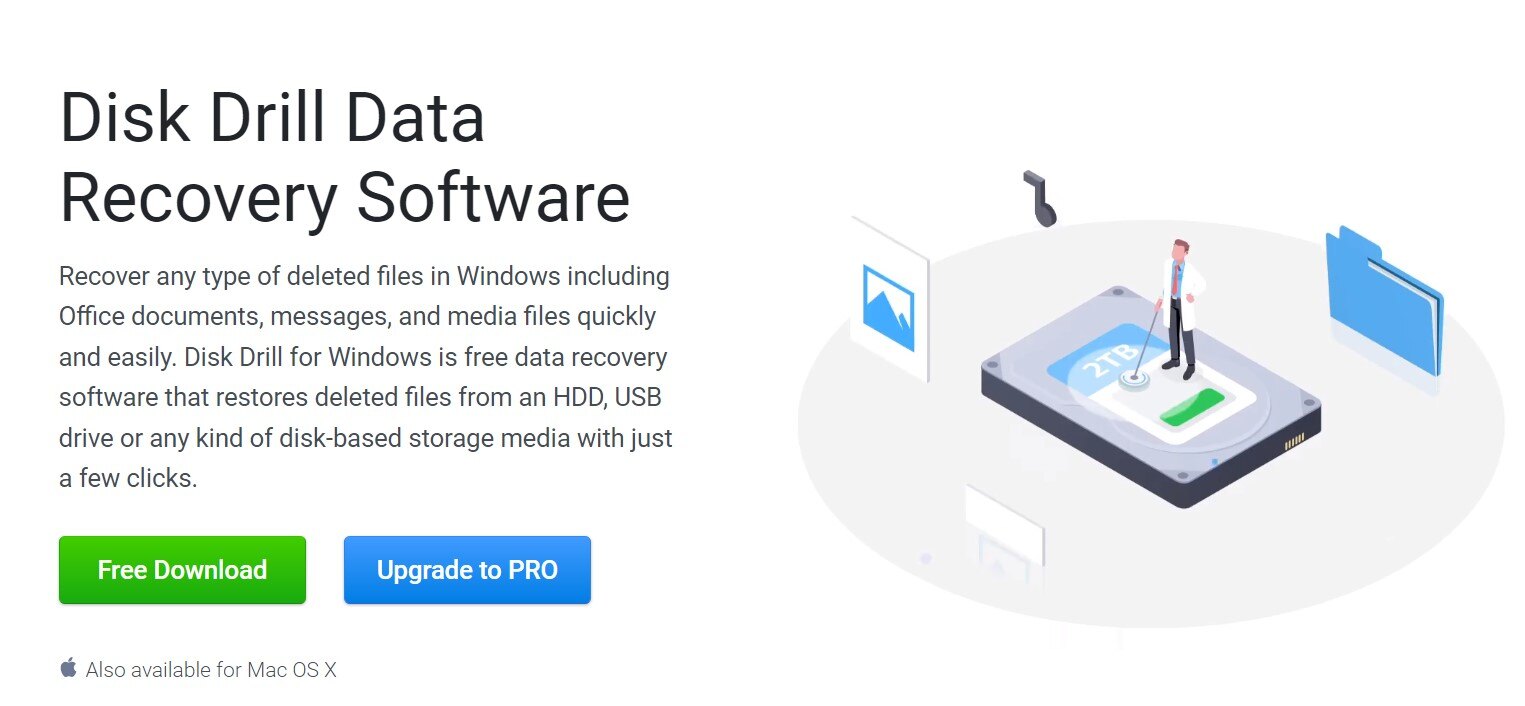
If your Windows reinstallation erased your files and you didn’t have File History enabled beforehand, the best way to retrieve your files is through a top-notch data recovery program. Disk Drill is a particularly impressive one that promises an unbeatable recovery rate, an easy-to-navigate user interface, and some excellent extra features.
It has a built-in backup feature and a data vault, and it lets you stop and resume recovery sessions at will. You can also test out all of its features through its trial version, which comes with a 500 MB recovery limit. Here’s how to utilize Disk Drill to recover files lost through the reinstallation process:
- First, download the Disk Drill installation file from the Cleverfiles website.
- Launch the file and follow instructions until successfully installed.
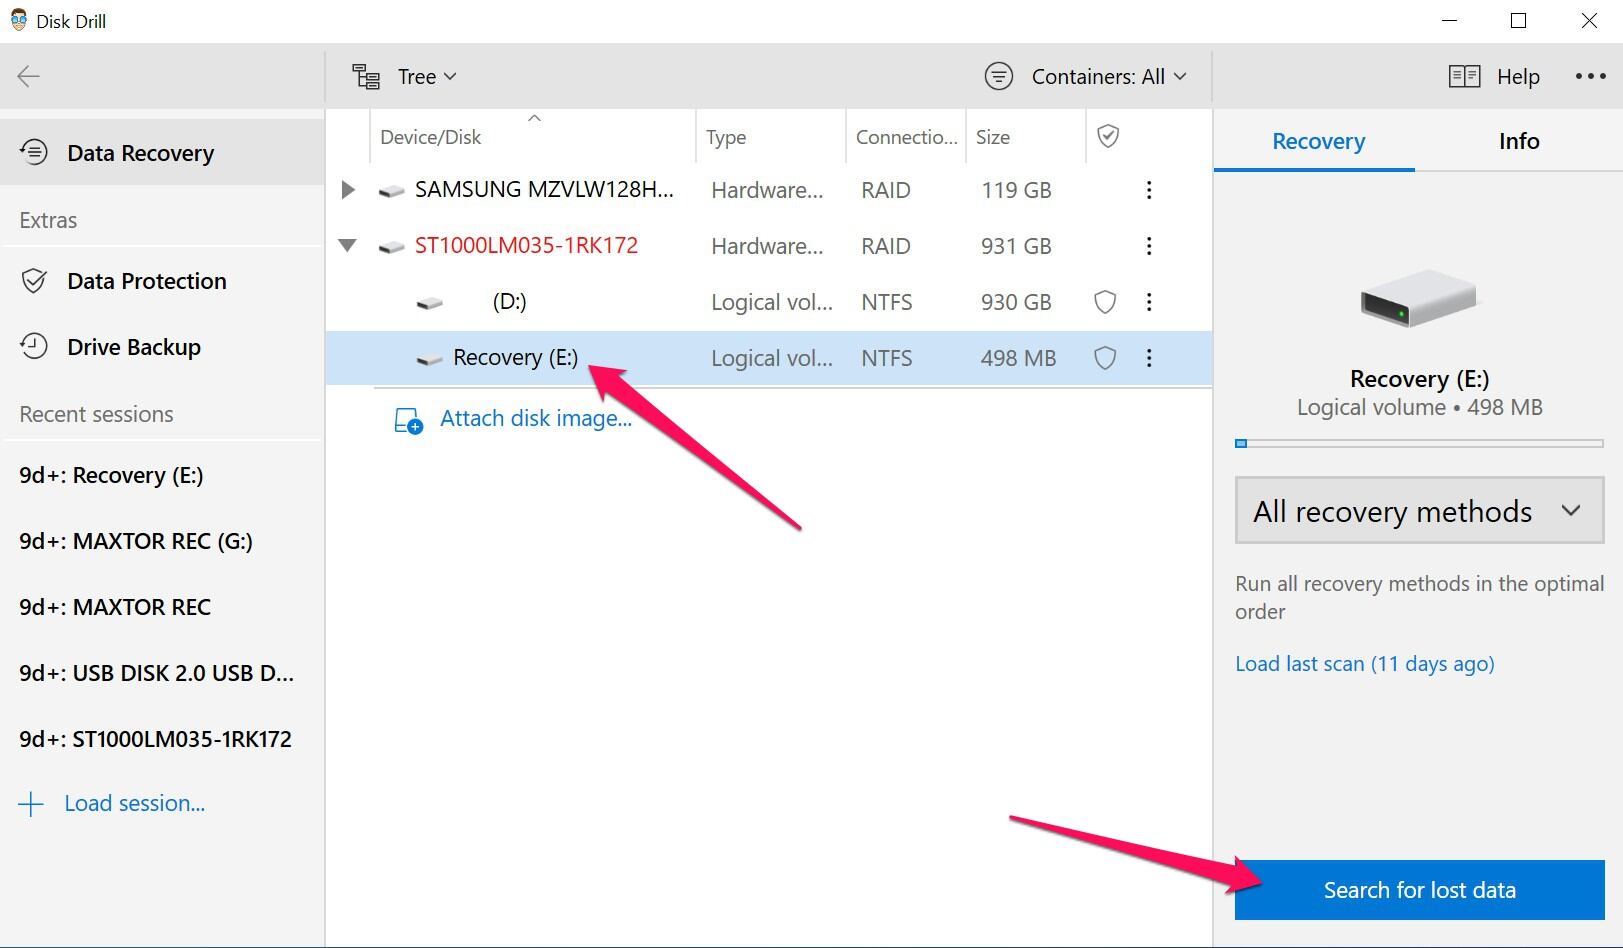
- Run Disk Drill and select the storage device where your files were located before Windows reinstallation. Click the Search for lost data button when you’re ready.
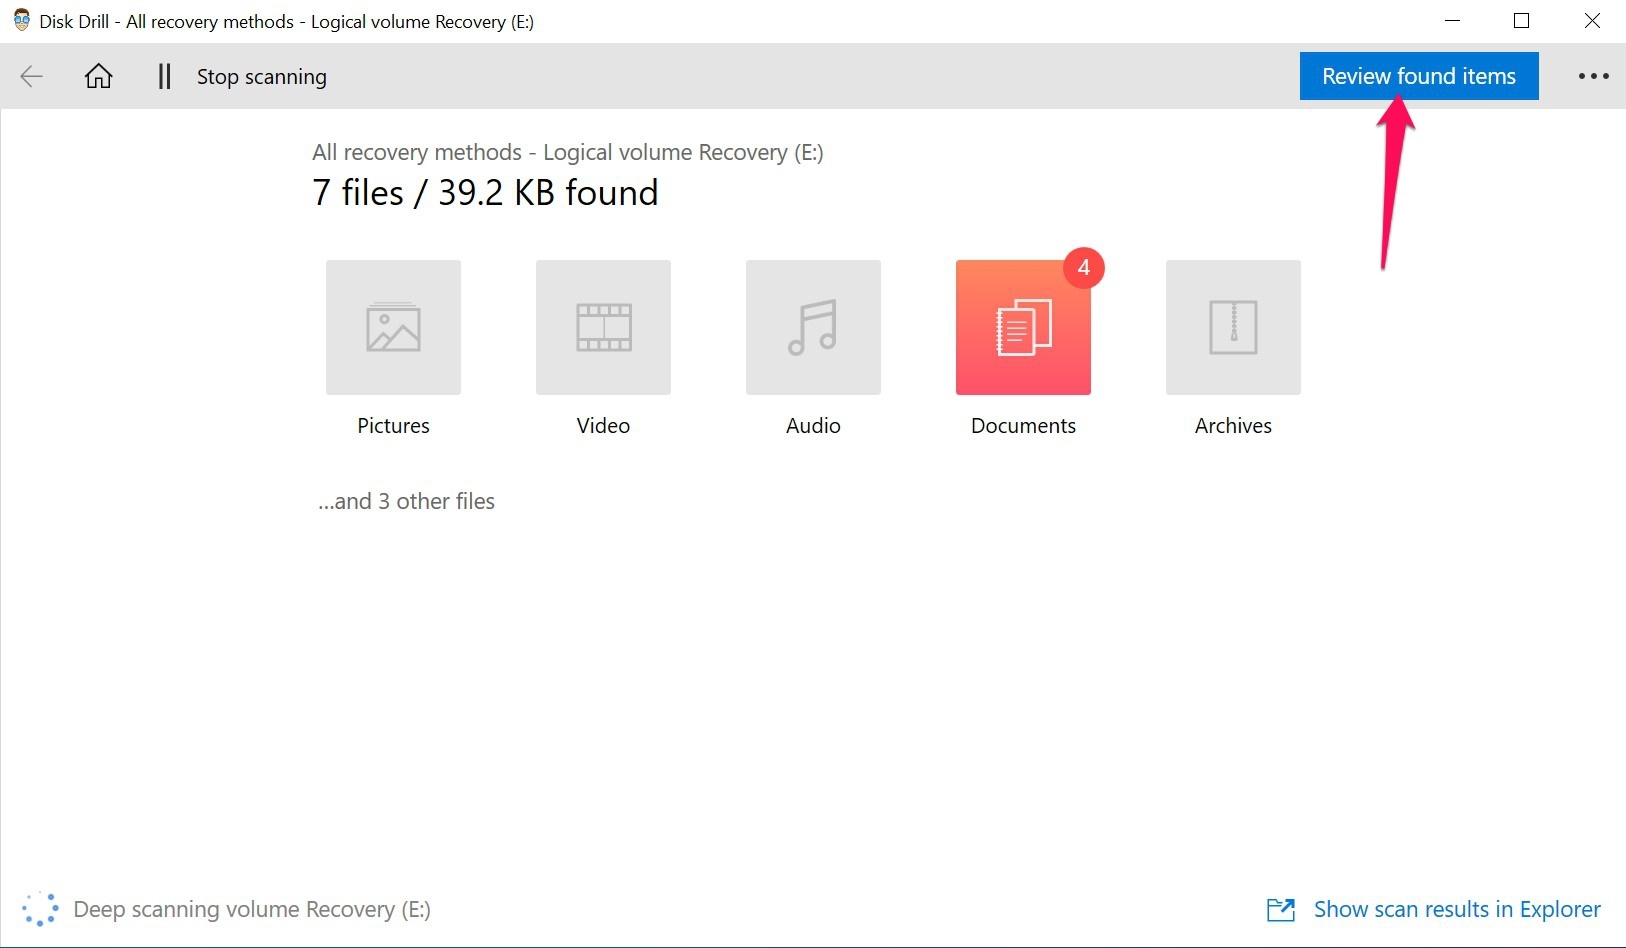
- Disk Drill will now start scanning the drive you selected. How long this process takes depends on the size of your drive. During the scan, you can click the Review found files button on the top-right corner of the window to head to the results page, where you can browse the recoverable files the app has found so far. You can also wait for the scan to be completed first and then click the same button to look through the results.
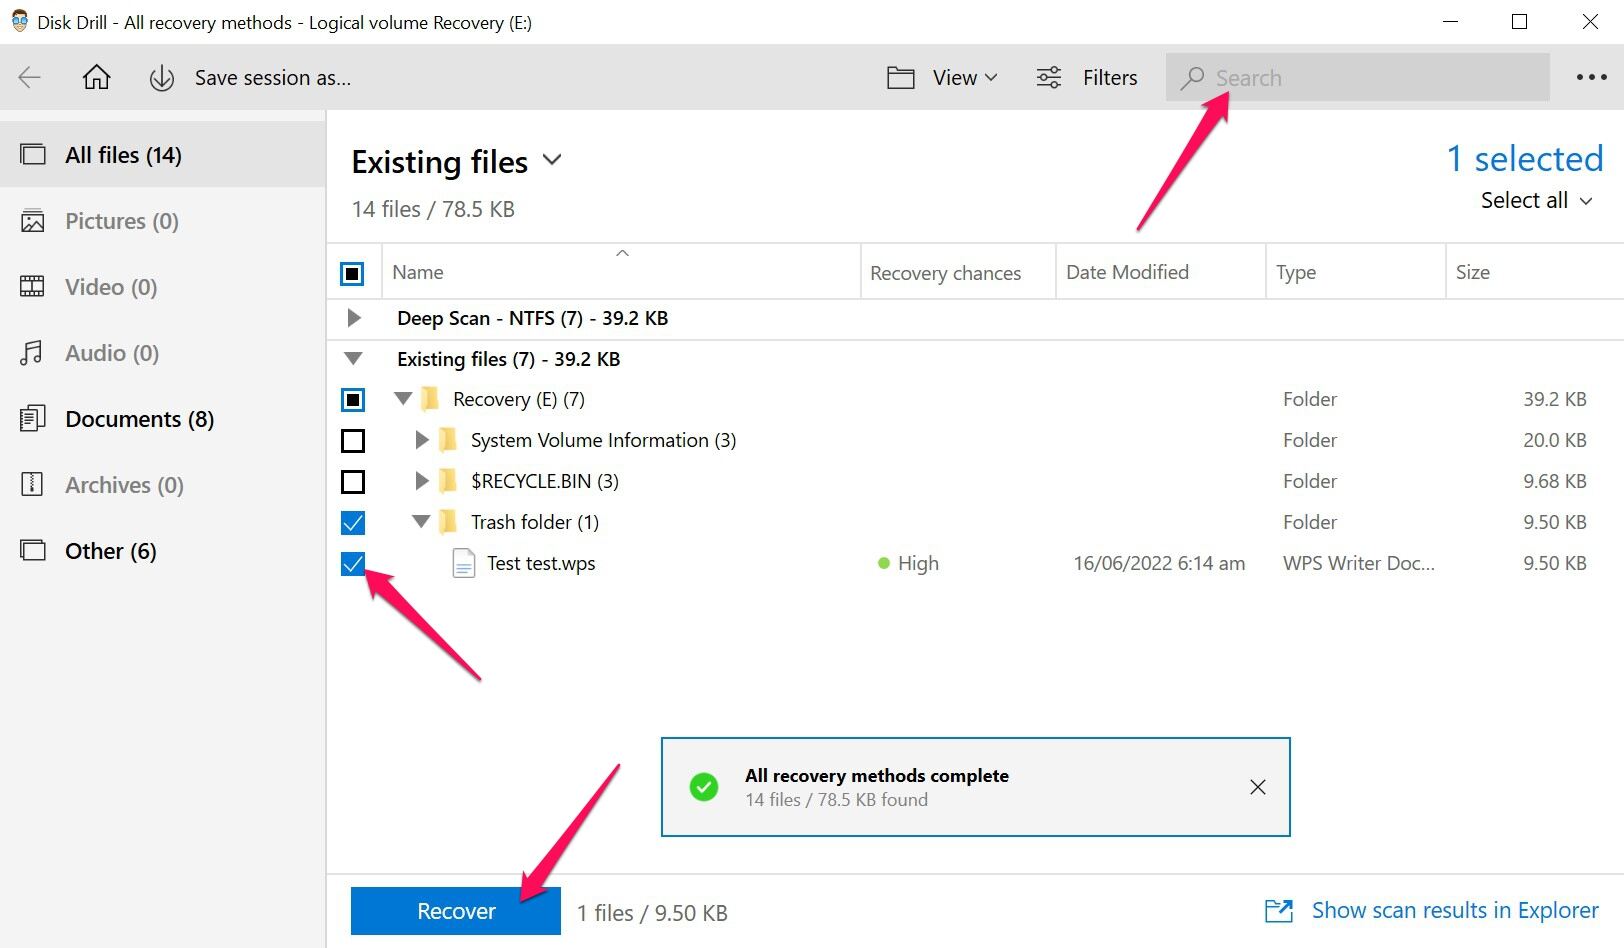
- On the results page, browse the dropdowns for the files you want to recover. You can also take advantage of the search box on the top-right corner of the window if you’re familiar with the name or extension of your lost file. First, select the files you want to retrieve by ticking the checkbox on the left of the file name, then click Recover to proceed to the next step.
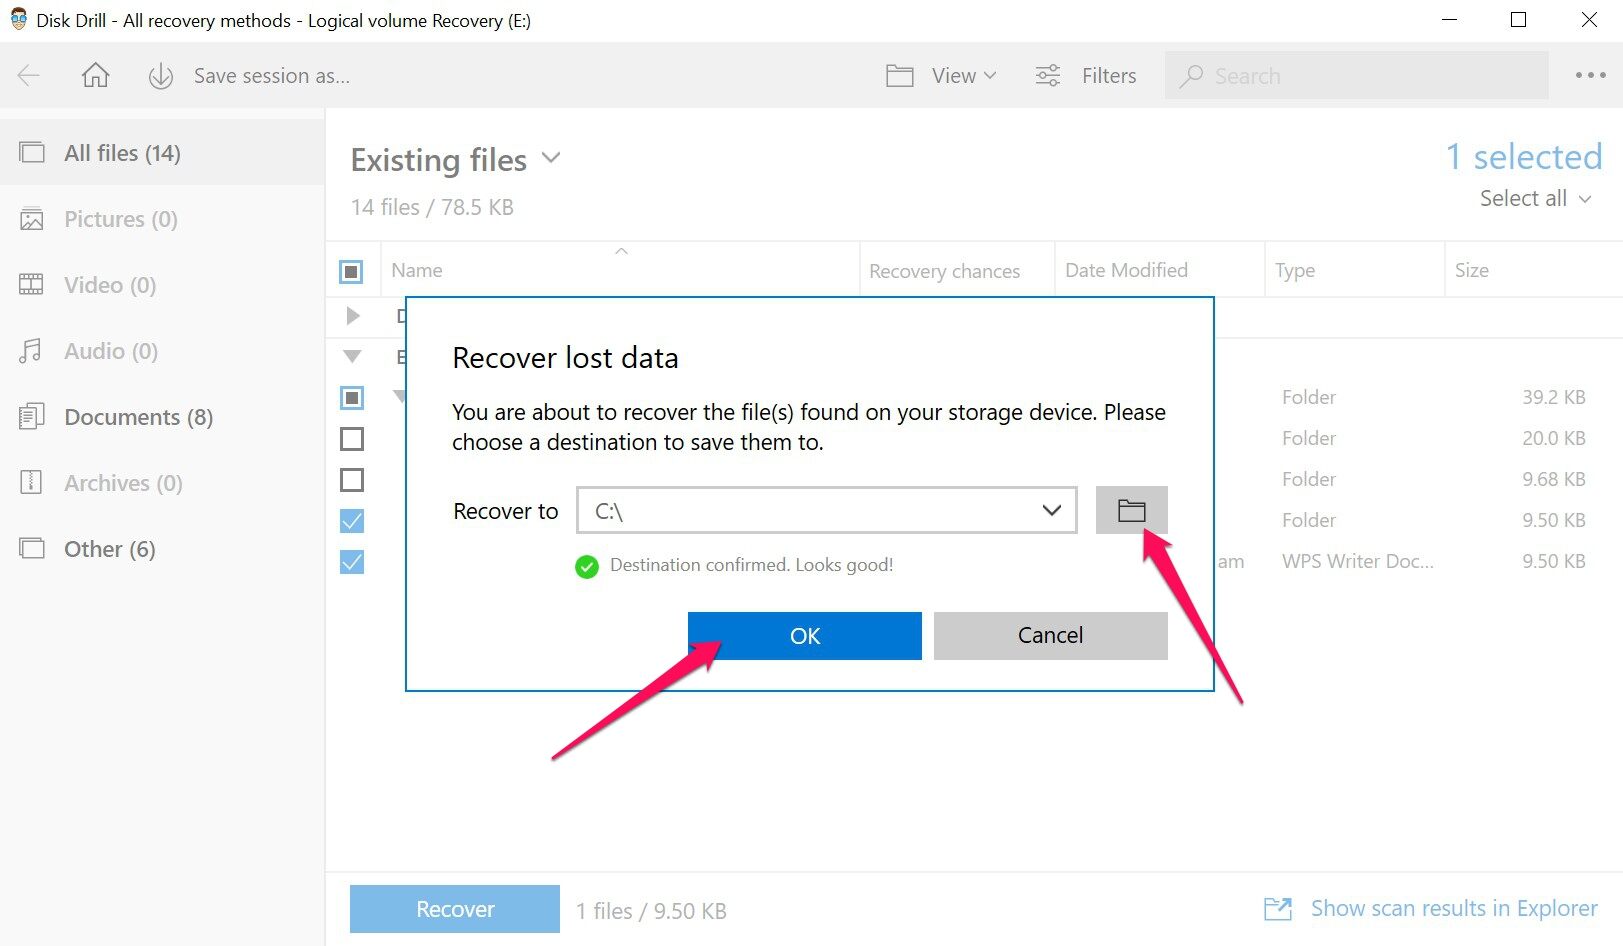
- A pop-up will appear, requesting that you decide the location where your recovered files will be saved. Of course, this has to be in a different drive than the one you’re recovering data from. Click OK once the location has been decided.
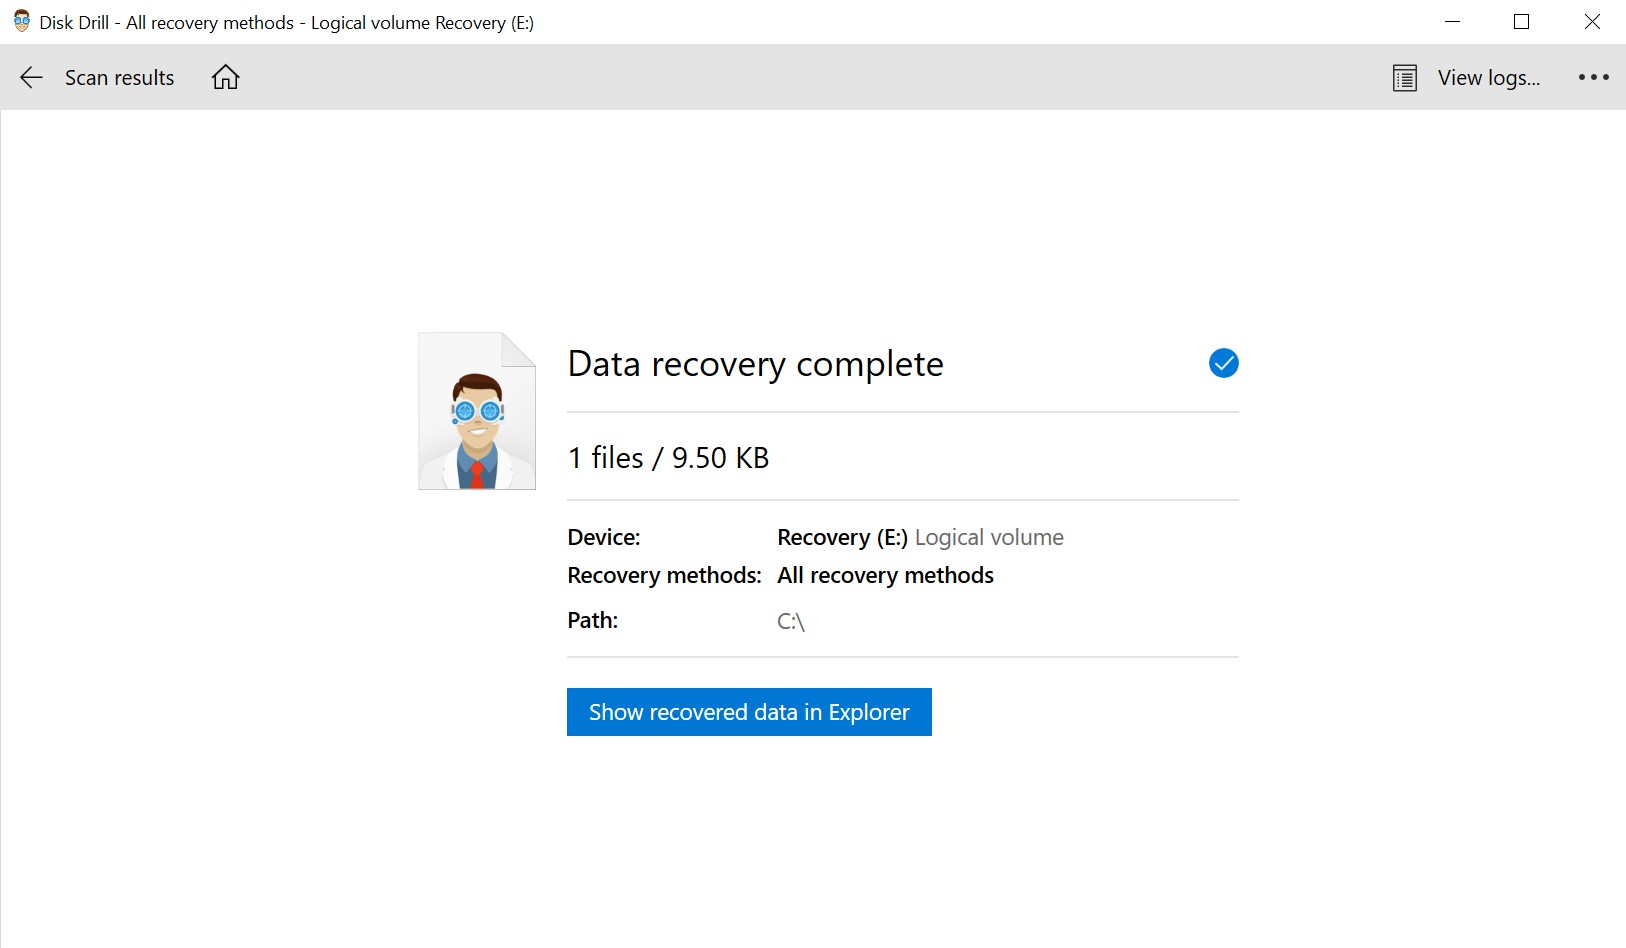
- Disk Drill will now perform the recovery process. Once it’s done, a completion message will appear, along with a button labeled Show recovered data in Explorer. You can click that button to go directly to your recovered files.