
Reading Time: 10 minutesHave you tried to continue working on a file or transfer it from your external hard drive to your computer, but it was nowhere to be found? Many reasons can cause files to disappear, but fortunately, you can usually get them back to your drive. In this article, we’ll break down each issue and walk you through all the ways you can recover your files.
Thoroughly View All Your Files on an External Hard Drive
Before we proceed to more advanced recovery methods and determine why your files went missing, give your external hard drive a good once-over. You may have saved the file in the wrong spot, and it now resides in a different folder. Take your time and check through each folder carefully.
- To get started, connect your external hard drive to your computer.
- Open This PC by typing it in the Start menu search bar. You can also click This PC on your desktop shortcut.
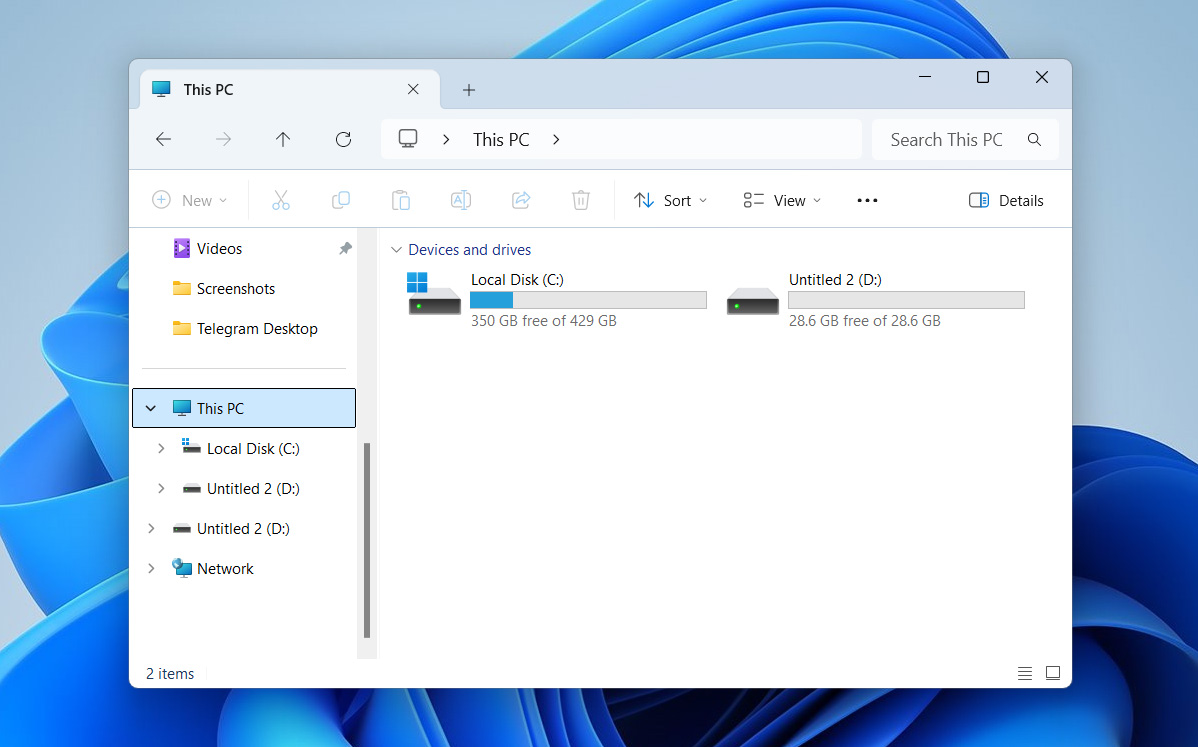
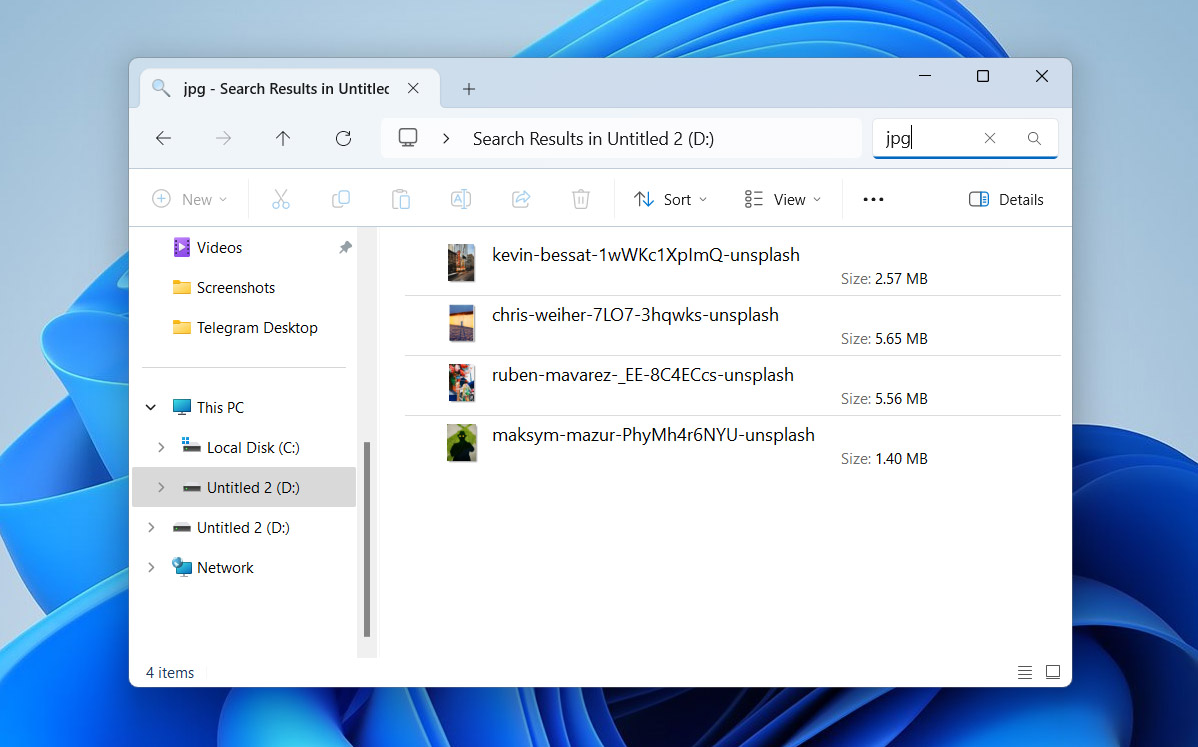
- Afterward, you will see the drives you can access. Click on your drive name to open it and manually search for files by opening each folder, or use the search bar if you remember the file name.


How to Find Files Disappeared from the Hard Drive
If you searched every corner of your external hard drive and still can’t find your files, it’s time to try some recovery methods. In this section, we’ve put together the most common ways to get your files back. We’ll start with a universal option and then walk through a few more situational fixes in case the first one doesn’t work for you.
💡 Quick heads-up: Stop using your external hard drive and don’t add any new files. If your data were deleted, any new information could overwrite the old items and make recovery impossible.
Method 1: Recover Files With Data Recovery Software
The first method to recover disappeared files from an external hard drive is to use data recovery software. You may choose from various lists of the best data recovery software for Windows, but in this article, we will concentrate on our top choice – Disk Drill. Why Disk Drill? Because it’s a true all-in-one tool. It can recover deleted files, bring back data lost after a quick format, and even find hidden files still sitting on your drive. Basically, whatever caused your files to disappear, Disk Drill has you covered.
As for what you can recover, it supports nearly 400 file formats, covering everything from photos and videos to documents, audio files, archives, and more. If the file is supported by your version of Windows, Disk Drill even allows you to preview these files before recovery.
- Download Disk Drill for Windows, but make sure you install it on a different drive than the one you’re trying to recover data from. That way, you don’t accidentally overwrite anything.
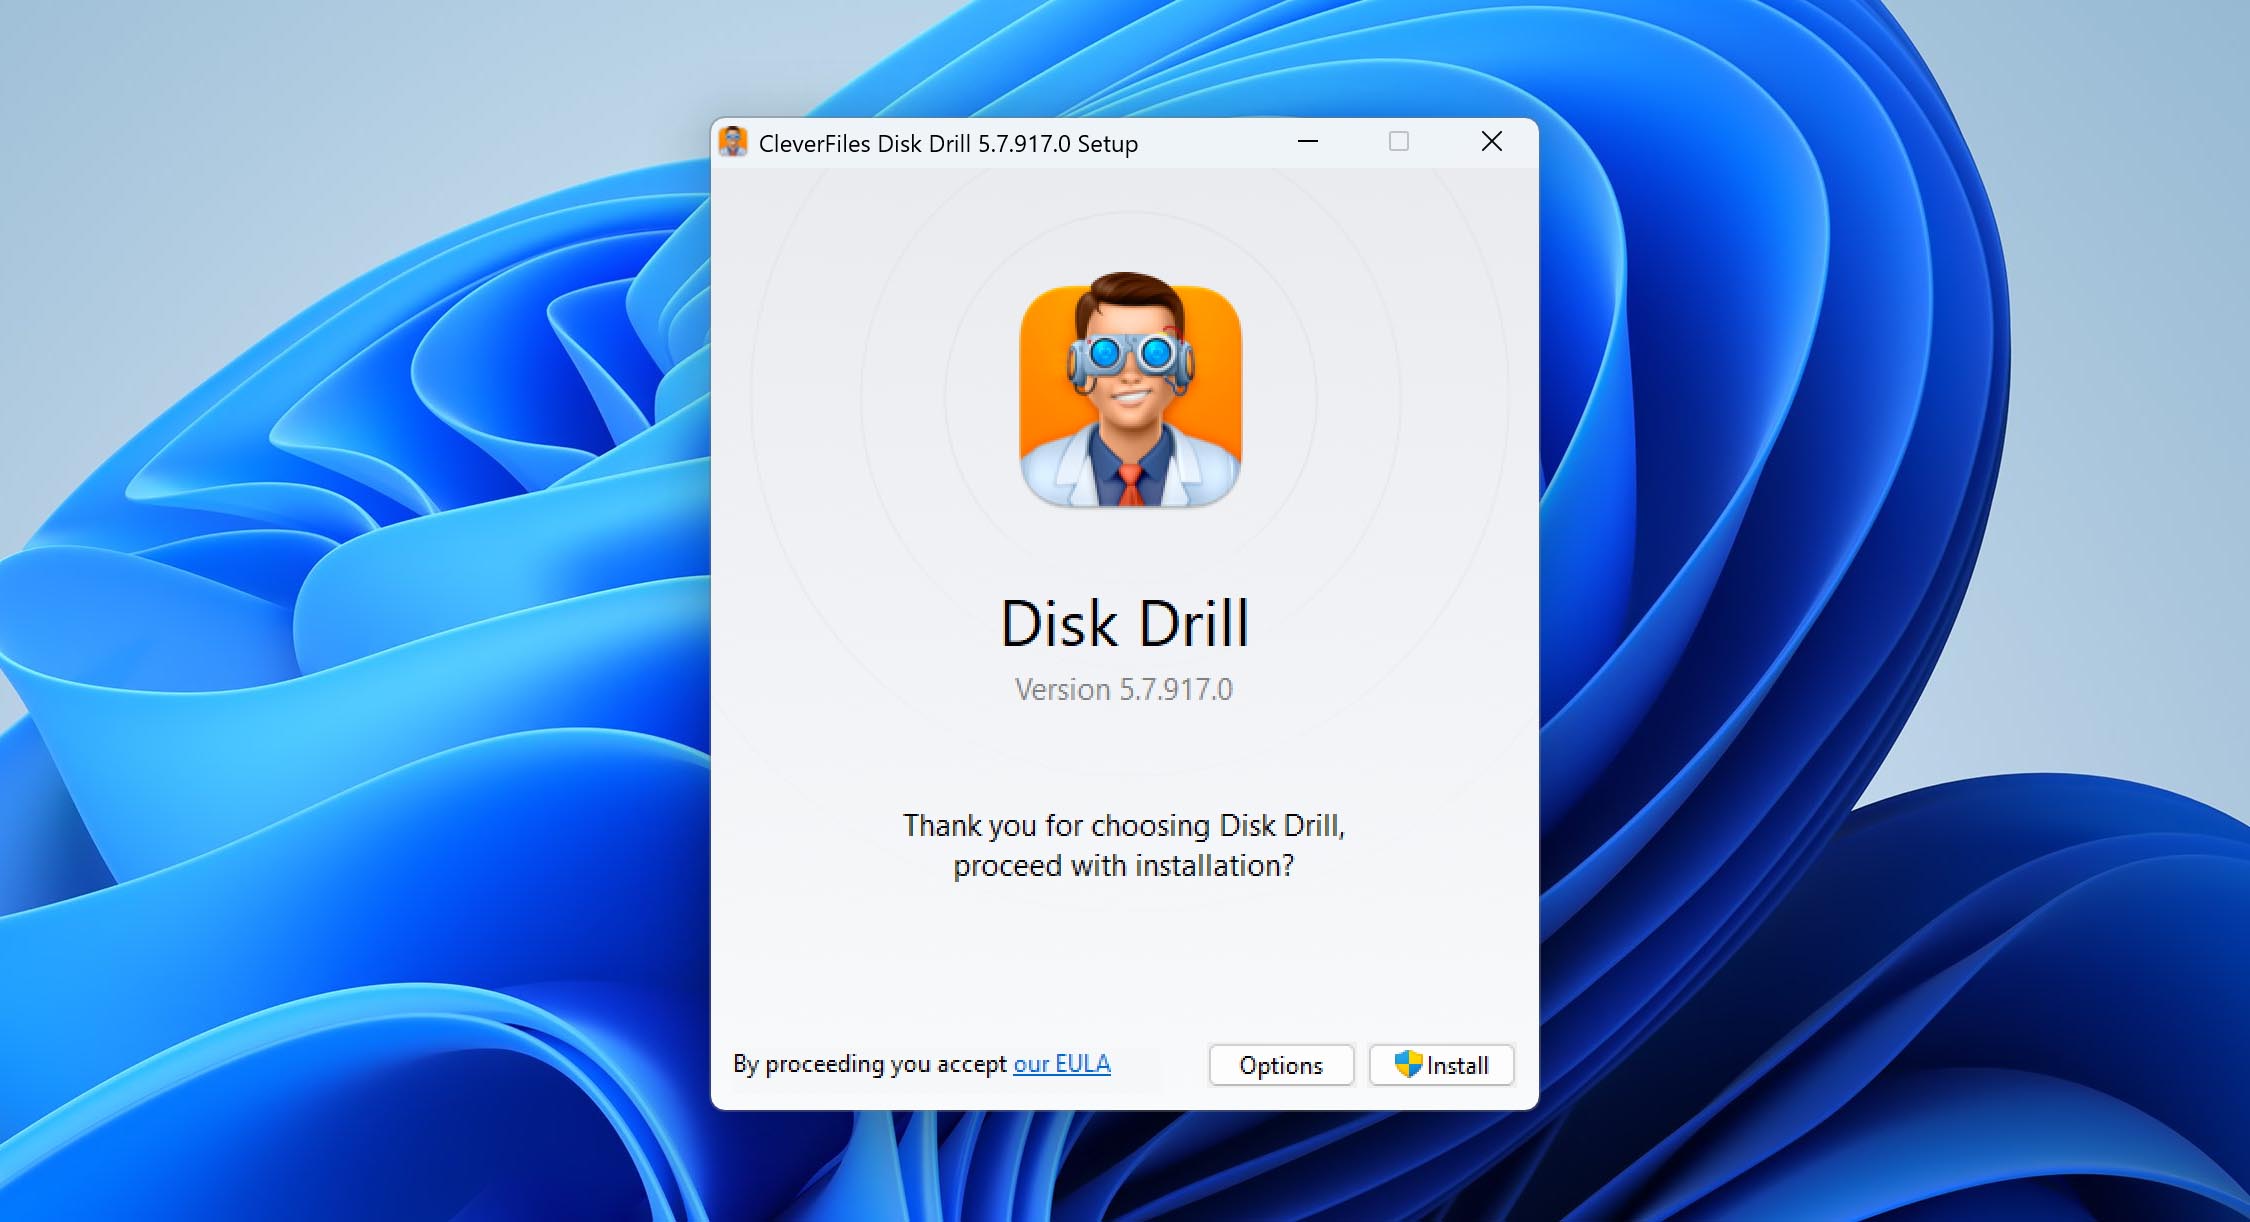
- Run the installer and follow the steps to get it set up.
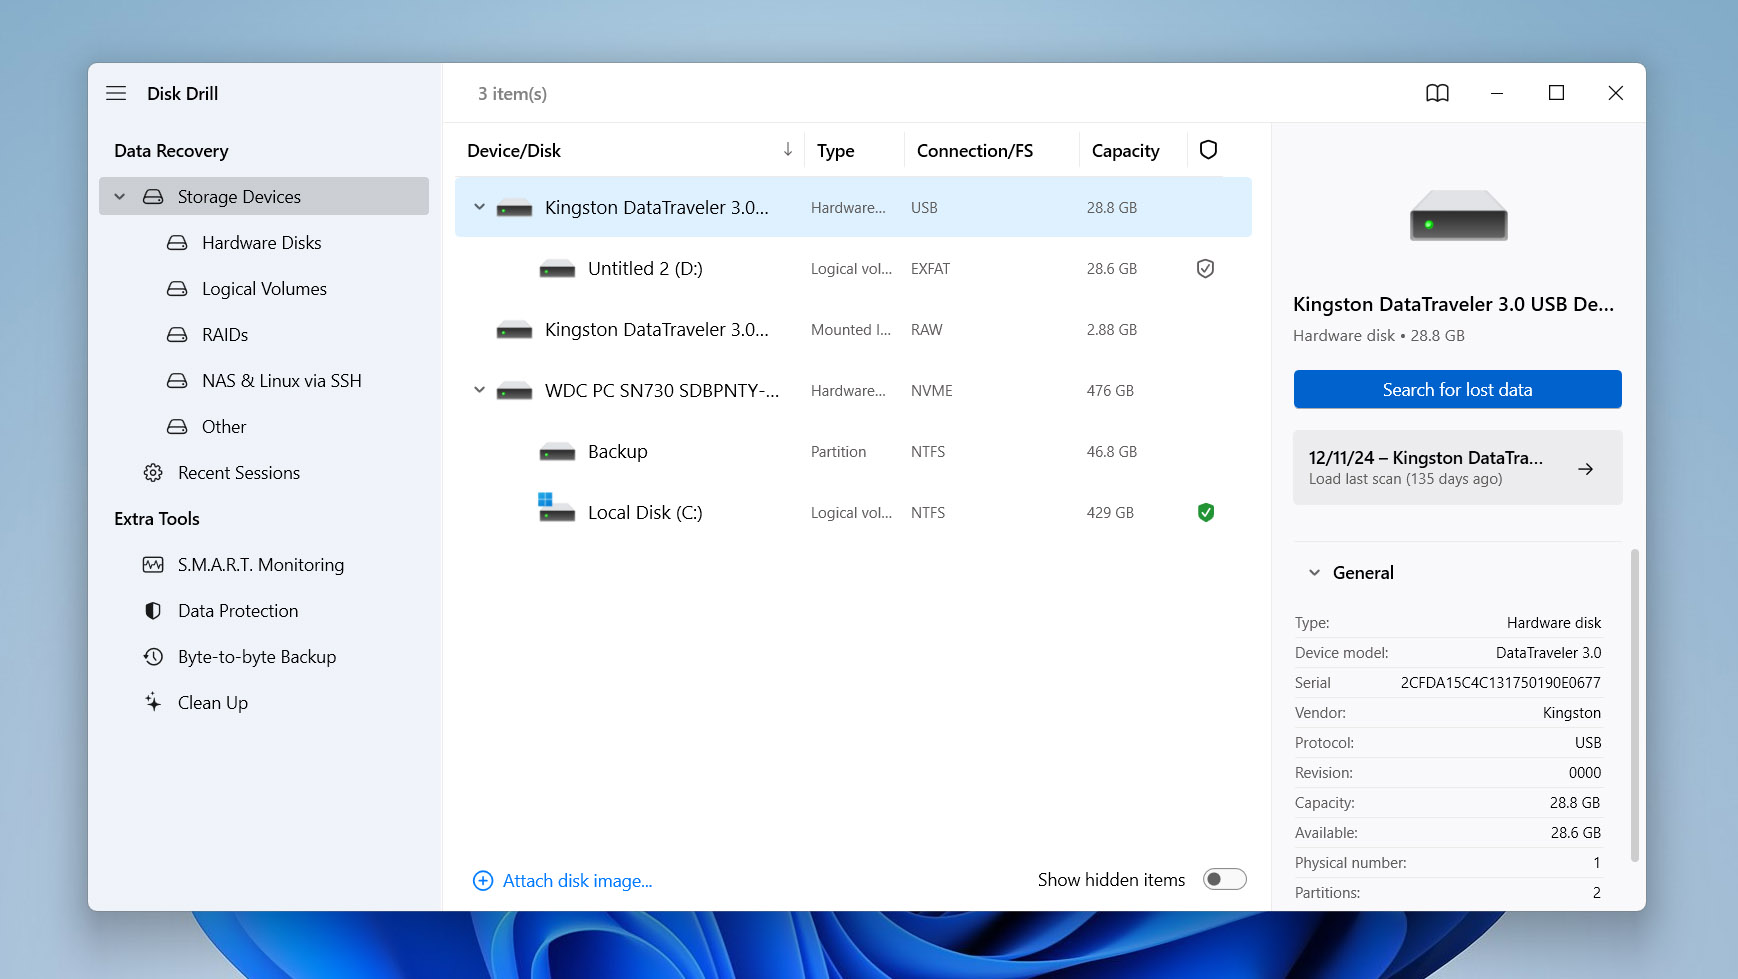
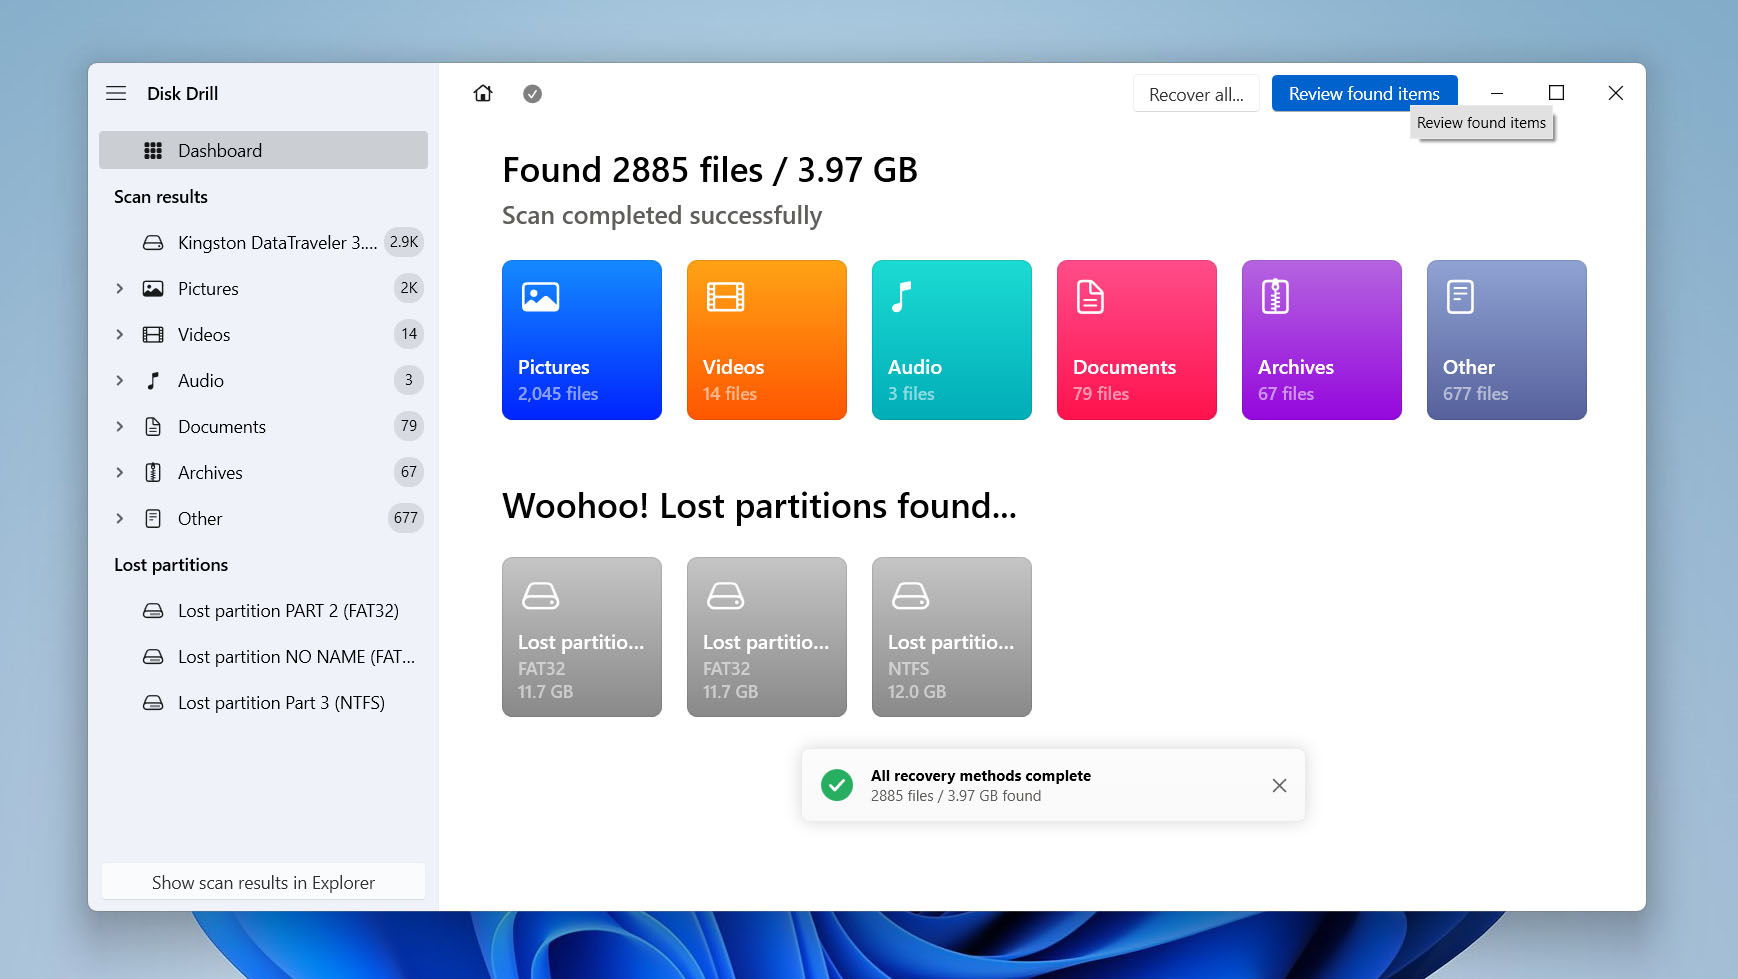
- Open Disk Drill, choose your external hard drive from the list, and click Search for lost data to start the scan.
- Disk Drill will begin scanning your drive immediately. You can preview and recover files as they appear, but it’s better to wait until the scan is complete. That way, you’ll see the recovery chances for each file.

- Once the scan’s done, click Review found items or choose a file type, like Photos, Audio, or Documents, to see what Disk Drill found.
- In the next screen, you can narrow down your search by picking specific file extensions. By clicking Show, you can check the box to Show hidden & system files – handy if you think your missing files might just be hidden.

- Look through the list of files Disk Drill finds. They’ll be sorted into three categories: Deleted or lost, Existing, and Reconstructed. Make sure you check all three, since you won’t know exactly why your files disappeared.

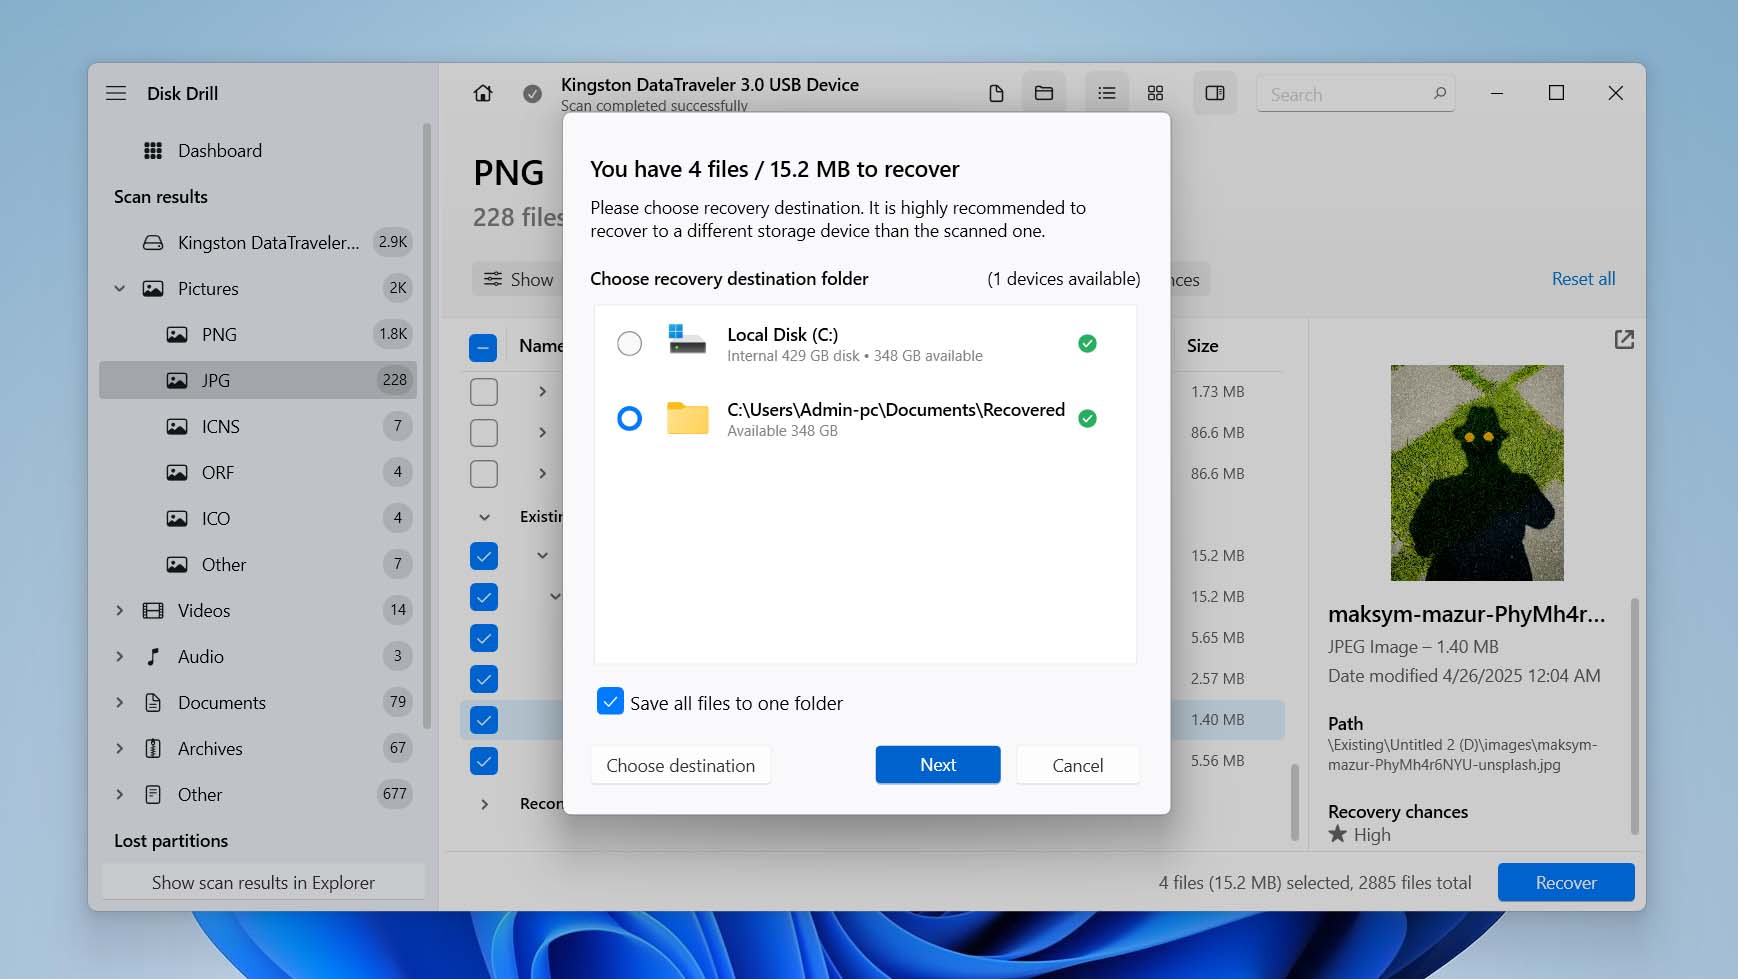
- Once you have found what you want, check the boxes next to the files and click Recover to begin retrieving them.
- Disk Drill will prompt for the file destination where your data will be stored. Select the file location and click Next. Remember, if you plan to recover more files from this drive in the future, do not save the files back to it.
- After file recovery, you will be directed to the results page, with an option to view the files recovered by clicking Show recovered data in Explorer.


Please note that Disk Drill allows you to run a scan, view the scan results, and recover up to 500MB of files for free. However, if you need to recover more than this limit, you will have to purchase the Pro version of the software.
Method 2: Check the Hard Drive Recycle Bin
We’re all used to the idea that when you delete files from your system drive in Windows, they go to the Recycle Bin, where you can easily bring them back. This also applies to external hard drives with NTFS or ReFS file systems. However, it does not work with FAT32 or exFAT.
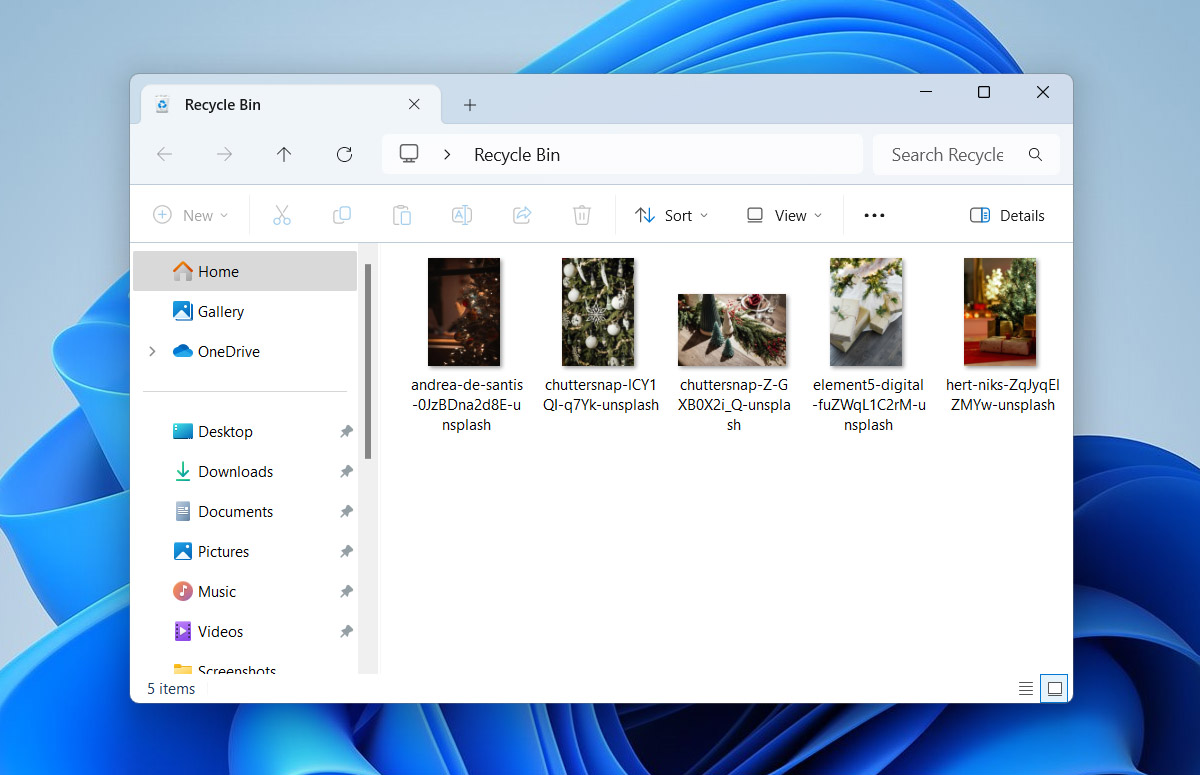
When you delete files from an NTFS or ReFS external drive, they are moved to a hidden folder called $RECYCLE.BIN, located directly on the drive itself. When you open the Recycle Bin on your desktop, it also shows files from that hidden folder on the connected drive. So, no need to mess with any settings – just plug in your drive, open the Recycle Bin, and check for your deleted files.
- Connect your external hard drive to your computer.
- Open the Recycle Bin from your desktop.
- Look for the files that were deleted from the external drive. They should appear alongside files deleted from other drives.
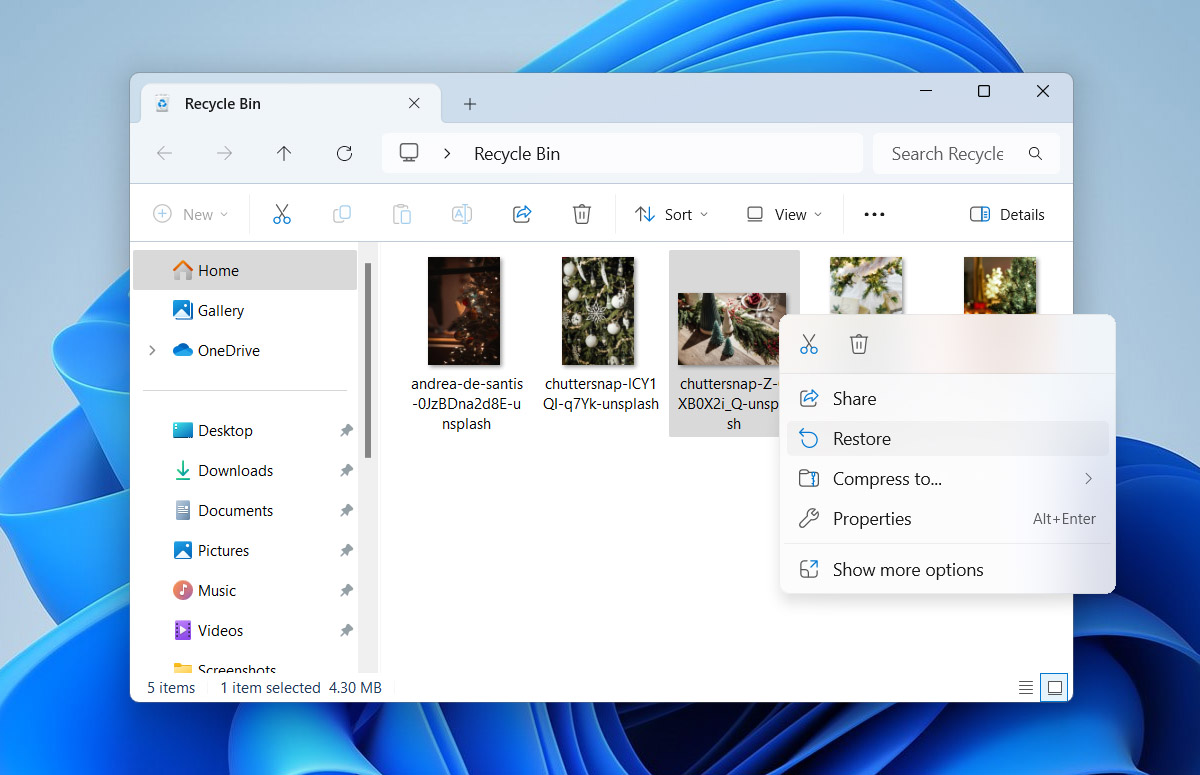
- Right-click on the file you wish to restore and select Restore to recover it to its original location.


This method works great for recovering files that were recently deleted. But if you’ve already emptied the Recycle Bin, you’ll need to use data recovery software like we mentioned earlier. These tools are designed to scan your drive for traces of deleted files and help recover them.
Method 3: Display Hidden Files
If you are certain that your files cannot be deleted, they may have become hidden, either due to your own actions or as a result of third-party factors, such as a virus or malware. Usually, you can easily check this – your files missing from the external hard drive might still occupy space. It is also easy to unhide them. Follow these steps:
- Open File Explorer.
- Navigate to the View menu and click Show.
- There, select Hidden items and click on it.

- Examine all the files on the disk.

If you’ve already looked around for ways to fix disappeared files, you might’ve seen suggestions to mess with the Registry Editor. Honestly, that method produces the same results as the easier steps we discussed here – it just requires more effort and wastes more time. Therefore, we recommend skipping that advice and sticking with the simpler fixes.
How to Fix a Hard Drive When Files Keep Disappearing
We are confident that the methods we shared above can help you recover files that have disappeared from your external hard drive, regardless of the reason they went missing. But sometimes, files keep disappearing even after you get them back. That usually points to either physical or logical problems with your drive. The cause can vary, and the fix depends on what’s going on. Below, we’ve listed the most common ways to fix a hard drive when files keep disappearing.
Some of these fixes could wipe out files that are still on the drive but just aren’t showing up. So if you run into the same problem again after you’ve already recovered your missing files once, stick with the method that worked the first time before trying any fixes. That way, you won’t risk losing anything permanently.
First, check your external hard drive for any physical damage. If you spot anything, it’s best to reach out to a repair service or just replace the drive. If it looks fine, work through each fix in order.
Fix #1: Use CHKDSK to Repair File System Errors
One reason files might keep disappearing from your external hard drive is a glitch in the file system. You may encounter cross-linked files, where two files occupy the same disk space, or file system mismatches, when the index does not align with the actual data. Both can cause files to disappear when Windows cannot read or write correctly.
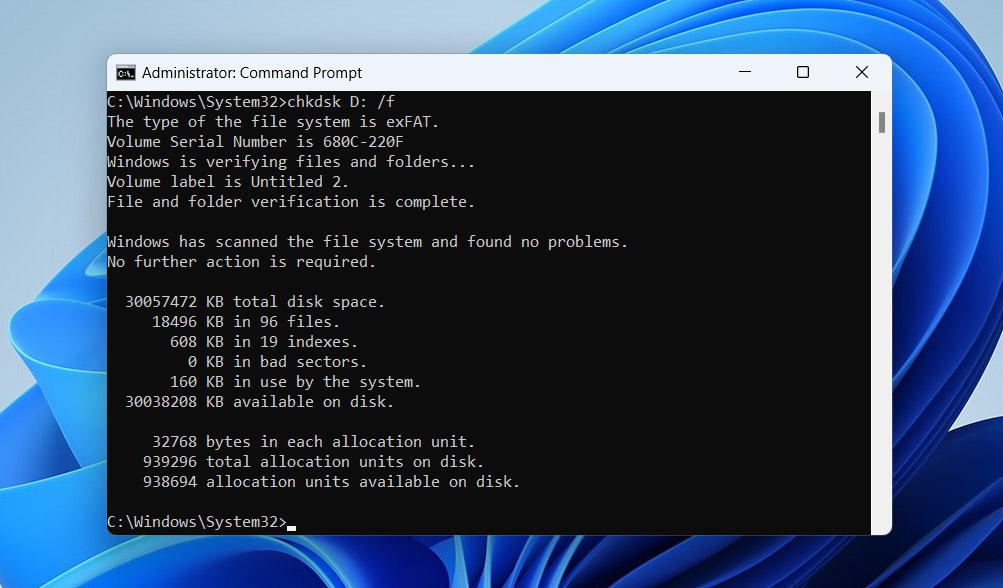
To tackle this, run CHKDSK, Windows’ built-in disk checker. It scans for those file system errors and tries to repair them. Just remember that, in the process, CHKDSK can delete or corrupt files, so make sure you’ve backed up or recovered any important files first.
CHKDSK has a lot of different commands for file system scans. Some of the common commands are /f, which scans and repairs disk errors, and /r, which in addition checks for bad sectors on your external hard drive. To check your drive for errors, simply follow these steps:
- To get started, run the Command Prompt as administrator by searching for the app through the Start menu and clicking Run as administrator.

- On the Command Prompt, type
chkdsk x: /fand press Enter. Replace x with your drive letter.
- Wait for CHKDSK to complete the scan and repair process. This may take some time, depending on the size and condition of your drive.


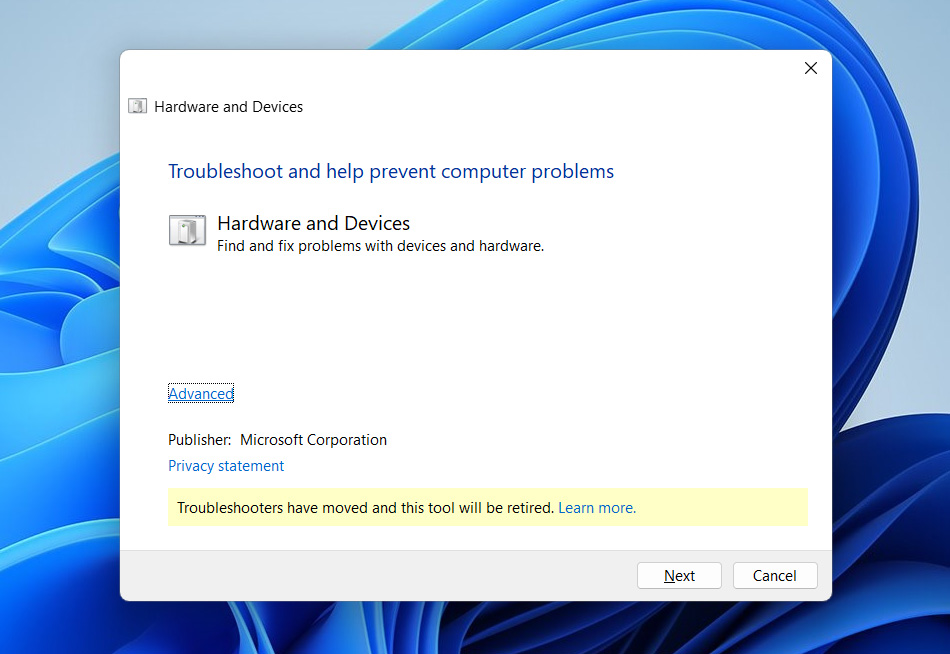
Fix #2: Use the Device’s Troubleshooter
You can run a device troubleshooter to check for other hardware issues, such as faulty motherboard connections or deteriorating drive interfaces.
In older versions of Windows, you could launch the Hardware and Device Troubleshooter right from the Control Panel. But starting with Windows 10, Microsoft pulled it from there. However, you can still run it through the command line. Here’s how:
- Open Command Prompt as an administrator. To do this, type cmd in the Windows search bar, right-click on Command Prompt, and select Run as administrator.
- In the Command Prompt, type
msdt.exe -id DeviceDiagnosticand press Enter.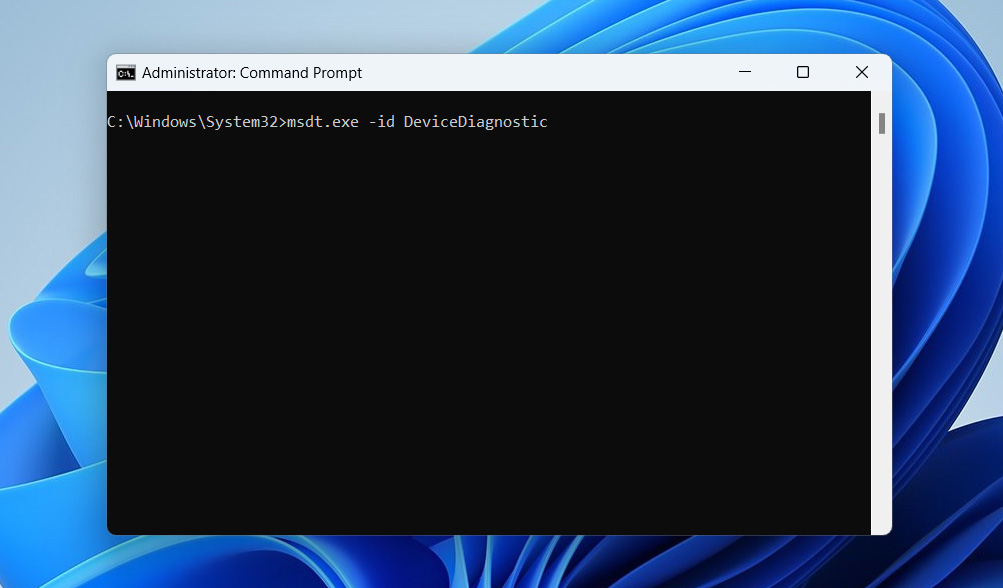
- Follow the prompts in the Hardware and Devices troubleshooter that appears to diagnose and attempt to resolve any issues found.


Fix #3: Scan the External Hard Drive for Viruses
One of the most common reasons files are missing from an external hard drive is that a virus has infected your drive. Windows has a built-in tool to scan and repair your drive. You can also download third-party trusted malware and virus protection software that specialize in detecting and eliminating viruses that can hide your data.
Windows Defender, the built-in antivirus, usually does a good job of handling basic threats. Here’s how to find it and run a full scan:
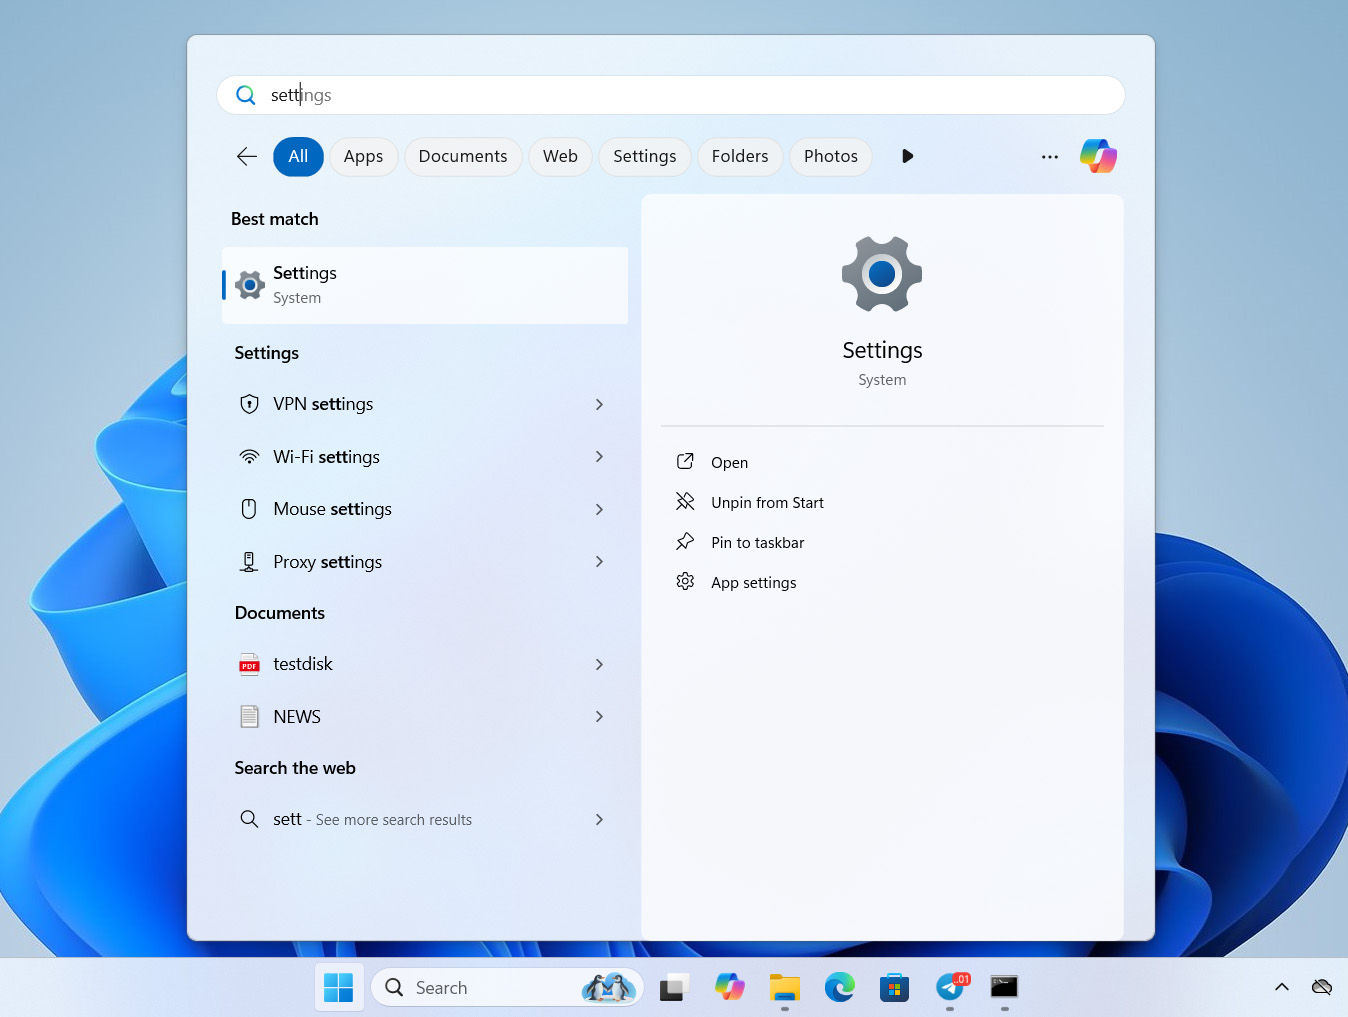
- Open the Start Menu and go to Settings.
- Click on Privacy & Security and select Windows Security.
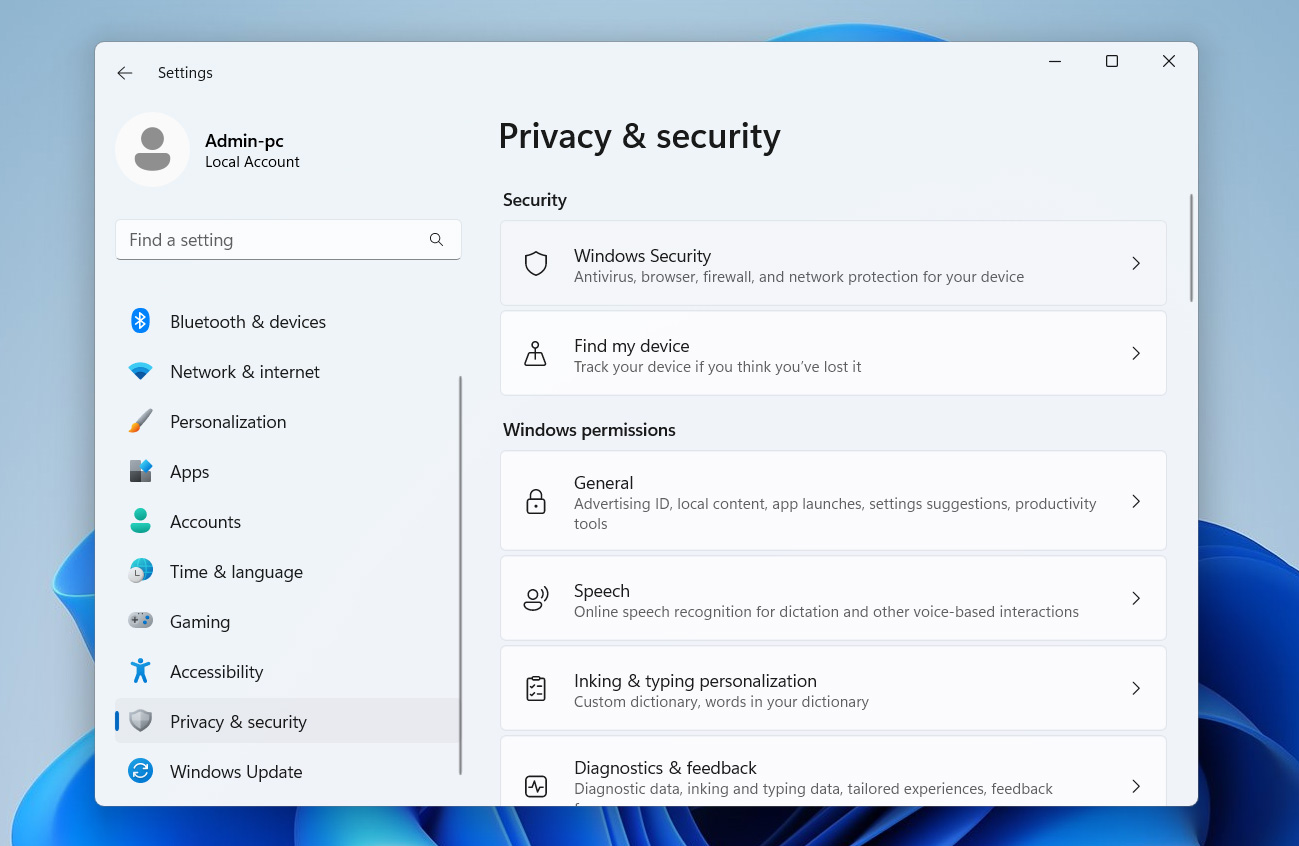
- Click Virus & threat protection. Under Current threats, click Scan options.
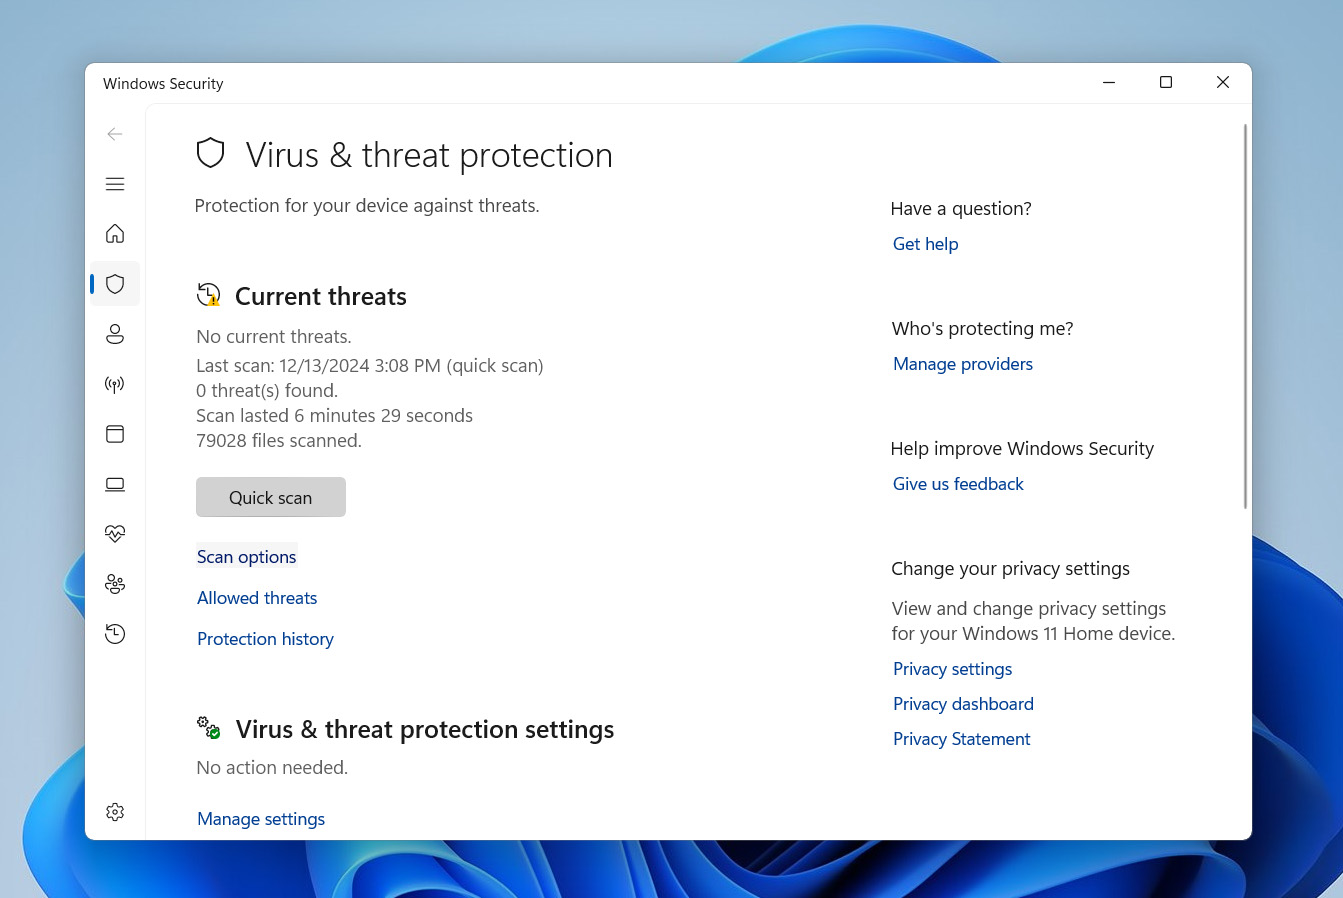
- Select Full scan, then click Scan now to scan your drive for any harmful software.


Fix #4: Format the Drive
If none of the earlier fixes worked and files are still disappearing from your external hard drive, you might be dealing with a bigger problem, like heavy file system corruption that tools like CHKDSK can’t fix. Your last option is to reformat the drive. Reformatting wipes everything and rebuilds the file system from scratch, which can resolve any issues causing the files to disappear. Please note that this erases everything on the drive, so use it only as a last resort.
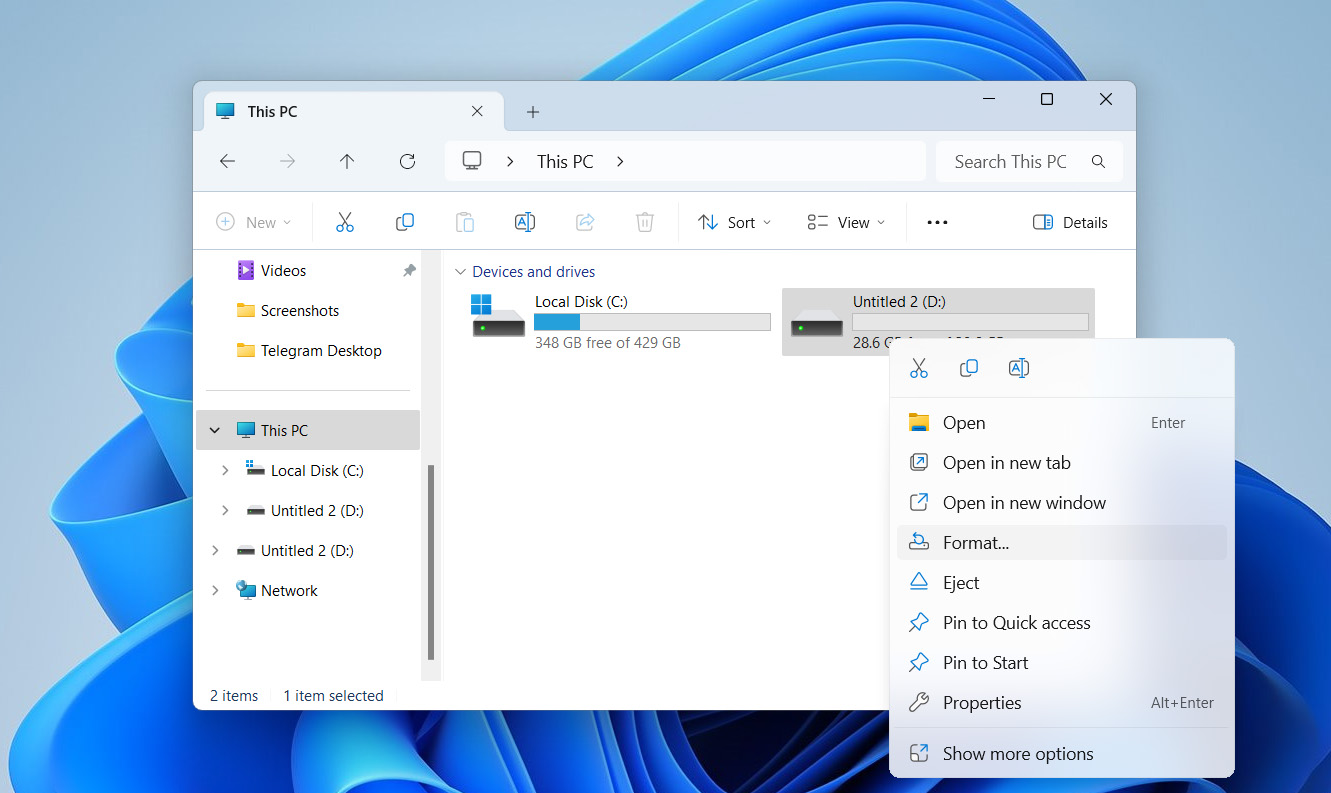
Confirm you have a backup of your files before proceeding. To format your drive, follow these steps:
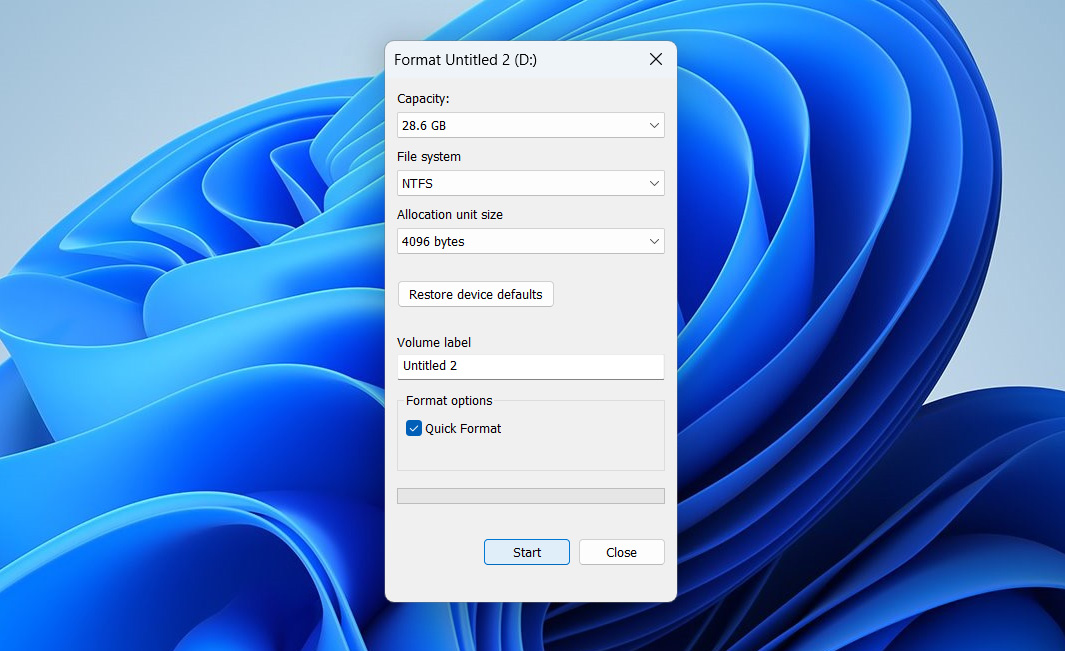
- Right-click on your drive name and select Format.
- Maintain the existing details and click Start. By default, Quick Format is selected. You can deselect this option to perform full format and scan your drive for bad sectors.


Conclusion
We want to note that the file disappearance isn’t just a hard drive problem. It happens with other devices too. While the basics of recovery and troubleshooting are pretty similar, there are a few key differences depending on the device. If you run into issues like this elsewhere, check out these guides:
- How to recover files disappeared from a flash drive;
- How to fix the ‘photos on memory card disappeared’ issue.
FAQ:
- check if the files are in the Recycle Bin or Trash,
- confirm if your files have become hidden,
- scan for malware or viruses,
- attempt data recovery with trusted data recovery tools like Disk Drill.