
Reading Time: 8 minutesKingston memory cards are excellent in terms of quality, but like all SD cards, are susceptible to data loss as well. Let’s look at some ways to recover missing files from a Kingston memory card.
We will cover files and photos lost from your memory card due to any reason – unreadable card, accidental deletion, formatting issues, etc. There are methods to get your files back from most of these scenarios.
How to Pick the Best Kingston Memory Card Solution
First, we have to determine whether the problem is with the software or the hardware. Because if the issue is simply with the data storage itself – formatted card, corrupted file system, etc. – a good data recovery tool can usually recover the files.
But if the Kingston memory card is physically damaged or worn out, things get a lot more dicey
1. Select the Best Kingston SD Card Recovery Tool
If the Kingston SD card seems physically okay you only need to fix the logical issues. This boils down to picking software tools that can fix your SD card.
First, you have data recovery tools like Disk Drill, PhotoRec, and Recuva, that can scan your Kingston memory card and recover files lost due to any reason. Then there are utilities like TestDisk, First Aid, or CHKDSK, that are focused on repairing the SD card’s file structure itself.
Generally, it is much simpler to just scan the memory card with a data recovery tool and then format it to fix the logical issues. Repair functions like CHKDSK don’t always preserve the files, either.
That still leaves one pressing question – which data recovery tool to use?
PhotoRec is attractive because of its free and open-source nature, but its interface can be difficult to navigate. If you can comfortably use its command line interface, however, it is a powerful utility that can recover most lost files.
Recuva is another popular data recovery tool with a free version. Unlike PhotRec it is also GUI, so you can use it easily. The only drawback is that the tool is somewhat outdated, and recovers fewer files than you would expect.
Disk Drill is a premium data recovery tool with a free version offered as a trial, giving you 500MB of data recovery. Apart from that it does not restrict its features or run any ads, making it the best free option for recovering files from your Kingston SD card.
2. Consider Data Recovery Services
For a card that looks chipped or is just old and worn out, you may need to contact professionals. You can still give data recovery tools a try, though, since it doesn’t cost anything and just might work.
But if that doesn’t solve your problem, a dedicated data recovery service is your only hope. They can use advanced methods to extract data from even the most hopeless cases, though of course results still aren’t guaranteed.
How to Recover Data from Kingston Memory Card
If your SD card is physically unharmed, the problem can be solved through software. Which software, though?
There are quite a few data recovery tools out there, and almost all of them offer a free version. To decide, we looked into some test results.
Disk Drill leads the pack with its wide file support and thorough recovery process, successfully restoring most lost files. The best part is that apart from a data limit on how many files I could save (500MB) it does not restrict any of its recovery features, so you can freely scan your memory card and view the results before deciding on which files to save.
Once you have zeroed in on a data recovery tool to use, all that is left is to scan my Kingston SD card with it. This is how it goes with Disk Drill:
- Take out the Kingston SD card from your phone or camera and connect it to your computer. Most laptops will have an in-built card reader, otherwise, you can always use an external card reader to plug it in.
- Download and install the free version of Disk Drill from its website. You don’t have to worry about choosing the right version – it supports both Mac as well as Windows PCs and will autodetect the correct setup for you.
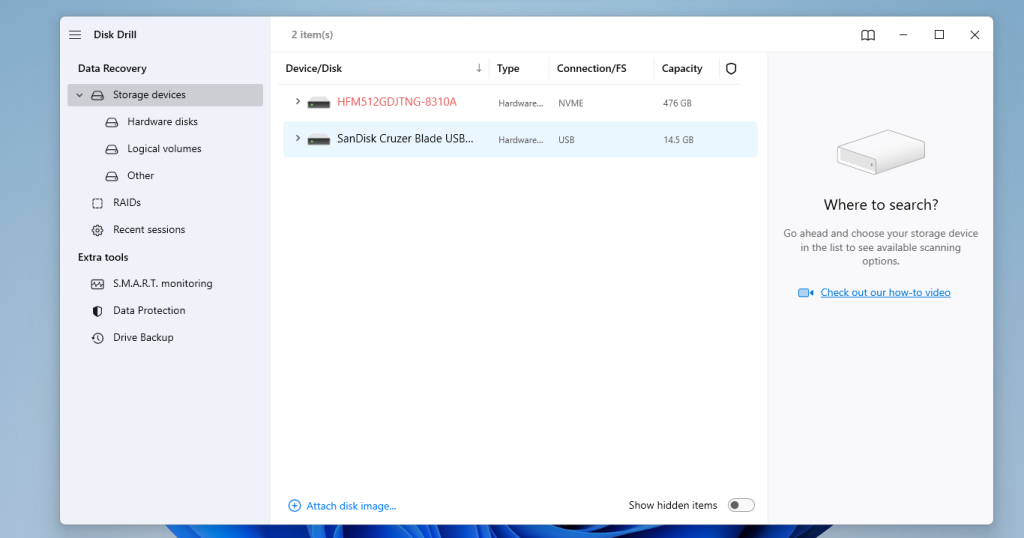
- Firing up the app for the first time will bring up a few options to set things up, and blaze past them to arrive at the main screen. This is where all the storage devices connected to your computer will show up, including any hard drives or external devices you have plugged in.
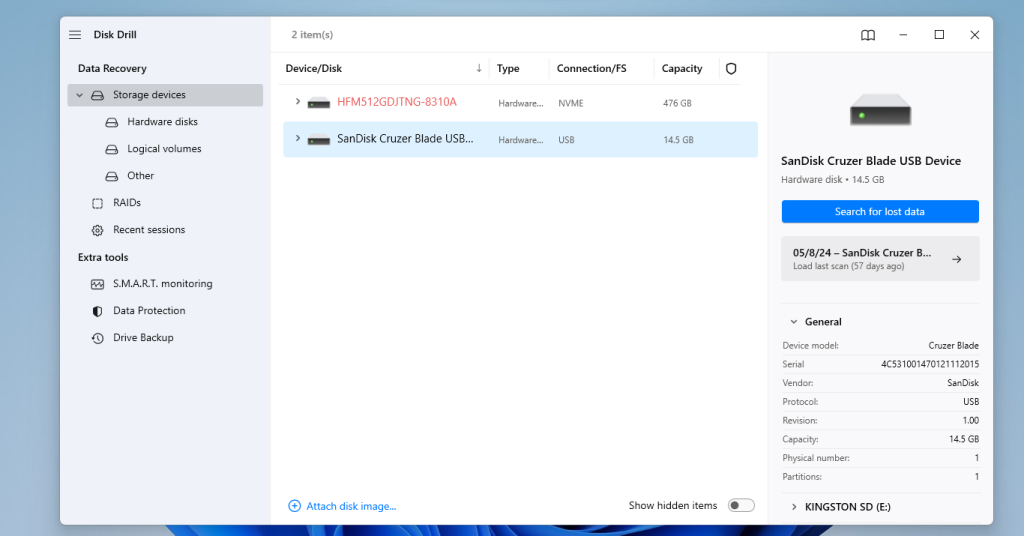
- Select the Kingston SD card (if your card was unreadable it might show up with a different name) and hit the Search for lost data option.
- You will now see Disk Drill quickly scanning through the memory card, sorting the search results into categories. Don’t worry, this part does not eat up the limited recovery quota of the free version – that’s only for the files you choose to save.
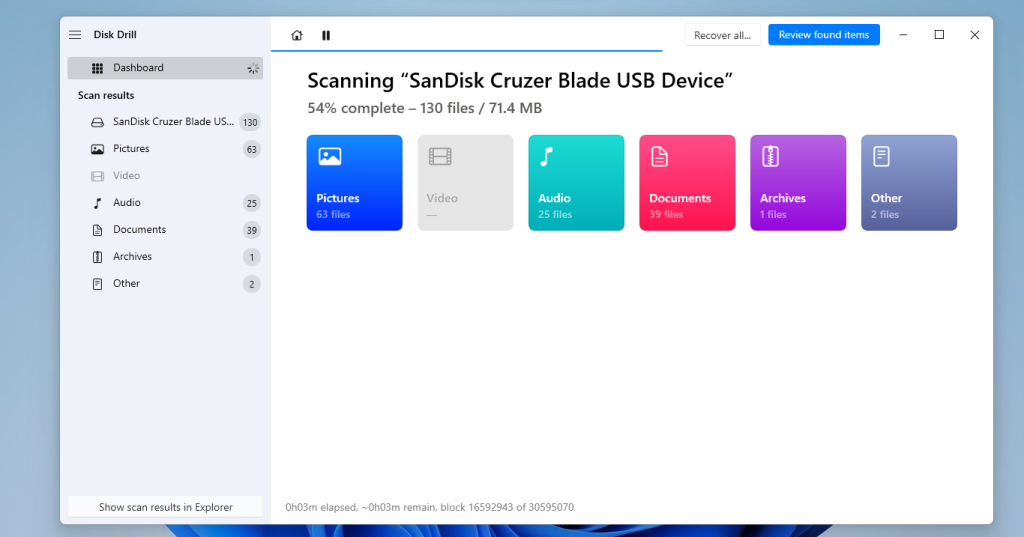
- Once the scanning is complete, click on the Review found items button at the top to see the results. This will open a new screen.
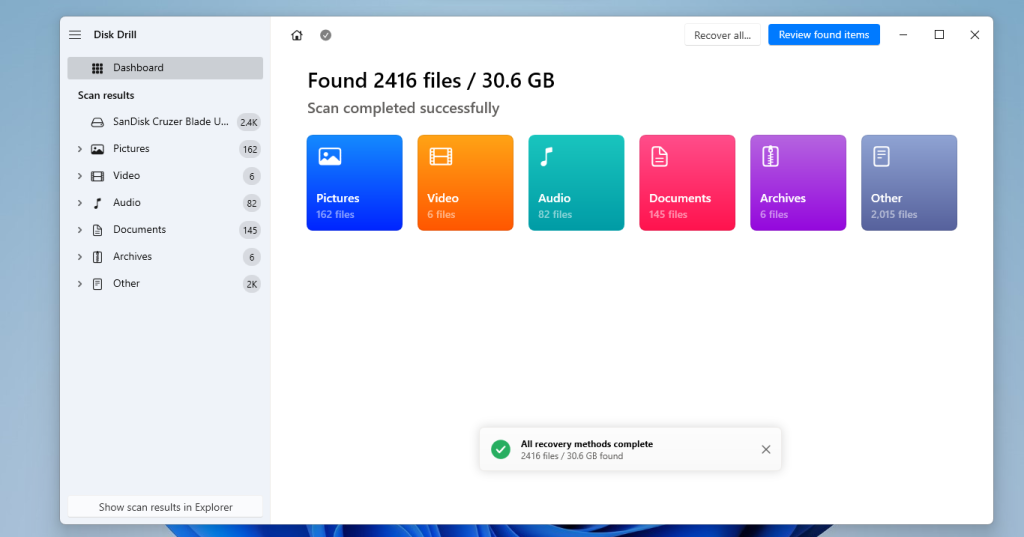
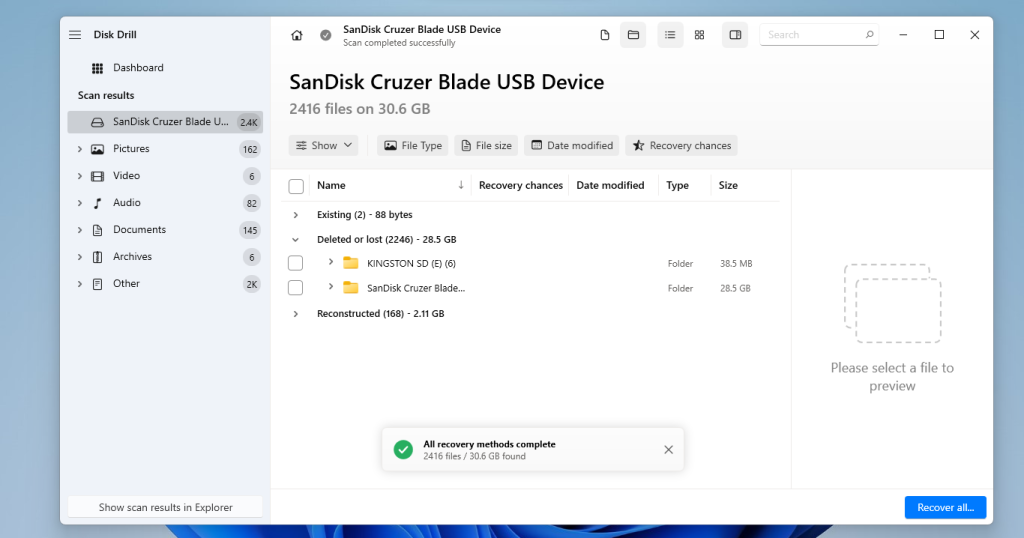
- This Disk Drill window lists all the files that could be recovered from the Kingston SD card through various means in a folder structure. You can select the category types from the left as well, or search for specific names from the top. The best way might be to just browse through the files.
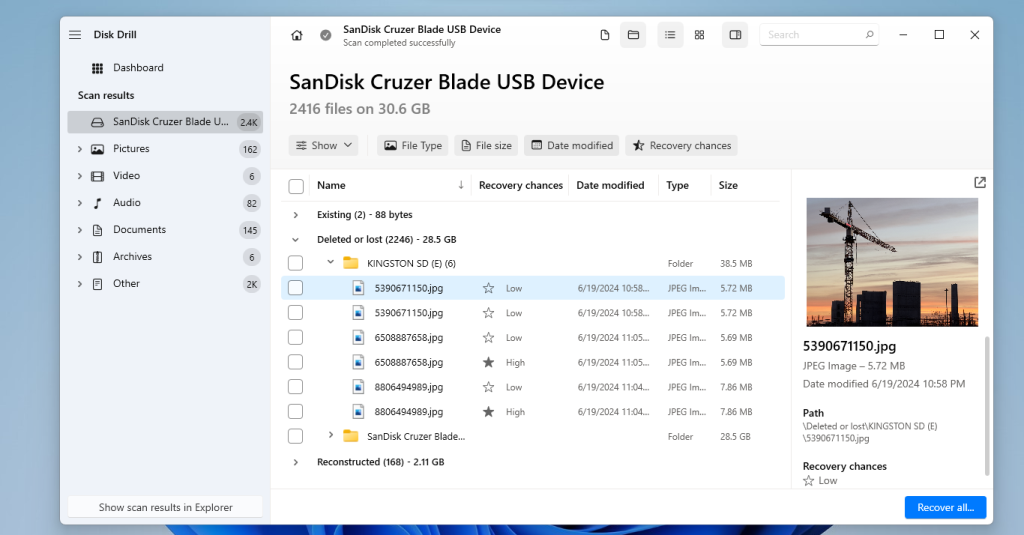
- For things like photos or videos, you can even preview them! This is how you can check which of the pictures you want to keep (keep in mind that your recovery quota is limited in the free version).
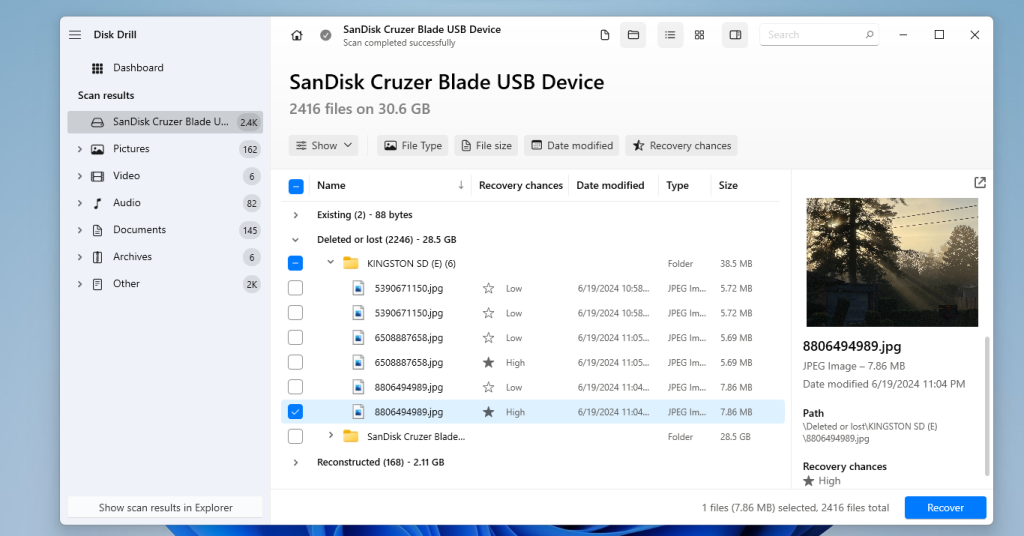
- After you find the files you want to save, select them and click on the Recover button. When nothing is selected this button will show Recover all – only use this option if you have very few files in the Kingston memory card and want to save everything. Or if you have the premium version of Disk Drill, in which case you have no recovery limits.
- All that’s left is to choose a recovery destination for your saved files. The only rule is to not pick the same storage device you are recovering from, so just pick a folder in your computer’s hard drive.

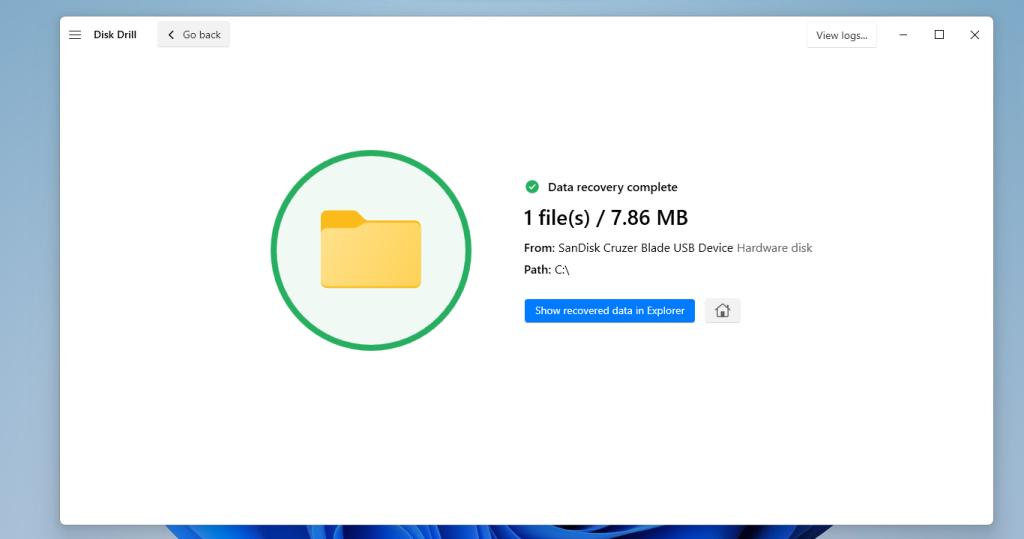
- And that’s it. The files will be recovered and saved to the folder you indicated by Disk Drill, giving you a success message when the operation is complete.
How to Troubleshoot Kingston SD Card Issues
We went straight to scanning the memory card with a data recovery tool, but there are other problems you could face that are solved differently. Let’s go over a few of these scenarios:
SD Card is Not Recognized
Sometimes the SD card is simply not recognized by the computer. This is usually due to a corrupted file system, though in rare cases the memory card might be damaged as well.
If it is a logical error you should be able to extract the files on it using a data recovery tool. You can even restore its partitions using TestDisk. Keep in mind that this is only possible if the card can be detected in Disk Management – otherwise, it means that the card is not detected at all on the hardware level.
Can’t Write Data to an SD Card
Many fancy memory cards come with write protection these days. It prevents the data on the card from being modified accidentally, as long as the switch on the card is turned on. You can still view the files and copy them, of course.
Just flip the switch off to write new data to the SD card again. If the switch is turned off and you still can’t edit data on your card try using an application to turn off write protection as well.
Some Files Got Corrupted on SD Card
Data loss is not the only reason for losing files on your SD card. Occasionally files get corrupted as well and just refuse to open. This can be trickier to fix than accidentally deleted files.
Utilities like CHKDSK are often recommended for this, but in my experience, they do not fix files, only the memory blocks. To repair your corrupted files you should try looking for dedicated applications that can repair the file type by fixing its metadata.
SD Card Shows Incorrect Size
Unless your SD card is really old and on the verge of failing, seeing an incorrect size just means it has not been formatted correctly, leaving some of its memory unallocated.
Generally just formatting the card again (backup your data first!) should fix this issue, as the formatting process will automatically create a correct file system. In very rare cases this may not be enough, forcing you to re-initialize the SD card from Diskpart.