Reading Time: 6 minutesIf you use USB drives regularly enough, you’ll find that formatting your drive is a fairly regular occurrence. Unfortunately, mistakenly erasing files in the process is a pretty common situation as well.
Luckily enough, there’s still a decent chance you can get your files back after a format. In this article, we’ll teach you a bit more about the formatting process, help you with your formatted flash drive recovery, and let you know how you can increase your chances of successful file retrieval.
What Happens When You Format a Flash Drive
Formatting is the process of preparing your storage medium – be it a USB drive, hard drive, memory card, etc – for use with a particular operating system. This involves wiping all the information on the drive and setting it up with a specific file system.
Windows operating systems, for example, typically support NTFS or FAT32 file systems, while Mac platforms usually work with APFS and HFS+.
On Windows, you can format your USB drive through various methods, including using a command-line interface such as PowerShell or Command Prompt, a disk partition tool like Windows’ built-in Disk Management feature, or simply utilizing Windows Explorer’s format function. There are two kinds of formatting – “Quick” and “Full”, both of which will result in the deletion of all the data on the drive.
- A “Quick” format is the faster of the two and only entails the changing of the storage medium’s file system. There’s a chance to recover files after a quick format but it depends largely on your actions after formatting.
- A “Full” format, on the other hand, involves checking the drive for bad sectors, which is why it takes longer. Rescuing files from a “Full” format is near impossible.
How to Recover Data from a Formatted USB Drive
To recover a formatted USB drive, you should start by first cloning the drive using a third-party app in order to avoid further data loss. While many recovery apps can scan your drive directly creating an image will prevent your OS from overwriting data there. From then, you’ll have to utilize a top-tier data recovery program to rescue the lost information.
Fortunately, Disk Drill is not only one of the best data retrieval software around, but it also includes a built-in backup feature that you can use to clone your USB drive. That way, you’ll only need one program to accomplish the entire data recovery process. Follow the instructions below to create a clone of your flash drive using Disk Drill:
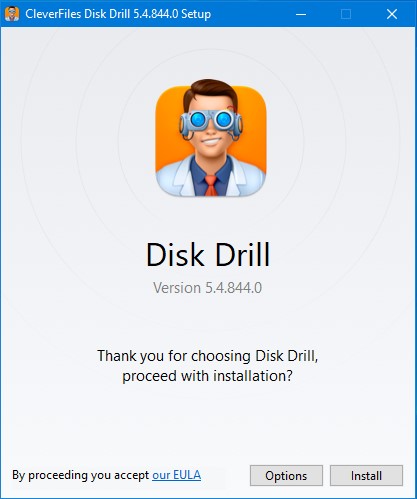
- Download the installation file from the official Disk Drill website. Keep in mind that the free version of Disk Drill allows the recovery of a maximum of 500 MB.
- Launch the downloaded file and follow the on-screen instructions until the program is successfully installed.
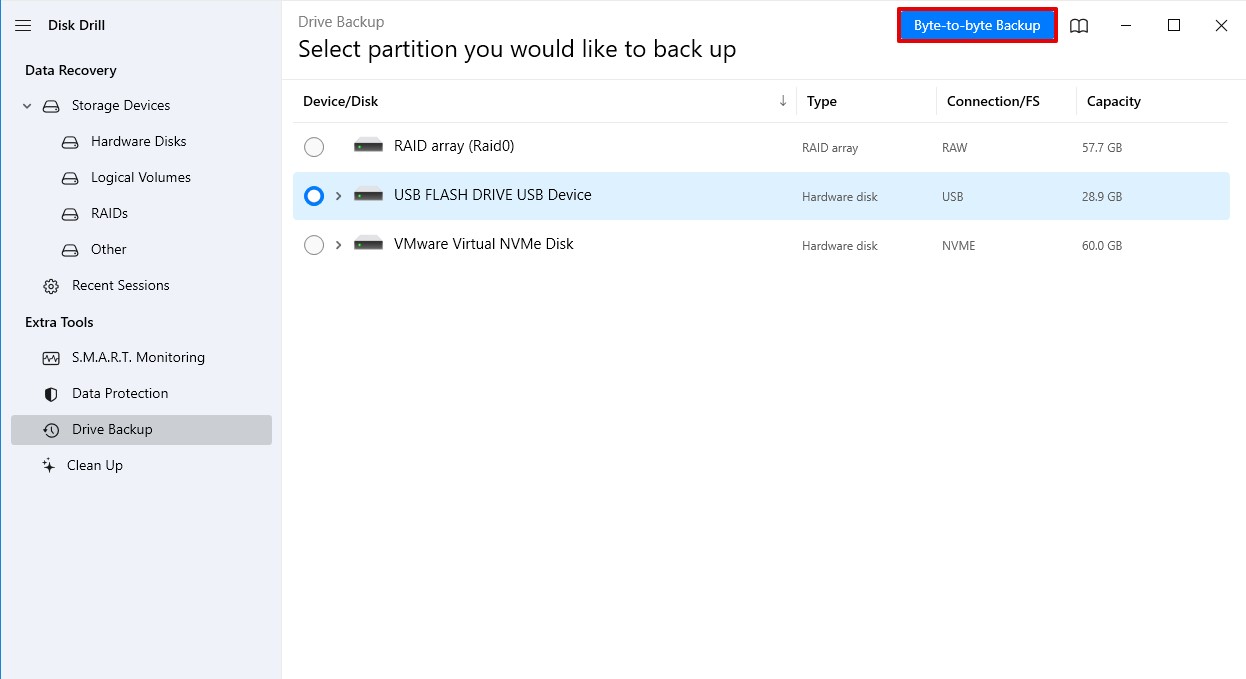
- Fire up the Disk Drill app and select the Drive Backup feature from the left panel.
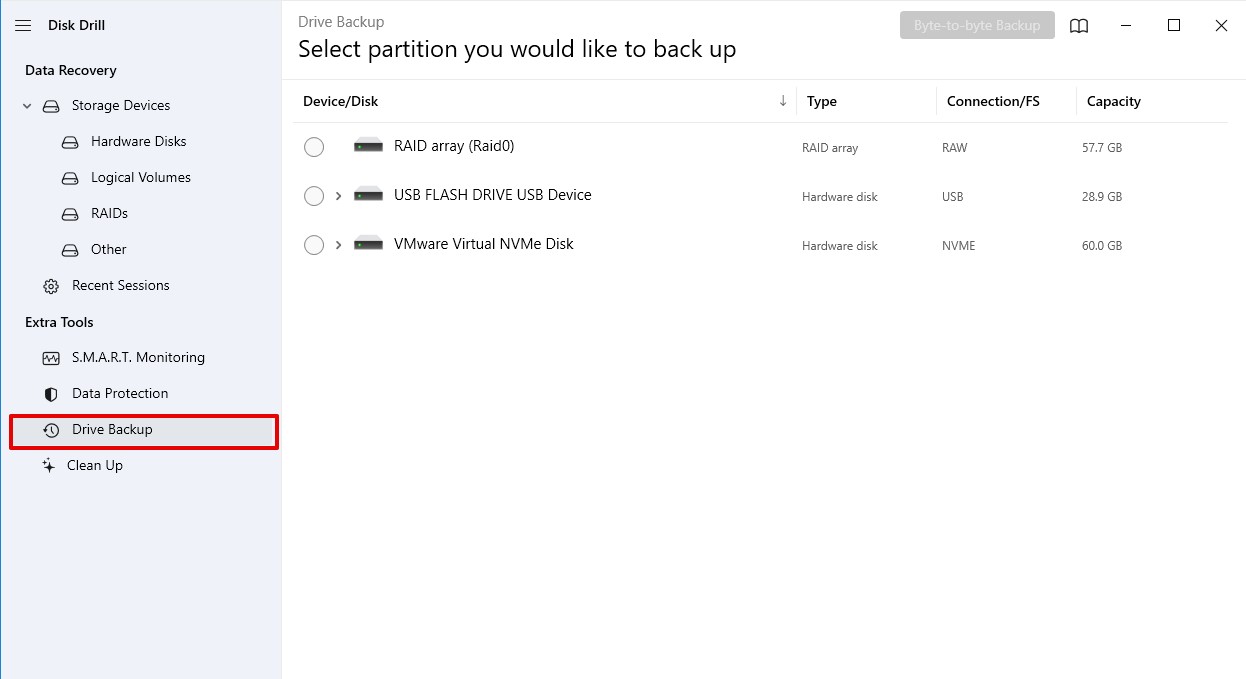
- Choose your USB drive from the list of available storage mediums and click the Byte-to-byte Backup button on the top-right corner of the window.
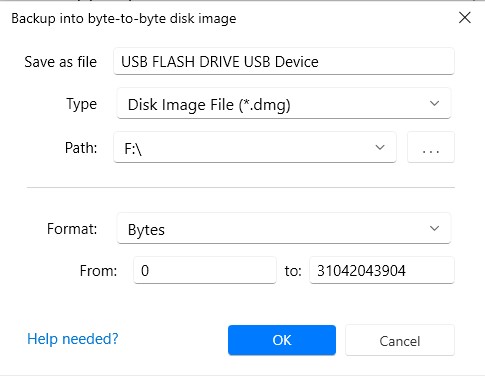
- A pop-up will appear, asking you to dictate various factors of the backup, such as the backup type, destination path, format, and name. Once you’re all set, click the OK button to proceed.
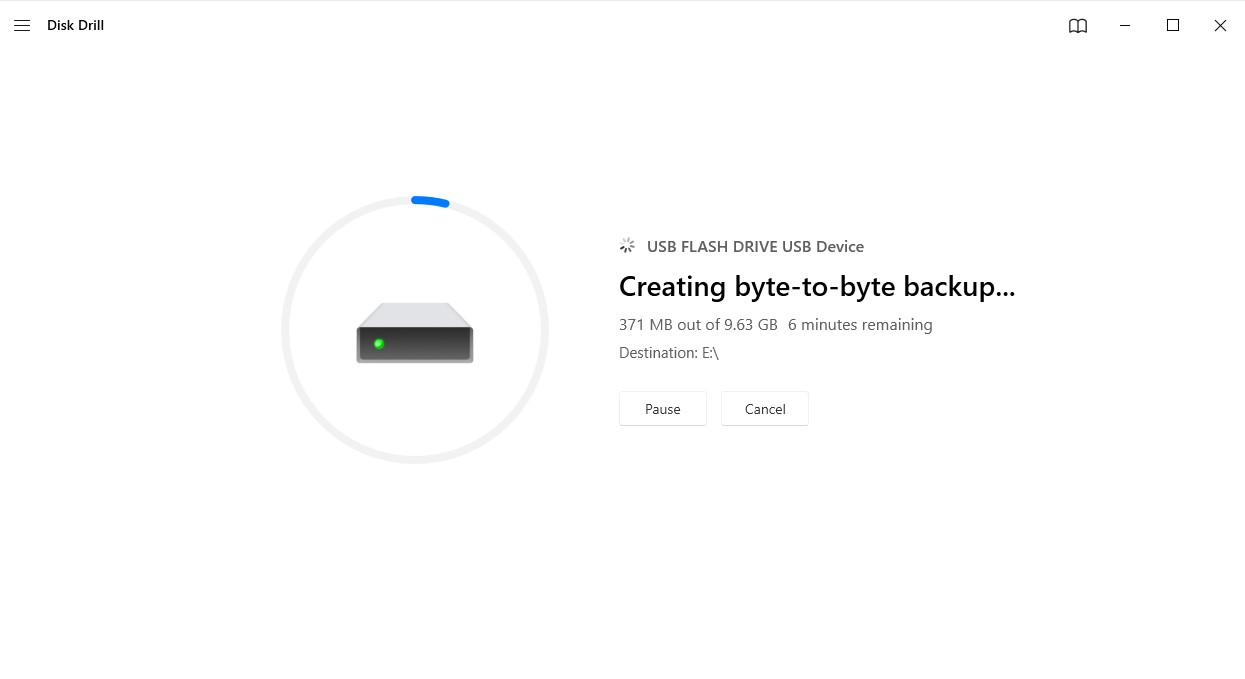
- Disk Drill will now begin cloning your USB drive. How long this process takes depends on the size of your storage medium and its read speed. The 32GB Apacer USB drive we used for the purposes of this guide took around 10 minutes to back up.
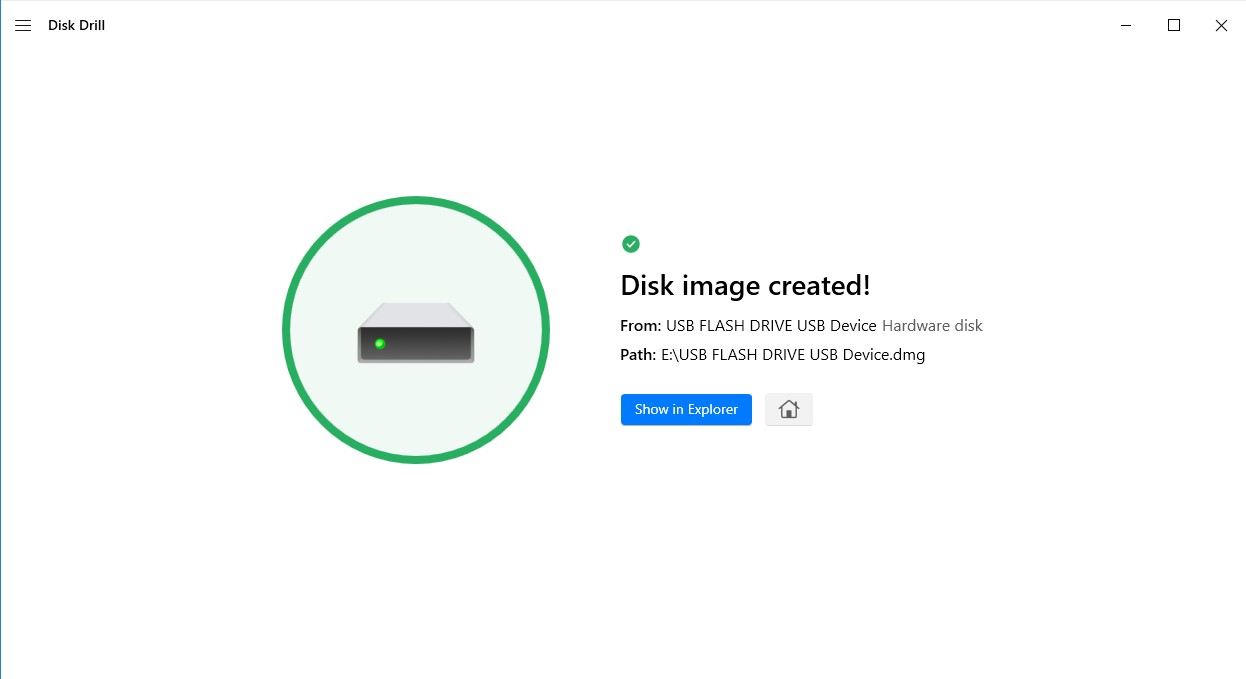
- Click the Home button from the completion screen to return to the Drive Backup screen of Disk Drill.


Once you’ve successfully created a backup of your USB drive, you can now recover the formatted USB from the backup file. Follow the steps below to accomplish this:
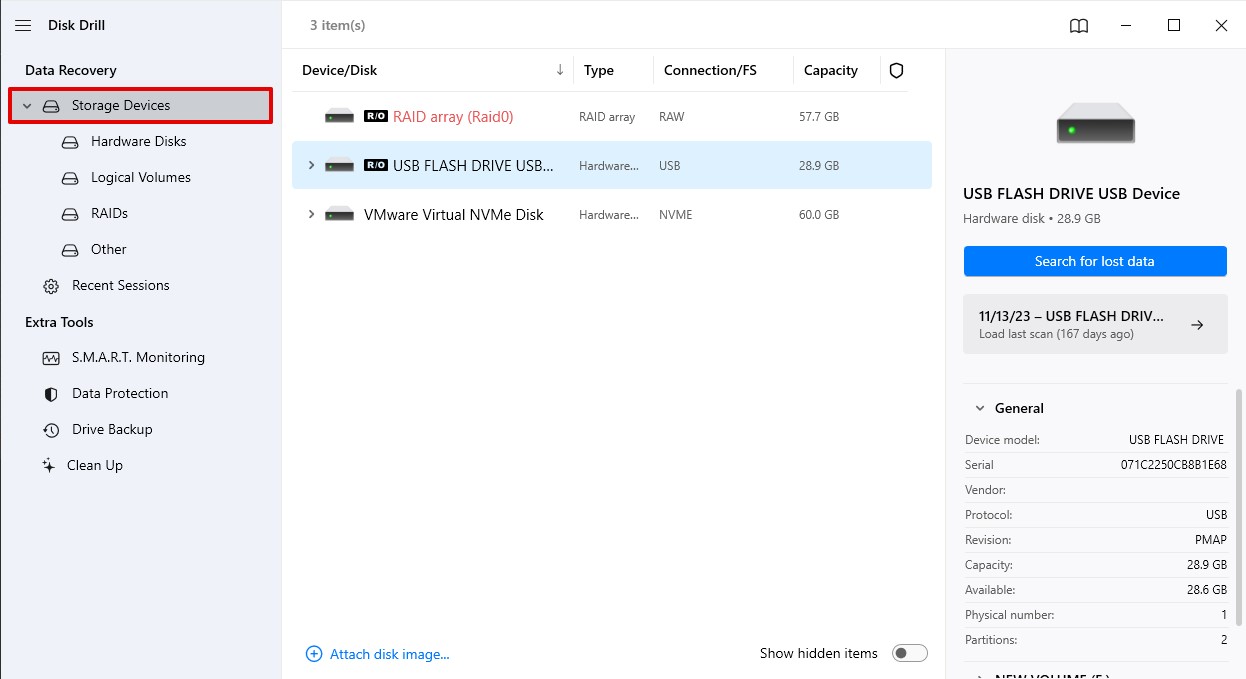
- Select Storage Devices from the left panel of the Disk Drill window.
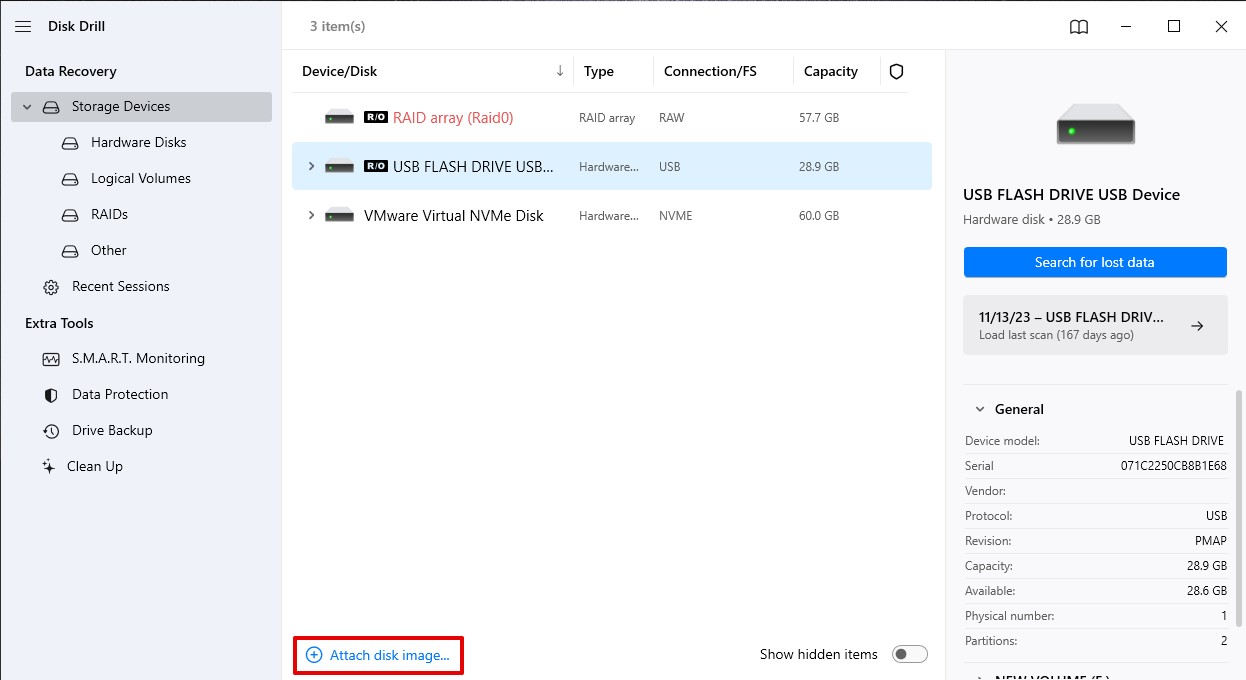
- Click the “Attach disk image…” link at the bottom of te window.
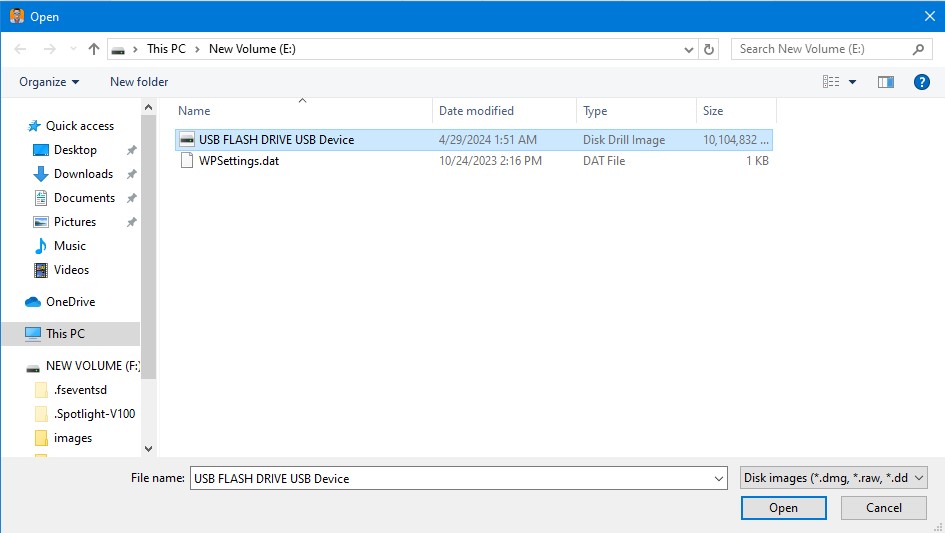
- A pop-up will appear where you’ll be asked to select your saved USB drive backup file. Double-click the file to select it.
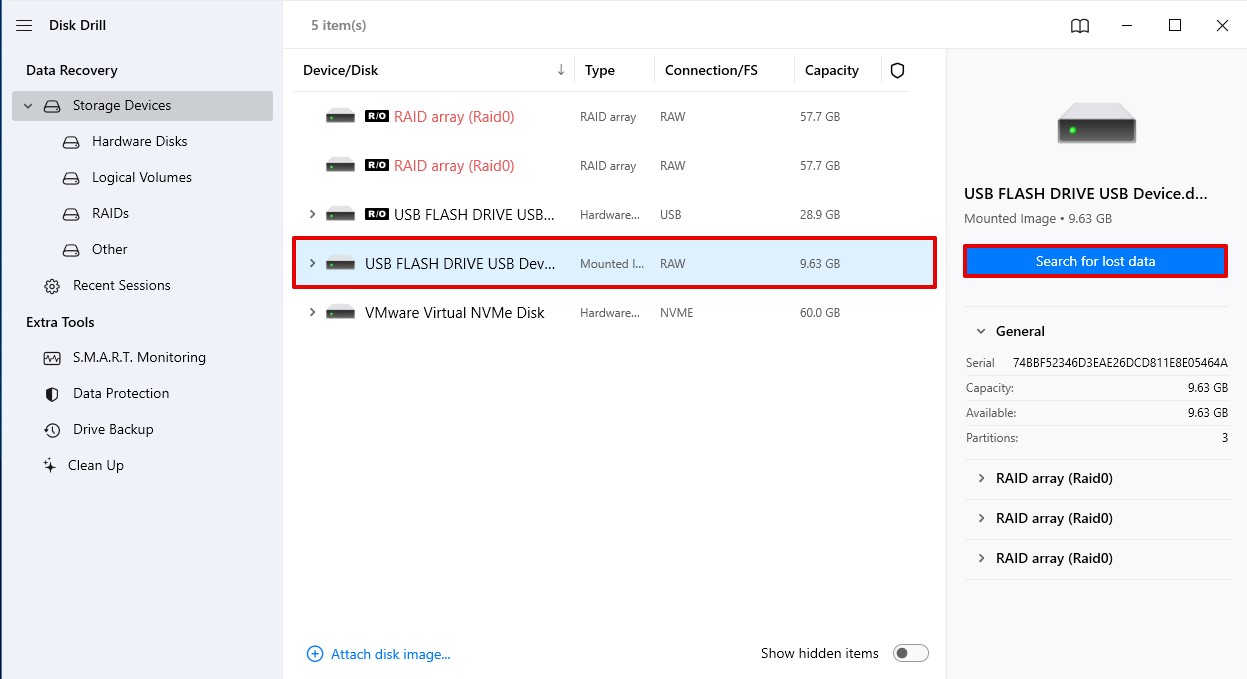
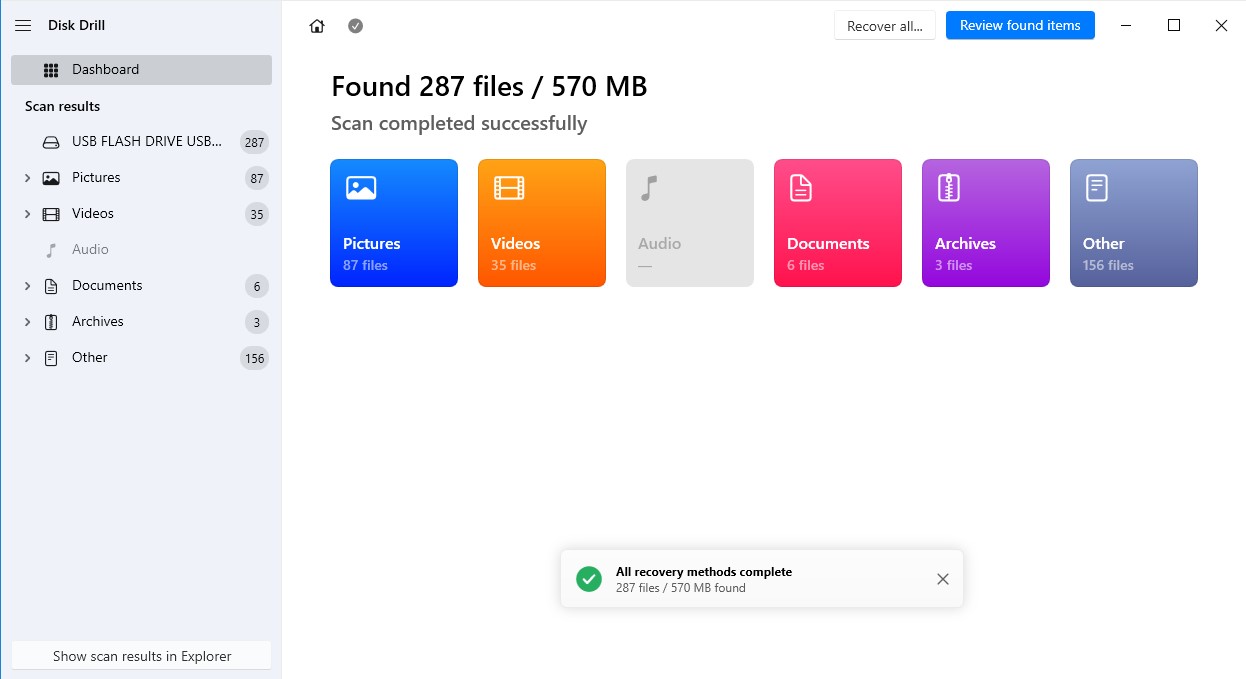
- Your backup file should now appear on the list of selectable storage mediums. Select it and then click the Search for lost data button on the bottom-right corner of the window.
- Disk Drill will not begin scanning the backup for recoverable data. The length of this process also depends on the size of the backup that needs to be scanned. You can click any of the on-screen category icons to head to the results page where you can browse the recoverable files that Disk Drill has found so far.
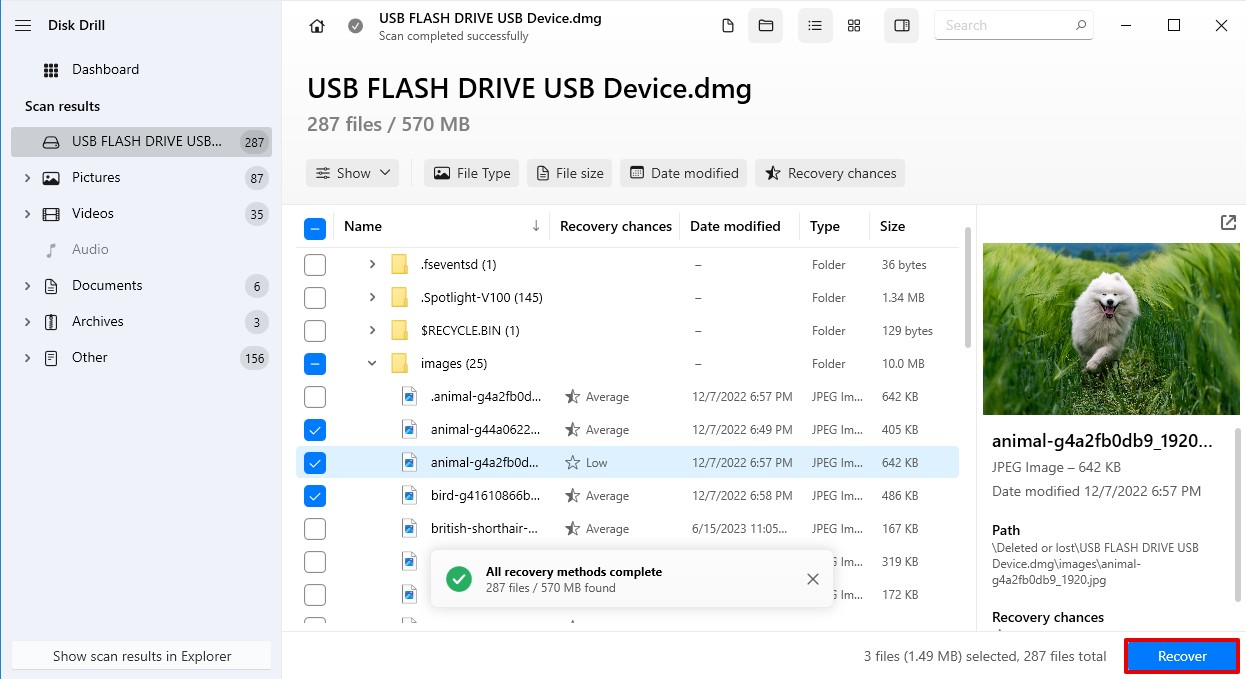
- Highlight the files you want to recover by ticking the checkboxes next to their file names. Once you’re all set, click the Recover button.
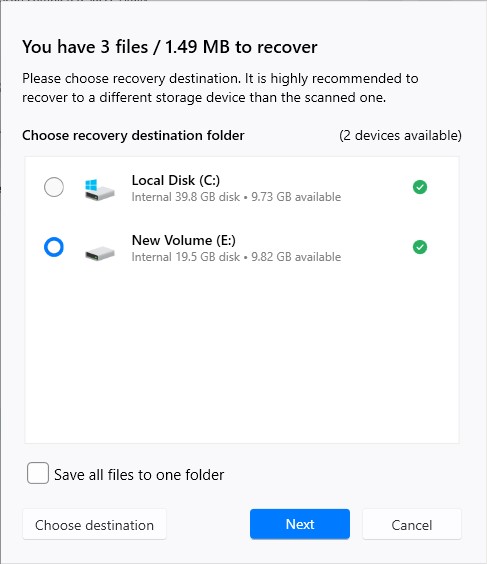
- A pop-up will appear asking you to select a location where your recovered files should be saved. Bear in mind that if you decide to scan the USB drive directly – you should select a different location to avoid overwriting files in the process of recovery. Click the Next button when you’ve decided.
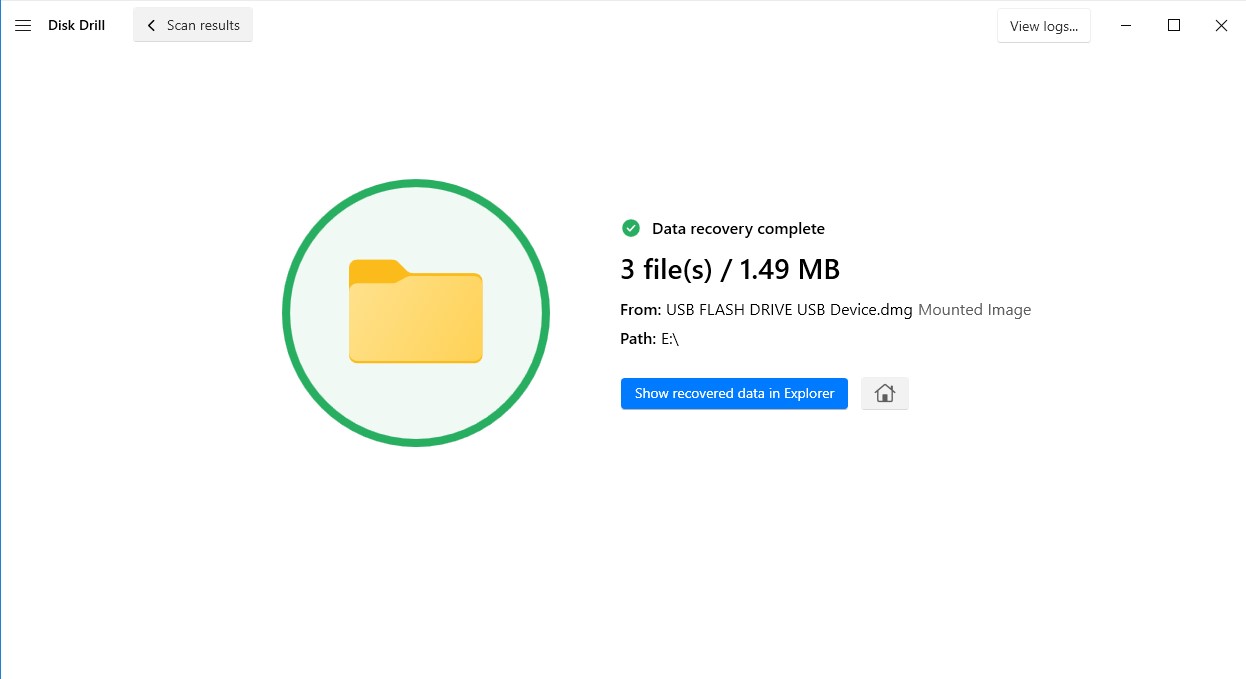
- Disk Drill will now begin recovering your files. You’ll be greeted with a completion screen once it’s done and you can click the Show recovered data in explorer button if you want to be taken right to your retrieved files.
How to Increase Chances of Successful Data Recovery
The following tips below will help greatly improve your chances of successful data recovery:
- Stop Using The USB Drive. To minimize data loss resulting from the overwriting of sectors or from the data recovery process itself, it’s vital that you immediately stop using your USB drive after you’ve formatted it. That’s why it’s highly recommended that you don’t attempt data retrieval from the drive itself, but from a clone of the drive instead.
- Start data recovery ASAP. To give yourself the best chances to recover files from a formatted USB flash drive, it’s best to start the retrieval process immediately. That way, you can mitigate data loss as much as possible, giving you a better opportunity to keep your files intact.
- Choose appropriate data recovery software. There are many data recovery software options available, some free and some paid. Research and choose the best software for your particular situation.
Conclusion
Losing data when formatting a USB drive can be stressful, but don’t panic! By acting quickly and following the steps in this article, you will have a good shot at recovering your data. Remember, the success rate of data recovery depends on various factors, but with a little effort, you might be able to get your documents, photos, or videos back. If you’re unsure about attempting data recovery yourself, consider seeking help from a data recovery professional.