
Reading Time: 7 minutesOverwriting is a less discussed data loss scenario compared to accidental deletion, which can make it even more frustrating when it happens to you. This lack of information can leave users feeling helpless and unsure of how to proceed. However, there’s no need to worry! This article will provide you with the knowledge and tools you need to recover those overwritten files.
How Files are Overwritten
Overwriting usually happens when a user saves a file to the same location as an existing file with an identical name or moves a file to a folder where a file with the same name already exists. In both cases, Windows 10 will prompt the user with a warning message, asking them to confirm the overwrite action. If the user proceeds, the original file will be overwritten by the new one.
Once a file is overwritten in Windows 10, it may seem like the original file is gone forever, as it doesn’t even appear in the Recycle Bin. This might lead you to believe that the file is unrecoverable, but that’s not necessarily the case.
Assuming the NTFS file system is being used, Windows 10 overwrites the MFT (Master File Table) entry of the file and stores the new file somewhere on the disk.
The MFT is a database that contains information about all the files and directories on the drive, including their names, sizes, timestamps, and the location of their data on the disk.
Since the operating system doesn’t attempt to write the new file to the same location as the original file (after all, the two files most likely have different sizes), the original file’s data may still physically exist on the drive.
If that’s really the case (and it probably is), you can recover the original file using data recovery software that can locate files based on their unique signatures rather than relying solely on file system information, and we explain how in the next section.
How to Recover Overwritten Files on Windows 10
Now that you have a better understanding of how files are overwritten and the underlying mechanisms involved, it’s time to explore the practical steps you can take to recover your overwritten files on Windows 10. We’ll be covering three effective methods that can help you retrieve your valuable data.
Method 1: Recover Overwritten files on Windows 10 with Disk Drill
In most data loss situations involving overwritten files, the best solution is to use data recovery software like Disk Drill, which is known for its excellent signature scanning capabilities.
With Disk Drill, you can find and recover around 400 file formats after overwriting, and the process is incredibly simple thanks to its modern user interface and numerous quality-of-life features.
In addition to signature scanning, Disk Drill also supports file system-based recovery, with support for all major Windows file systems, so you can use it to also find files that haven’t actually been overwritten but simply misplaced.
Here’s a step-by-step guide on how to recover overwritten files using Disk Drill:
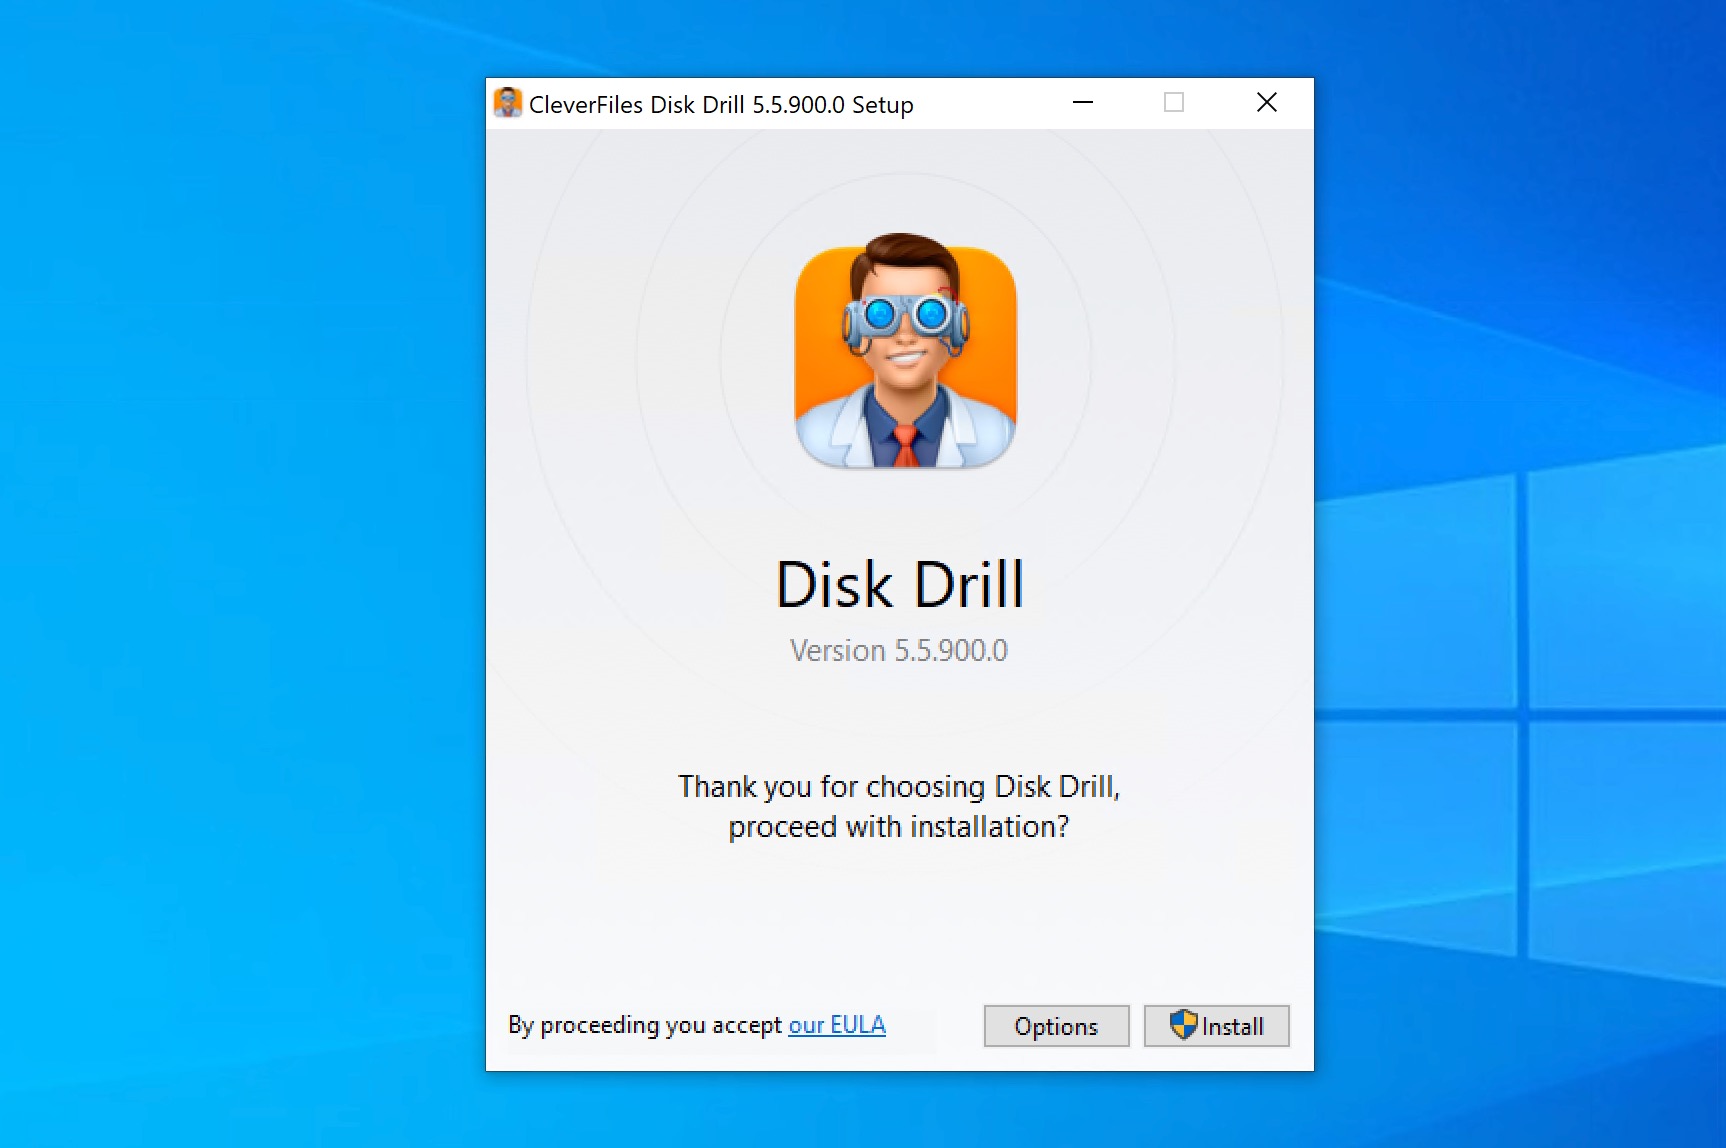
- Download and install Disk Drill on your Windows 10 computer.
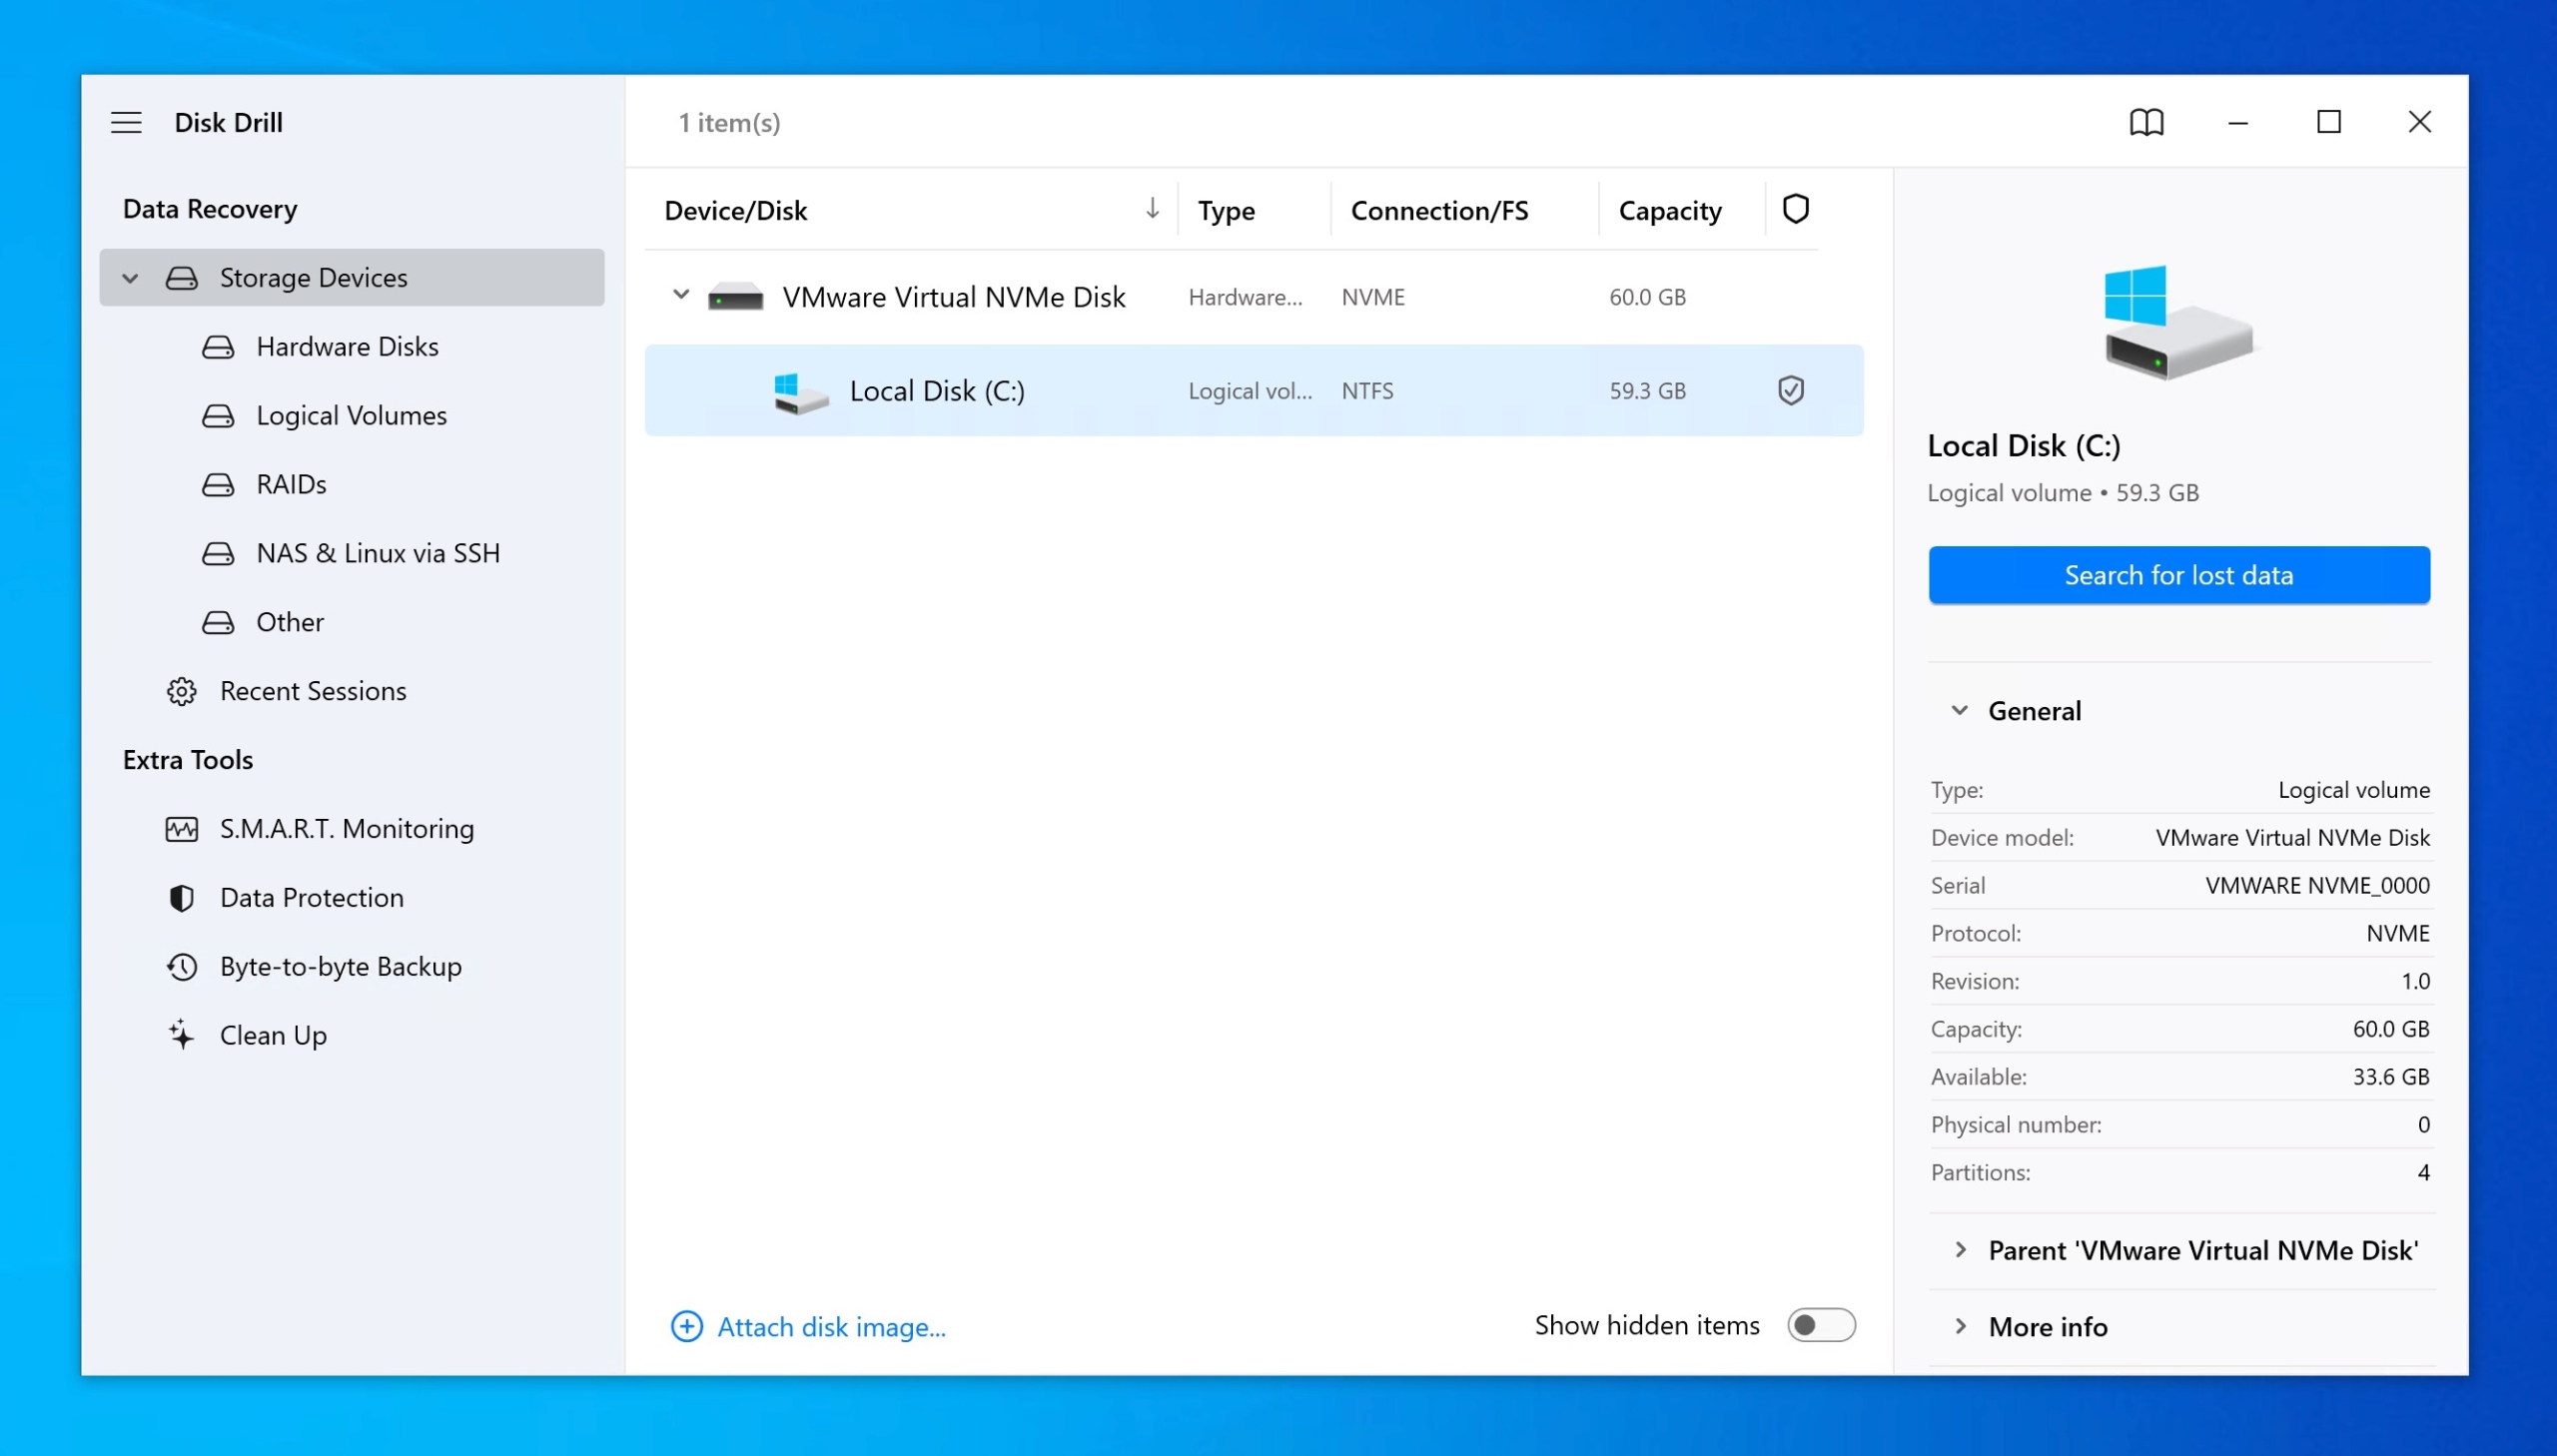
- Launch the application and select the storage device you want to scan from the list of available drives. On the right side of the Disk Drill window, click on the “Search for lost data” button to initiate the scanning process.
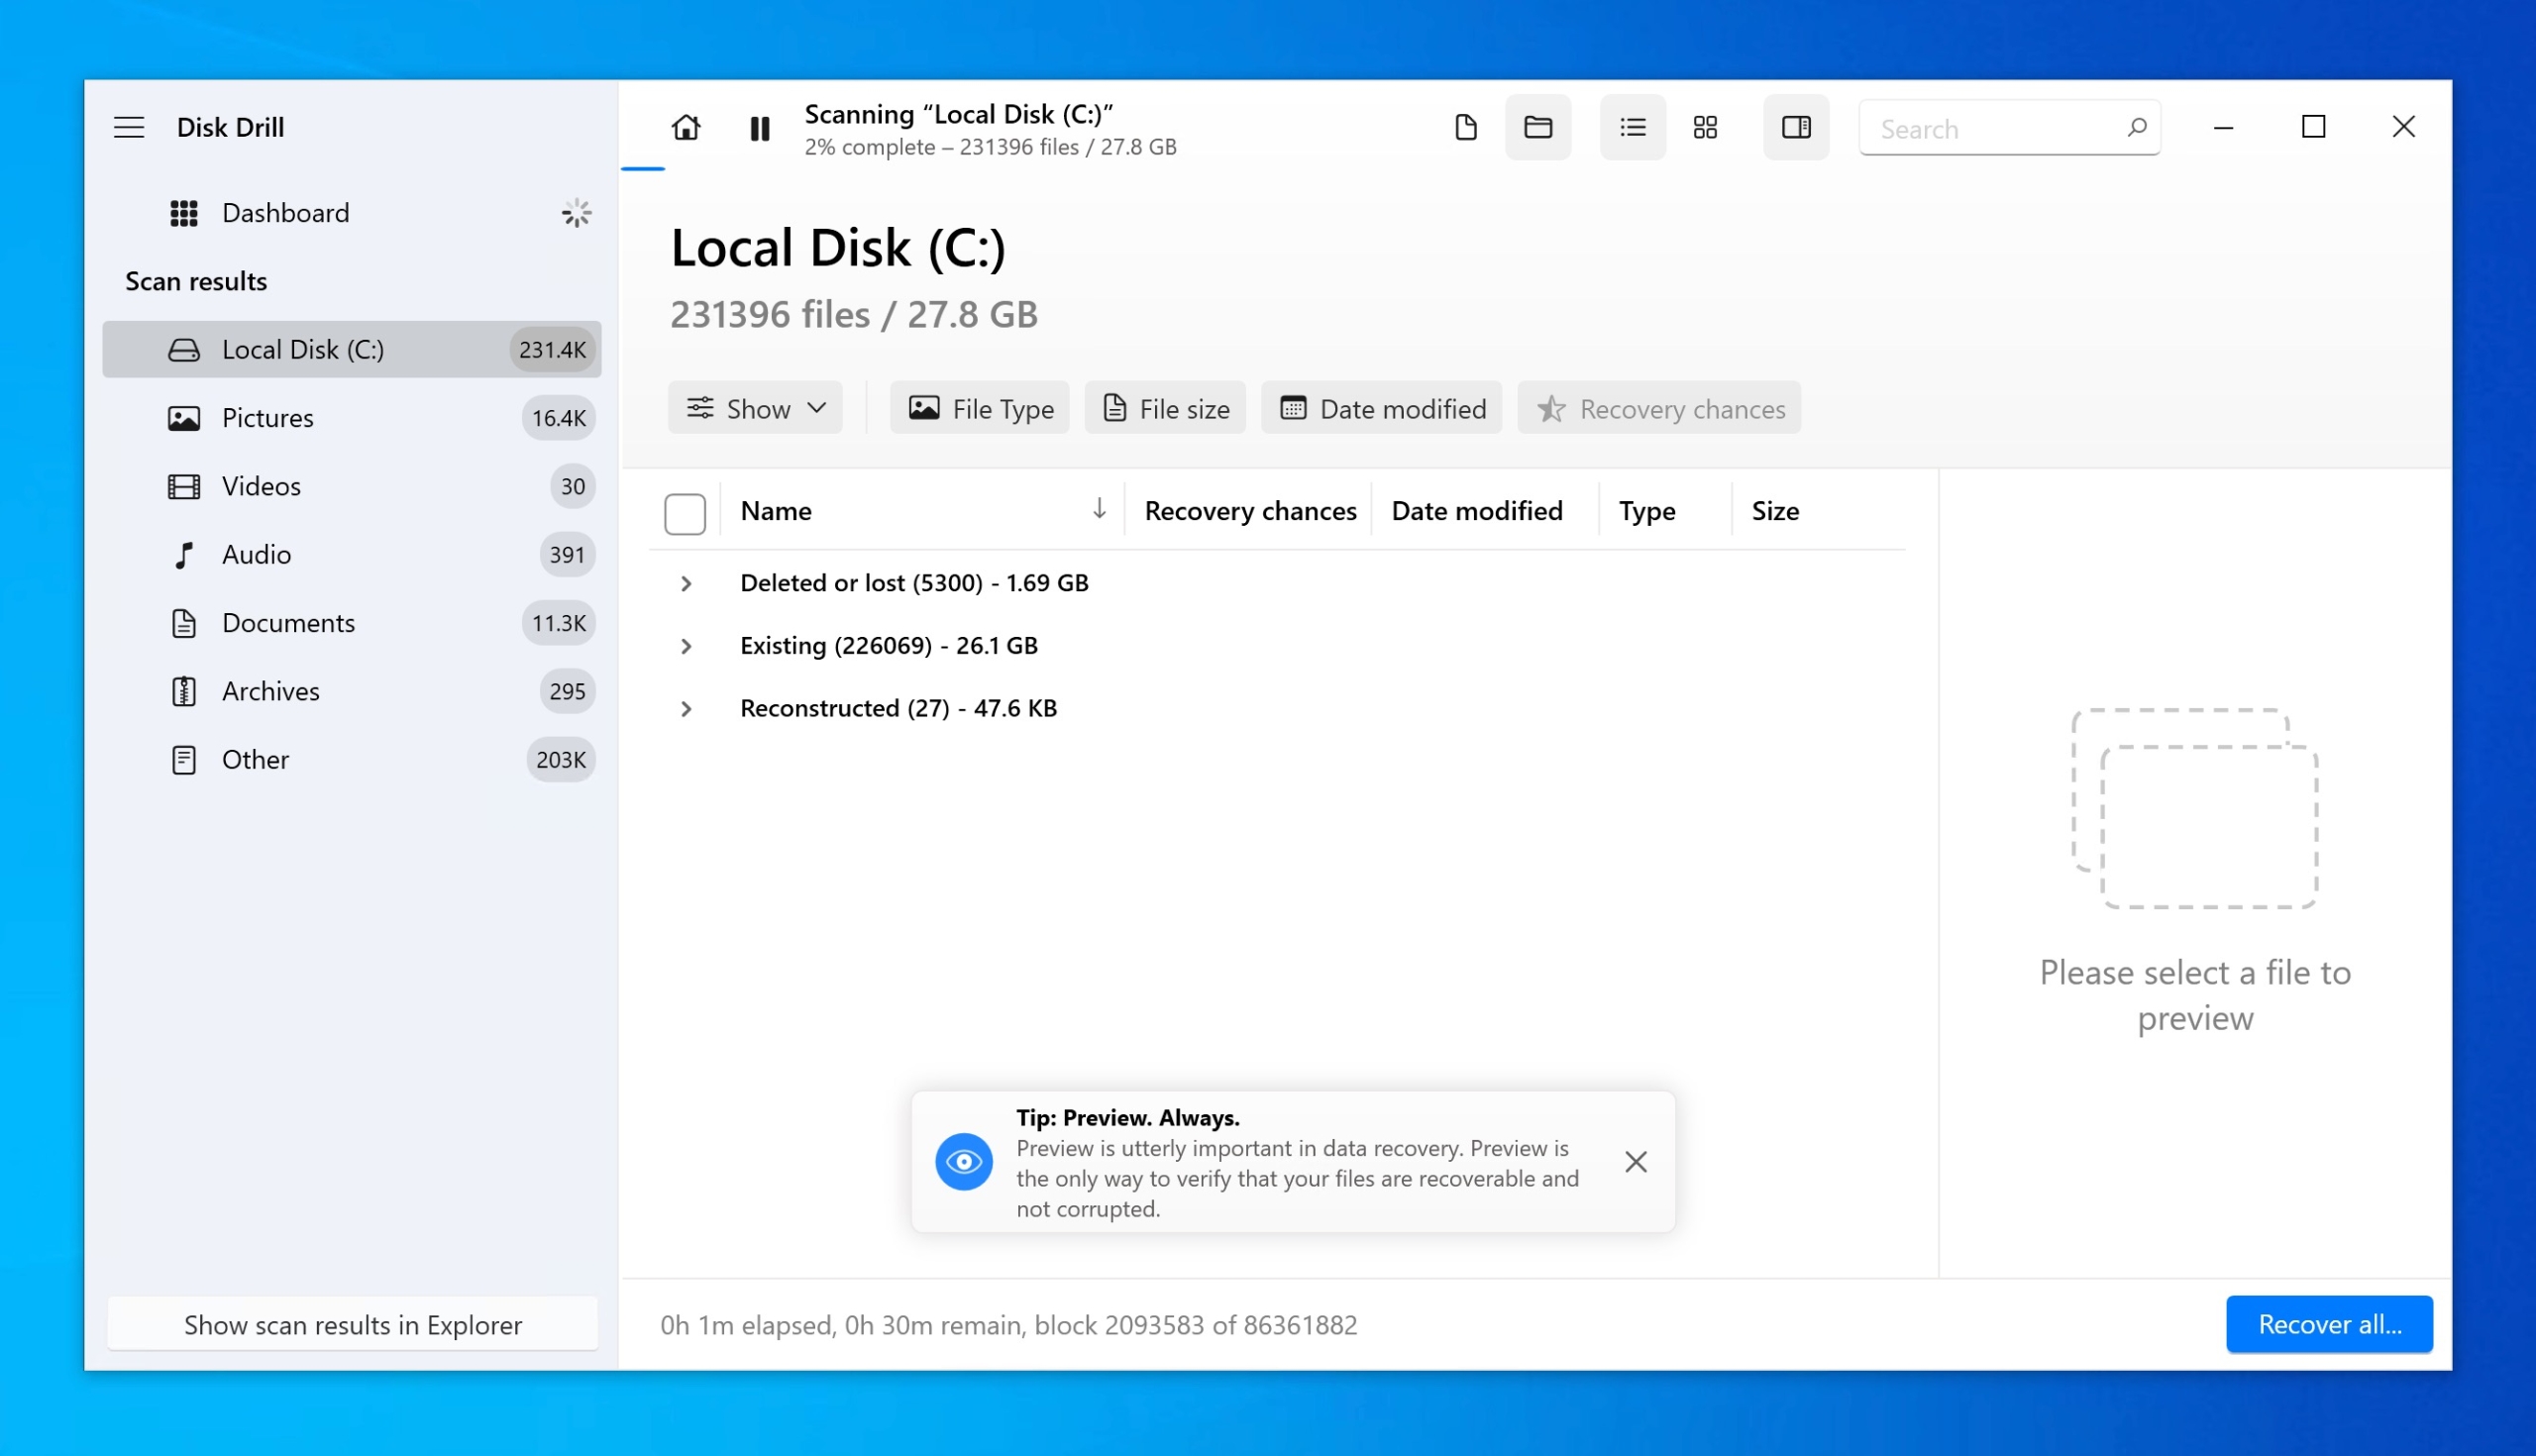
- Once the scan is complete, Disk Drill will display a results page. Overwritten files will almost certainly be located in the Reconstructed category. The Existing category is dedicated to files that are currently present on the storage device, and the Deleted or lost category is for files recovered based on file system information.
- Select the files you want to restore by checking the box next to each one. Then, click on the “Recover” button to start the recovery process.
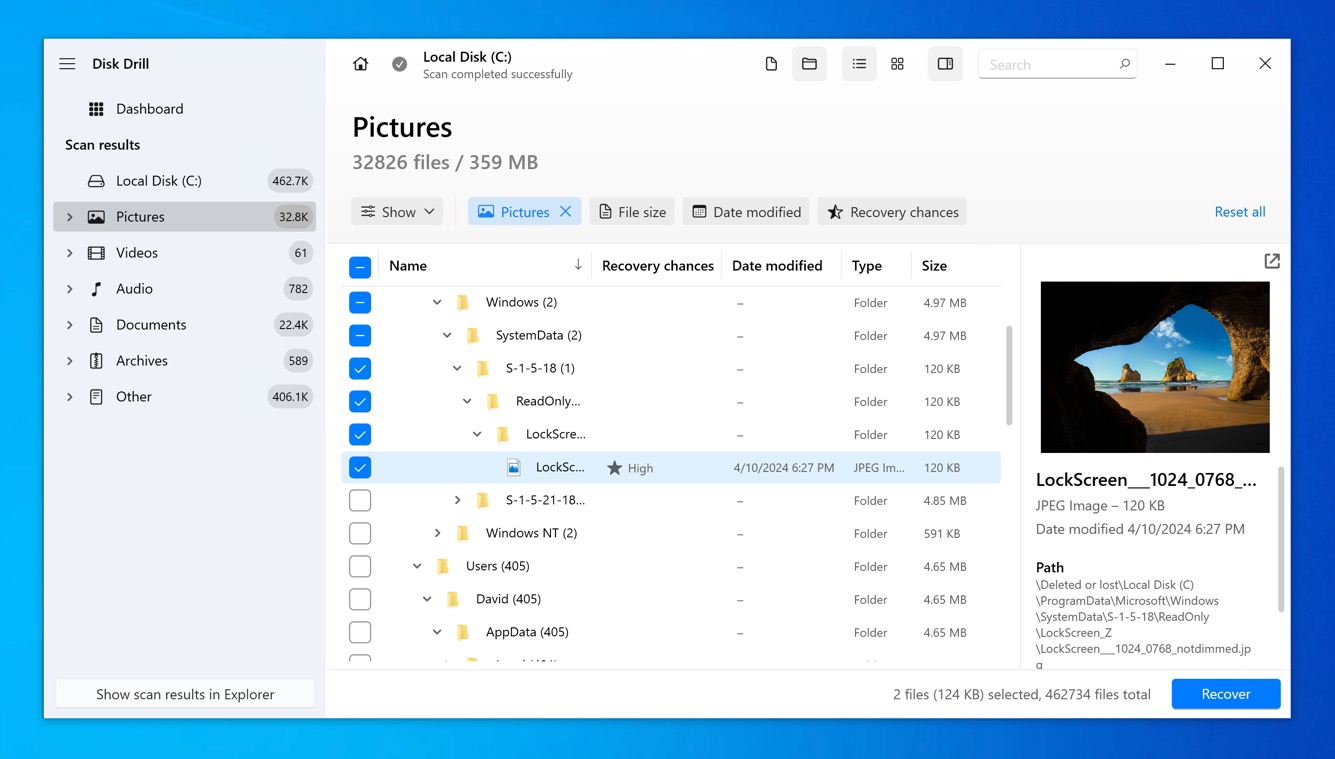
- Choose a save location for the recovered files. Select a different storage device or partition than the one you’re recovering from to avoid overwriting.
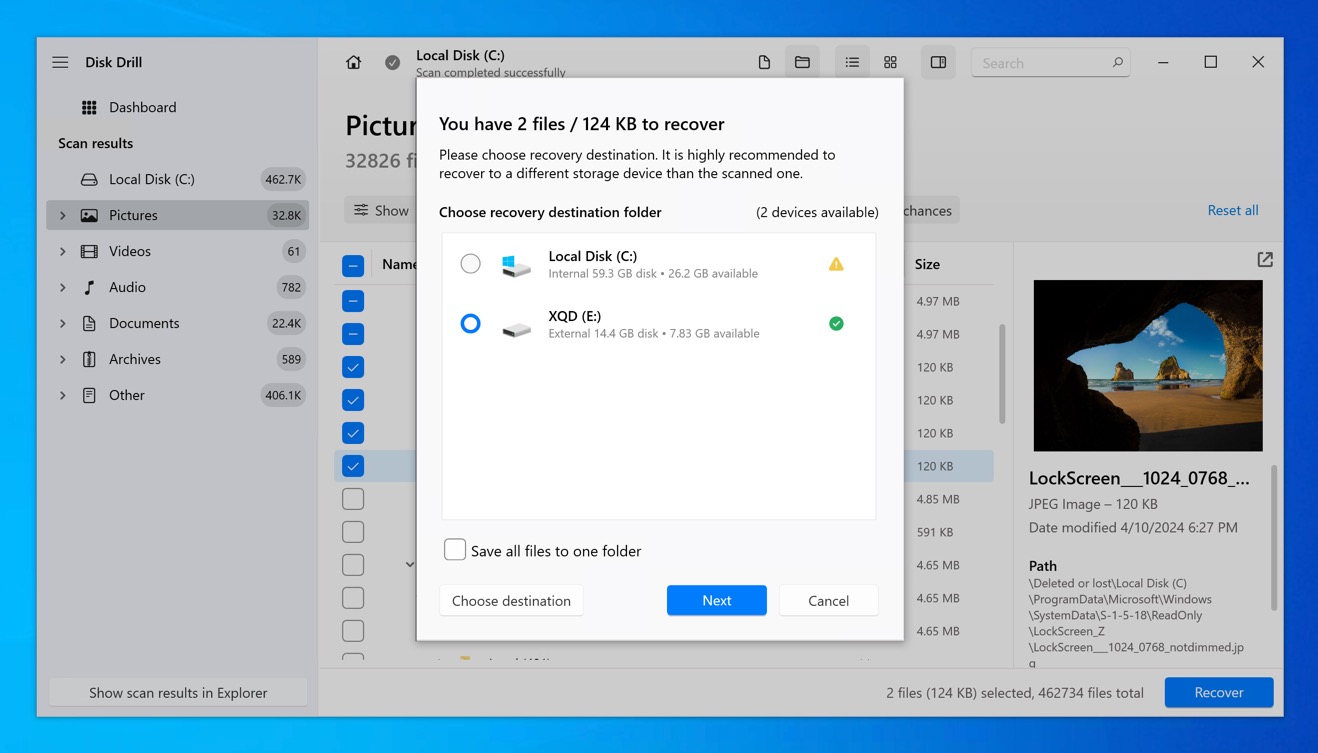


You can recover up to 500 MB of data with the free version of Disk Drill for Windows, so you might be able to get all overwritten files back without paying. If the total size of your overwritten files is larger than 500 MB, you’ll need to upgrade to the full version of Disk Drill for Windows. Fortunately, you can verify the recoverability of your files before you make the purchase by previewing them in Disk Drill.
Method 2: Use System Restore In Windows 10 to Recover Replaced Files
System Restore is a useful feature in Windows 10 that allows you to revert your system to a previous state, potentially helping you recover overwritten system files.
However, it’s important to note that System Restore does not back up user files, so it may not be the best option for recovering personal documents, photos, or other non-system files.
If you have System Restore enabled and you want to attempt to recover an overwritten system file, follow these steps:
- Open the Control Panel and navigate to System and Security.
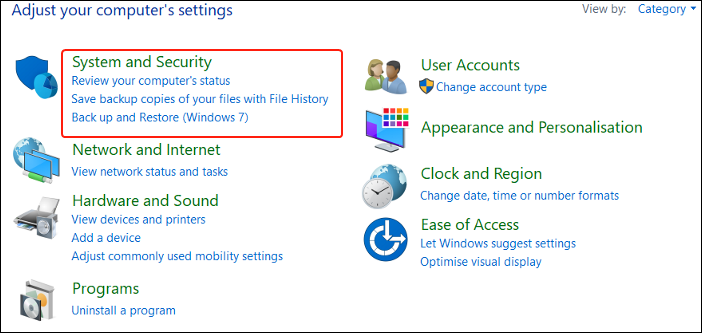
- Choose System in the System and Security window.
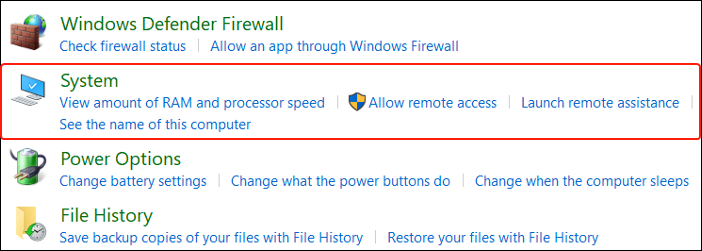
- Click on System Protection in the System window.

- Click on the System Restore button in the System Protection tab.
- You will be presented with a list of available system restore points. Choose a restore point that predates the overwriting of your file, and click Next.
- Follow the on-screen instructions to complete the System Restore process.


If the overwritten file you want to recover is a user file and not a system file, then the next method, which involves using the Previous Versions feature, is the right choice.
Method 3: Look for Previous Versions of Your Files
If your goal is to recover an overwritten file that you’ve created in the past as a Windows 10 user, then the Previous Versions feature can be of use.
For this feature to be useful, it must have been enabled at the time the file was overwritten. That’s because Previous Versions are either copies of files and folders created by Windows Backup or copies of files and folders that Windows automatically saves as part of a restore point.
To attempt to recover an overwritten file using the Previous Version feature, follow these steps:
- Right-click on the overwritten file or the folder that contained the file, and select “Properties” from the context menu.
- In the Properties window, navigate to the “Previous Versions” tab. Windows will search for any available previous versions of the files in that folder.
- If previous versions are found, select the version of the file you want to restore, and click the “Restore” button.


As the screenshot above shows, there’s no guarantee that Previous Versions will be available. In such situations, we recommend you go through your cloud and manually created backups and look for copies of your overwritten files there.
Final Thoughts
Files can be accidentally overwritten on Windows 10, but there are options to recover them. That’s because when a file is overwritten, its data still exists on the disk until overwritten by new data. To get your overwritten files back, you can attempt a system restore, use the Previous Versions feature, or restore from a backup. However, the easiest and most effective method is data recovery software like Disk Drill.