
Reading Time: 6 minutesDid you write something in the Microsoft WordPad file, only to have it accidentally deleted or not saved? If this has happened to you, you’ve come to the right place! Sometimes this issue doesn’t have to be headache-inducing. With the right tools, you can recover a WordPad document in less than a few minutes with only a few easy clicks! Our article will show you how to recover an unsaved WordPad document and provide you with the correct programs for the job.
What is WordPad on Windows 10?
WordPad is an integrated app on Windows 10 operating system for text editing that you can use to create and edit text files. In them, you can insert pictures, add links to other files or websites, change font, colors, and customize the text file as much as you want. Unlike Microsoft Word documents on Windows 10, the WordPad doesn’t have as many features and is meant to be used only for minor edits and writing.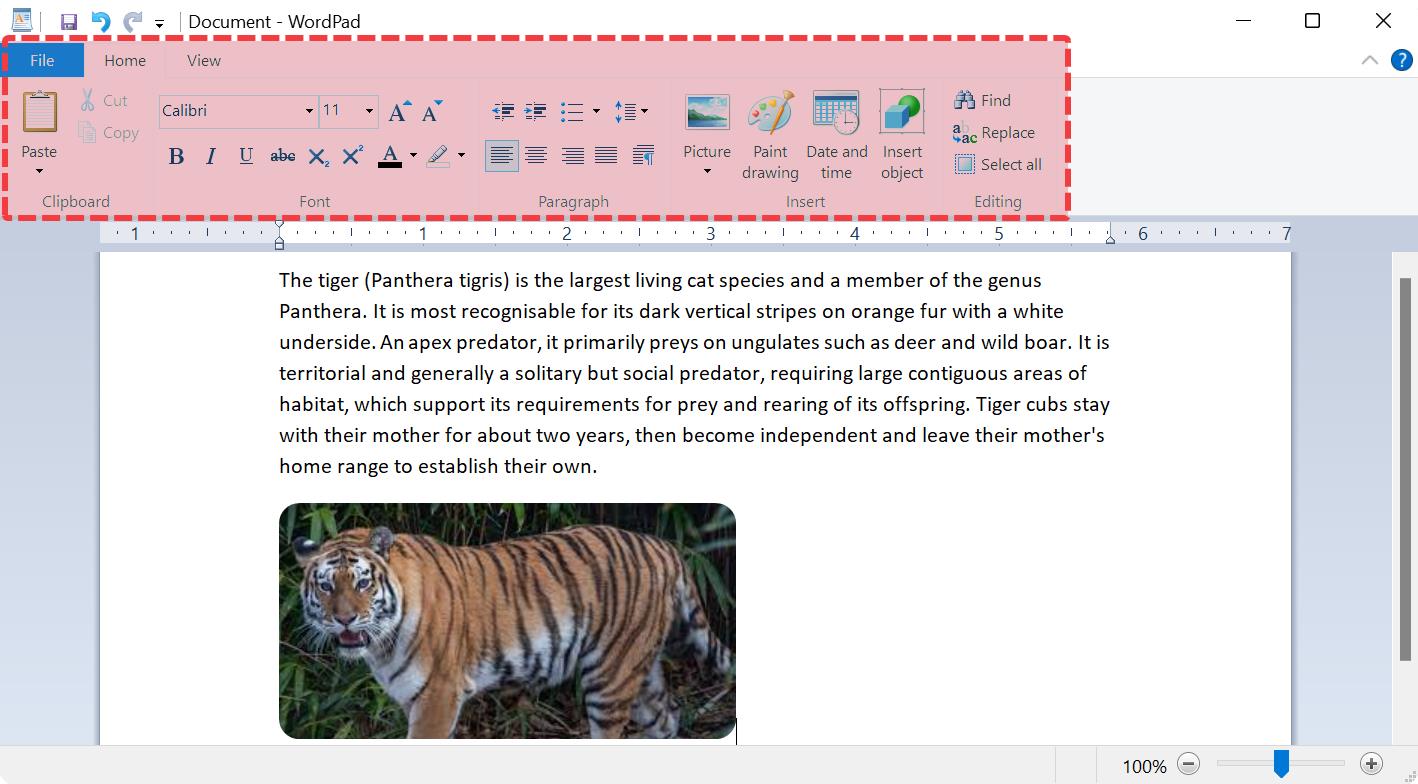
Does WordPad Have an Autosave Feature?
WordPad, unfortunately, doesn’t have an autosave feature, which means that if you don’t properly save the text file you’ve written, it’ll be gone for good. But don’t worry–things aren’t as dire as they might seem. There are a lot of things you can do to recover a WordPad document, and the best option would be to download a reliable data recovery program.
How To Recover a WordPad Document
If you’ve lost a WordPad document, the first thing you need to do is try not to panic. To recover a WordPad document, you can:
Search for the Document in File Explorer
The most basic action you can take to recover your WordPad document is to look for it in File Explorer. All you have to do is:
- Open the File Explorer.
- Type the name of the document in the search bar (located in the upper right corner of the window).
- Click on Search options and select the appropriate filter to narrow down your search.
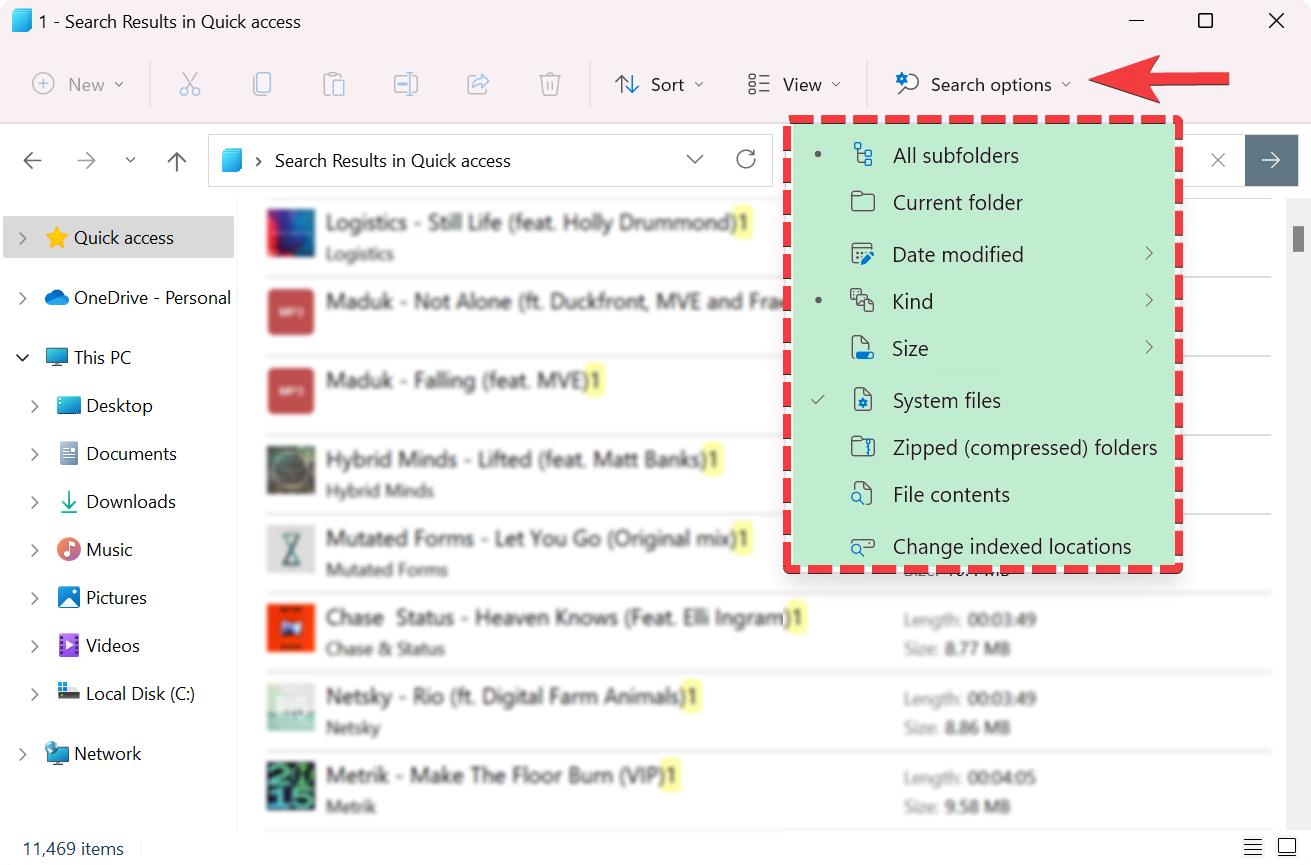
- Hit Enter.
Check Recent Documents in the Toolbar
Recent Documents is a feature of WordPad that lists all recently opened files through the program. There’s a chance you’ve missed your document there and all you have to do is to open WordPad and click on the File button in the upper left corner of the program on the toolbar.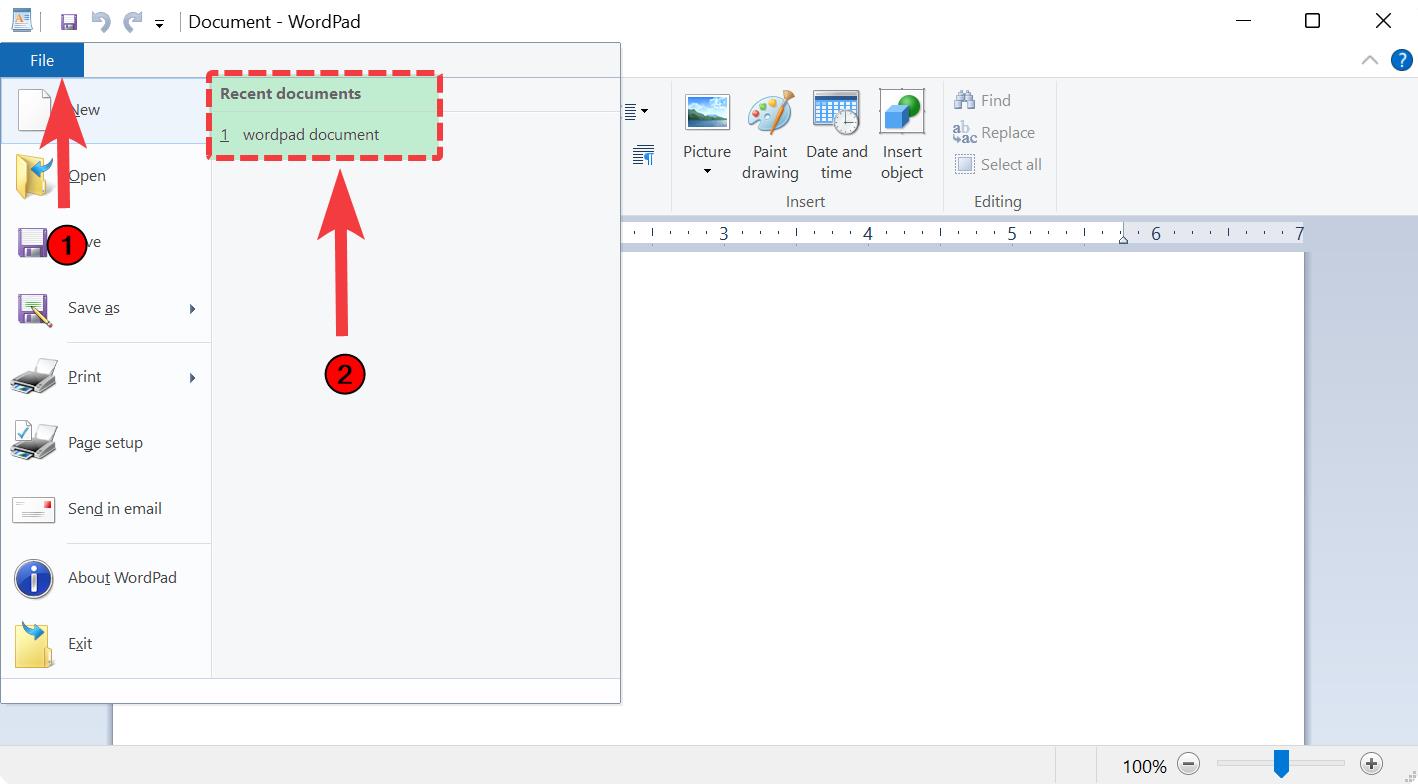
There, you should see all the recent files you’ve created lately, and among them, hopefully you will see your lost WordPad document.
Look in the TEMP Folder
The TEMP folder is a directory that holds temporary files, files created by Windows or programs such as WordPad while files are being written or updated. The information is stored temporarily so the program can use or transfer the information to a permanent file when the task is complete. There’s a slight chance that your lost WordPad document has gone into it. To check whether that’s true, simply paste the following line into the Windows Search bar %temp% and hit enter. This line will take you to the TEMP folder, where you can look for your lost WordPad document.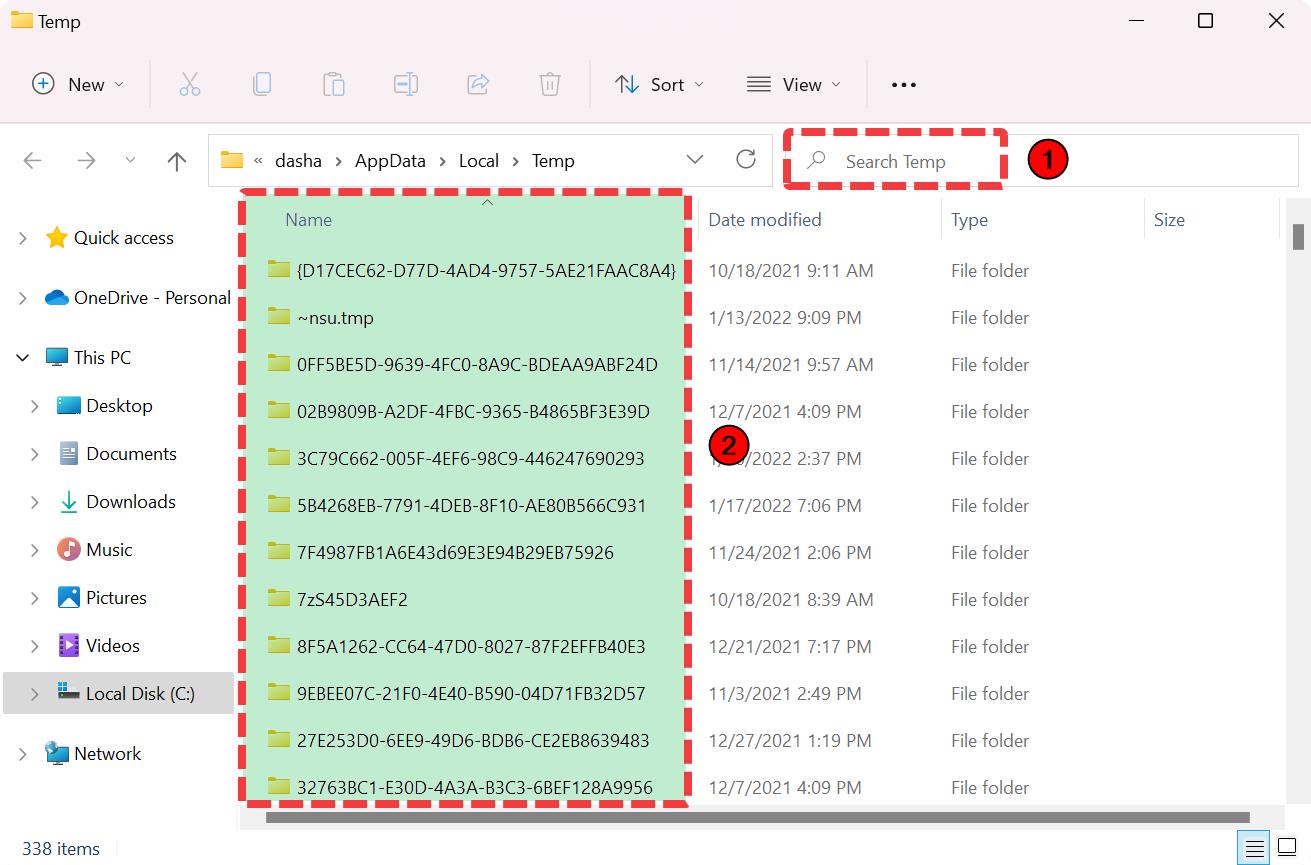
Check the Documents Folder
Another place where your lost WordPad document might have gone is the Documents folder, a location used by Windows for storing your personal data. The folder is used as a default storage location for saving documents and other types of files. To locate the documents folder, you need to go to the Local Disk where your operating system is installed, the Users folder, and click on the folder named after your computer. Once there, you should look for your WordPad document.
View Previous WordPad Versions
In case you remember where your lost WordPad document has been before it had gotten deleted, you can try viewing the previous WordPad versions. To do so, you need to:
- Locate the folder where your WordPad document might have been (the folders where you keep your photos, the Documents folder, desktop perhaps, or your SD card).
- Right-click on the folder and select the Previous version option.
After you select the ‘Return previous version’, there’s a chance the previous versions of the folder will show up. If they do, select them and click restore. This way you’ll be able to see the folder with the old versions of your lost WordPad document.
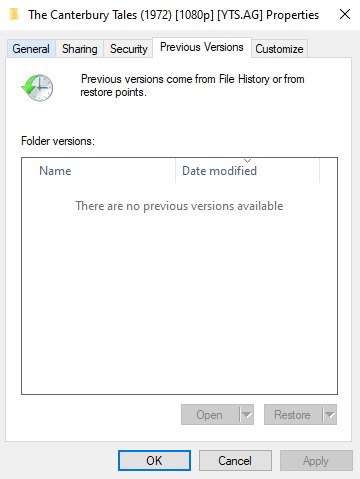 Once you follow these steps, the recovery points should be there and you should be able to select the most appropriate one that contains your lost WordPad document.
How To Recover a WordPad Document With Data Recovery Software
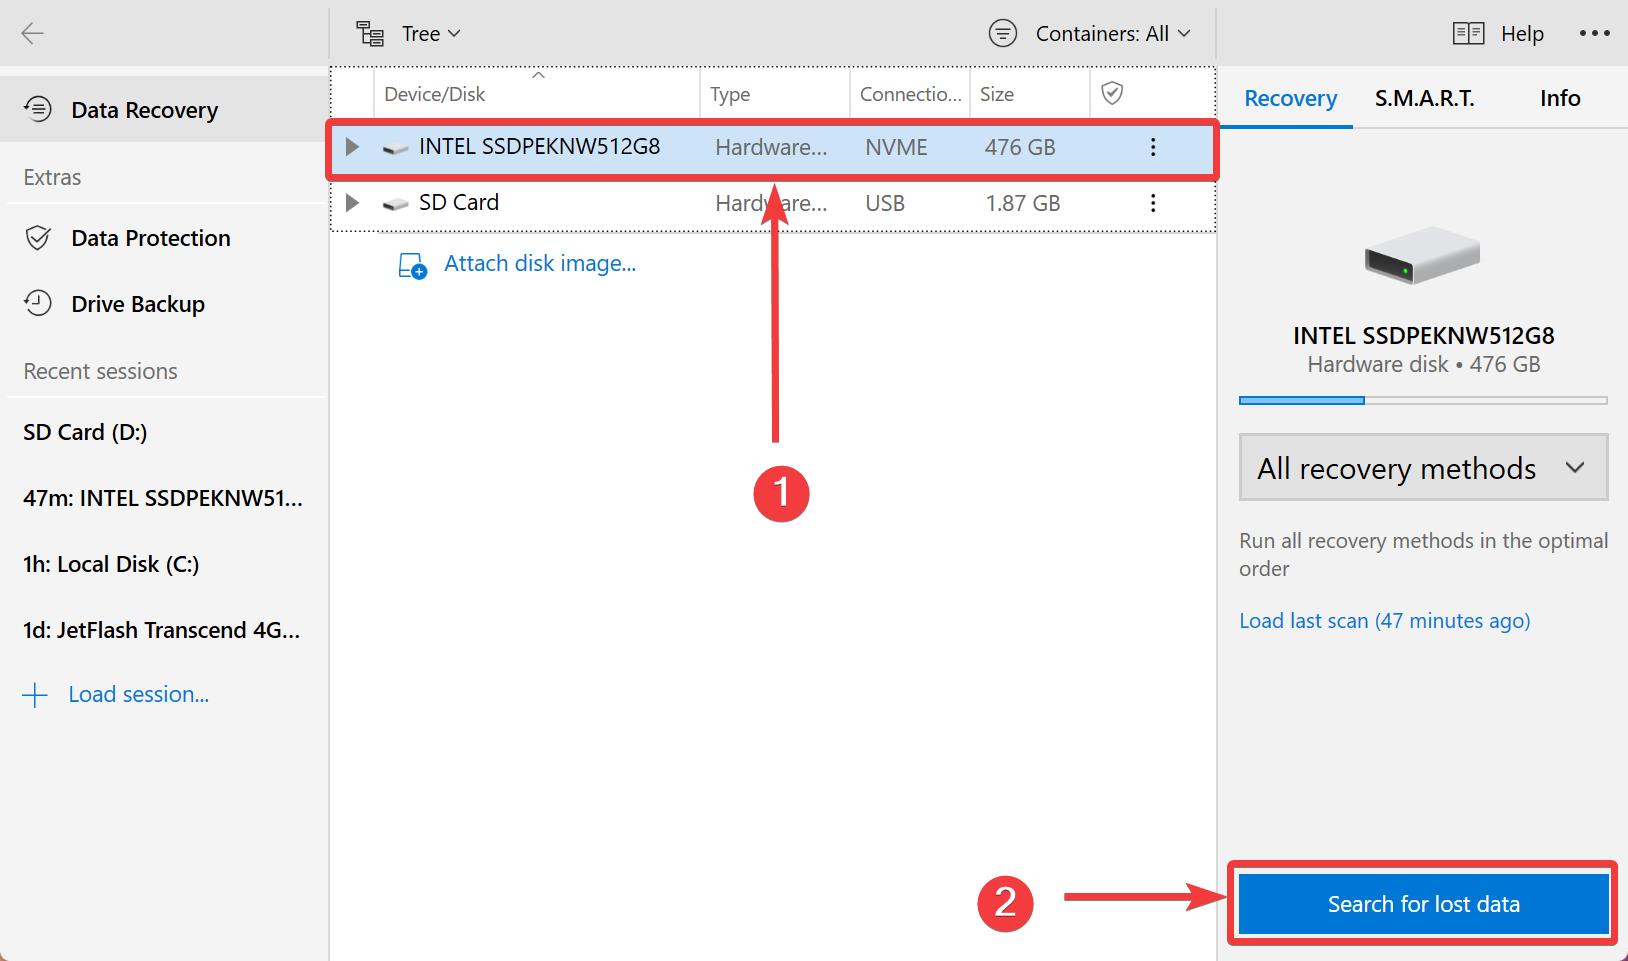
The first data recovery program that comes to my mind when I’m recommending data recovery solutions is Disk Drill. It’s a feature-packed program that allows you to restore various types of files and has options that are super useful for finding lost documents.
To recover a WordPad document with Disk Drill, simply follow these steps:
- Download Disk Drill from the company’s website and install it on a different drive, such as a USB or an external drive (this will help you avoid overwriting and losing more files in the process).

- Launch Disk Drill and choose the drive on which your WordPad file has been located. Click on Search for lost data.
- Check out the scanned files and see whether your lost WordPad document is among them (usually the files that are previewable are the ones that can be recovered, and you can use the Recovery chance feature to evaluate the probability of WordPad recovery).
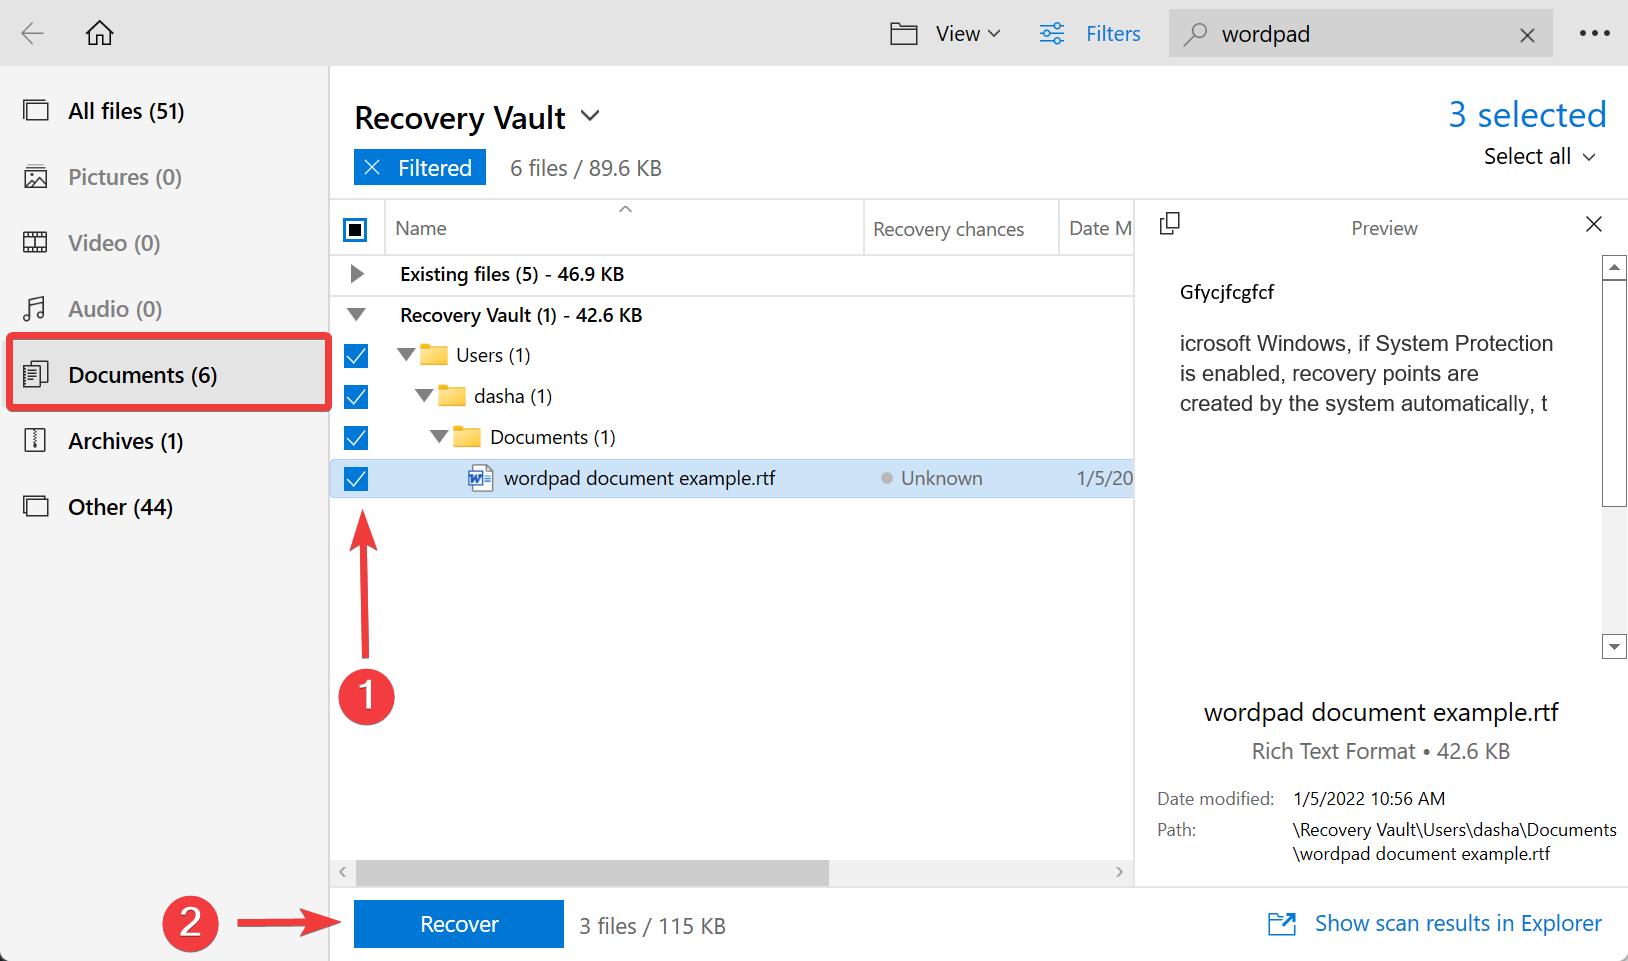
And you’re good to go! After following these steps, you should be able to locate and recover WordPad documents at the moment’s notice.
FAQ
- Open registry editor via Start Menu by typing in ‘Reg edit’ in the search bar.
- Copy and paste this line into the Registry editor:
Computer\HKEY_CURRENT_USER\SOFTWARE\Microsoft\Windows\CurrentVersion\Applets\Wordpad\Recent File List
- Delete the documents you don’t want to see anymore.
Conclusion
When you lose a WordPad document, the most important thing to remember is to try not to panic. If you’ve tried everything but still can’t find your lost document, just turn to Disk Drill for help and recover your file in no time. In a few easy steps, your deleted/unsaved article will be found and you can continue working on it like nothing’s ever happened!