Reading Time: 7 minutesCreating a ZIP archive is a great way to save some extra storage space or make content easier to send over the internet, but they’re just as prone to accidental deletion as any other file type. The good news is that there are a few tried and tested methods for ZIP file recovery that you can easily try yourself.
In this guide, we’ll show you the best ways to retrieve erased ZIP files on your Windows PC and how to repair them in case they show up compromised or corrupted after recovery.
How to Recover Deleted ZIP Files on Windows
There are two ways to manually delete files on Windows. Using the Delete key or right-clicking the file and selecting Delete will send the file to the Recycle Bin, where it will remain until emptied. Using the Shift + Delete method, on the other hand, skips the Recycle Bin entirely and erases the file.
There are quite a few ways you can go about recovering deleted ZIP files on a Windows machine depending on how they were deleted, but we’ll be going through three particular methods that are both easy to come across and offer a high chance of success.
Method 1: Recycle Bin
We’ll start off with the Windows Recycling Bin tool. As previously mentioned, the Delete key or right-click > Delete method will send your ZIP file straight to the Recycle Bin, so retrieving it is as simple as going into the bin and restoring it. Just follow the steps below and you’ll get your ZIP file back in no time:
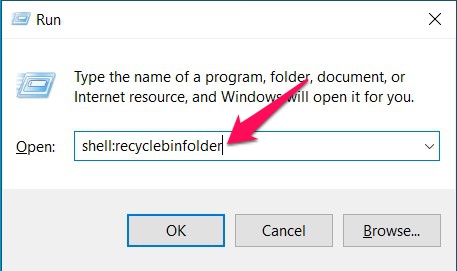
- There are two ways you can open the Recycle Bin tool. The first method is by double-clicking the icon on your desktop. Alternatively, you can open the Run command dialog box by pressing Windows Key + R, then type out “shell:recyclebinfolder” and hit Enter.
- Once it’s open, simply highlight the ZIP files you want to recover, then right-click any one of them and select the Restore option. Your files will now be restored to the folder they were last in before being deleted.


Method 2: Windows File Recovery
Next up is Windows File Recovery – an official tool developed by Microsoft to help recover deleted files from a variety of storage mediums. The main catch with going this route is that the tool doesn’t feature a graphical interface and is purely command-line based, meaning you’ll need to know the commands if you want to utilize it. Follow the instructions outlined below to restore deleted files through the Windows File Recovery tool:
- Install the Windows File Recovery tool from the Microsoft Store.
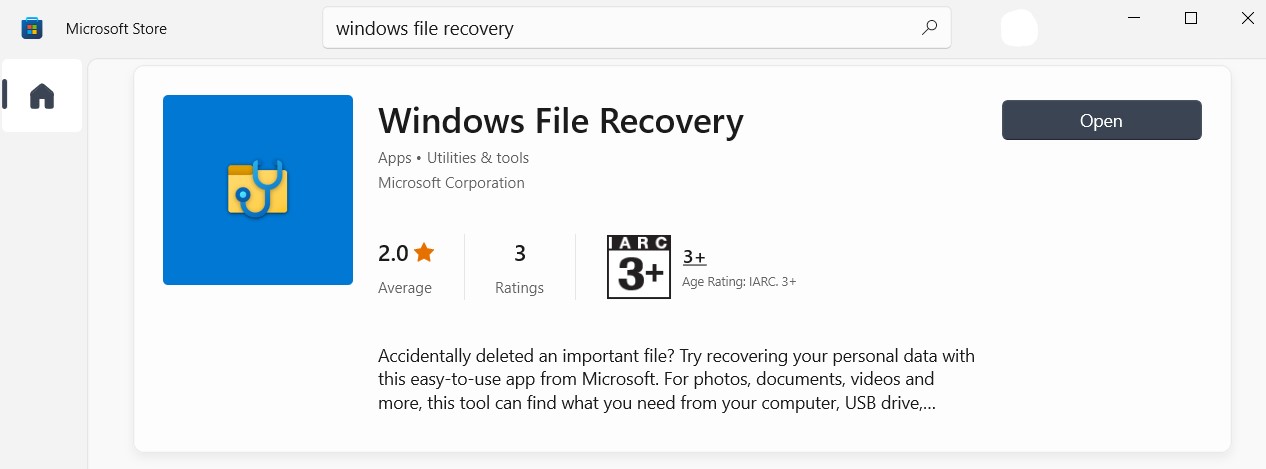
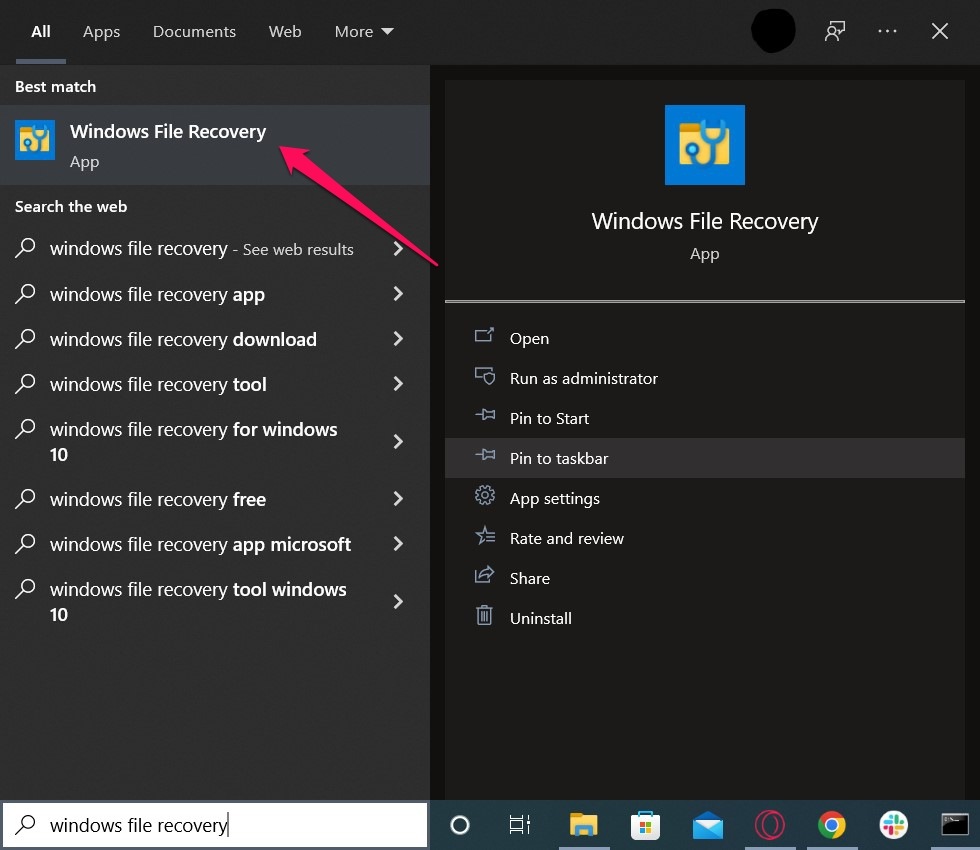
- Open the Search utility on your Windows taskbar, key in “windows file recovery”, and select the top option that appears.
- A command prompt session should appear with the Windows File Recovery tool already loaded. There are a whole lot of commands you can use with this tool, but for recovering deleted ZIP files, we’ll be using the following:


| winfr | The prerequisite command to engage the Windows File Recovery tool |
| /signature | The recovery mode that works for all file systems, which is perfect for scanning various types of storage media |
| y:[filetype] | A filter parameter that allows you to specify the exact file type you want to recover |
Your end string should look something like this:
winfr E: D: /signature /y:ZIP
Where “E:” is the drive you want to recover ZIP files from, “D:” is the location where the recovered files will be saved, and “/y:ZIP” is the filter parameter that forces the tool to only recover ZIP files. Once you type out the string in the command prompt, hit Enter to execute.

4. A message will appear on the screen with a summary of the job you’re about to execute. You’ll also be asked whether or not you’d like to continue. Type “y” and press the Enter key to proceed.

5. The Windows Recovery Tool will now begin attempting to recover your files. How long this takes depends primarily on the size of the storage device you’re trying to recover from. Once it’s complete, you’ll be informed if any files were recovered.

Method 3: Disk Drill
The Windows File Recovery tool may be completely free to use, but its recovery rate is pretty hit-or-miss, even if you do everything right. The best approach to retrieving deleted ZIP files is through the use of a quality data recovery program and you’d be hard-pressed to find one better than Disk Drill.
It boasts a newbie-friendly design, excellent compatibility with a variety of devices and file types, and a very impressive success rate. Plus, before having to invest in the app, you can try out all of its features through the trial version which allows you to recover up to 500 MB of data. Here’s how you can use Disk Drill to get back those ZIP files you deleted:
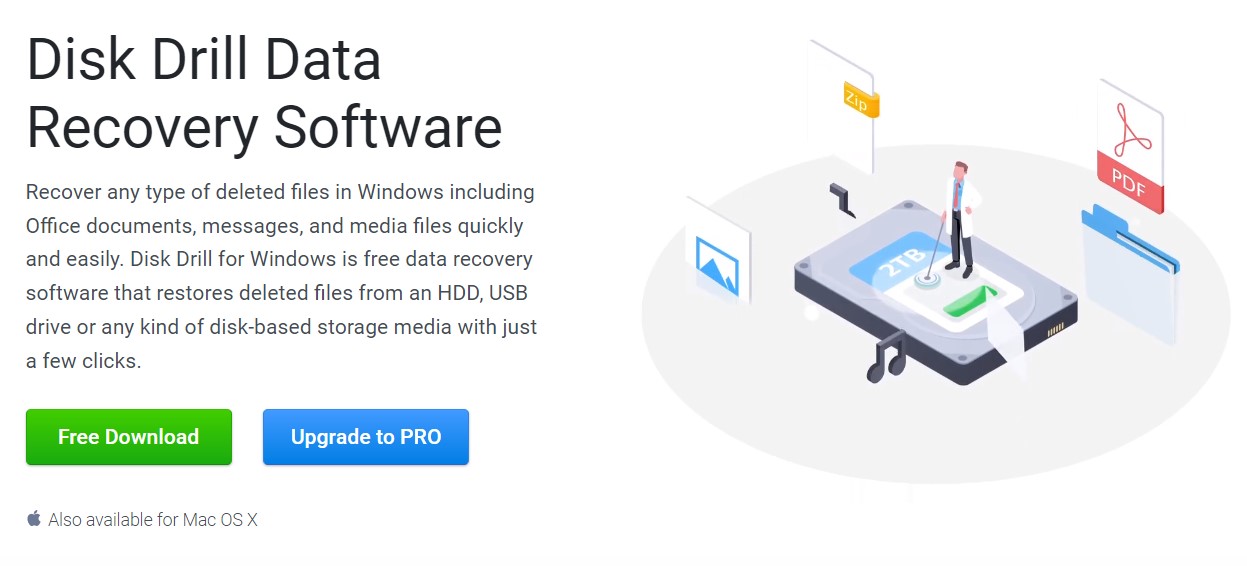
- Download and install Disk Drill from the official Cleverfiles website.
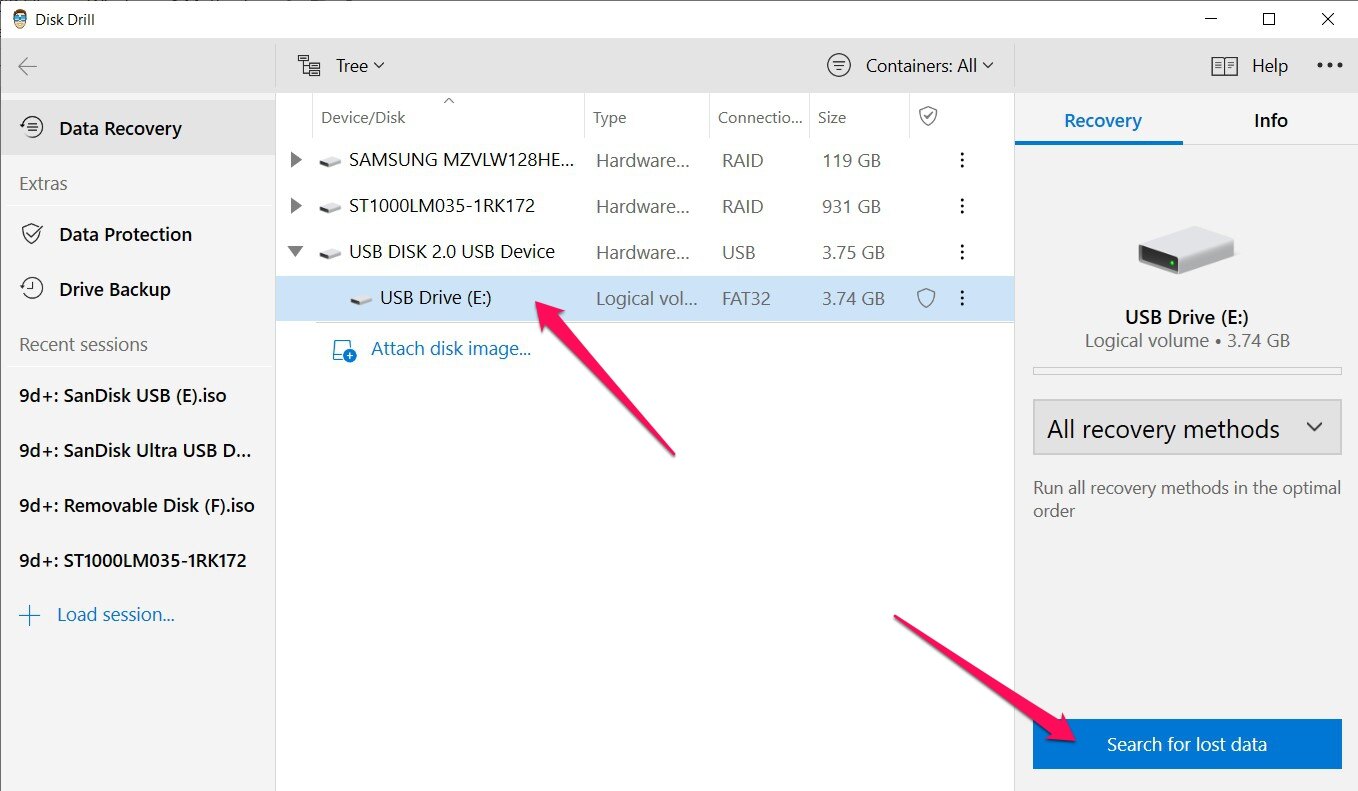
- Launch the app, select the storage medium you want to recover ZIP files from, and click the Search for lost data button.
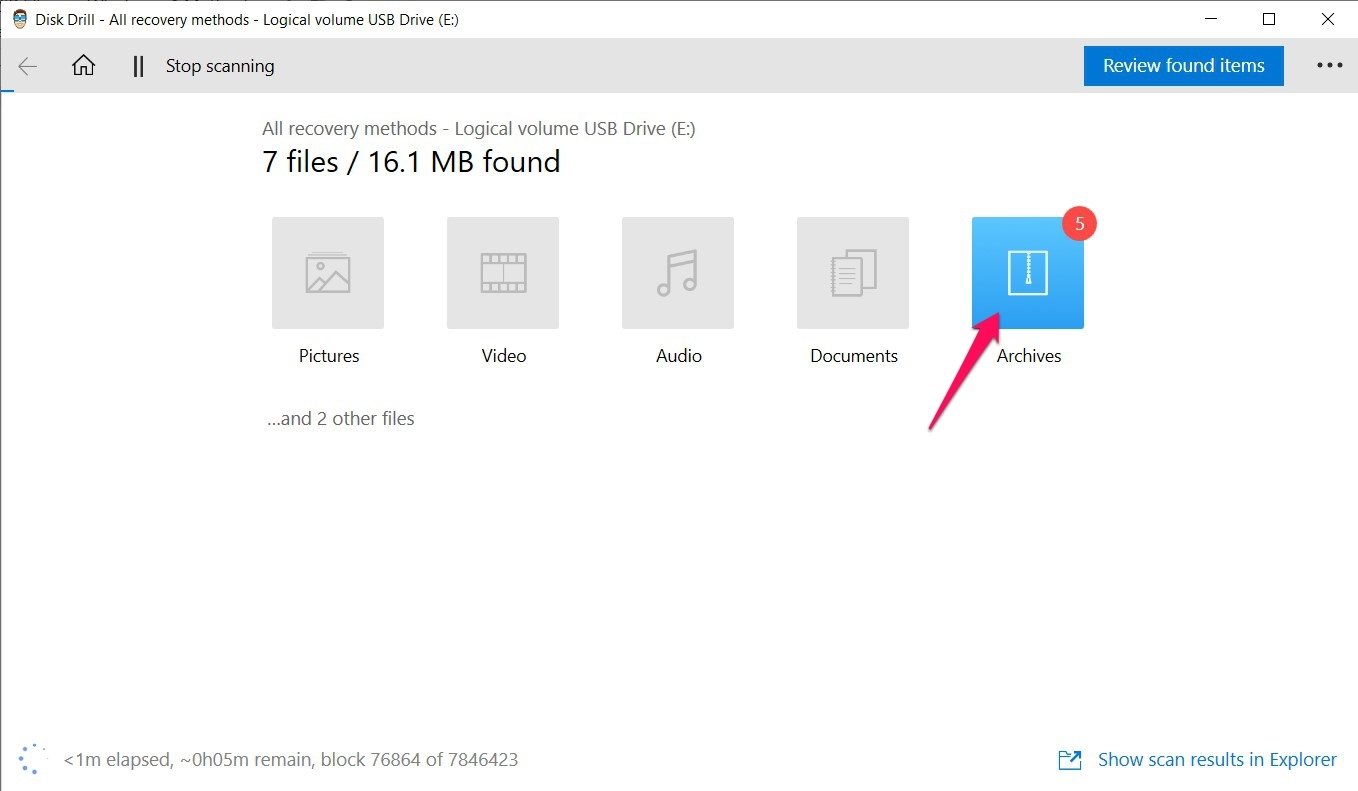
- Scanning will now begin. This process can be longer or shorter depending on the size of the storage device being scanned, but you can click the Archives icon on the screen at any time to check out the scan results in real-time.
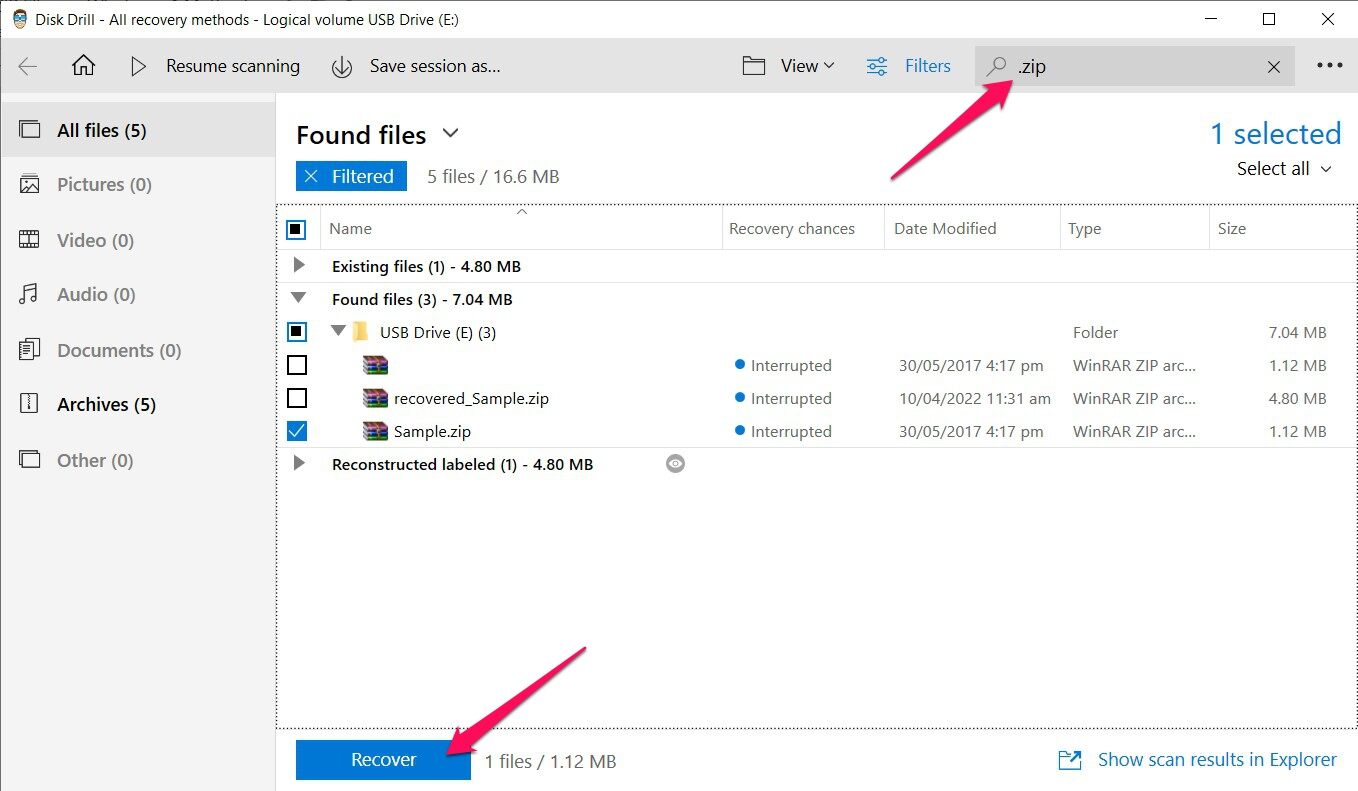
- Once you’re on the results screen, you can type “.zip” into the search bar on the top-right of the page and hit Enter. That way, only ZIP files will be displayed. From there, simply highlight the files you want to recover by ticking the checkbox next to the file names, then press the Recover button to proceed.
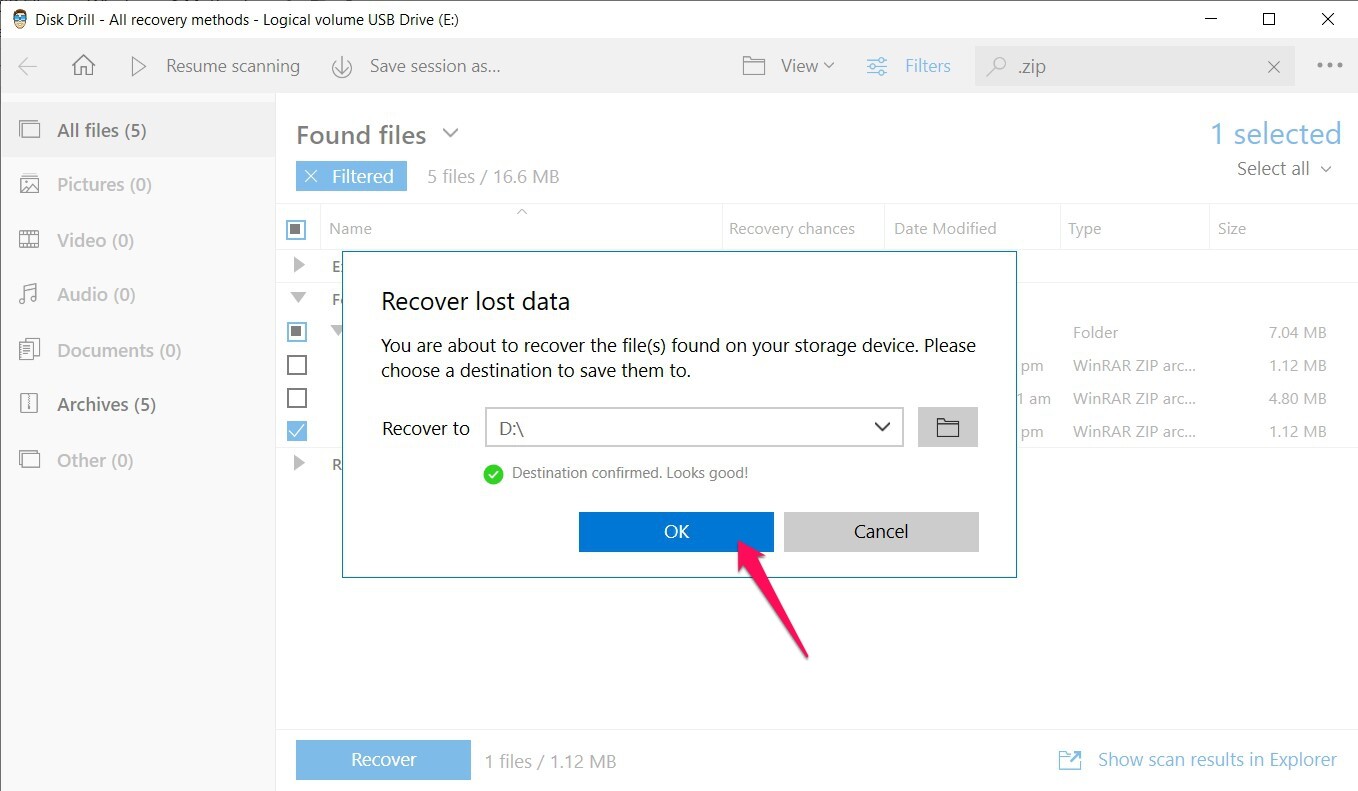
- A small window will appear asking you to choose the location where you’d like the recovered files to be saved. This has to be on a different storage device than the one you’re recovering from, or else you’ll run into trouble. Click OK when you’re ready to begin the recovery process.
- On the completion page, you’ll see a button labeled Show recovered files in Explorer. Click it and you’ll be taken right to the rescued ZIP files.


How to Repair ZIP Archive After Recovery for Free
It’s not uncommon to recover deleted ZIP files only to find out that they’re damaged or compromised, rendering them inaccessible. Don’t panic just yet, however, as there are a few techniques you can try to have them repaired. Keep in mind that these methods are meant for slight corruption and will likely not work for major damage.
WinRAR Repair Feature
WinRAR is one of the biggest names in the archiving space and the go-to program of choice for a lot of people when it comes to accessing ZIP files. But it does more than create and access archives. It can repair them as well using its built-in repair function. Just follow the simple steps below to get your damaged ZIP files fixed:
- Download and install WinRAR from the official website.
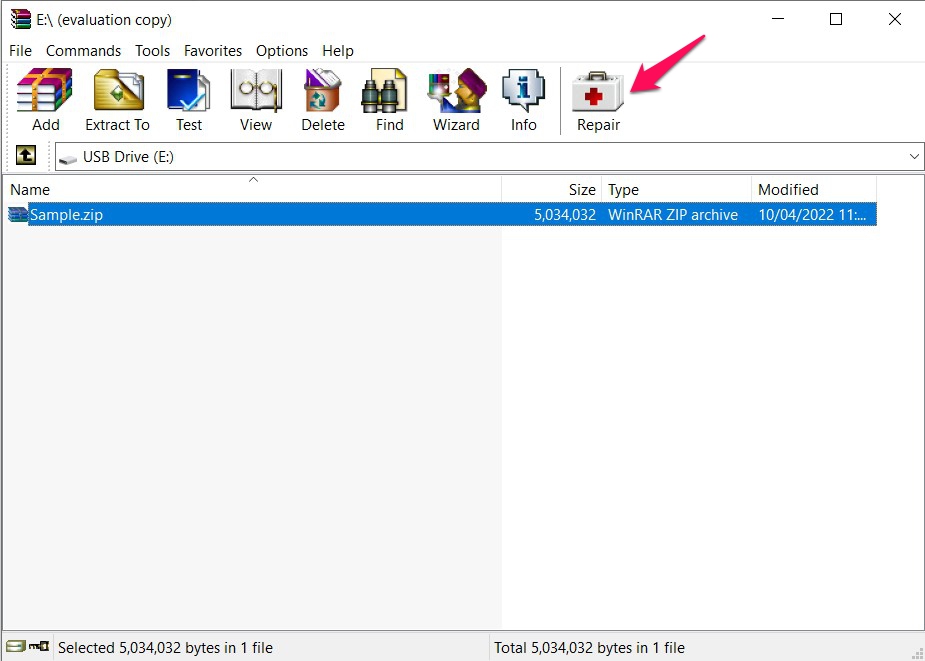
- Launch WinRAR and navigate to the folder where your damaged ZIP file is located.
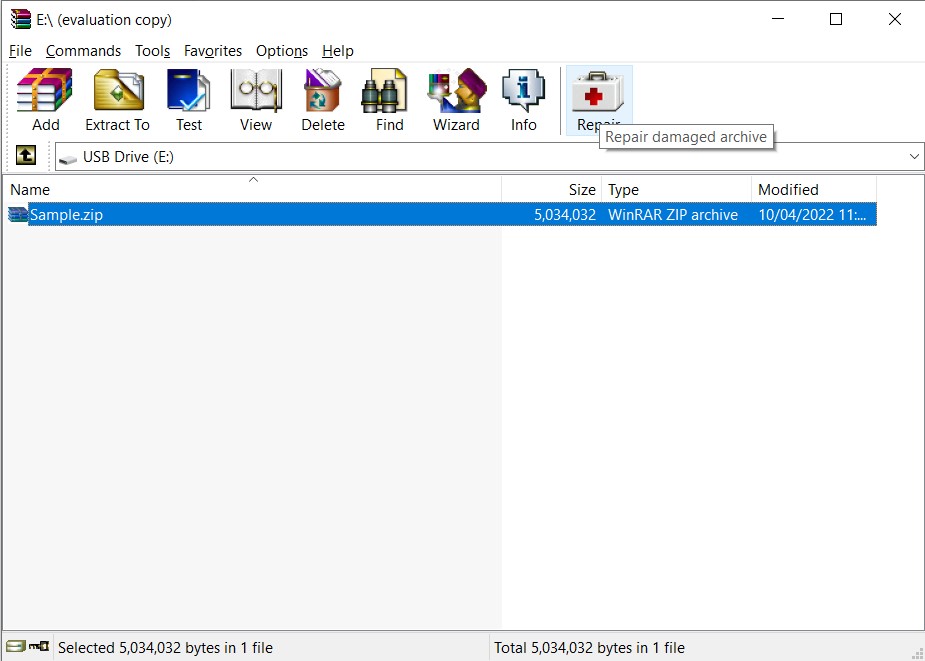
- Highlight the file and click the Repair button on the top-right corner.
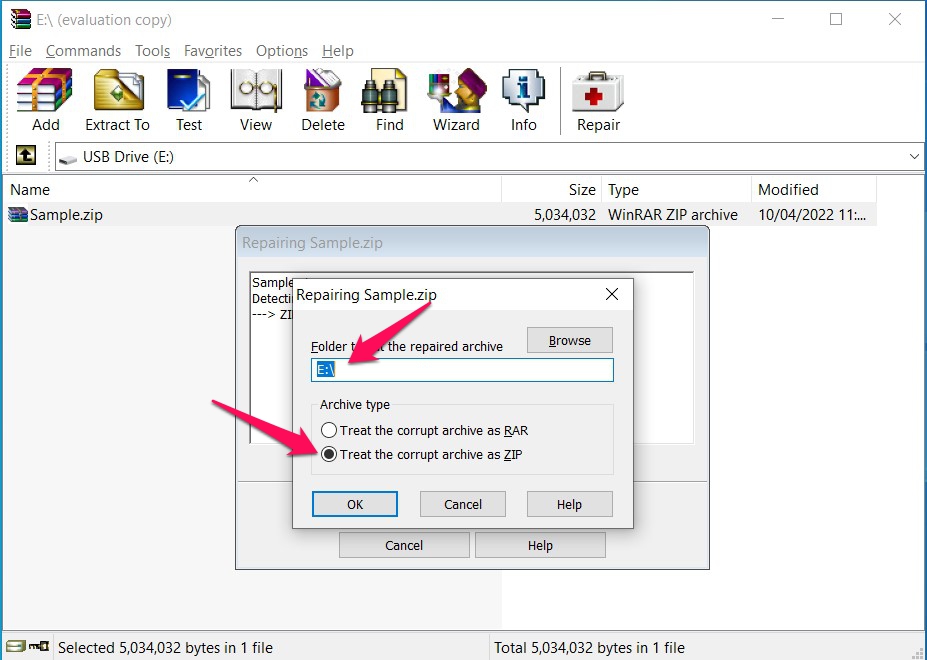
- Select the destination folder where you want your repaired archived to be saved and choose the archive type you want it to be saved as. When you’re ready, click the OK button and WinRAR will do the rest.


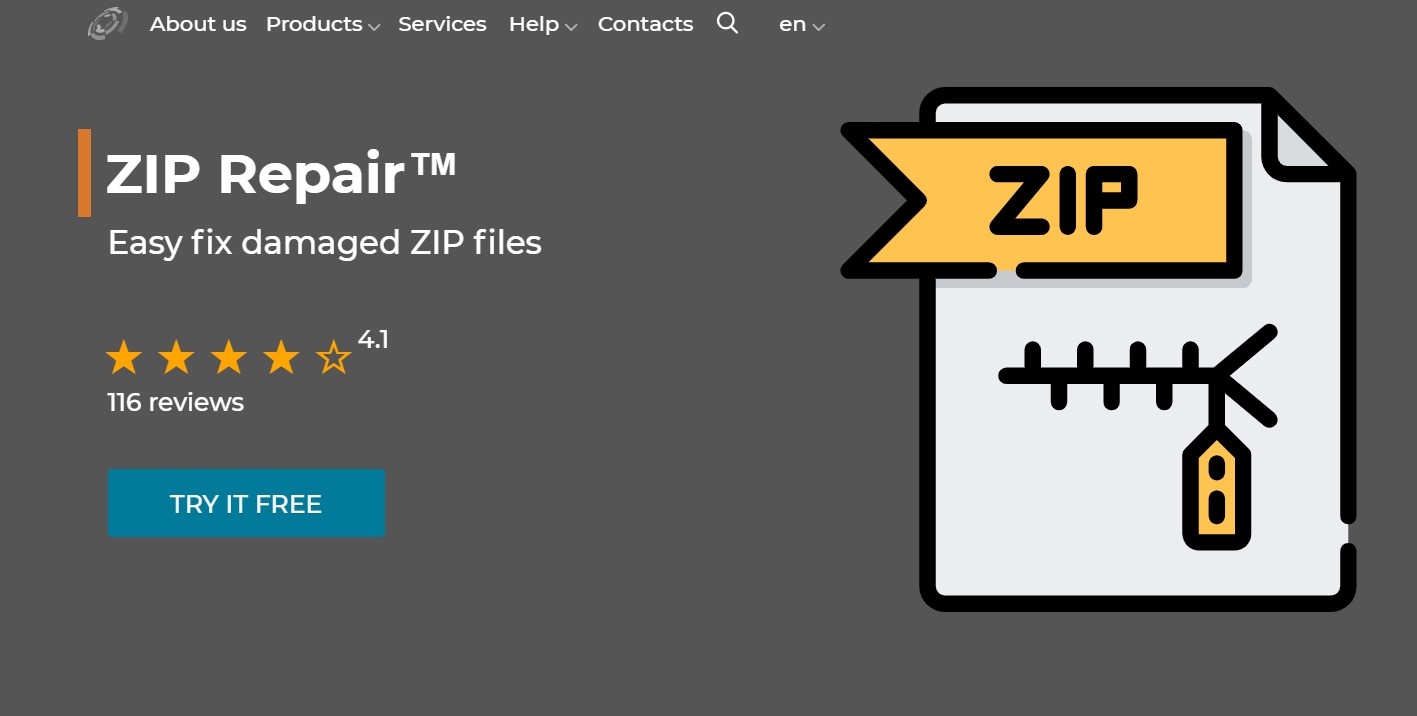
DiskInternals ZIP Repair
If WinRAR’s built-in repair didn’t do the trick, you can try a more specialized tool. As its name suggests, DiskInternals ZIP Repair is a program that’s dedicated to fixing corrupted ZIP and restoring their structure and contents. Here’s how to use it:
- Download and install DiskInternals ZIP Repair from the official website.
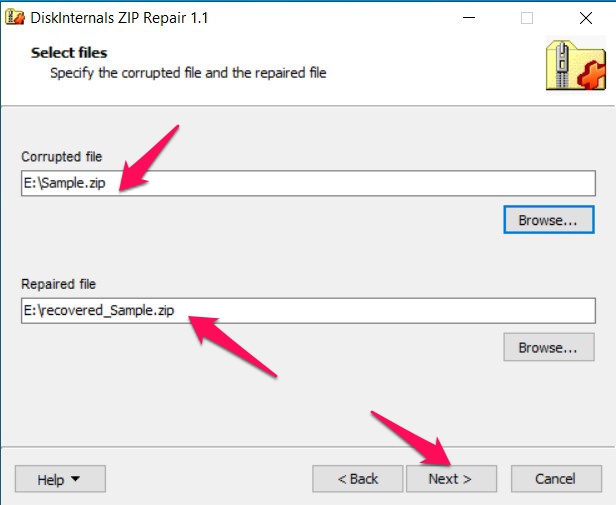
- Launch the app and you’ll be greeted by a wizard-style interface. Click Next and on the following screen, you’ll be asked to select the location for the corrupted file and where it should be saved. Once you’ve accomplished both, click Next to continue.
- The program will now show you the contents of the ZIP that it was able to repair. Click Next one more time to complete the process.

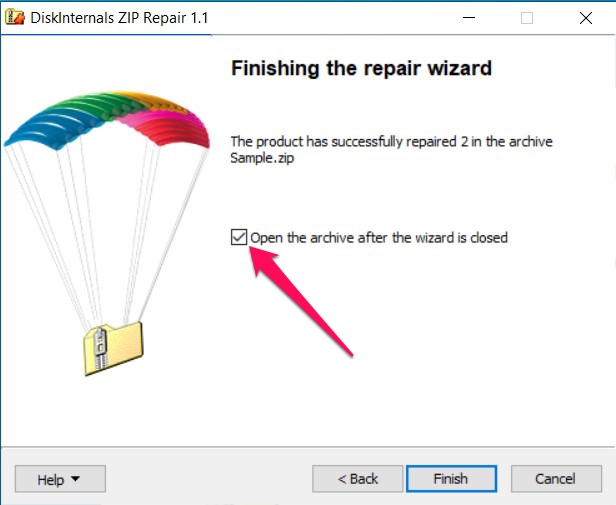
- The last screen will let you know whether or not the repair was successful. If it was, you’ll have the option to tick a checkbox that will automatically open the received archive after you click the Finish button.