Reading Time: 8 minutesData recovery with original file names – is it possible? The short answer is yes! There are a bunch of factors to consider that affect the success of your recovery attempt (which we’ll talk about in-depth), but it’s entirely possible to restore original file names, other metadata, and even original folder structures.
However, the process of restoring files with their original file names is a bit different from general data recovery and your options are more limited.
This article is a case-specific guide on how to restore original file names using a Windows computer. We’ll give you the tools, knowledge, and resources to increase your success rate as much as possible.
What Happens After File Deletion
To wrap our heads around the task of restoring original file names, we should first understand how a file name is stored and what happens to it when the corresponding file gets deleted.
When a file gets deleted, 3 things happen:
- The markers that indicate the data’s occupied space are removed. Windows will then identify that space as “available” as storage for new data. However, the original data is not deleted yet.
- The space taken up by the file’s metadata – which includes original file names, size, date created, etc. – is also marked as available for overwriting, but it hasn’t been deleted.
- The file’s entry in the File System Index (which is like a directory) is marked as “deleted.” However, this does not directly affect the file’s actual metadata.
In other words, whenever you delete a file, only references to it are truly lost. The data itself, along with its metadata, still exists and can be restored with the right tools.
On the other hand, it’s also possible for the file data to be recovered while its metadata is lost. This is because metadata is stored in a separate location called the File System Records, which can get corrupted. More on this in the next section.
Is It Possible to Restore Files With Original Names?
Yes, it’s possible to restore files with original names. However, several conditions need to be met for your attempt to be successful:
- You have a backup (optional). Backups are the #1 method for restoring files exactly how they were saved. If you have a backup, the rest of the entries on this list don’t really matter. If you don’t have a backup, the factors below will affect you much more – however, restoring files with their original file name is still possible with the right tools and conditions.
- No overwriting has occurred. If your files’ data and metadata have been overwritten by new files’ data, even file recovery itself is pretty much impossible at this point. If you haven’t downloaded or saved new files to the drive (even in the background, such as Windows Updates), your chances of recovery are high.
- Data loss was due to deletion, formatting, or MINOR logical damage. File names are stored in a partition’s file system records. If data loss was due to severe logical damage, the file system records may have also been affected. If the records are no longer intact, file recovery is still possible via signature scanning but original file names and other metadata are likely lost.
- TRIM is disabled or didn’t run yet (SSD only). TRIM is an SSD feature that actively cleans up the data of files marked by deletion. However, TRIM usually only runs when your system is idle (but not powered off). If TRIM hasn’t gotten to your files, file data and metadata recovery is possible. We recommend immediately disabling TRIM by executing the following command in Command Prompt: fsutil behavior set disabledeletenotify 1.
Even if you don’t meet all four conditions, you can still try. In that case, recovery of original file names may still be possible in certain situations, just more unlikely.
How to Recover Files With Original Names
There are 4 methods to restore files along with their original file names (and sometimes, original folder structures). We wrote them in order of ease and likelihood of success, so you can start with method 1 and skip those that don’t apply to you.
Note that if you don’t have any backups, it’s highly important that no new files are saved to the drive you want to restore. We strongly encourage you to turn off your PC’s internet connection outside when certain methods require a network.
Method 1: Restore Previous Copies of the Files Using Previous Versions Tool
Previous Versions is a Windows feature where users can roll back a file or folder to an earlier version of its timeline.
In our case, we want to restore a previous version of the folder that once stored the deleted or modified file. We can roll back the folder to an earlier version on its timeline and restore its previous file name and file data.
Previous Versions becomes available if you: (a) enabled File History, (b) created a System Restore Point, or (c) generated shadow copies of your files and folders.
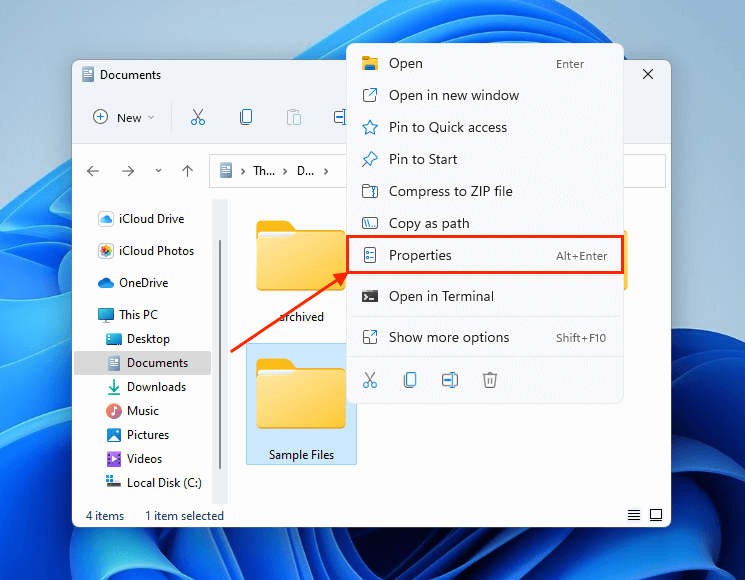
- In File Explorer, right-click the folder that contained the deleted file. In the right-click menu, click Properties.
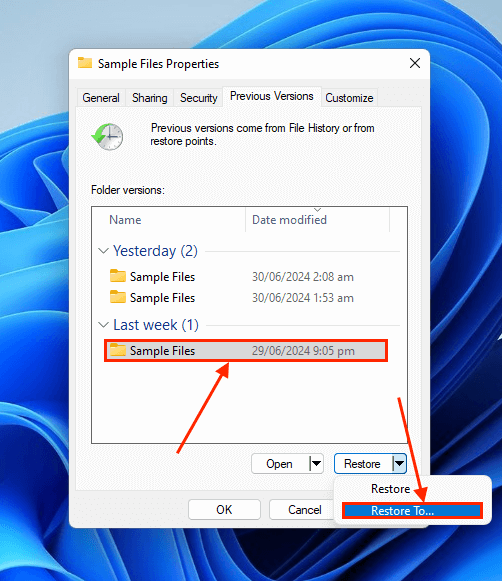
- Navigate to the Previous Versions tab. Then, select the version of that folder (based on the date and time) that previously contained the file you want to recover. Then, click the arrow beside Restore and click Restore To…
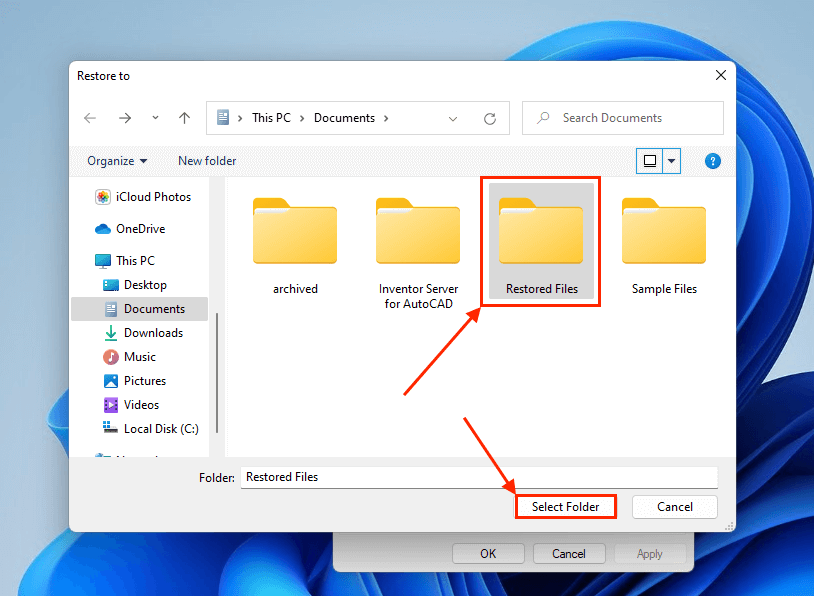
- Choose a location where you want Windows to save the restored folder. Finally, click Restore folder.


Method 2: Restore Files From a Local Backup
Local backups save exact copies of files and folders at the moment of backup, down to the metadata. In other words, files and folders restored from a backup will have the exact same names, folder structure, and other properties and attributes.
There are two commonly used native backup tools on Windows machines, which are File History and Backup and Restore (Windows 7). Despite the latter’s name, both tools work just fine on Windows 10 and Windows 11.
File History and Backup and Restore work differently overall, but they share the same behavior as the local backups that we previously discussed.
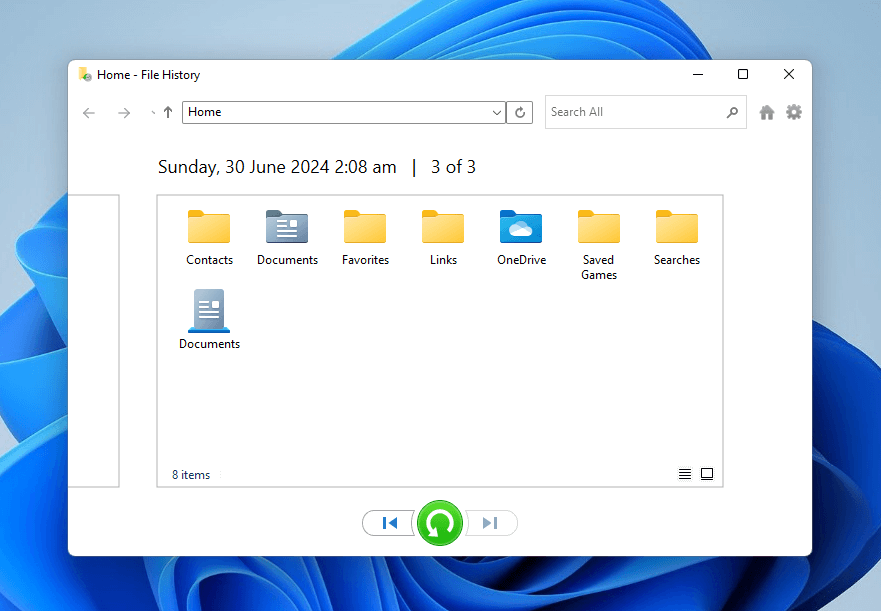
- File History – File History is an incremental backup tool that saves snapshots of your files and folders every time they are modified. After setting up File History for the first time, you’ll have access to exact previous versions of your files and folders. To access File History, open Start > type and open Restore your files with File History.
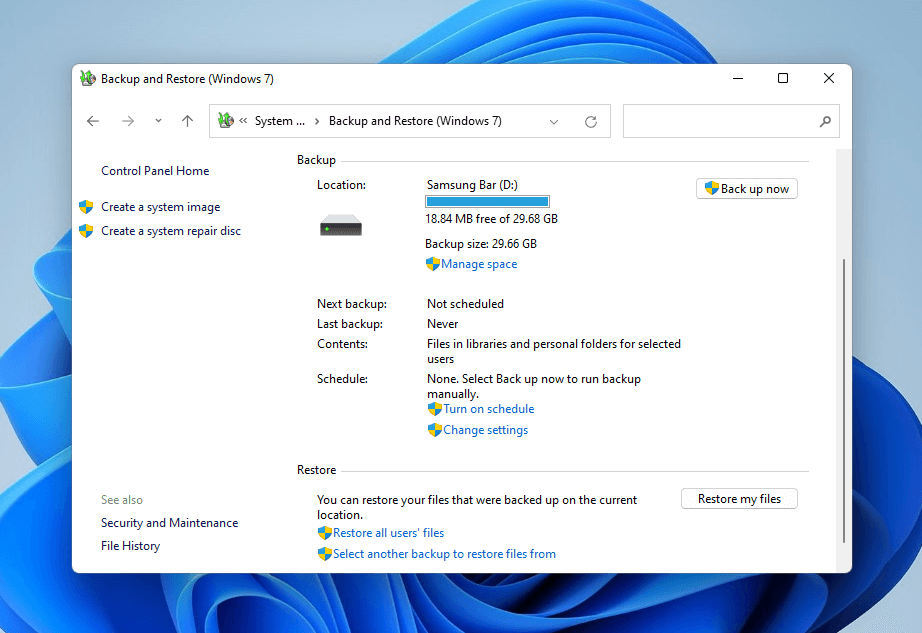
- Backup and Restore (Windows 7) – Backup and Restore is a legacy backup tool that lets you save and restore specific files and folders. To access Backup and Restore (Windows 7), open Control Panel > System and Security > Backup and Restore (Windows 7).


Method 3: Recover Files From a Cloud Backup
Did you enable a cloud storage service – such as OneDrive or Google Drive – on your PC? Files and folders uploaded and synchronized to a cloud server retain their file names, among other metadata.
If the files you want to recover were stored in a cloud-synced server, they may have been sent to that cloud’s trash folder upon deletion (instead of the system’s Recycle Bin).
As long as 30 days (in most cases) haven’t passed since the time of deletion, you should be able to restore your files exactly how they were last synchronized.
- Open any browser and log in to onedrive.live.com.
- Click the trash can icon in the left sidebar. Then, mark the spheres beside the files you want to recover. Finally, click Restore.


Method 4: Use Data Recovery Software With Deep Scan
Data recovery software is a type of tool that can restore files using the data they left behind on the disk. However, not all data recovery software has the ability to access and interpret file system records, which is where all the metadata (including file names) is stored.
For example, popular open-source recovery software PhotoRec only has a signature scanner. While it works great for general data recovery, signature scans ignore file system records and instead find data through unique patterns or “signatures.”
For this demonstration, we’ll be using a tool called Disk Drill. It automatically runs 3 types of scans simultaneously: Signature Scan, Quick Scan, and Deep Scan. Quick Scan and Deep Scan use file system records to retrieve deleted files, which means original file names and folder structure will be restored if successful. Disk Drill is also beginner-friendly, supports almost all known file types, and can scan FAT32, exFAT, and NTFS partitions.
We’ll use Disk Drill’s free trial to restore up to 500 MB worth using all 3 scans for zero cost, but feel free to check out other software online.
- If you’re attempting to restore the files from your system drive, connect an external drive to your PC – make sure it has enough space for your data and Disk Drill’s installation files. If you want to recover files from an external drive, skip this step.
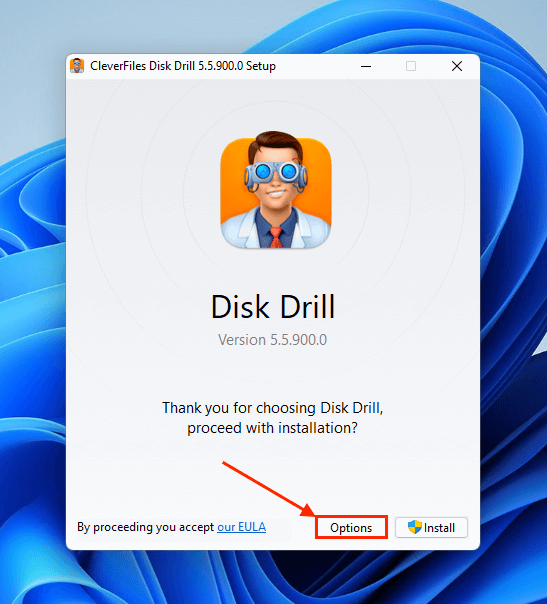
- If you’re attempting to restore the files from your system drive, download and install Disk Drill to the external device you connected in step 1 (click Options in Disk Drill’s installer to set this up). If you want to restore data from an external drive, install Disk Drill to your computer and connect the drive you want to recover (in that order).
- Launch Disk Drill. Then, click the drive you want to scan and click Search for lost data.

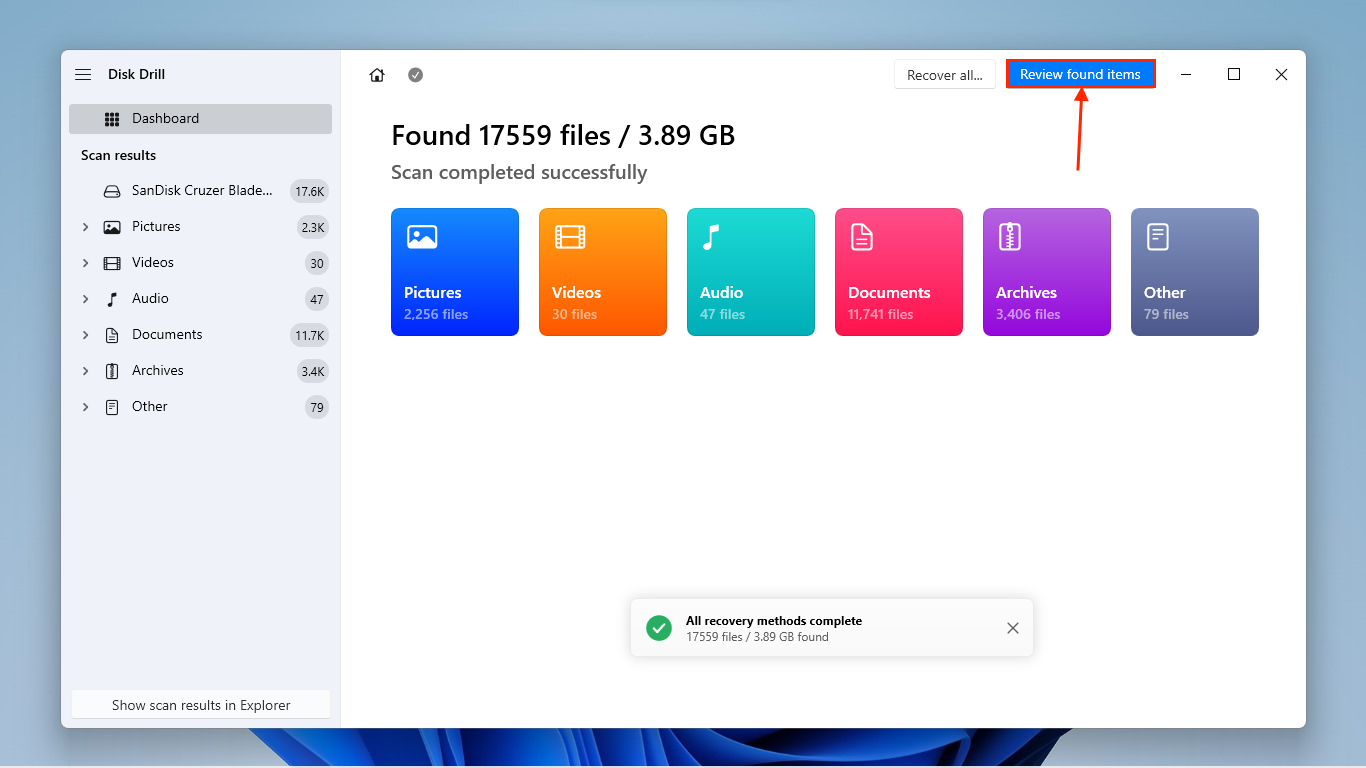
- Once Disk Drill is done scanning the drive, click Review found items.
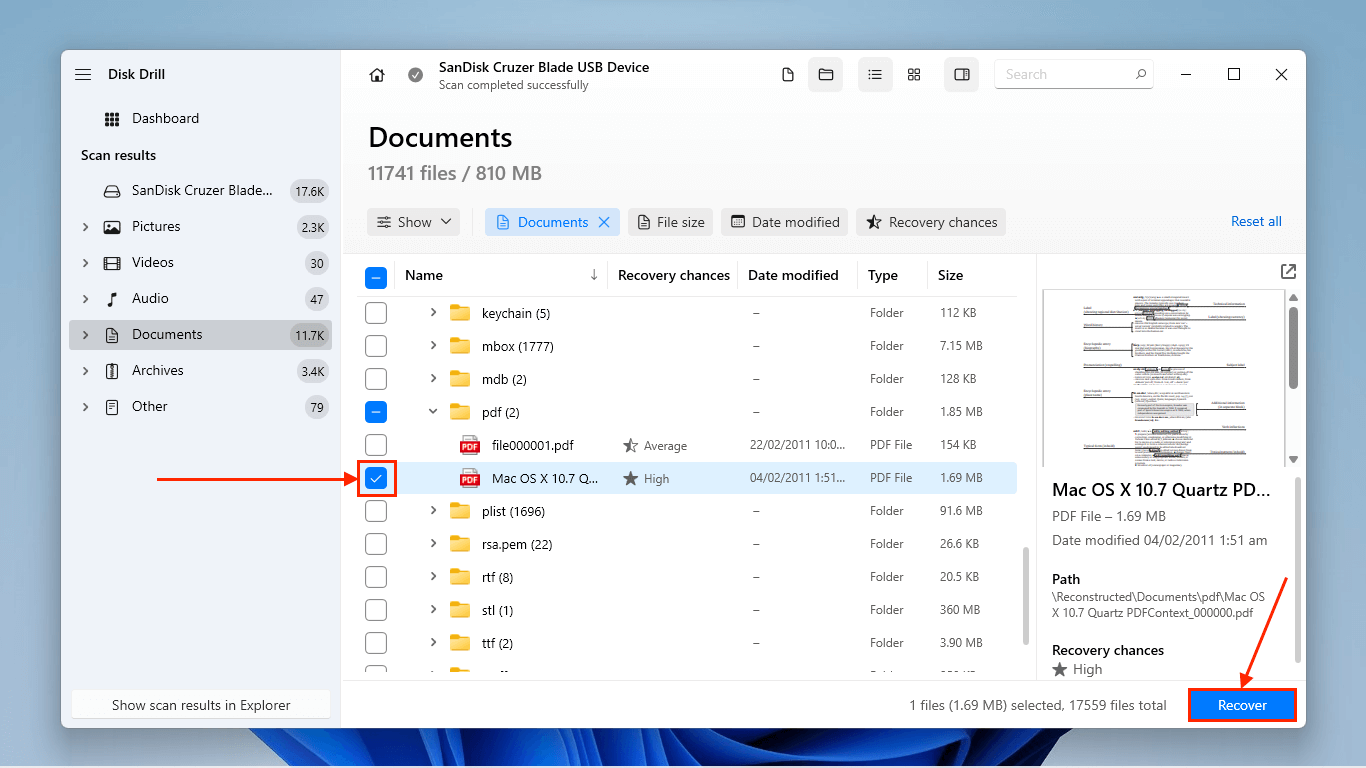
- Select one of the filters in the left sidebar to quickly narrow down the scan results. If you remember the name of your file, type it in the search bar. Clicking a file once will preview it in the right pane, ensuring that the file is recoverable. Once you’ve located and previewed your files, mark the boxes beside them and click Recover.
- Choose a folder where Disk Drill will save the restored files – don’t save them to the same drive you just scanned! Finally, click Next to start the recovery process.


Conclusion
Restoring lost files with their original file names is slightly more difficult than general data recovery, but it can be done under the right circumstances.
However, all storage devices have finite lifespans. You can’t predict when logical damage will strike, and your drive’s file system records will eventually be at risk of corruption. Over time, recovering original file names will become even more difficult.
We strongly recommend that you establish a backup routine ASAP, at least for your most important data.