Reading Time: 11 minutesDid a partition on your drive (whether internal or external) suddenly turn RAW, and now you can’t access your files through File Explorer like you used to? Along with the data becoming inaccessible, Windows may prompt you to format the drive. But beware, while formatting will resolve the issue, it will also erase your data.
Before you do anything, take a minute to read this article. We’ll break down what RAW actually means, how you can recover data from a RAW partition, and walk you through how to fix it so your system can get back to normal.
What is a RAW Partition?
When a partition is showing up as RAW, it either means the file system used by that partition isn’t supported by your host operating system or the file system has been corrupted.
For example, if you connect an HFS+ formatted partition to a Windows computer, it will be displayed as RAW because Windows is unable to read it.
The same is true if a compatible file system has become corrupted. Either way, you won’t be able to access your files.
In such cases, Windows may suggest formatting the drive to fix the RAW partition. While this is a reasonable solution, it should be avoided if you want to recover your data, as it will delete everything in that partition. Even if your file system is corrupted, your actual files may still be fine. Therefore, you should always perform RAW partition data recovery before you attempt to repair a RAW partition.
How to Recover Data From a RAW Partition on Windows
You can recover data from a RAW partition and restore its functionality, regardless of the drive type. You have several options – either recover only the data or attempt to repair the partition. Paradoxically, the second option may lead to data loss rather than recovery. However, if you follow our guide, you can avoid this risk. Now, let’s address the problem step by step.
1. Recover Data from RAW Partition with Data Recovery Software
Since RAW status blocks normal file access, you’ll need recovery software that works with RAW disks. We recommend Disk Drill. It handles complex recoveries, including RAW partitions. Its Signature Scan mode skips the file system and hunts for data by matching unique patterns or signatures, supporting over 400 file types. And it won’t harm the files on your RAW partition – it safely recovers them.
- Visit the CleverFiles website and download the latest version of Disk Drill for Windows.
- After the disk-drill-win.exe file finishes downloading, double-click the file in the Downloads folder to launch the installation.
- When you see the Disk Drill Setup window, click Install.
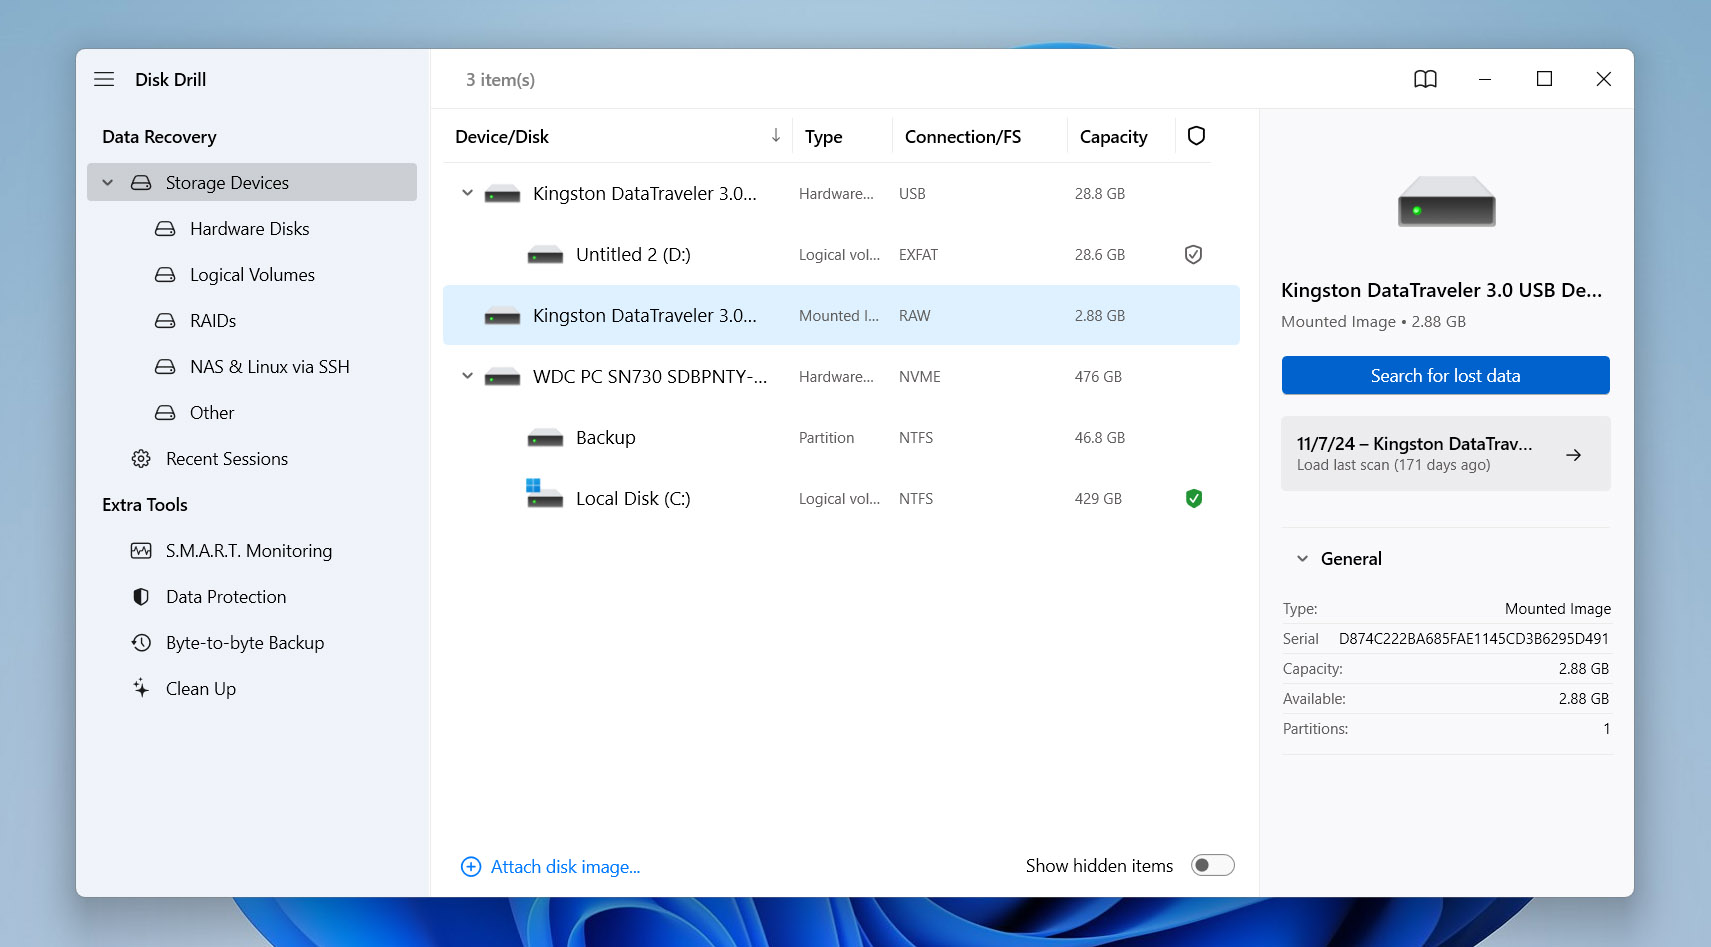
- After the setup completes, launch Disk Drill. You will see a list of all devices, including internal storage devices and connected external ones, on the main interface. Select the RAW disk or partition (we recommend scanning the whole disk to recover as many files as possible). Click the ‘Search for Lost Data‘ button to begin scanning.
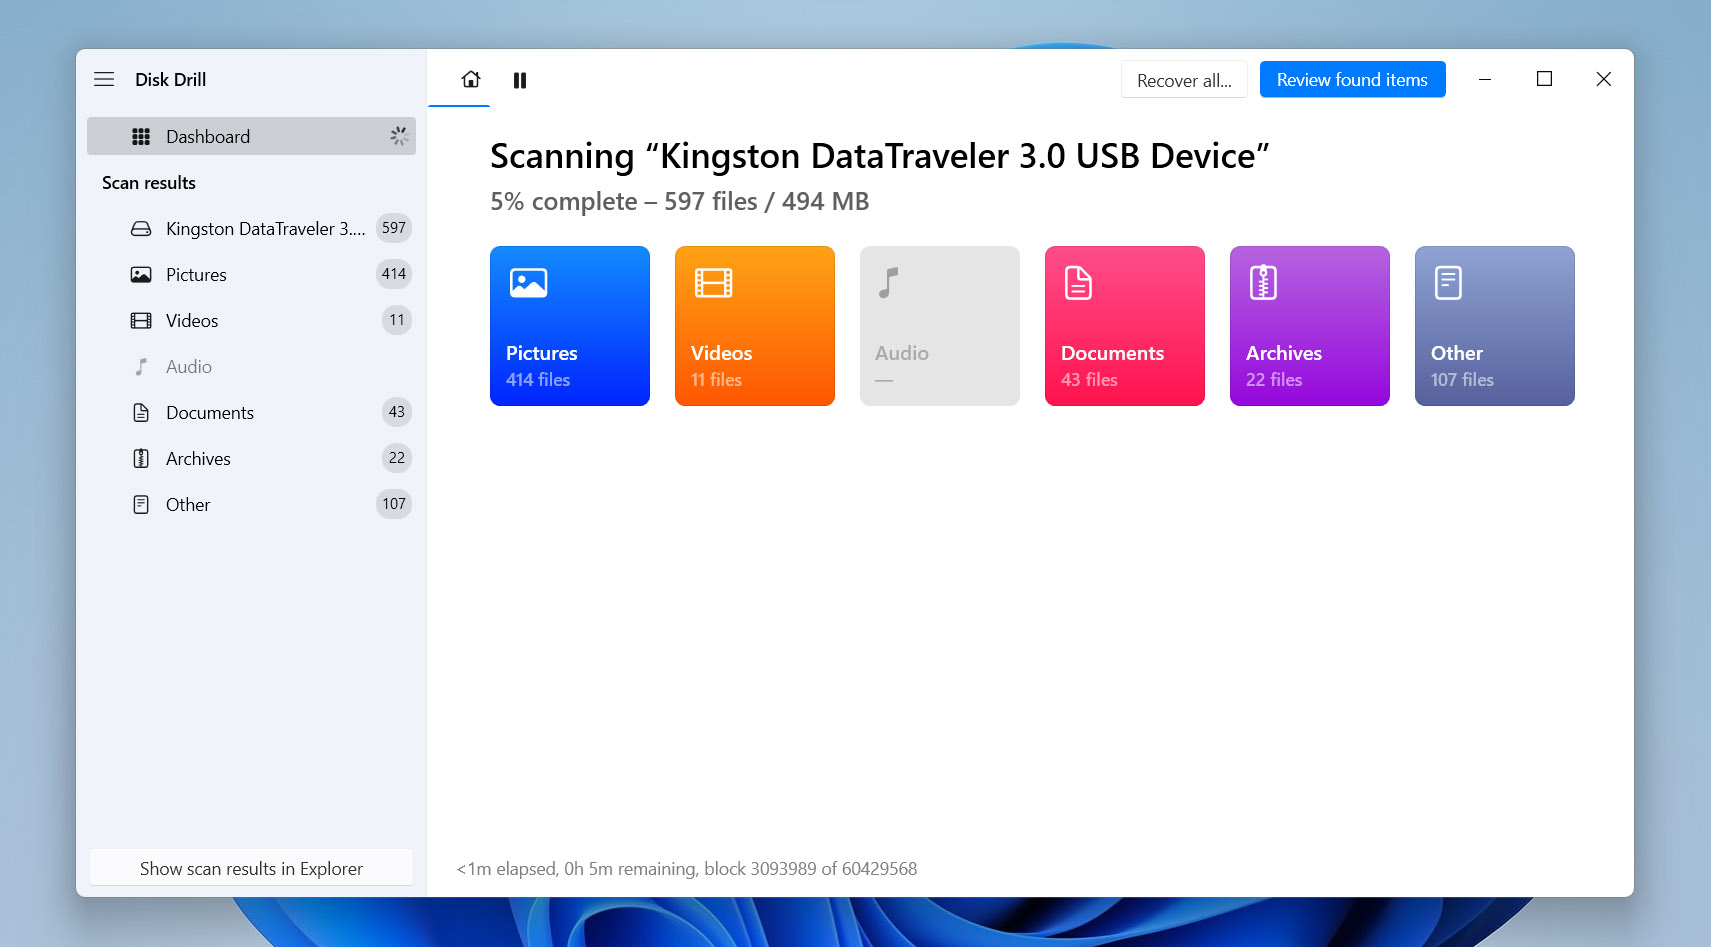
- Disk Drill will allow you to recover data as soon as it appears on the screen, but waiting until the end is better. Then, the software will display the chances of recovering each file without corruption as high, average, or low.
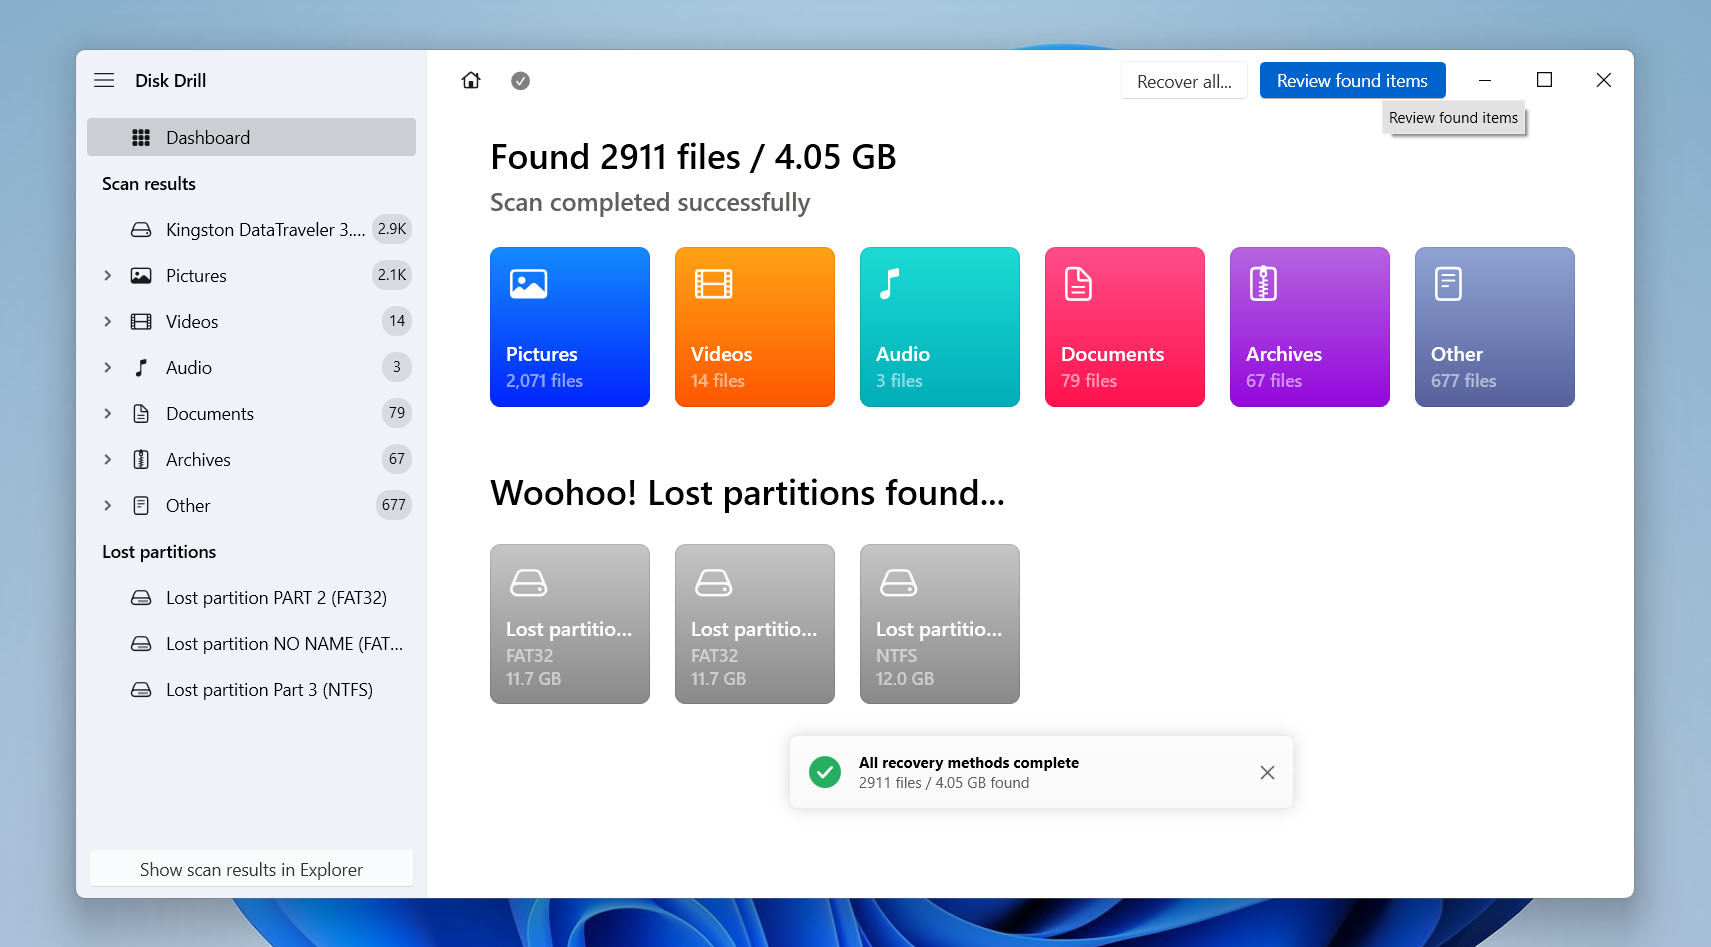
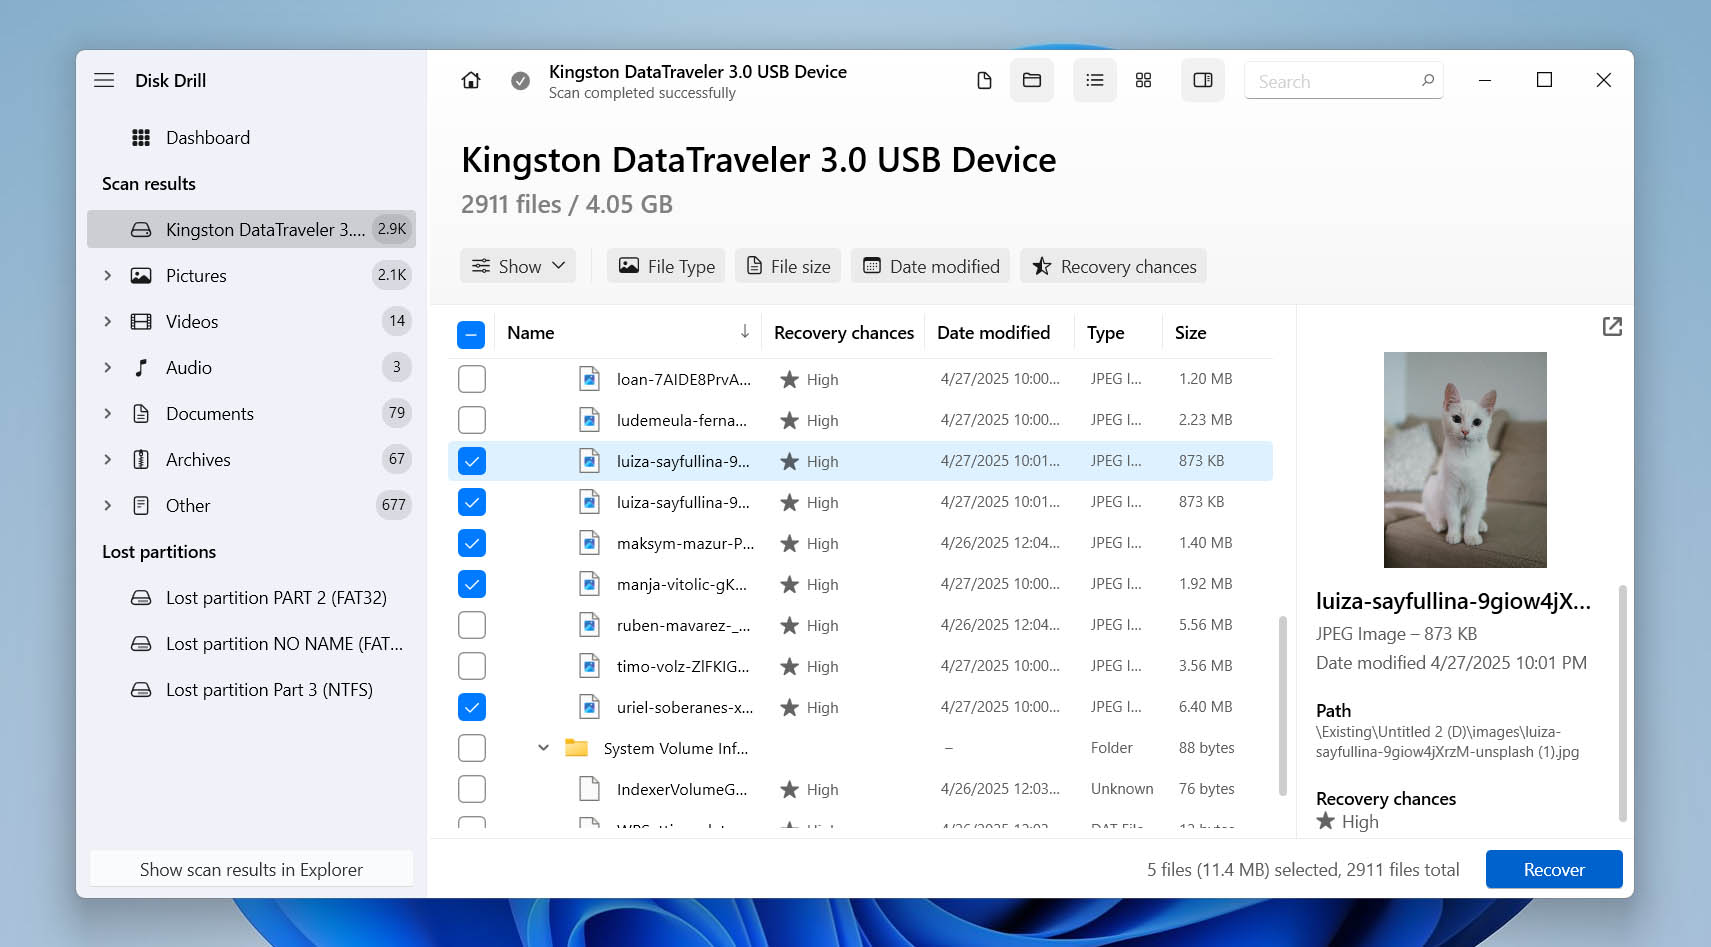
- After the scan is complete, click ‘Review Found Items‘ in the right corner. You’ll see an Explorer-like list that allows you to select individual files or folders to recover. You can also preview them, which is convenient if the file name doesn’t provide much information.
- Once you’ve selected the files and folders you wish to recover, click the ‘Recover‘ button.
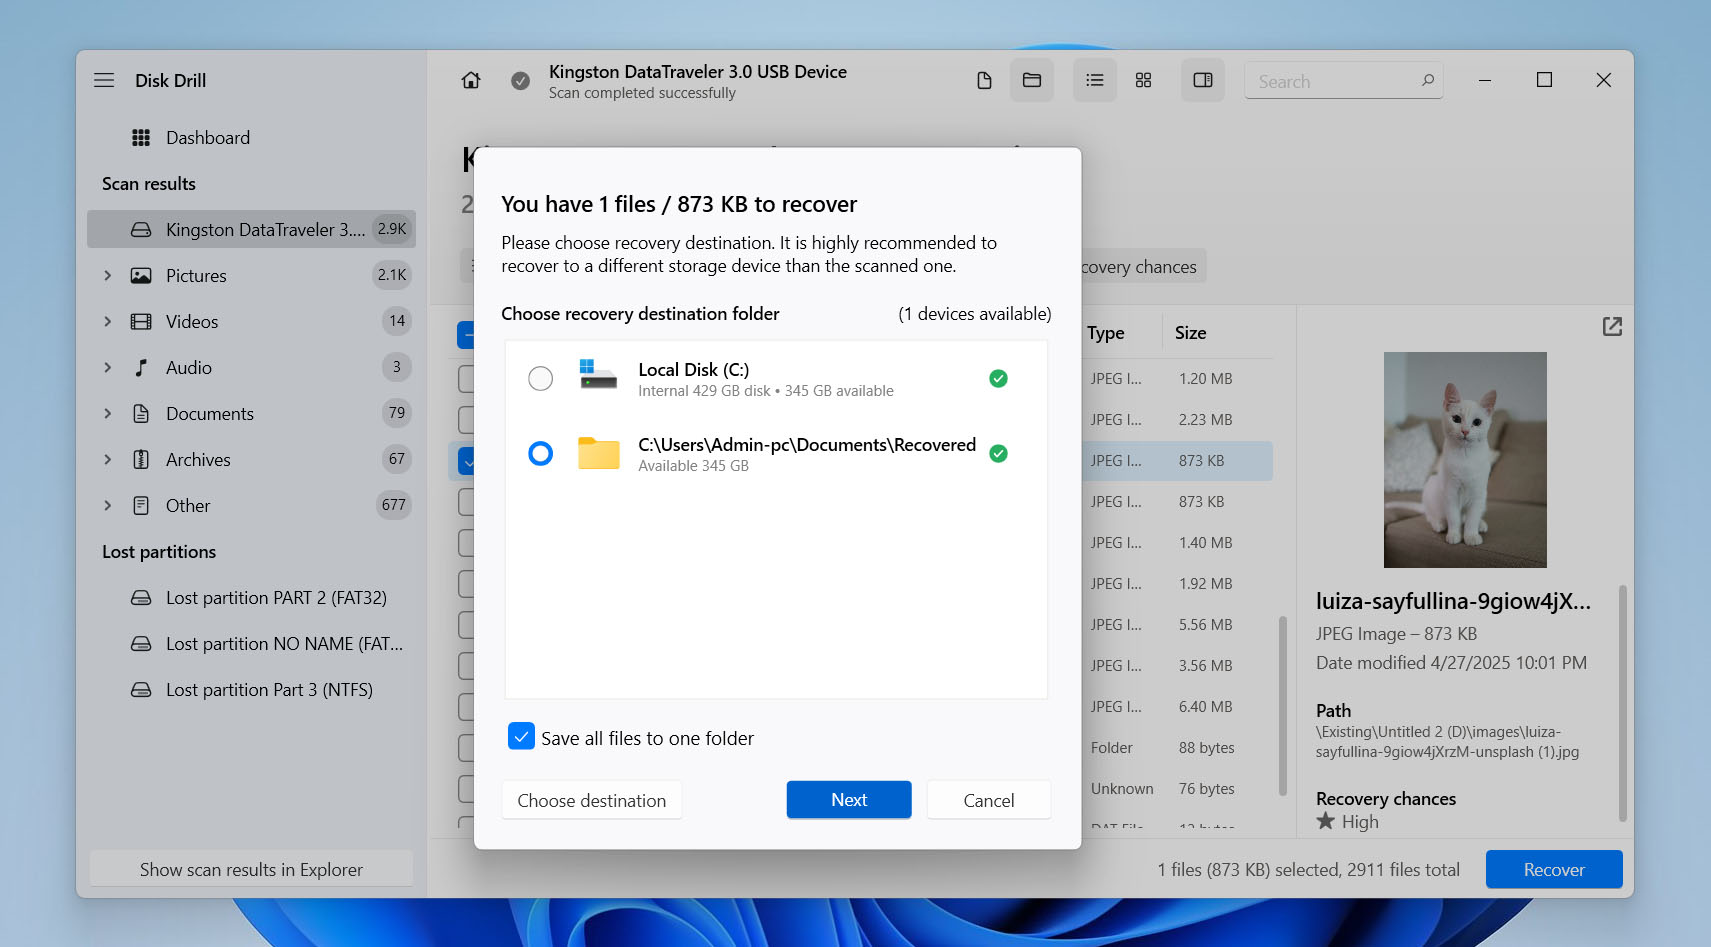
- Choose a safe destination folder. Since you cannot write data to the RAW drive, choose an alternative. Disk Drill will indicate which one is suitable for saving by marking them with a green checkmark. Once you have made your choice, click ‘Next‘.
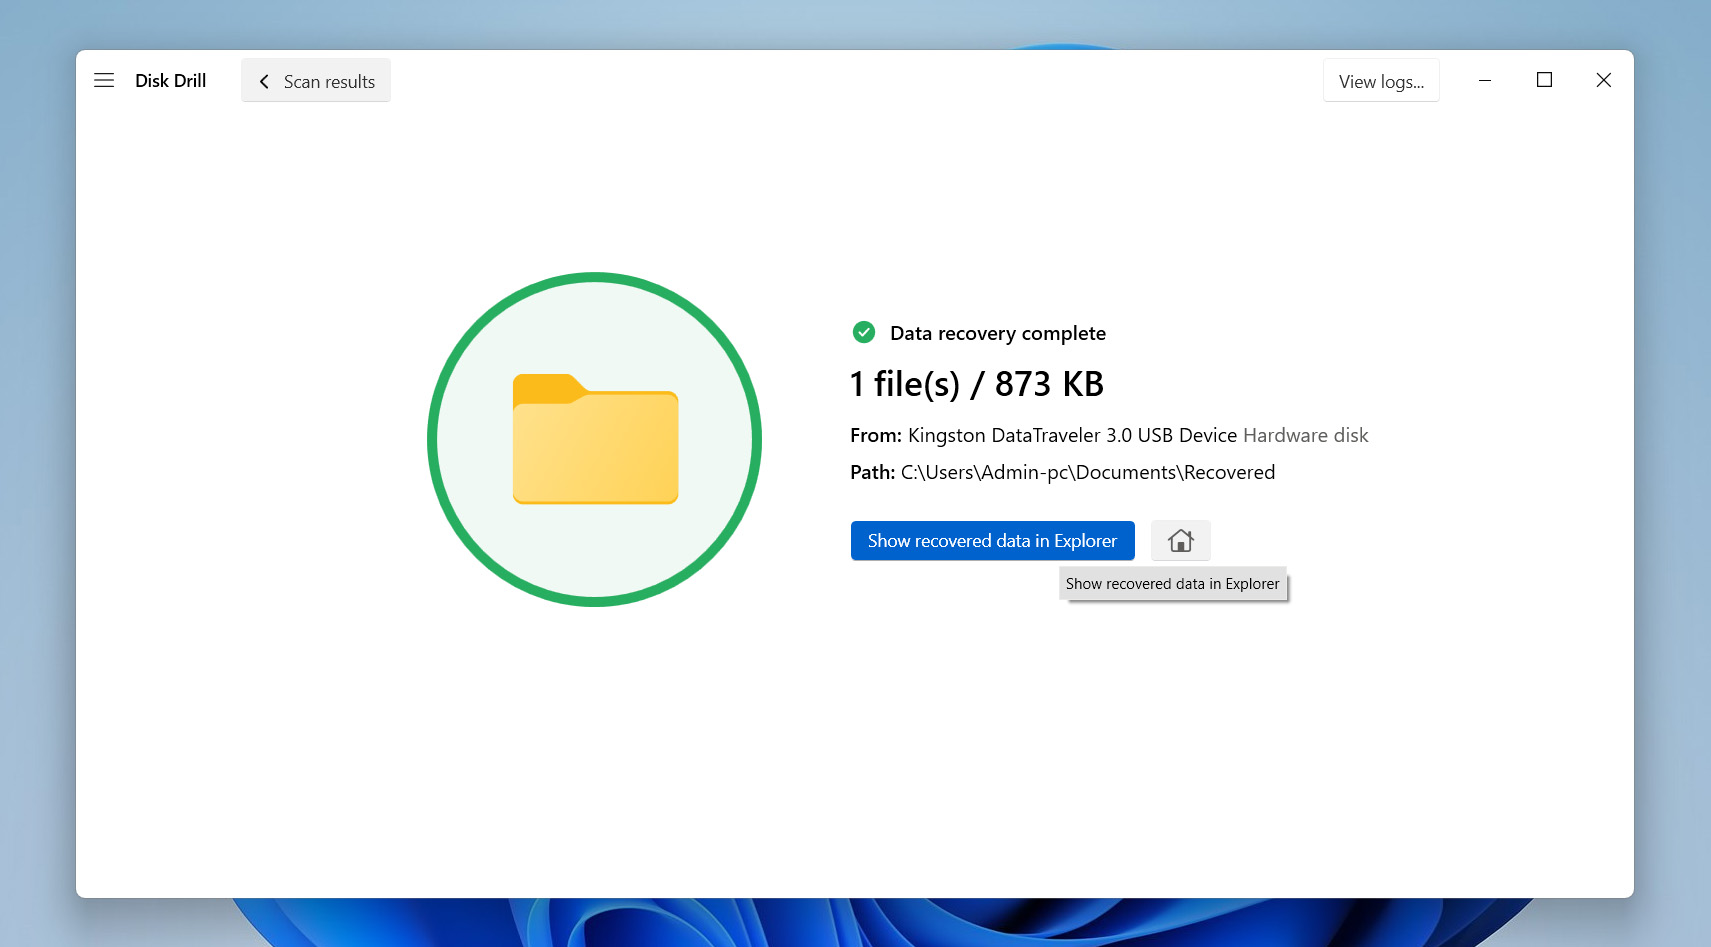
- When RAW data recovery is completed, click the ‘Show recovered data in Explorer‘ button to view the recovered files, or close the software and go to the folder with the saved files manually.


We must warn you that you can download Disk Drill, scan your drive, and recover up to 500 MB of data for free. That’s usually enough to get back your most important files. If you need more, you’ll have to upgrade to the Pro version, which you can do right on the same site where you downloaded the software.
Now that your data is safe, you can proceed to the next part of the article to learn how to fix the partition itself or try some of the other methods we cover below. These steps can help you recover the entire partition, not just the files, but there is a risk of data loss if something goes wrong. That’s why we always recommend confirming that you’ve recovered everything necessary before applying these fixes.
2. Use Windows Utility to Restore RAW Partition
If you want to try restoring both your data and the partition’s functionality at the same time, you can run the CHKDSK utility. It is a built-in Windows tool that checks a drive’s file system for problems and fixes logical errors. In general, it does not work with RAW drives, but there are exceptions.
This method only works if the partition was using the NTFS file system before it turned RAW. If you’re unsure what file system your partition uses, you can still give it a try. If CHKDSK runs into a different file system, it’ll let you know it can’t work with it.
However, note that using this method comes with a risk of data loss. That’s why it’s better to recover your files first with Disk Drill, like we explained earlier, or at least create a full byte-by-byte backup. That way, you’ll still have a copy of your files if something goes wrong.
- Press the Windows key and type Terminal. When it pops up, right-click it and select Run as administrator.
- In the Terminal window, type this command and hit Enter:
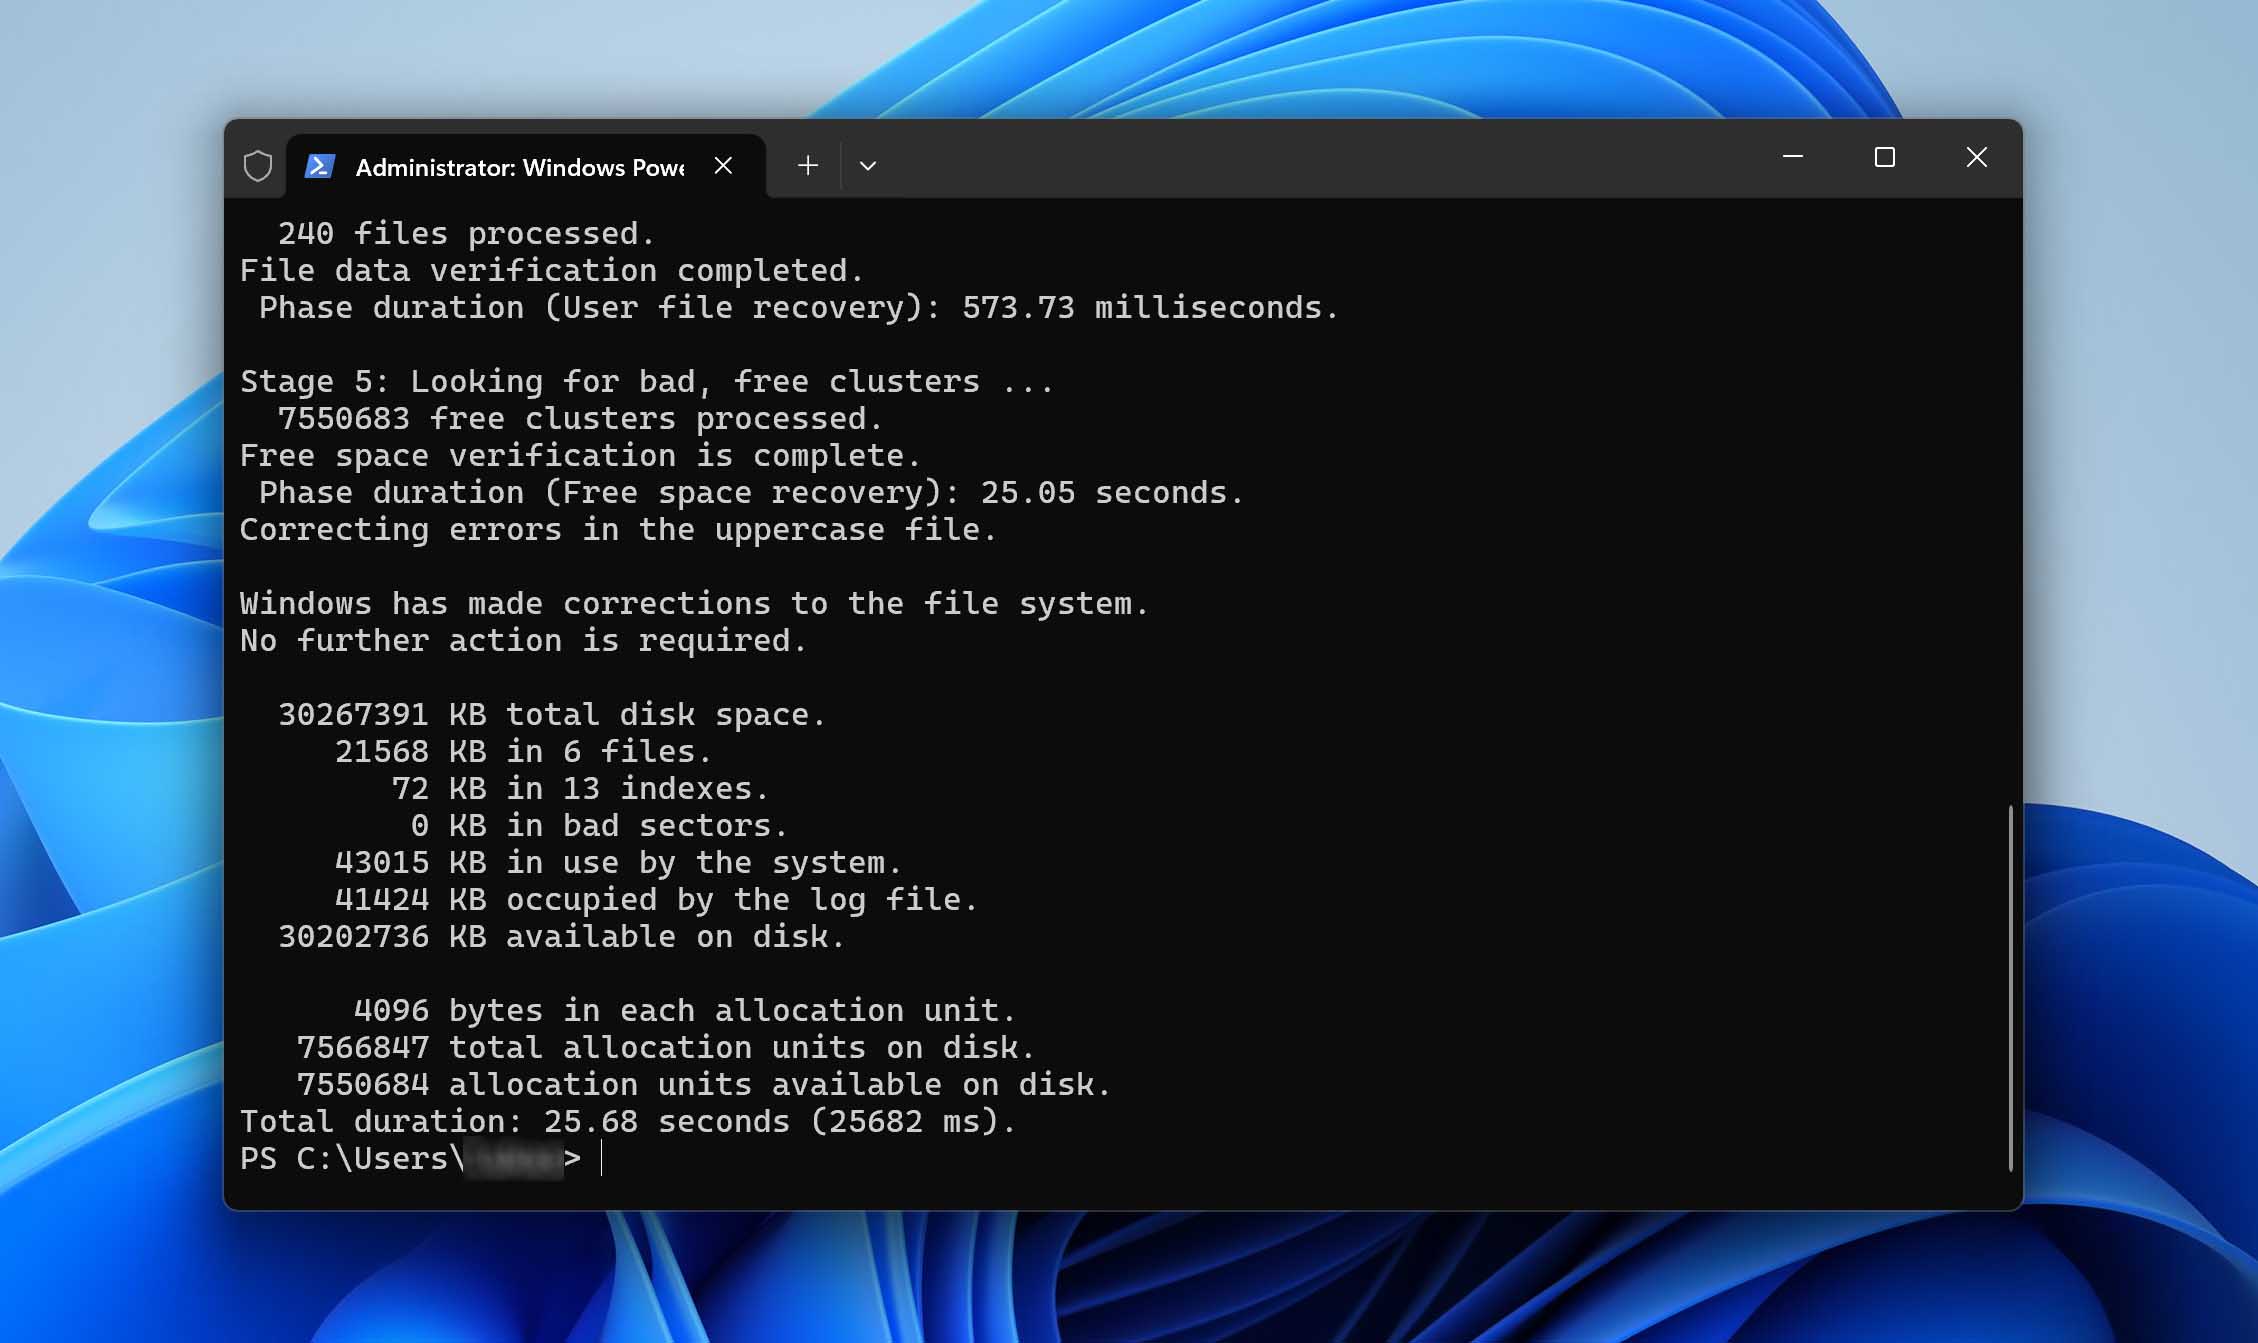
chkdsk [Drive Letter]: /f /r. (Replace [Drive Letter] with the letter assigned to your RAW drive.) The /f part tells CHKDSK to fix any errors it finds, and /r tells it to look for bad sectors and try to recover any readable data.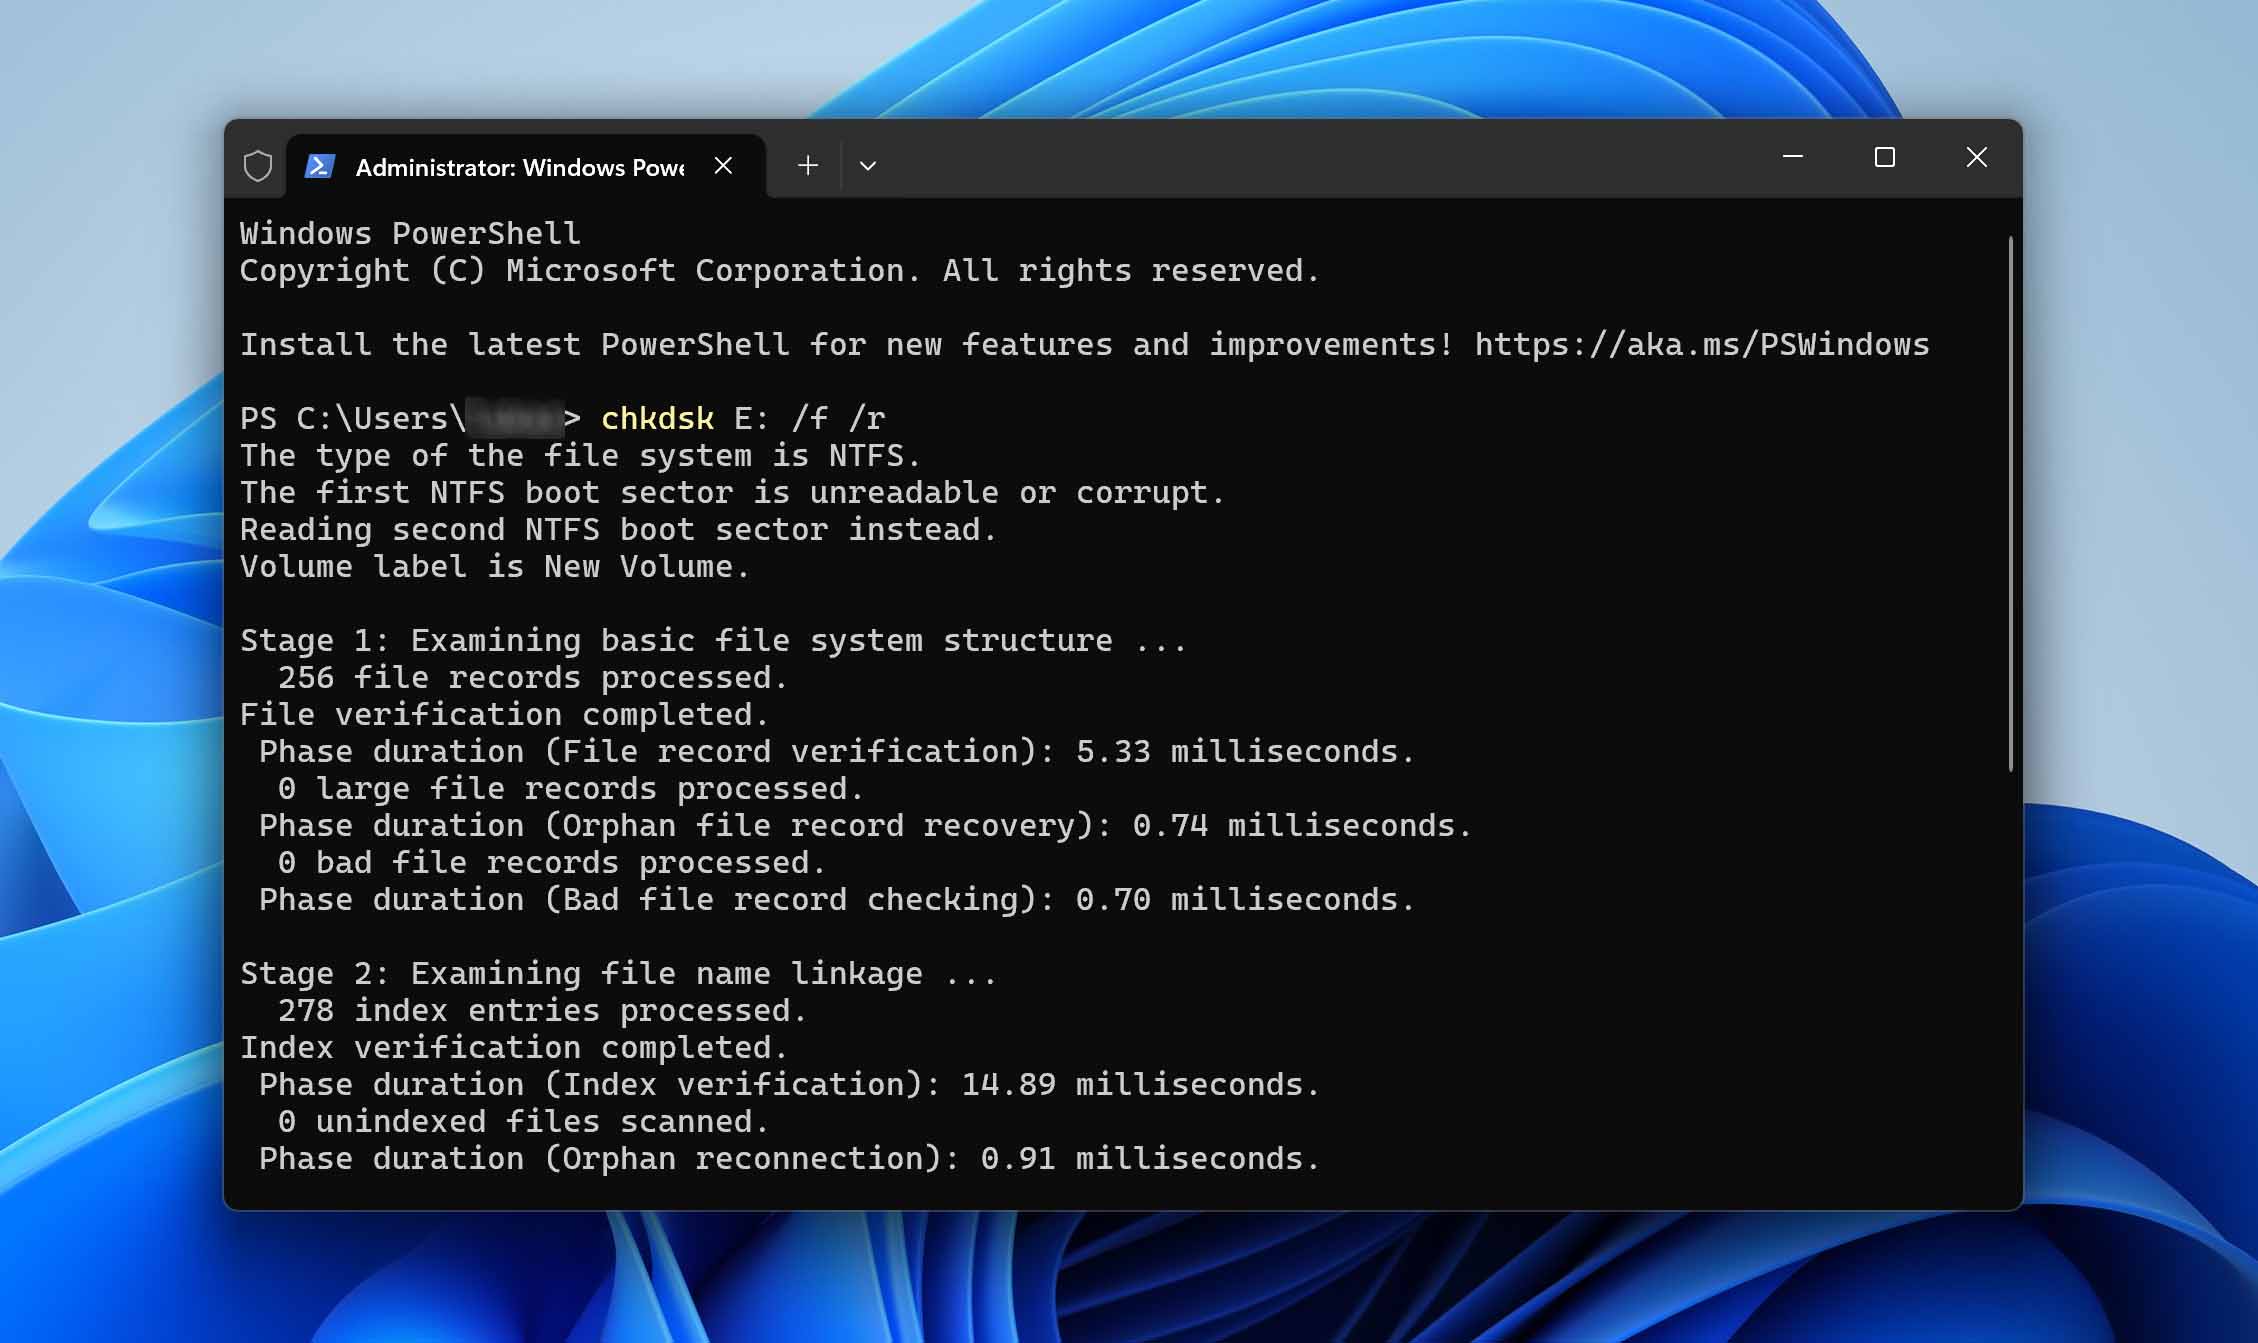
- CHKDSK will scan your drive and attempt to resolve the issues. Once it’s done, it’ll let you know if it successfully repaired the RAW partition. If it worked, your drive should show up normally again.
- Afterward, open This PC and check that the drive is listed as NTFS instead of RAW.


3. Restore the RAW Partition with TestDisk
If CHKDSK didn’t fix your partition or your drive wasn’t using NTFS, the next tool to try is TestDisk. TestDisk is a powerful, free recovery program designed to restore lost partitions and make non-booting drives functional again. It’s a solid choice if you’re dealing with a RAW partition. TestDisk scans your drive for traces of lost partitions and rebuilds the partition table. From there, it attempts to restore the partition to its original state, either by repairing the file system or rebuilding it from scratch if necessary.
TestDisk can restore lost partitions, but if you rewrite the partition table incorrectly, you could wipe out your data. So, back up any files you still can before you start, or run a dedicated recovery tool first to save your data.
TestDisk operates through a command-line interface, similar to CHKDSK, but the steps are slightly more involved. Don’t worry, though, if you follow the instructions below carefully, you should be good to go:
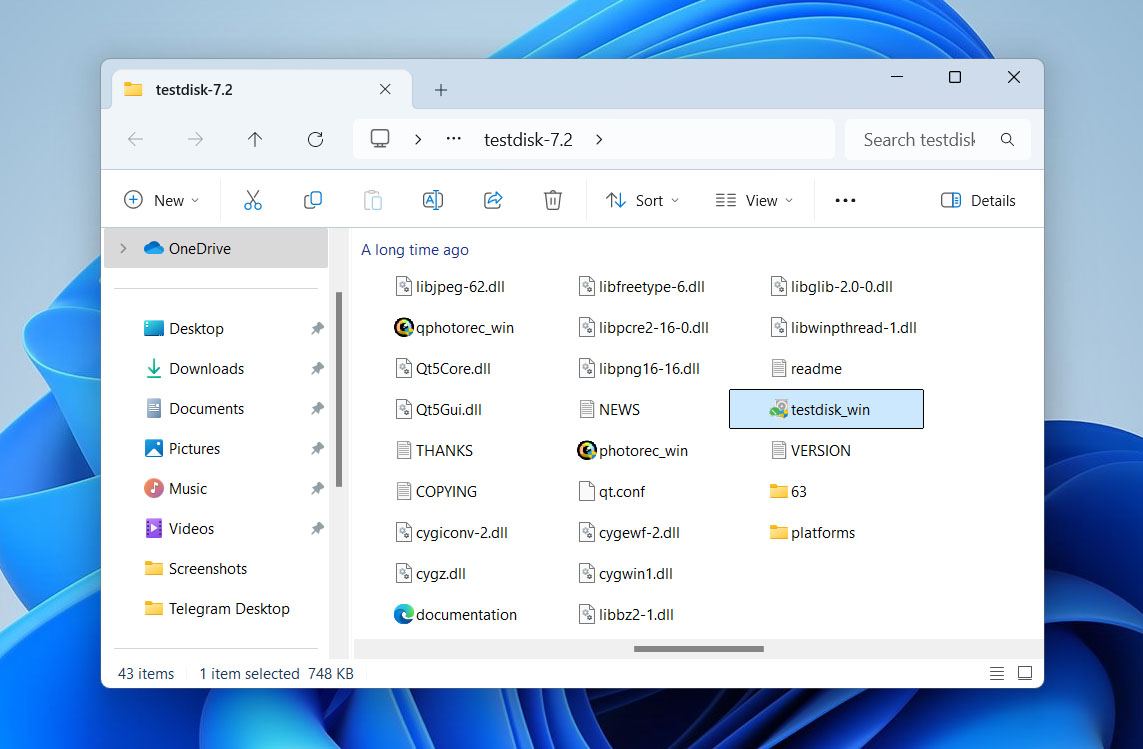
- Download TestDisk from the official website. Once it’s downloaded, extract the files and run the TestDisk executable. If you’re on Windows, you might need to run it as an administrator.
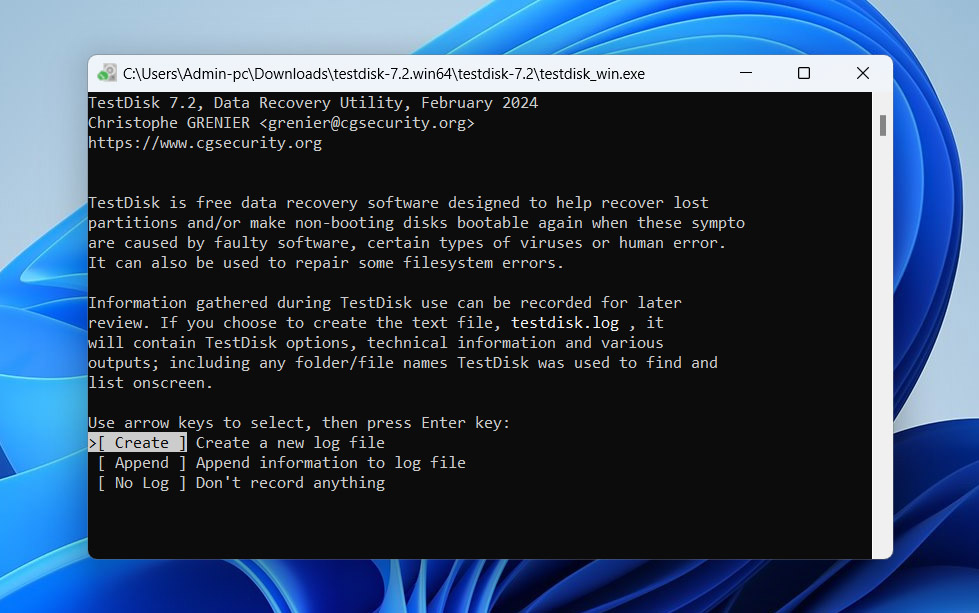
- When TestDisk launches, it’ll ask if you want to create a log file – choose Create. It’s a good idea because it’ll help with troubleshooting if anything goes wrong.
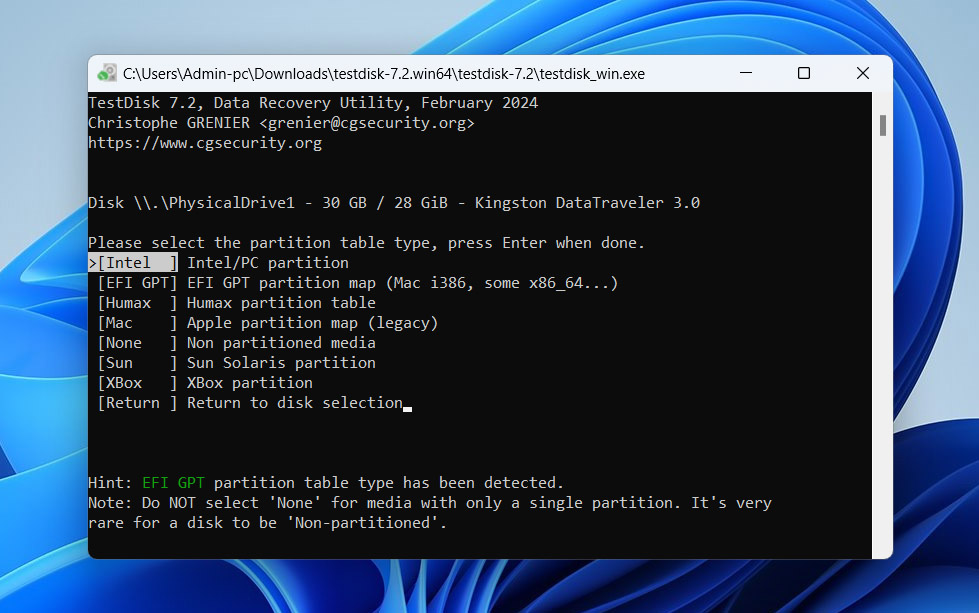
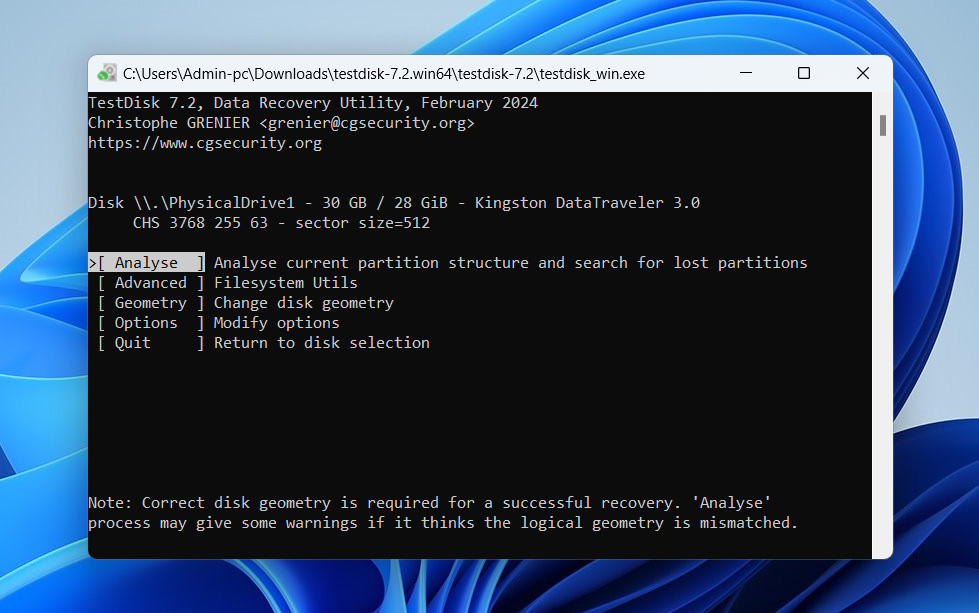
- You’ll see a list of available disks. Use the arrow keys to pick the disk with the RAW partition and move forward. TestDisk will then ask you to select the partition table type. It usually detects it automatically, but for most PCs, it’ll be the Intel/PC partition.
- Choose Analyse, then Quick Search to start scanning for lost partitions.
- When TestDisk finds the partitions, pick the correct one from the list. If it looks right, choose Write to update the partition table. If the quick scan does not find the lost partition, you might opt for Deeper Search to perform a more thorough scan.

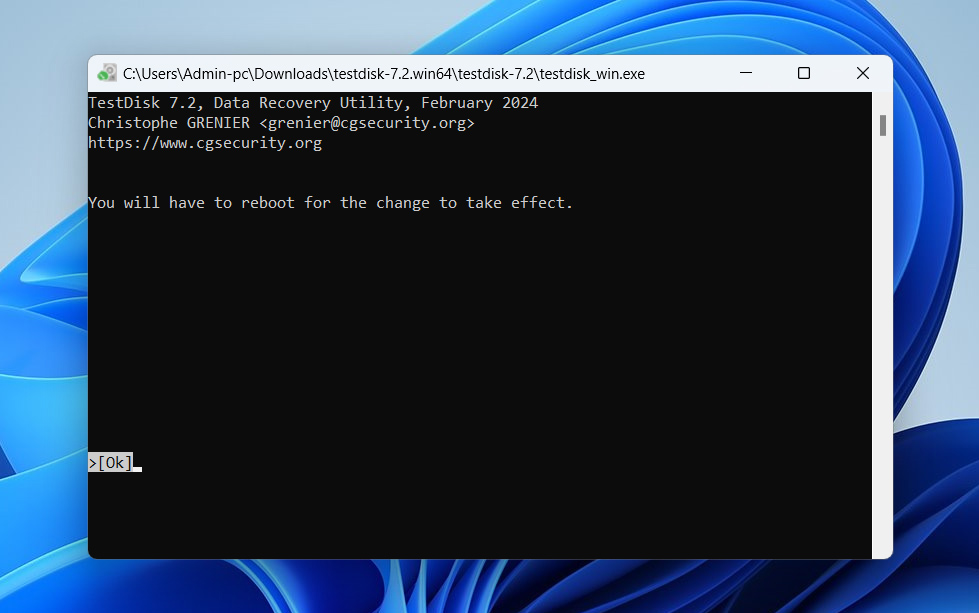
- After you write the new partition table, press Y to confirm, сlose TestDisk, restart your computer, and check if the partition is accessible again.


TestDisk can recover entire partitions along with the data on them. But it doesn’t always work out that way. If your drive isn’t even showing up in Device Manager, recovery tools probably won’t be enough. In that case, it’s best to send your drive to a data recovery center, where a professional can inspect it and recover your data using specialized equipment.
If you have already recovered your data from a RAW partition with Disk Drill, and tools like CHKDSK and TestDisk have failed to restore its full functionality, you need to perform an additional step to restore it to a working state. See the details below.
How to Fix a RAW Drive So You Can Keep Using It
When your disk goes RAW, you might think the hardest part is to bring it back to normal so you can access your files again. However, you can fix a RAW partition with a simple format. As we explained earlier, a partition turns RAW when the OS cannot recognize its file system or when that system suffers corruption. In this way, you remove the old file system and set up a new one, and the issue goes away.
This should only be done once you’re finished with RAW drive recovery, as this process will delete the data on the partition.
There are several ways to reformat a disk, but they primarily differ in their level of complexity. To keep things simple, we’ll show you the easiest method – using the Disk Management tool:
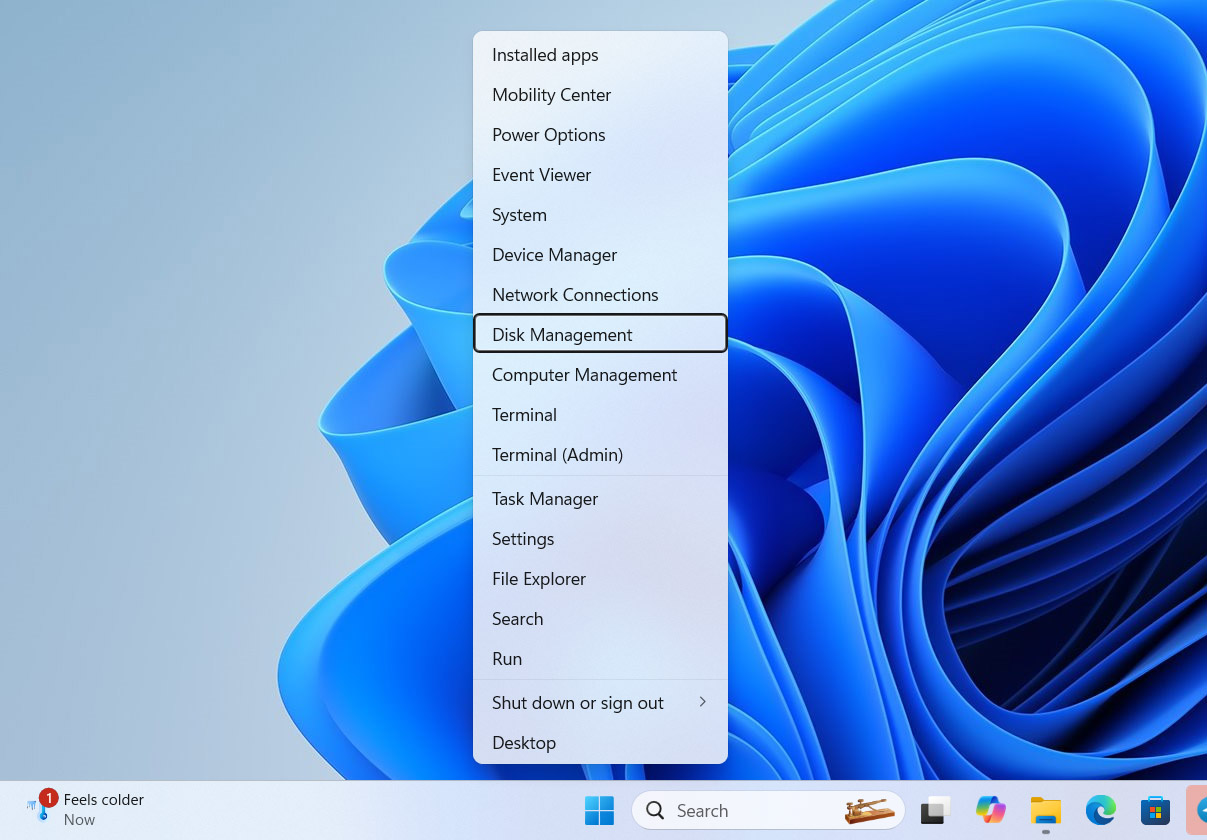
- Right-click the Start button or press Windows key + X to open the Quick Link menu. Then select Disk Management from the list.
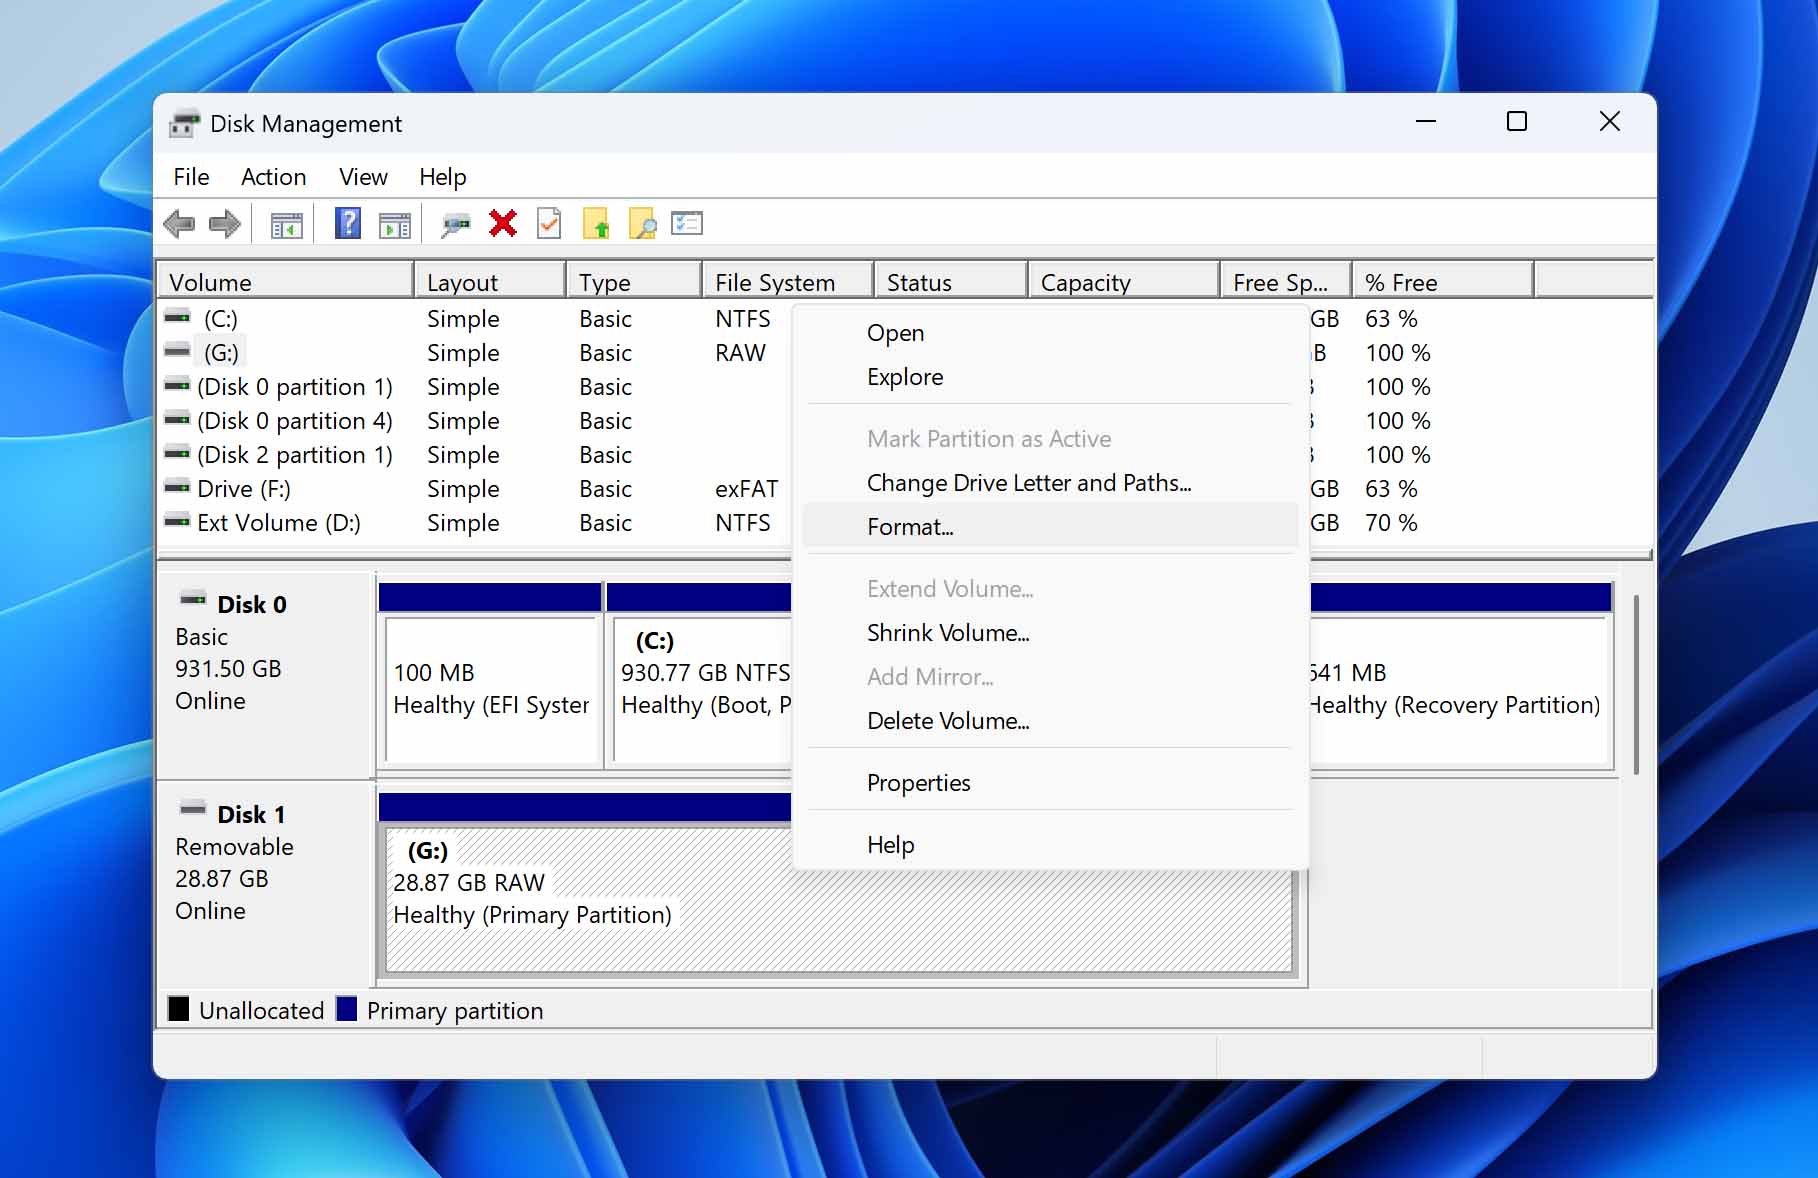
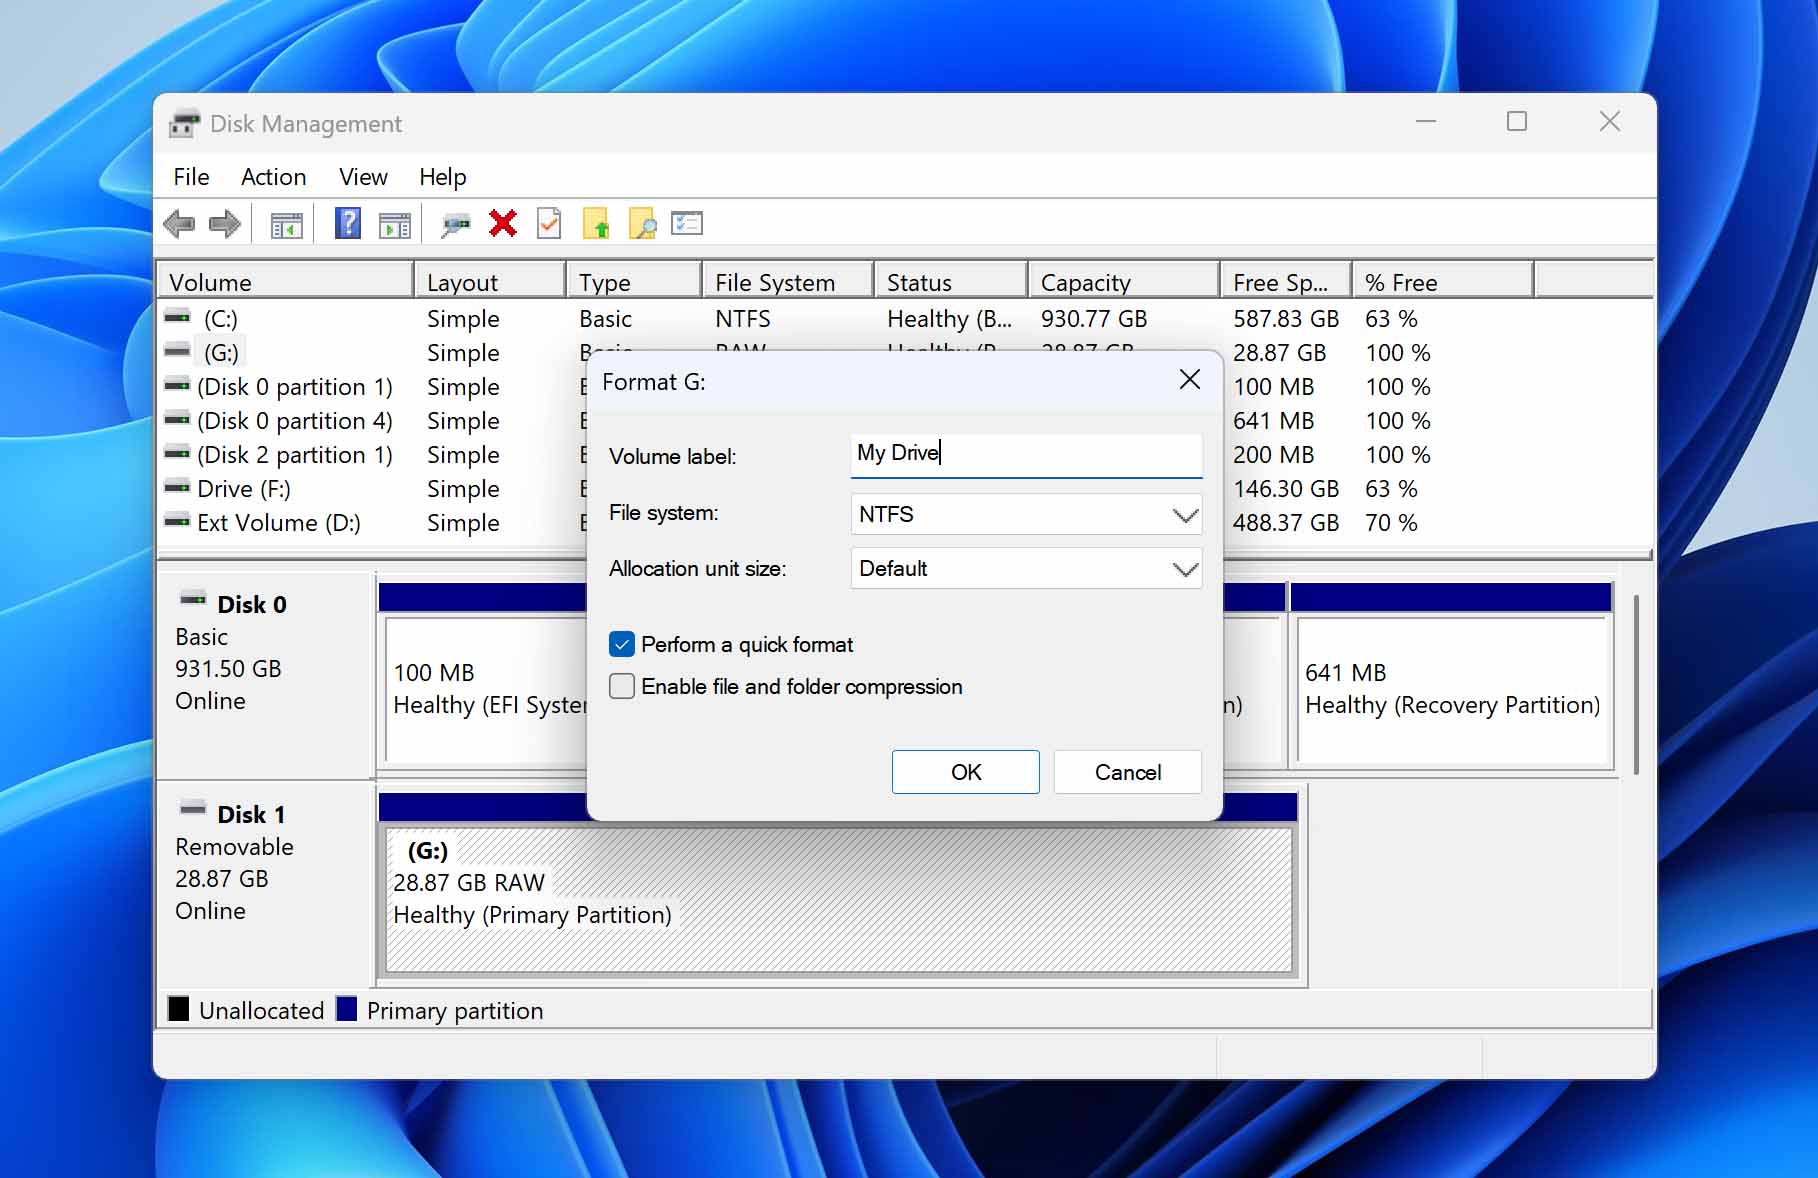
- In the Disk Management window, locate the drive labeled as RAW; it typically won’t have any entries listed under the ‘File System’ column. Right-click the RAW partition you want to fix and choose Format from the menu.
- In the Format window, select the file system you want (such as NTFS for hard drives or exFAT for USB flash drives).
- You can also assign a name to the partition by typing it into the Volume Label field.
- Confirm that the ‘Perform a quick format‘ box is checked – it will speed up the process. Click OK to start.
- You will receive a warning that formatting will erase all data. If you’re good with that, click OK again.
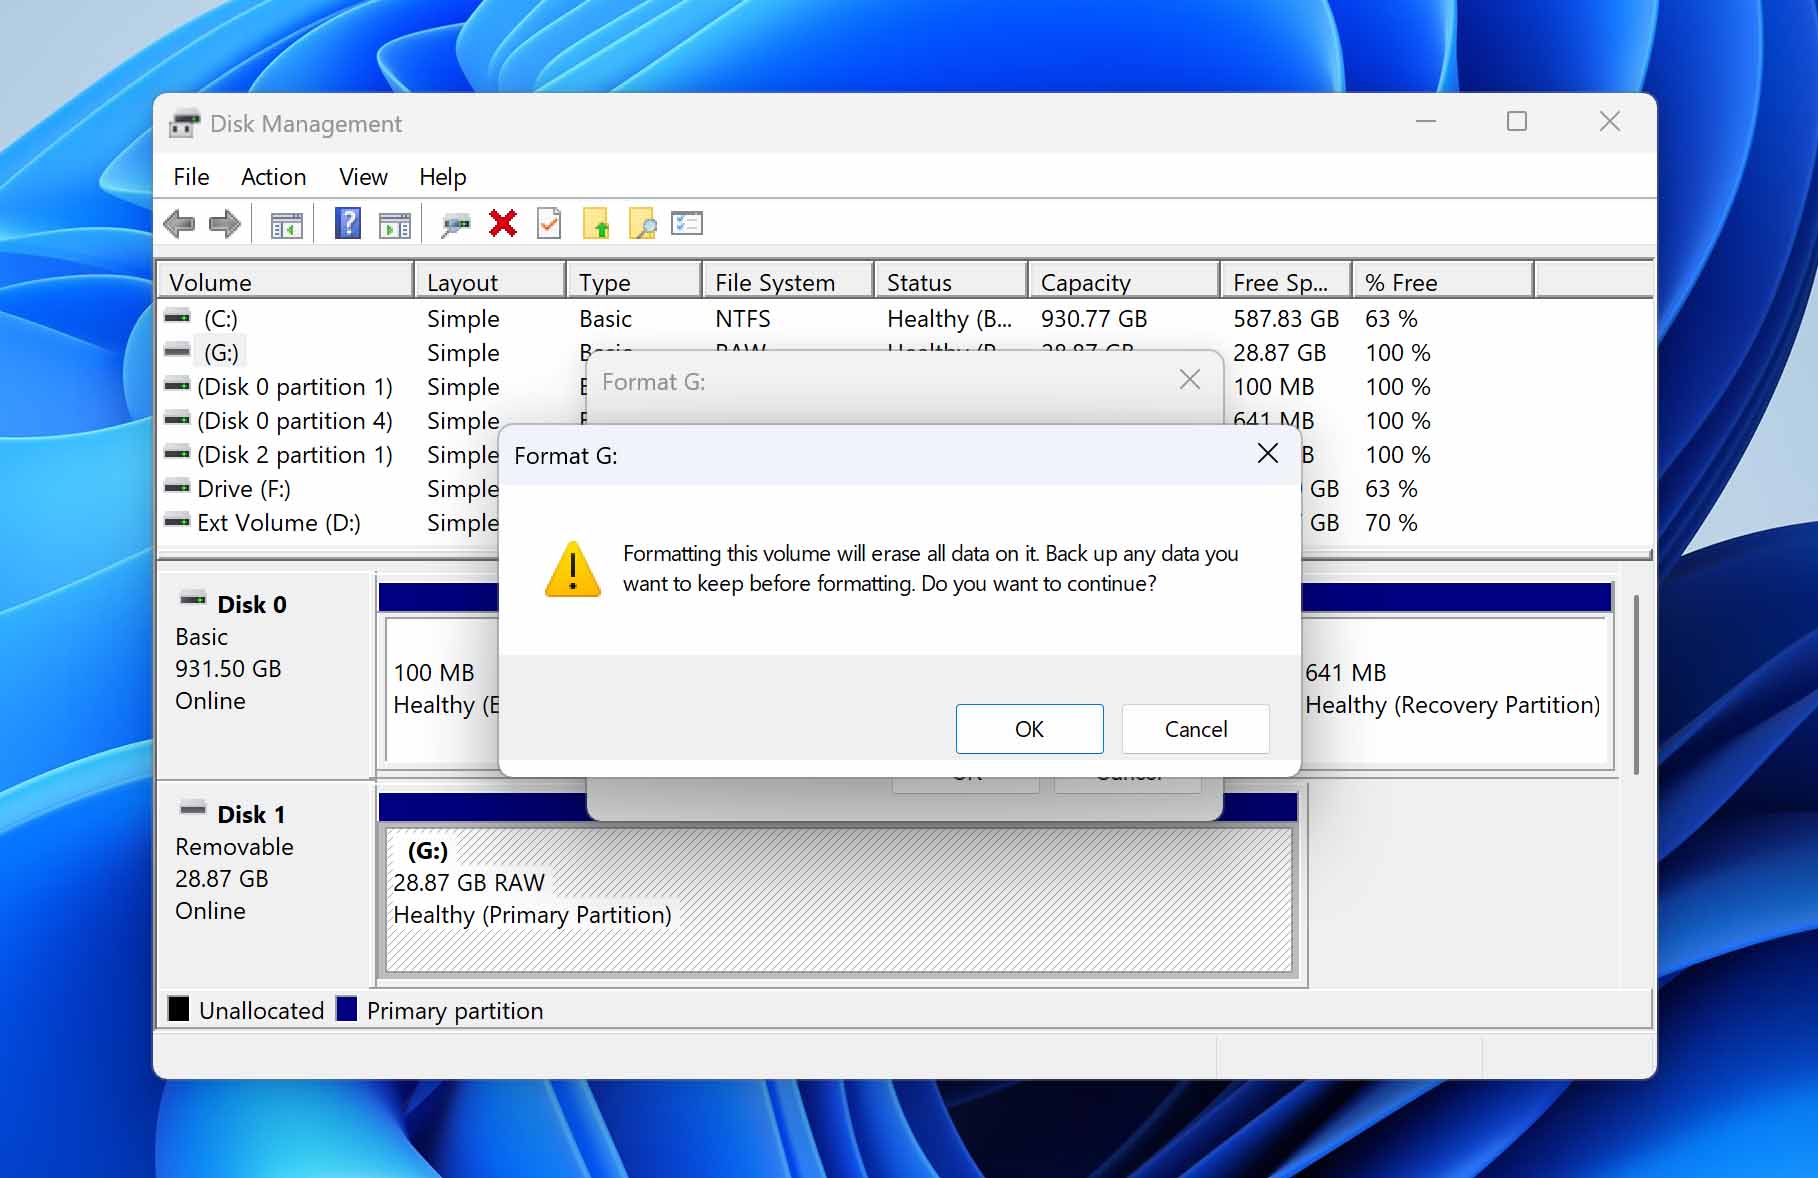
- Once the format is complete, the partition will no longer appear as RAW, and it will be ready to use with the new file system.


Conclusion
Now you know how to recover data from a RAW partition and get it working like normal again. As you have seen, the process is quite simple. The main thing is to select the proper recovery software and wait to repair the drive until after you have recovered your data. If you want to avoid running into the RAW partition issue again, here are a few steps you should follow:
- 🔚 Always safely eject external drives before unplugging them. It helps prevent file system corruption from interrupted write processes.
- 🔋 Sudden power cuts are a common reason partitions turn RAW. Don’t just hold down the power button to shut off your computer. Always use the Start menu to shut down properly, so Windows can close everything correctly.
- 🎛️ If your drive appears as RAW because the operating system cannot read it, transfer your data to a computer that supports the file system. Then, reformat it using a file system your current setup can handle.
- 📊 It’s also a good idea to check your device’s S.M.A.R.T. data periodically to catch potential problems early. There are plenty of tools that can help with that – Disk Drill, for example, has a built-in feature for it.
If your drive keeps turning to RAW constantly, it may be time to replace it with a new one, if possible. Be sure to follow best practices for using it to avoid future problems.
FAQ
- Disk Drill - a powerful, easy-to-use recovery tool that supports over 400 file types. Disk Drill allows you to recover up to 500 MB for free, making it a great option if you need to recover your most important files without incurring upfront costs.
- TestDisk - a free, open-source program that’s great for recovering lost partitions and fixing non-booting disks. It’s especially good at handling RAW drives.
- PhotoRec focuses on recovering photos, videos, documents, and other files. It pairs well with TestDisk. Importantly, PhotoRec does not rely on the file system structure; it scans for data based on file signatures.