Reading Time: 5 minutesLots of teachers and lecturers utilize SMART Notebook files to organize their lessons or speeches, some of which could take weeks or even months to finalize. So, it’s safe to say that these files are often of high importance, making it especially disheartening if they’re accidentally deleted or lost due to data corruption.
The aim of this guide is to provide you with a bit more insight into what these types of files are and how they work, as well as the best way to perform Smart Notebook file recovery in case any of them go missing.
What is SMART Notebook Software?
The .notebook file extension is the proprietary file type used by the SMART Notebook software suite – a program developed specifically for teachers, lecturers, speakers, and even trainers, to make lesson planning and delivery as streamlined and painless as possible.
Some of the app’s features include pen tools, Smart Ink, page object interaction, widget support, and the ability to import PDF and Microsoft Powerpoint files.
This extension is capable of storing a wide range of different file types, like diagrams, charts, and notes. It can also house media files as well, such as various kinds of audio and video files.
Notebook files can be accessed either by the SMART Notebook computer program or through Notebook Express – another application by SMART Technologies that’s entirely web-based.
Does SMART Notebook Autosave?
While saving your progress within Smart Notebook is simple enough, you can set up the program to automatically save your project either at specified intervals or whenever you navigate to a different page.
Follow the steps below to activate SMART Notebook’s autosave feature:
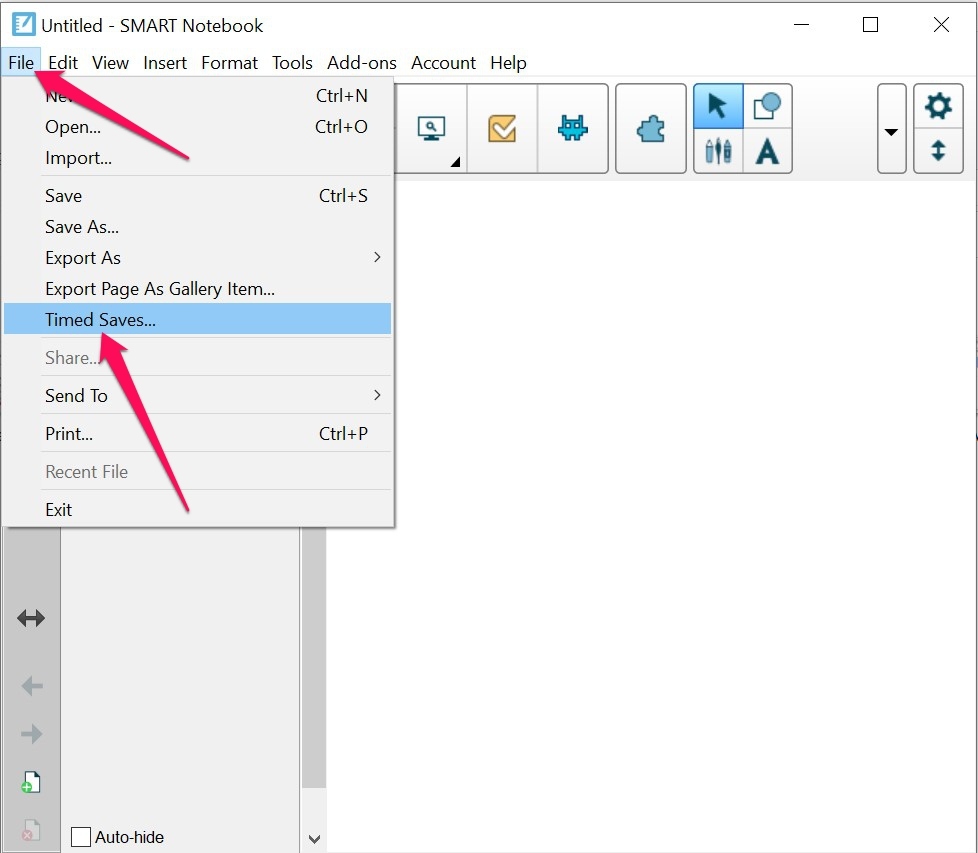
- First, launch the SMART Notebook app, then head to File > Timed Saves.
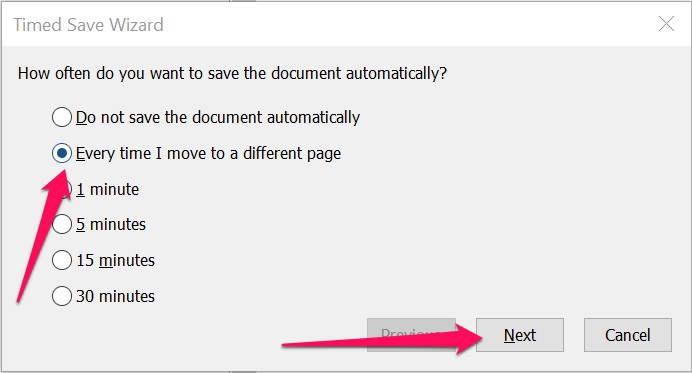
- A pop-up window will appear where you can select whether you’d like the program to save your progress in given intervals or whenever you move to a different page. Choose your desired option and click Next to continue.
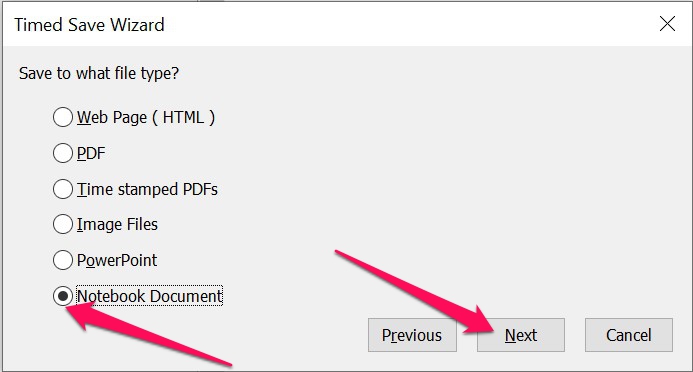
- Select the file type you’d like your project to be saved as. This includes HTML, PDF, Image file, Powerpoint, or Notebook document. Once you’ve decided on a file type, click the Next button.
- The last window will have you choose a file name for your project, as well as a directory where it will be saved in. Finally, click the Save button to finalize the autosave setting.


How to Recover a Deleted SMART Notebook File
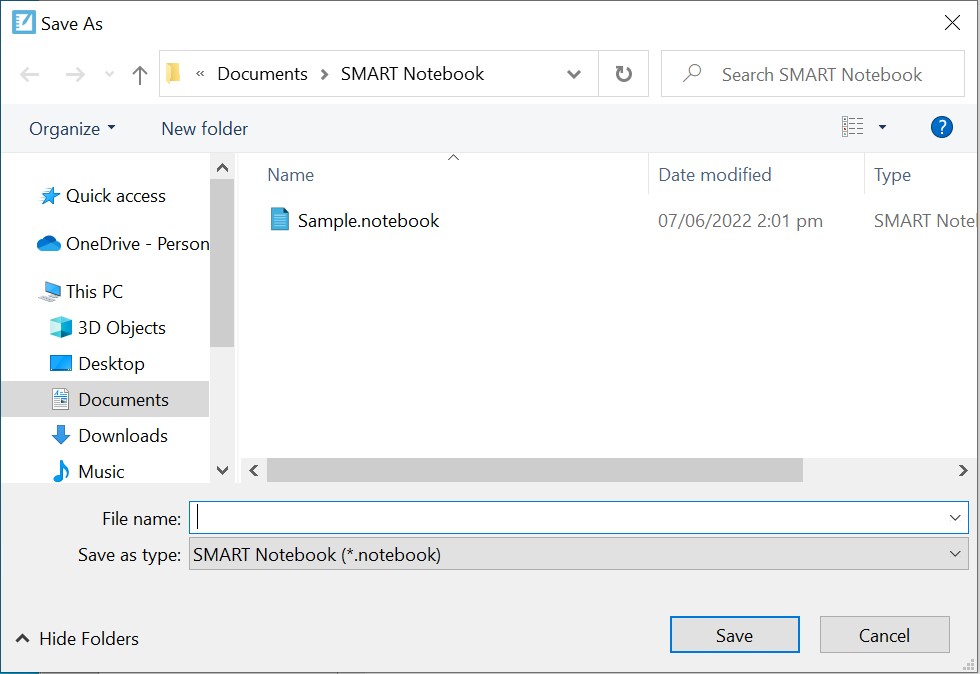
Whether you’ve set up the autosave feature or prefer to do your saving manually, SMART Notebook will always ask you where you want to save your output Notebook files.
Though the program does create various folders within This PC > Documents in case you want to utilize one of them for storage. This includes a SMART Notebook “My Notebook Content” folder location.
In case you end up deleting one of your essential Notebook files, the best way to retrieve them from a do-it-yourself standpoint is to seek the help of an effective data recovery software.
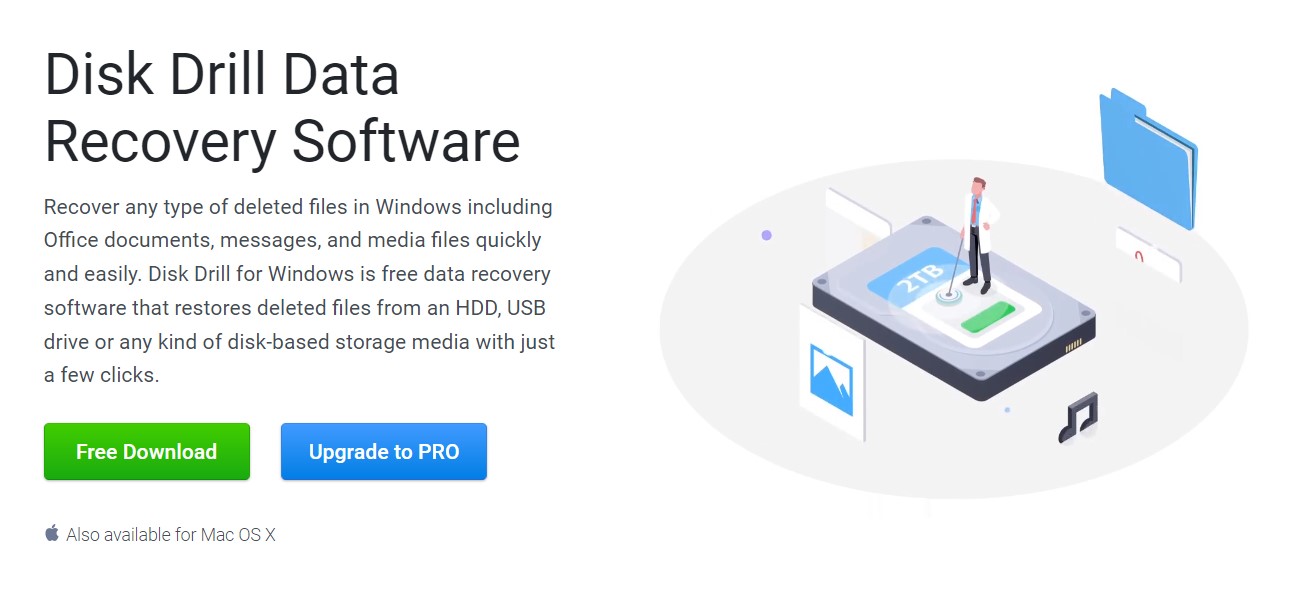
We highly recommend Disk Drill, as it sports a well-crafted interface that’s easy enough for beginners to use, in addition to an impressive recovery rate and a host of useful extra features.
To top it all off, it includes a trial version that allows you to experience all of the programs features, including up 500 MB’s worth of actual data recovery. Here’s how you can use Disk Drill to recover your mistakenly deleted SMART Notebook files in no time:
- First, download the Disk Drill setup file from the official Cleverfiles website.
- Run the download file and follow the installation wizard’s instructions until the program is successfully installed.
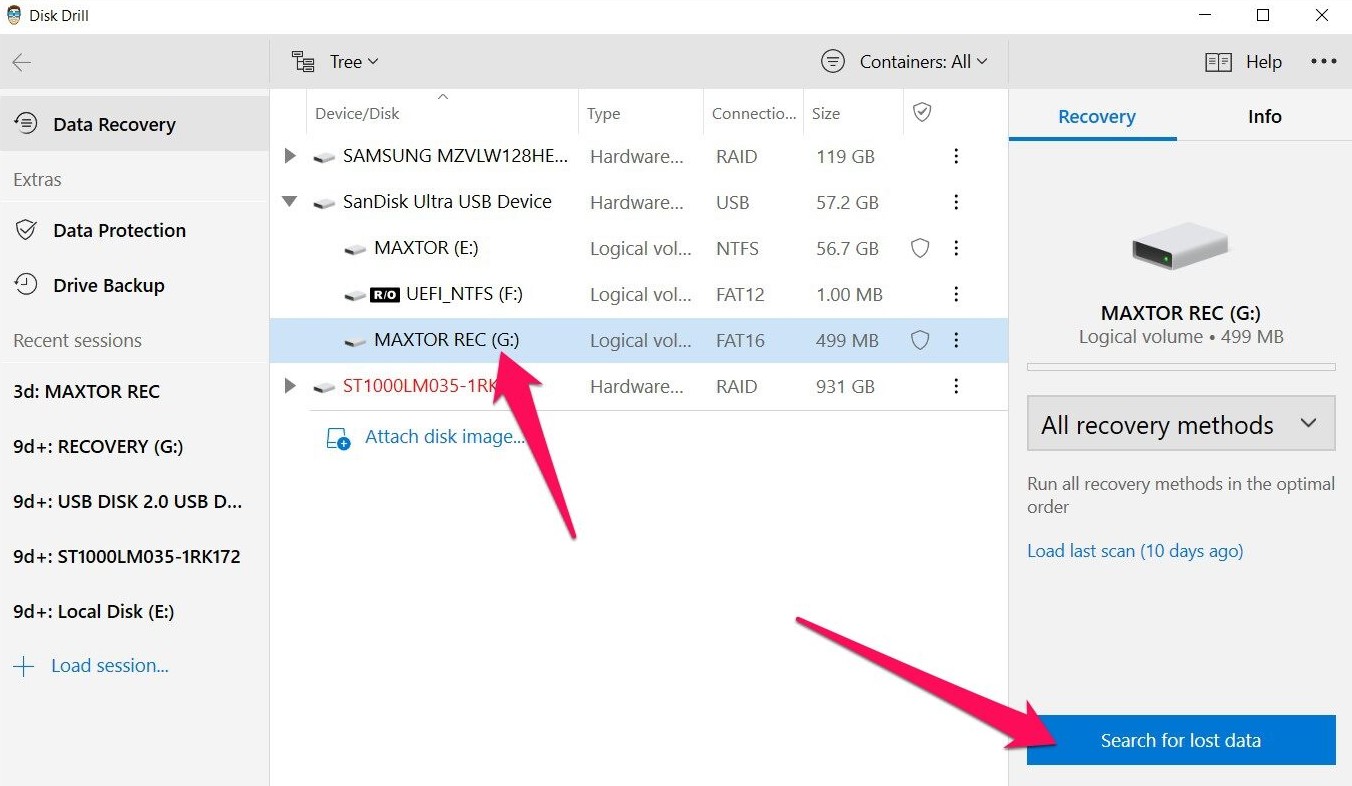
- Launch Disk Drill and select the storage medium where your SMART Notebook file was last located. Then, click the Search for lost data button when you’re ready.
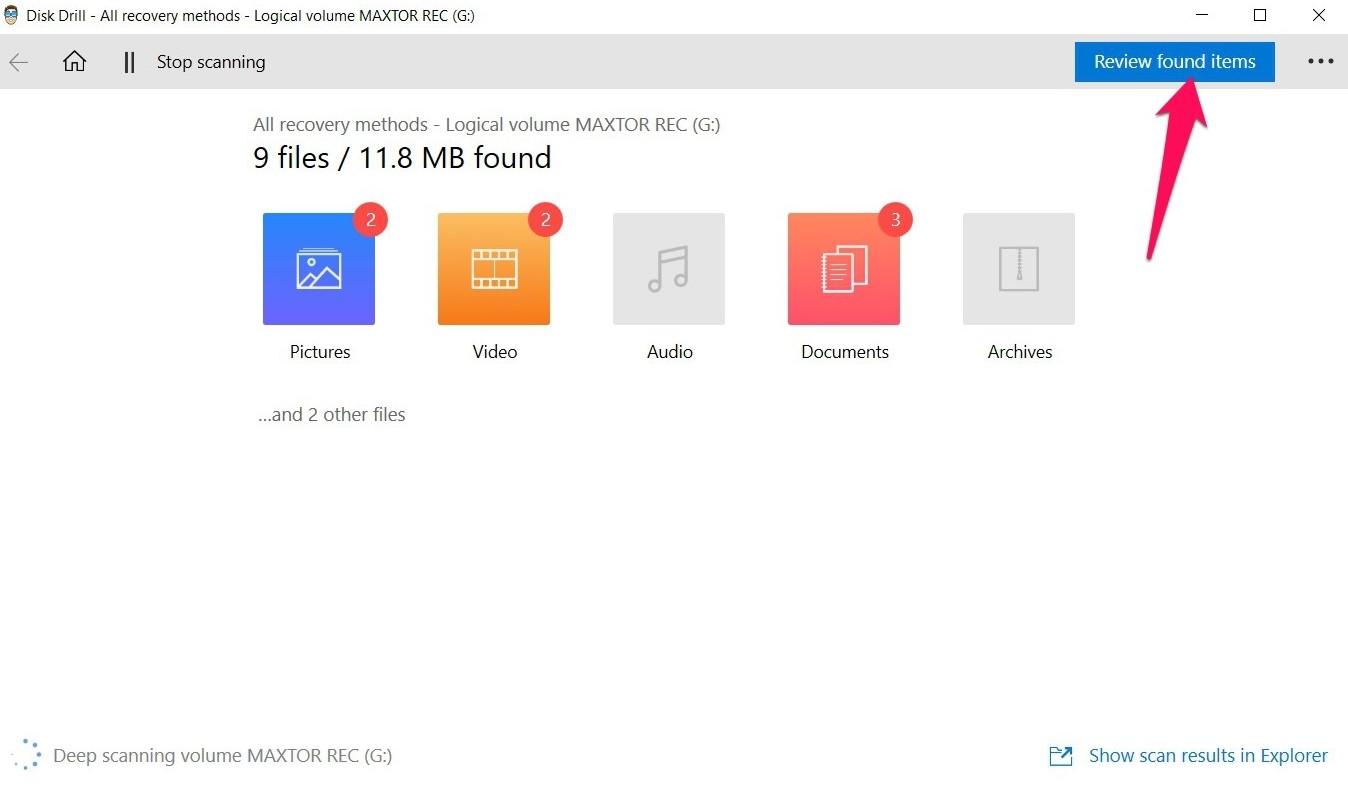
- The app will now start scanning the selected storage drive for all recoverable files. This could take some time, depending on how large your chosen hard drive is. While the scan is in progress, you can click the Review found items button on the top-right corner of the window to view all the recoverable files that have been discovered so far. You can also opt to wait for the scan to complete first before clicking the same button to head to the results page.
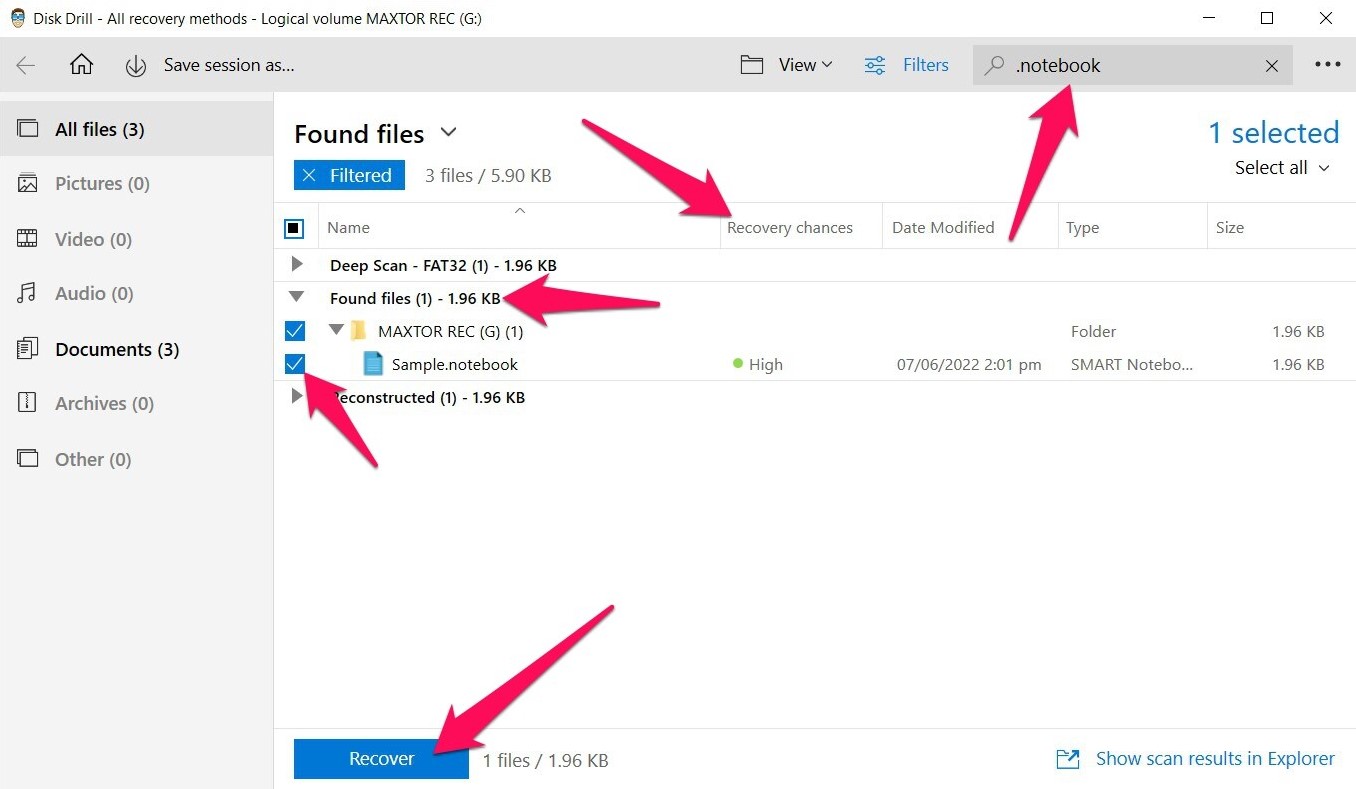
- On the results page, the quickest way to filter the results to show only SMART Notebook files is to type “.notebook” into the search field at the top-right corner of the window. From there, look under the Found files drop down, and you should find your deleted files.
The Windows version of Disk Drill features a Recovery chances column that will give you an approximation as to how likely it is that the program will be able to recover that particular file. First, click the checkbox to the left of the file name to highlight your SMART Notebook file, then hit the Recover button along the bottom of the window to head to the next section.
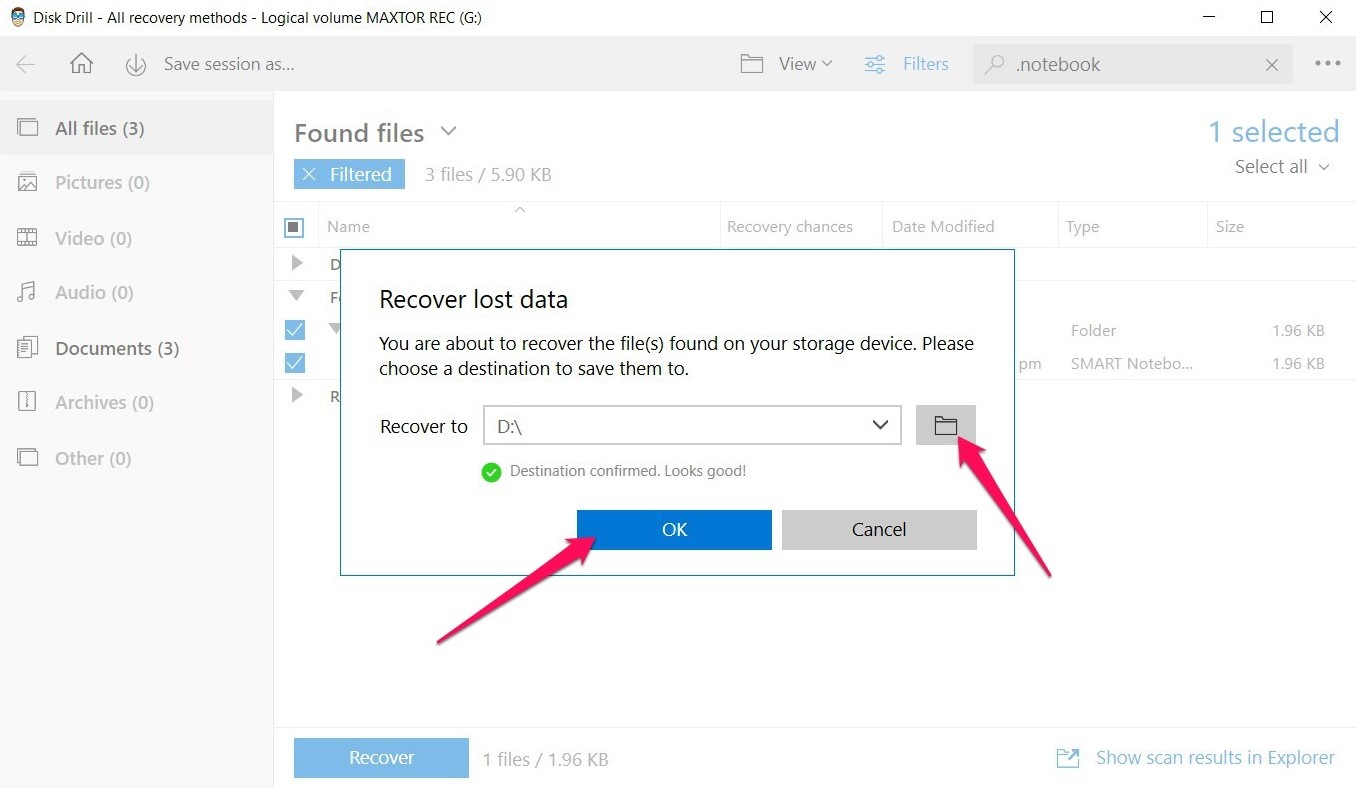
- A small pop-up window will appear where you can choose the directory where you’d like your recovered Notebook file to be stored. It’s very important that you select a drive that’s different from the one you’re trying to recover files from. Otherwise, you’ll encounter an error and will be asked to select a different directory. When you’re all set, click the OK button.
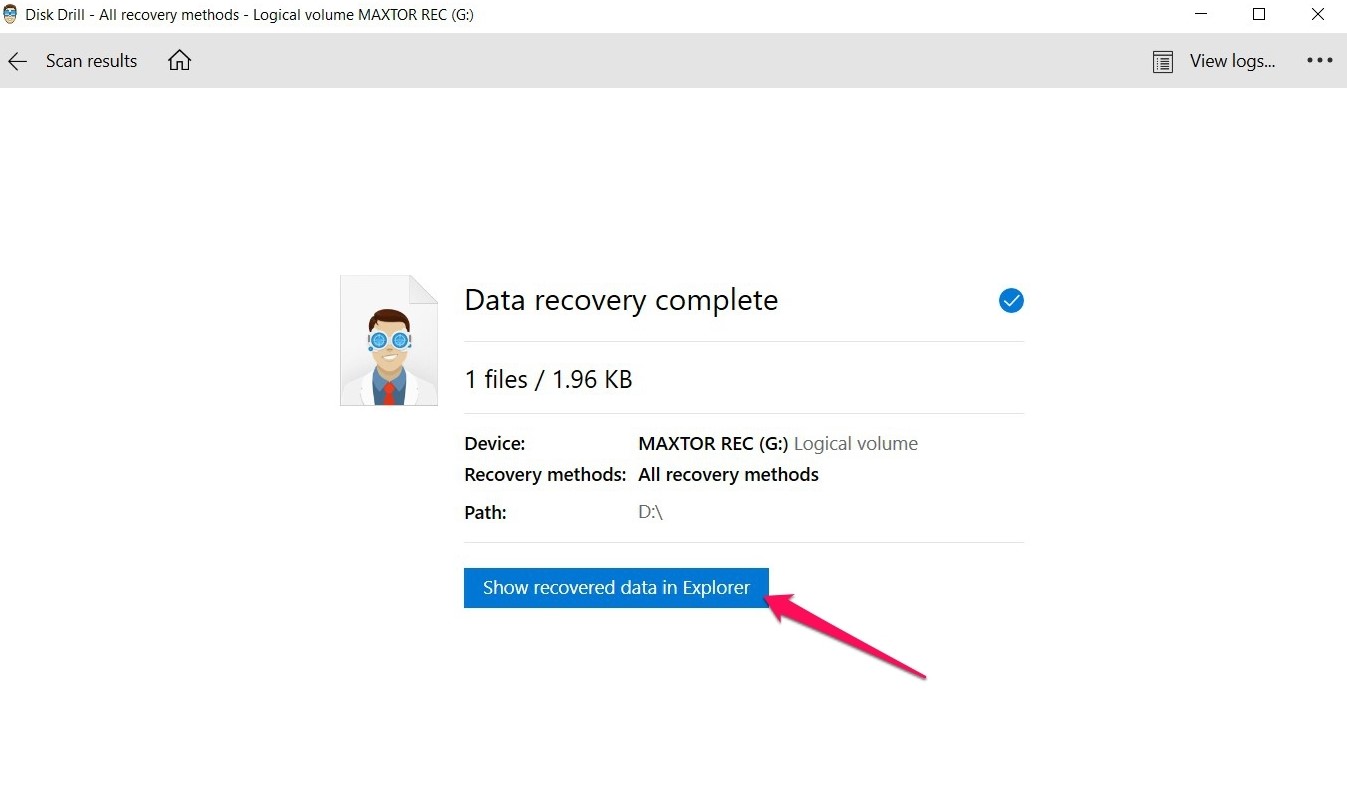
- Disk Drill will now attempt to recover your selected SMART Notebook files. The duration of this process depends on how large the file you’re recovering is, but it usually doesn’t take all that long. Once the recovery process is finalized, a completion message will be shown, along with a Show recovered files in Explorer button. Clicking this button will take you straight to the folder where your recovered files were stored, saving you a bit of time.


It’s worth noting that Disk Drill doesn’t just work wonders for recovering deleted data. It can help you with SMART Notebook file recovery for corrupt data as well. You can also use it to recover PNG files and other images, multimedia assets, documents, and pretty much any kind of file extension used by a computer.