
Reading Time: 8 minutesYou probably know that formatting a flash drive will result in losing all data on it. Still, sometimes it’s the only fix, like when the drive throws an error saying it needs to be formatted before you can access files, or when you need to switch file systems to make it work with another operating system. However, there are ways to avoid losing your data.
If the USB drive is working and accessible in the File Explorer, the process is simple – just copy the data to another device and format it. If the USB drive isn’t accessible, we also have a solution for you. In this article, we’ll show you how to format your flash drive without losing any data, complete with step-by-step screenshots to guide you through the process.
What Does Formatting a USB Actually Do?
Formatting a USB stick sets it up to store files properly. The process wipes its existing structure, installs a new file system, creates partitions if needed, and lets you give it a name, leaving the drive fresh and ready for new data.
Formatting a USB flash drive is necessary in several situations, including:
- The USB drive has become corrupted or inaccessible.
- You need to change the file system of the drive for compatibility with another operating system.
- The drive is showing poor performance or errors.
- You have a new USB drive that needs formatting before use on your computer.
There are two main types of formatting available: quick format and full format. Both have distinct purposes and outcomes:
- A quick format removes the file records and pointers that ‘point’ to the files on your USB drive. However, the data itself remains on the physical components of the drive. As long as new data has not overwritten the old data, you can still recover your files using data recovery software.
- A full format goes further than a quick format. It completely removes all the files and scans the drive for faulty sectors, which marks any bad areas as off-limits. This helps prevent future errors or corruption. Once a full format is finished, recovering data is impossible – it not only wipes the files but also overwrites the sectors where they lived.
So, before you format your flash drive, it’s better to either restore or back up anything you want to keep from your USB.
How to Protect Data Before Formatting a Flash Drive
To protect your data before formatting a flash drive, you should restore it to another device or an external storage medium. A system disk can also work in this case. If the flash drive is severely corrupted and its state is unstable, it is better to make a byte-by-byte copy to avoid causing further damage. To do this, you will need software that supports both backup and restoration functions.
If your flash drive is accessible in File Explorer, simply copy the files to another location. However, this section focuses on cases where the flash drive is inaccessible, such as when it appears as RAW or requires formatting.
In this article, we’re using Disk Drill as our go-to recovery tool. We chose it because it does more than just recover files – it also lets you create a full byte-to-byte backup of your flash drive, which is a big plus. It works even when your USB drive isn’t accessible through standard methods. For example, when your drive is formatted with a macOS file system, there is no problem – Disk Drill’s signature scan can still find and recover your data. Just keep in mind – for it to work correctly, your flash drive needs to show up in Disk Management with the right size.
We will show you how to create a byte-by-byte backup of the flash drive, add it to the list of devices for scanning, and get data from it using Disk Drill. However, if you do not wish to create a backup, start directly from step 7.
- Go to Cleverfiles’ website, download the Disk Drill installer, and run it. Then, follow the prompts to finish the setup.
- Plug in your flash drive and fire up Disk Drill. In the left-hand menu, click Byte-to-Byte Backup.
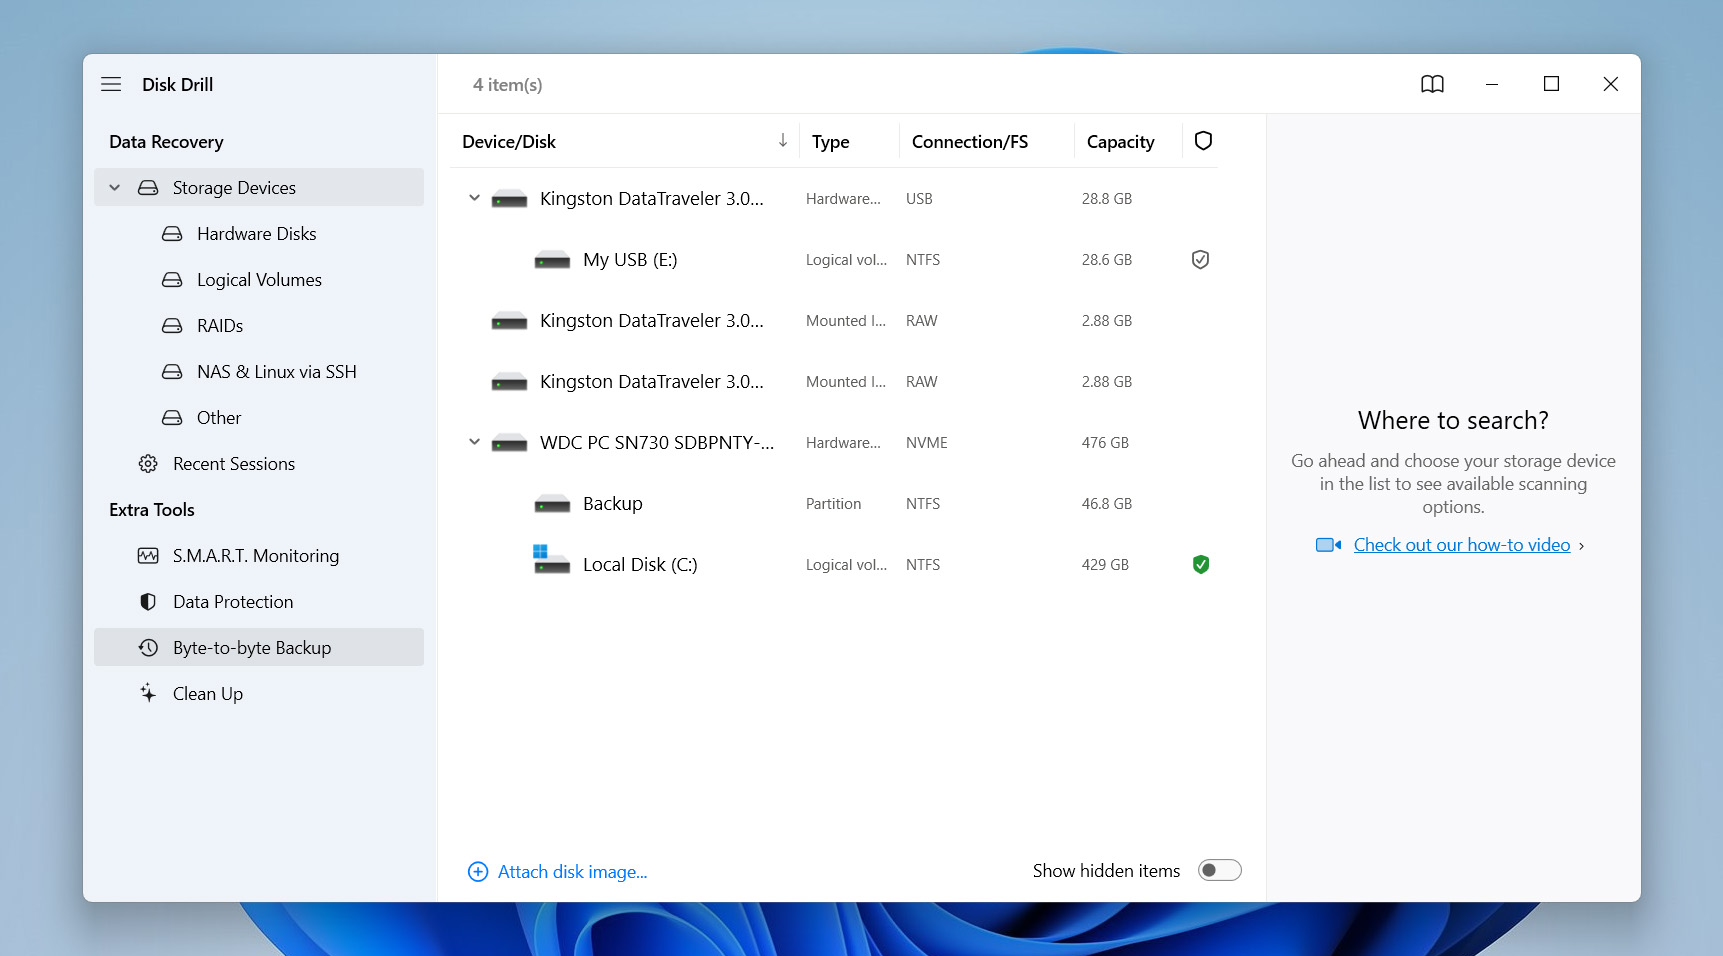
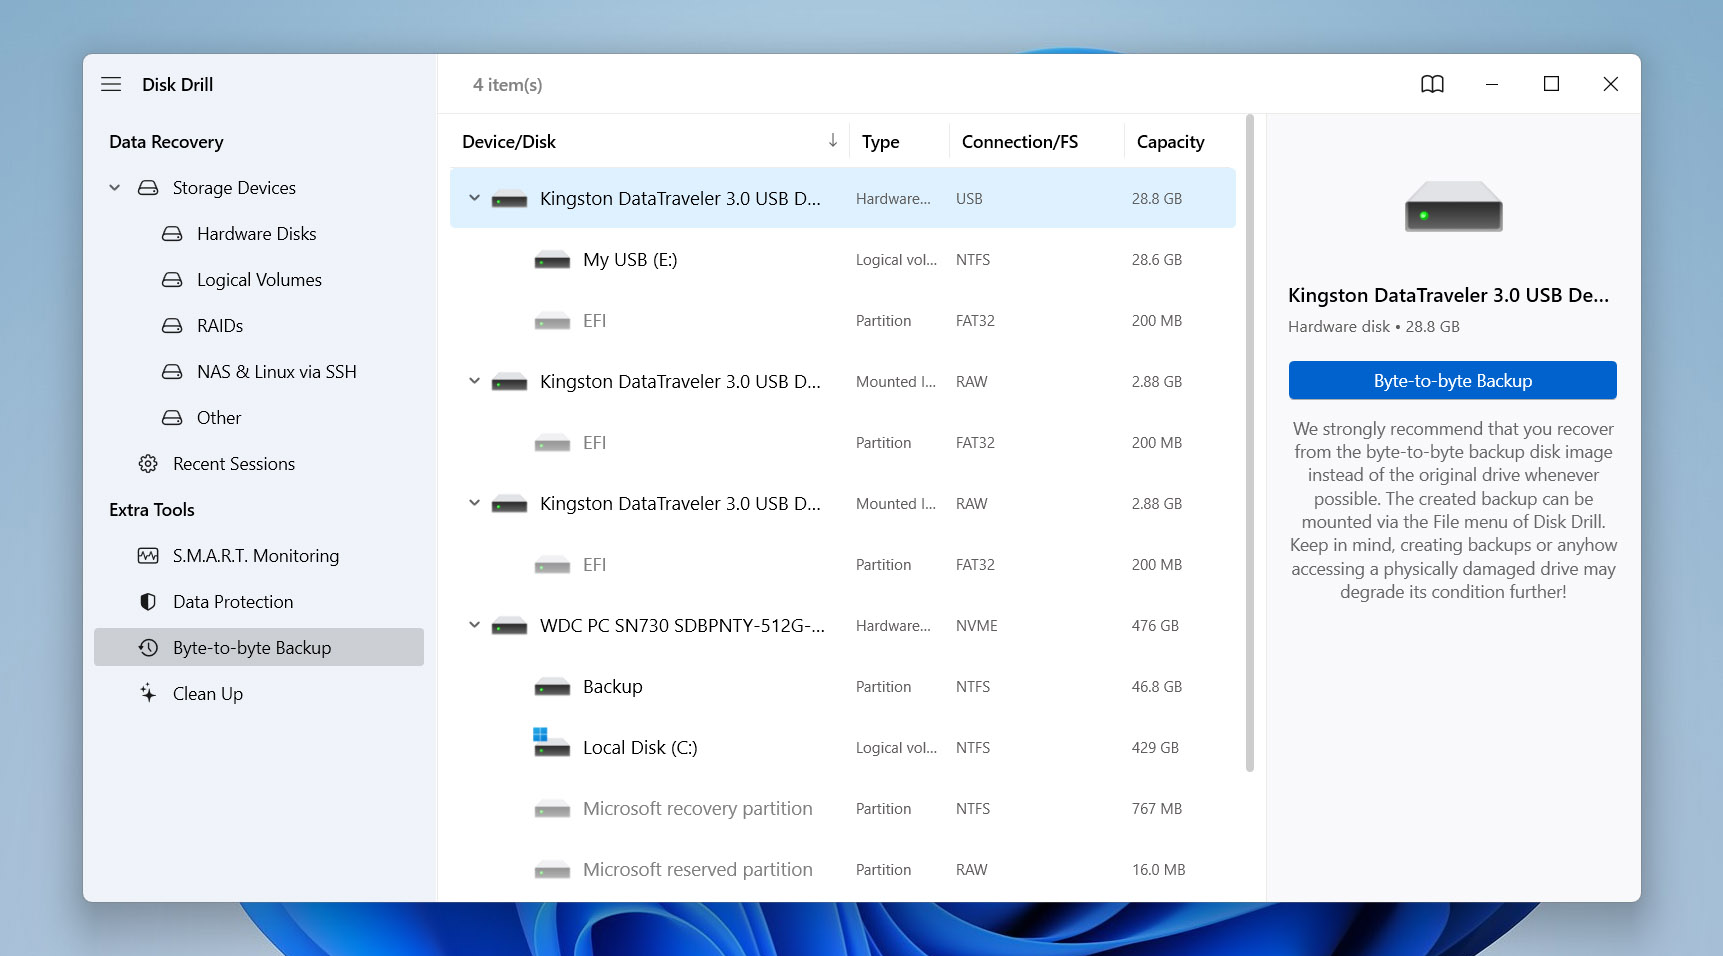
- Find your flash drive in the device list, then hit Byte-to-Byte Backup to get started.
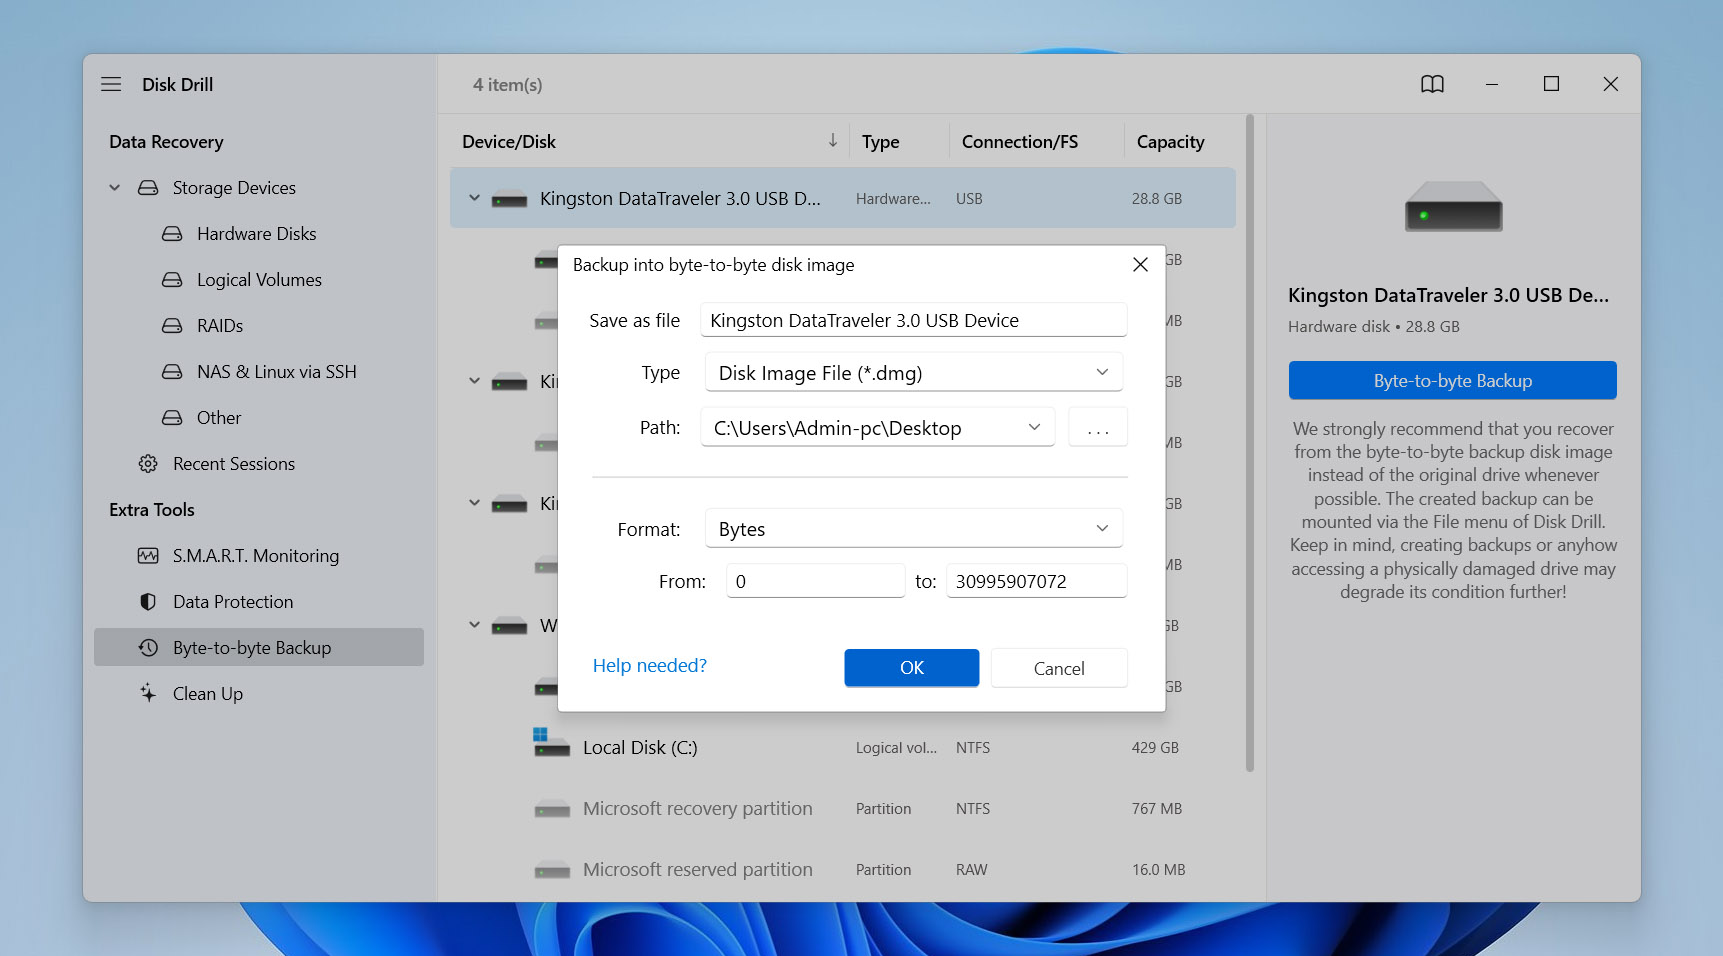
- When the config window pops up, pick a save location on a different drive with plenty of space and click OK.
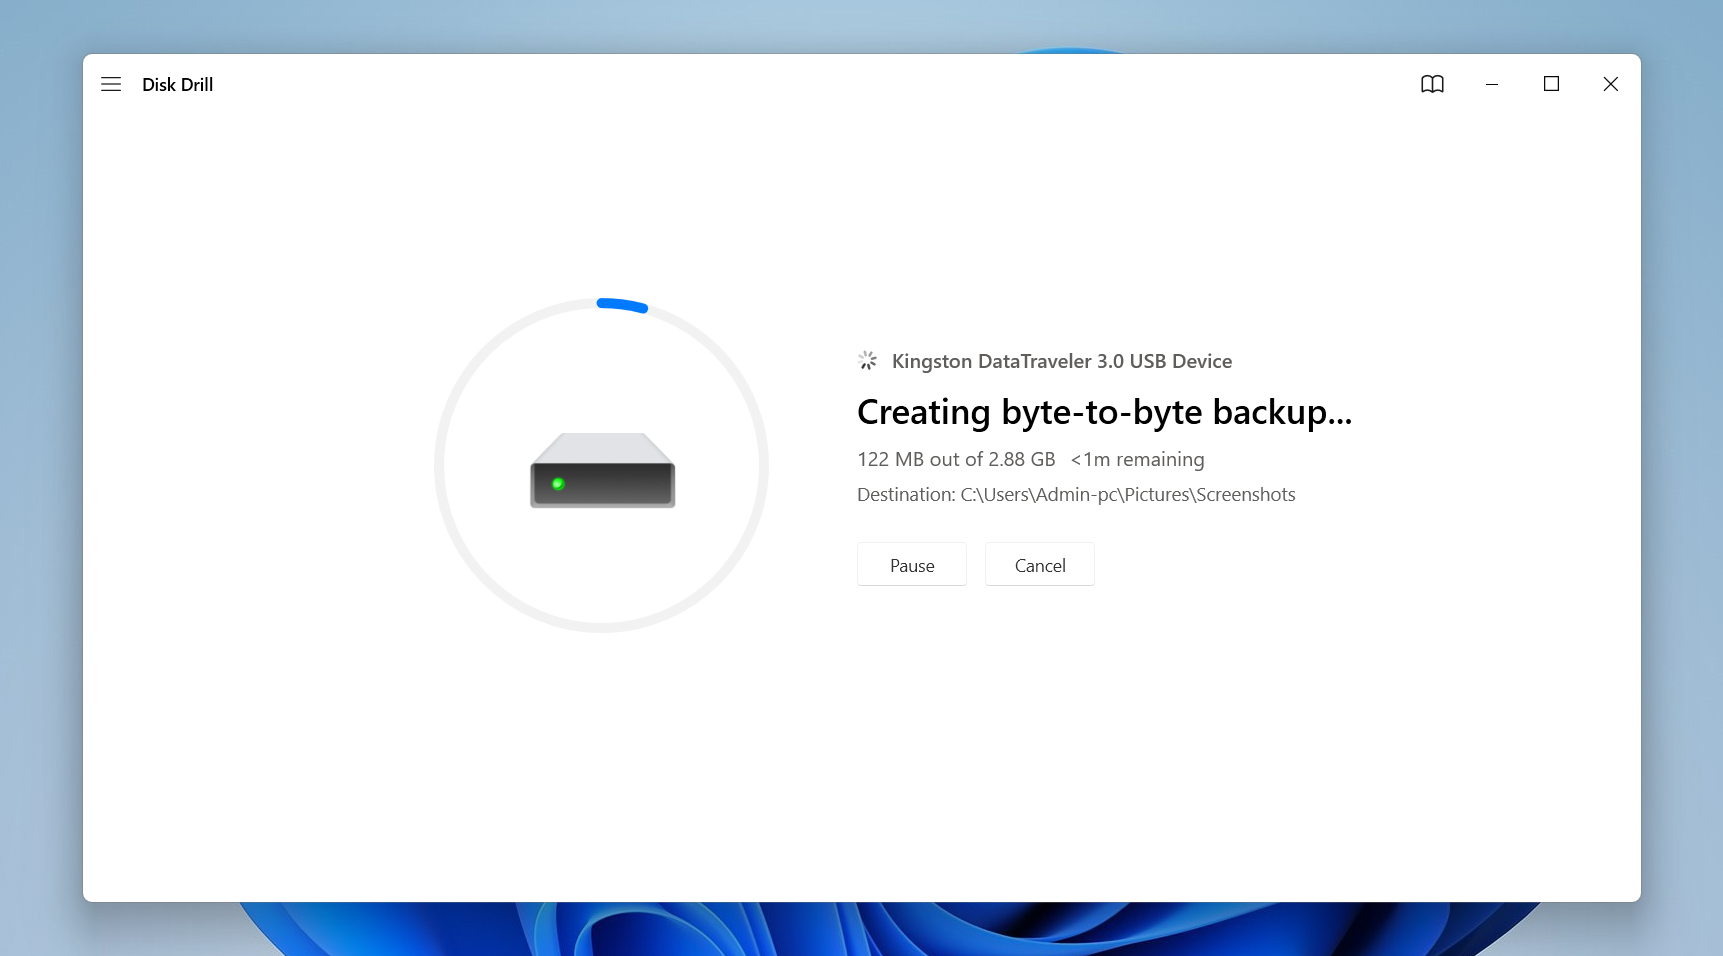
- Disk Drill will create the backup. This can take a bit, depending on drive size. Once it’s done, you’ll get a confirmation – click the home icon to return to the main screen.
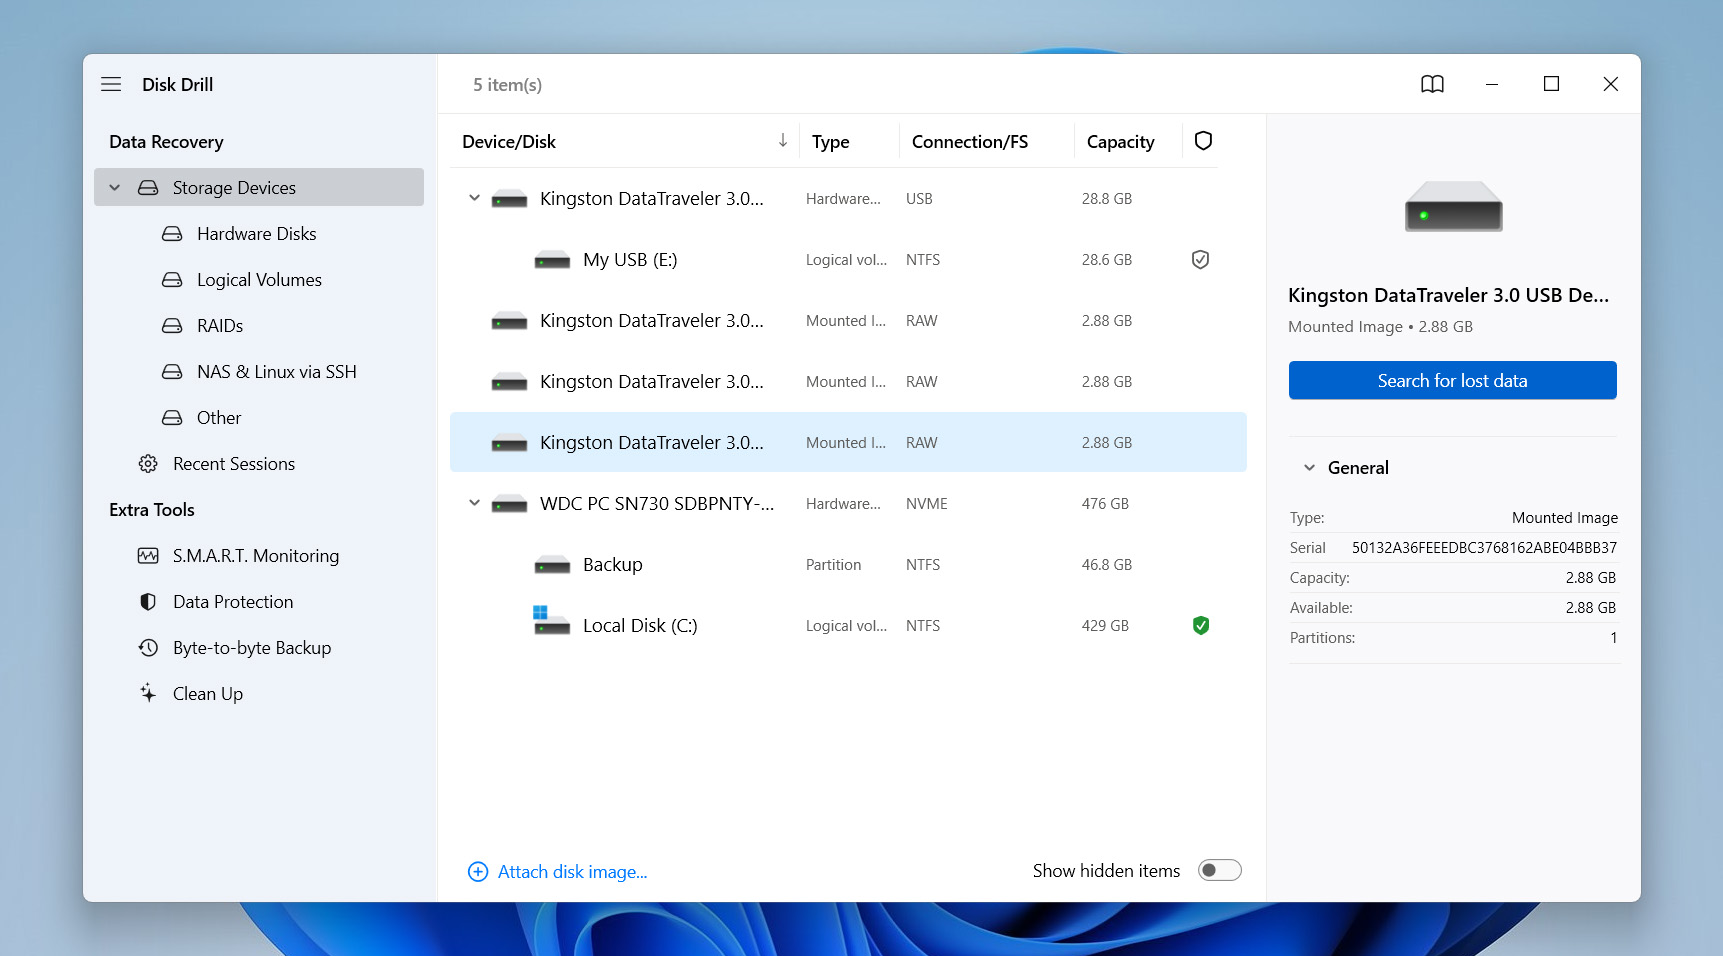
- Now choose Storage Device on the left.

- Click Attach disk image, select the backup file you just made, and it’ll show up as a new device. Select it and click Search for lost data. (If you skipped the backup, pick the flash drive itself and hit Search for lost data.)
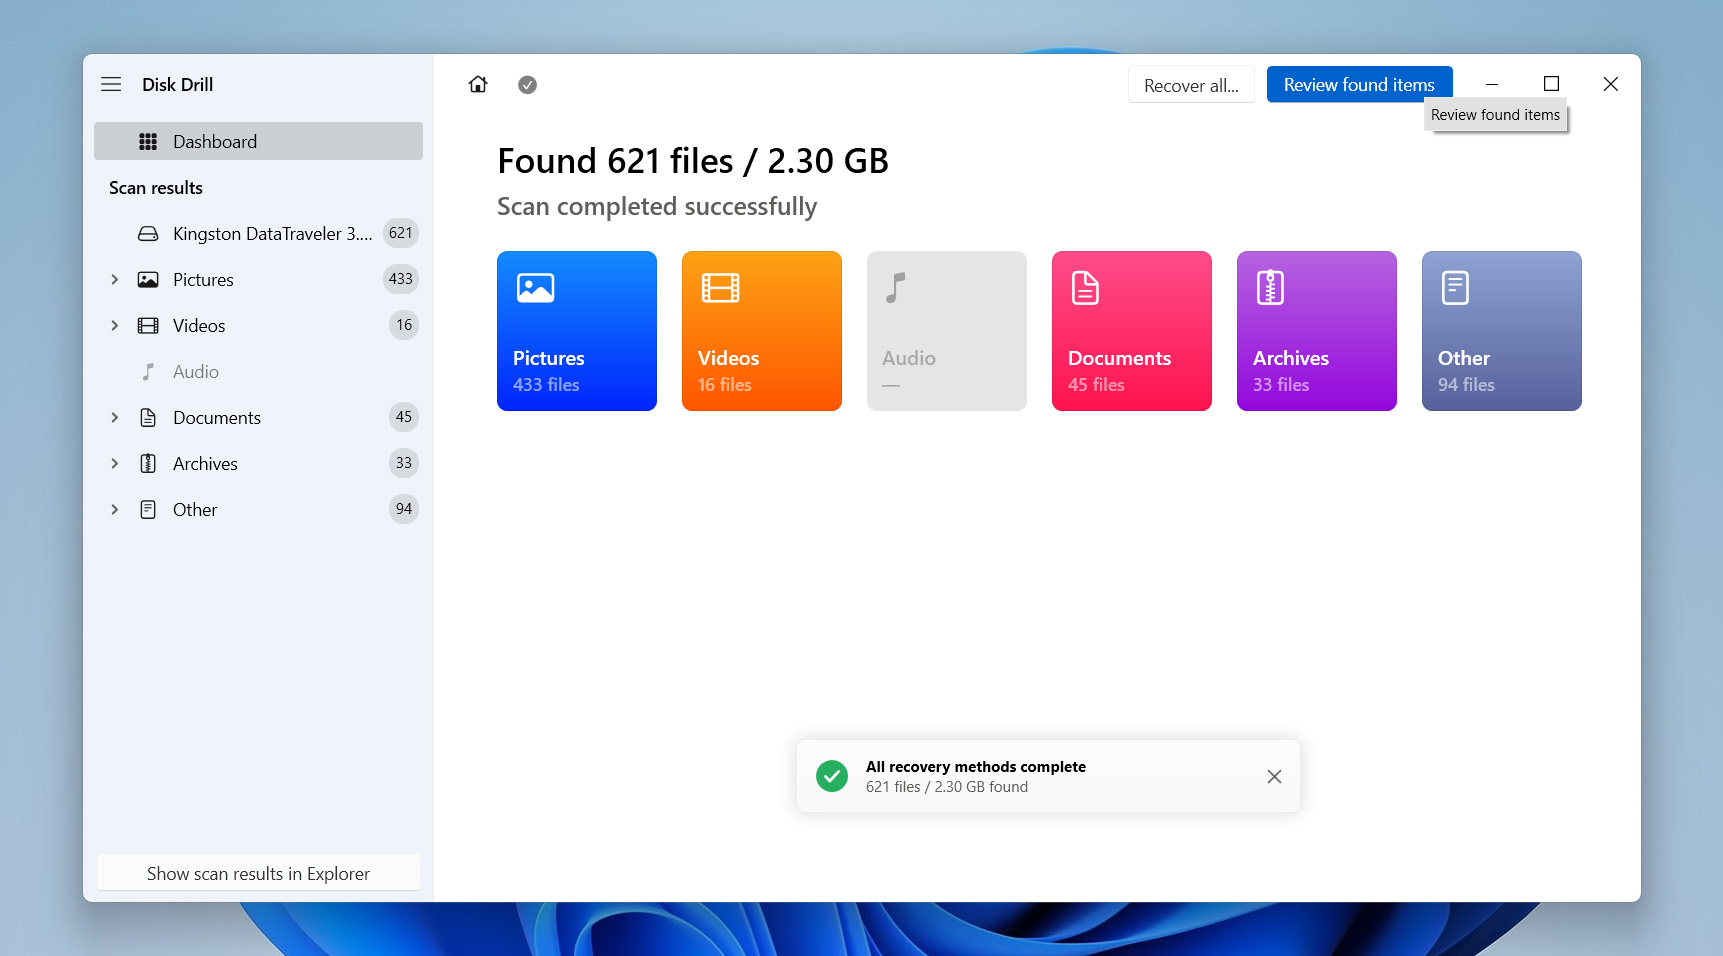
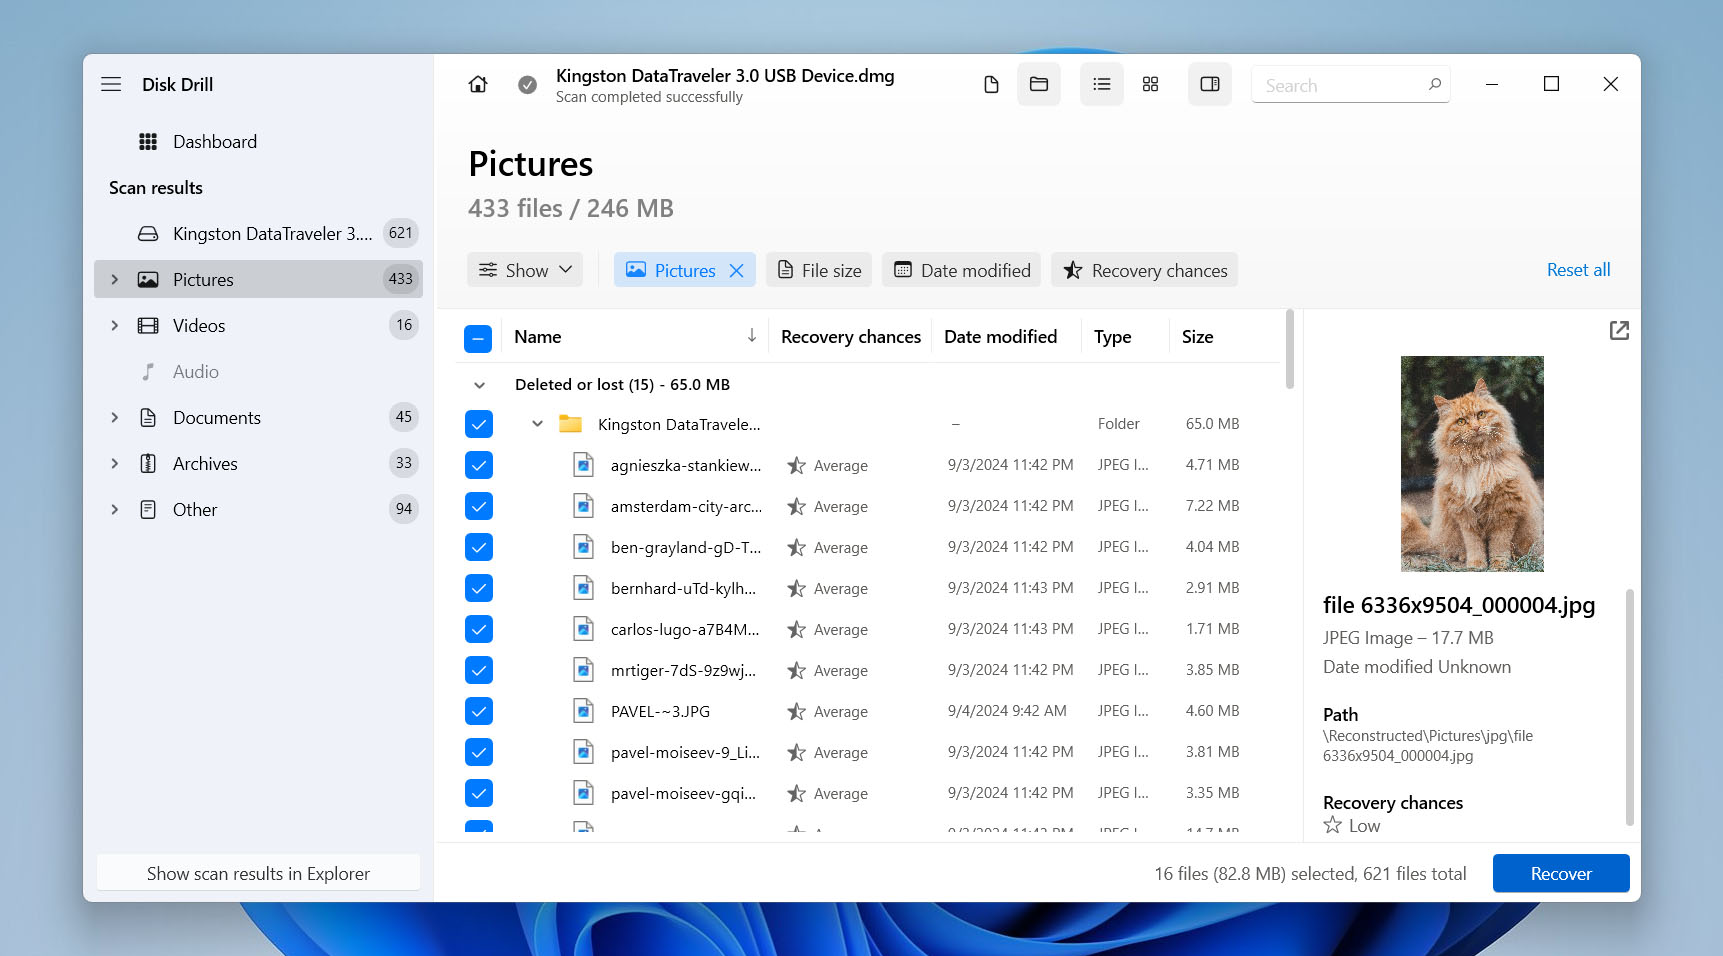
- Disk Drill starts scanning. You can recover files as they appear, but it’s smarter to wait for the scan to finish so you can see each file’s recovery chance – high, average, or low.
- Tick the boxes next to the files you want to recover, then click Recover at the bottom.
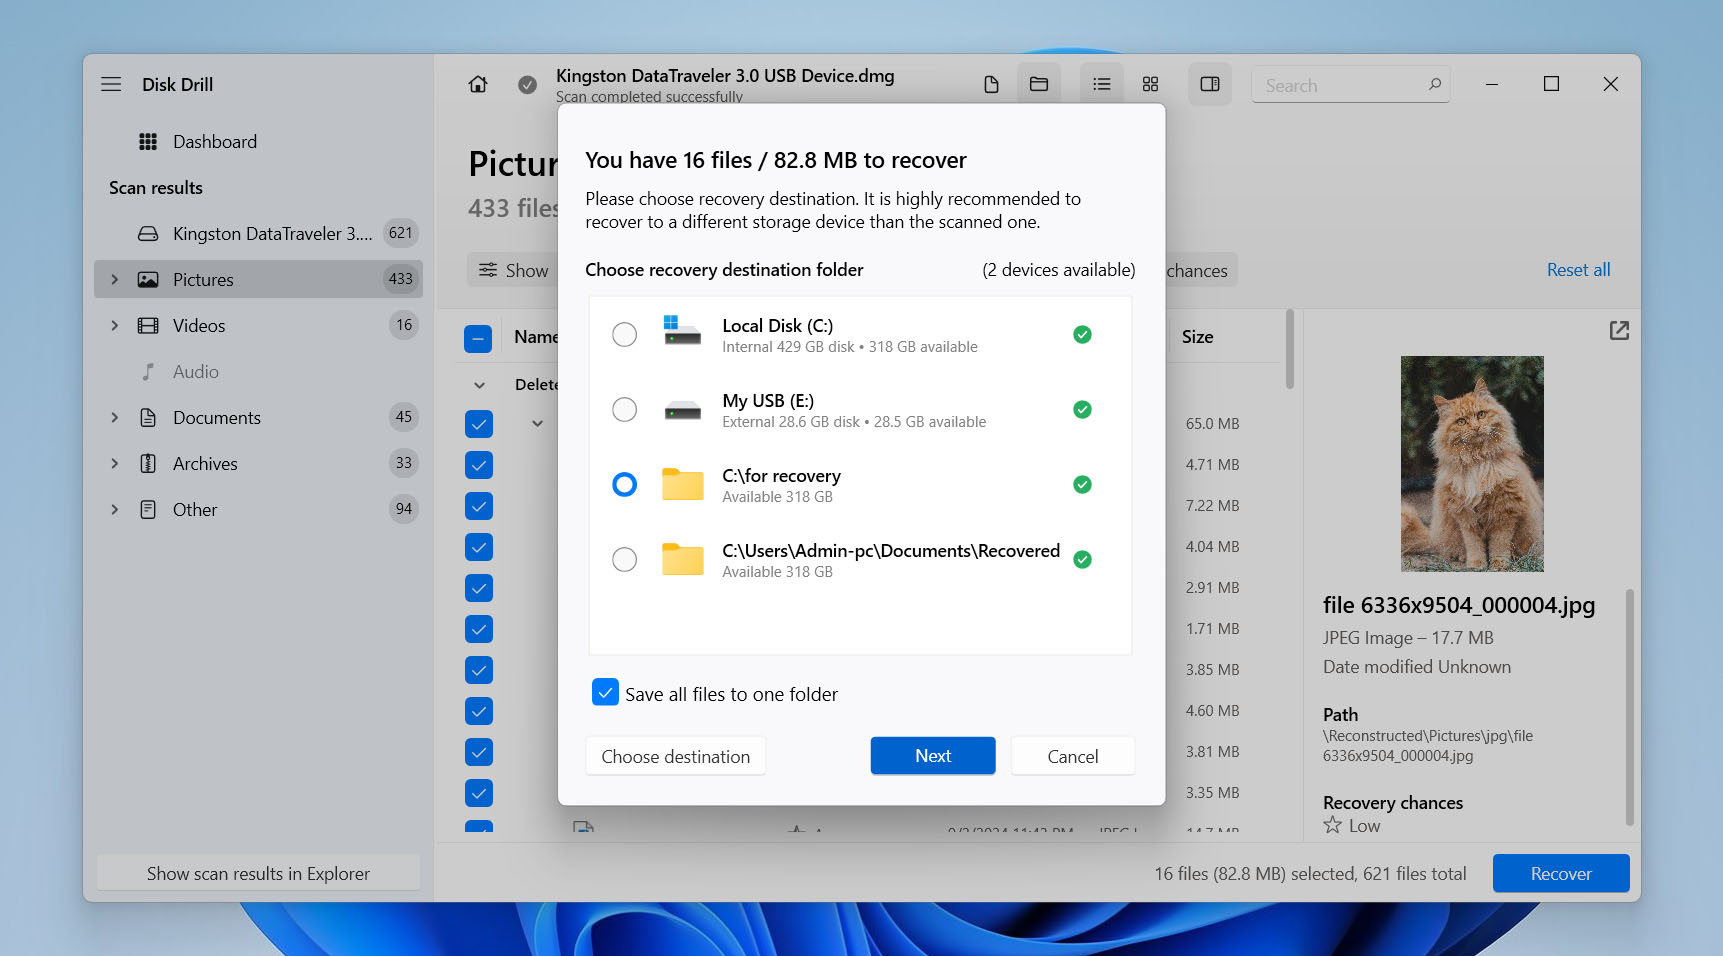
- Choose a safe location. Disk Drill will show a green check mark for a good choice or yellow for a risky one (usually indicating the same device you’re recovering from). After selecting, click Next. Disk Drill will recover your files and display a summary when it finishes.


Just a heads-up that Disk Drill’s free version isn’t unlimited. You can make a byte-for-byte backup, scan the drive or image, and recover up to 500 MB. If you need more, you’ll have to upgrade to Pro – it’s a few-click option on the same download page.
How to Format a Flash Drive on Windows
Now that you have recovered data from your USB flash drive or created a byte-by-byte copy for future recovery, you can proceed to format it. There are several options available for formatting, but the outcome will remain the same.
Option 1: Format USB Drive Using File Explorer
The quickest way to format a USB drive in Windows is right in File Explorer. This built-in tool lets you manage everything on your PC -browse files, view connected devices, and handle tasks like copying, moving, or formatting drives – all from one window.
- Open File Explorer – press Windows + E or click the folder icon on the taskbar.
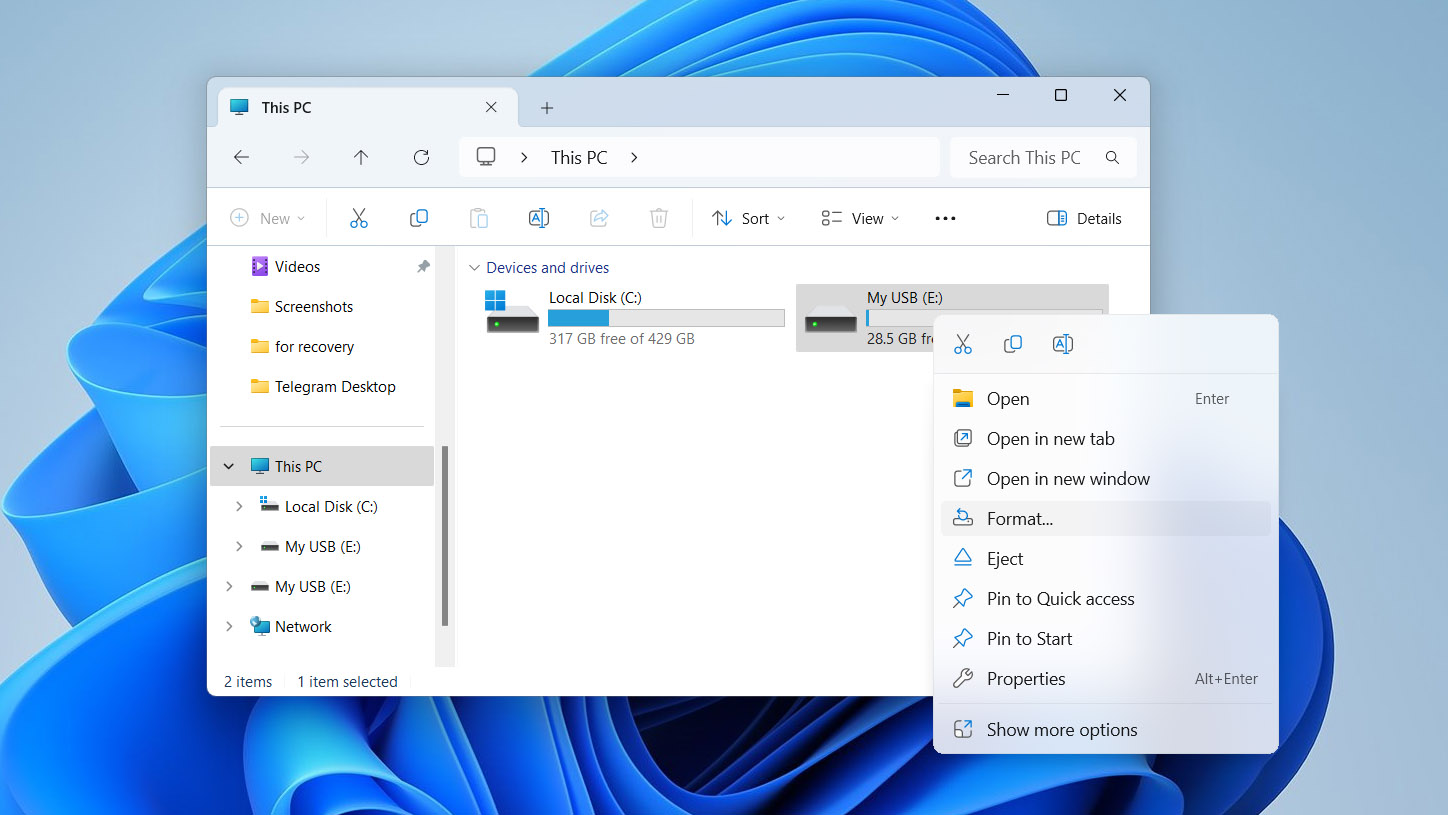
- Under This PC on the left, find your USB drive (listed under Devices and drives). Right-click it and choose Format….
- In the Format window, pick a file system (FAT32, exFAT, or NTFS) that fits your needs.
- Leave Quick Format checked for a fast wipe (it clears file pointers but not the data itself). Uncheck it if you want a full, slower format.
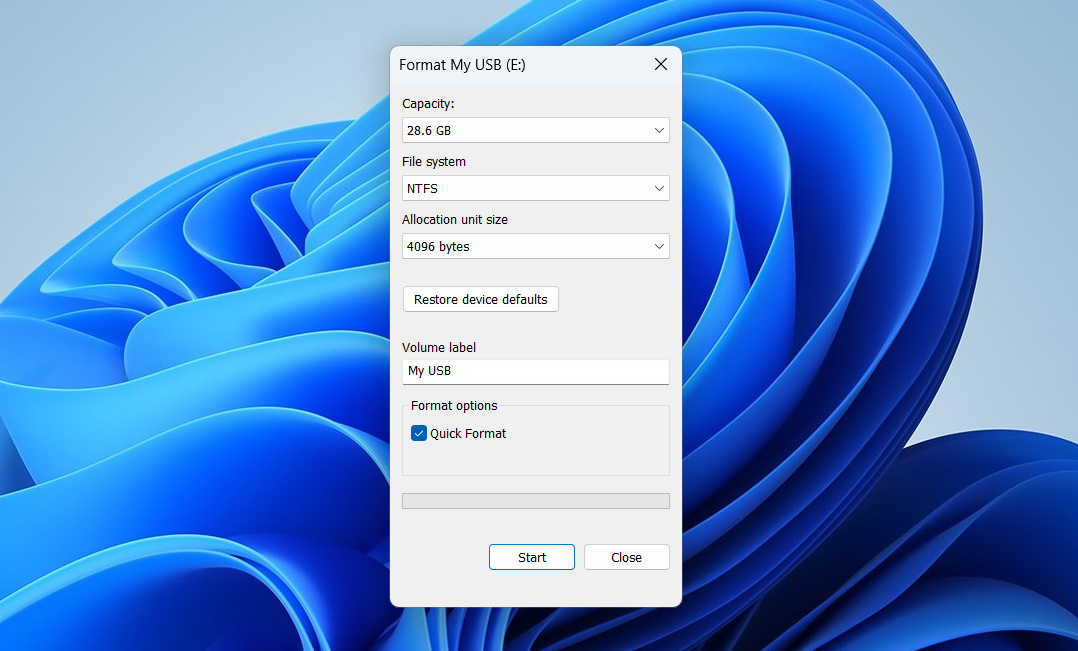
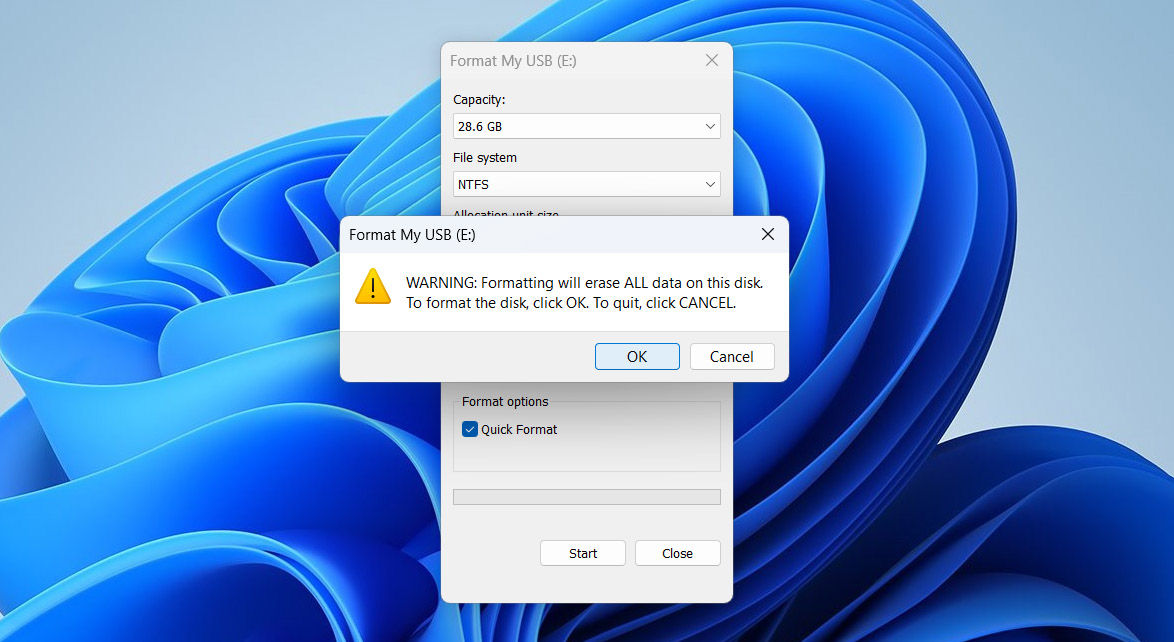
- Click Start. You’ll get a warning that everything on the drive will be erased – click OK if you’re sure.
- Wait for the process to finish. How long it takes depends on the drive size and whether you choose quick format. When you see the “Format complete” message, you’re done – safely eject the drive and it’s ready for new files.


Option 2: Use Disk Management to Format Your USB Drive
Alternatively, you can format your USB drive using the Disk Management tool. This tool gives you more control than File Explorer – you can manage partitions, change file systems, and handle trickier drive issues. It’s the way to go if you need to tweak partitions or deal with drives that require more than a simple format.
- Right-click the Windows Start button (or press Windows Key + X) and select Disk Management from the menu that appears.

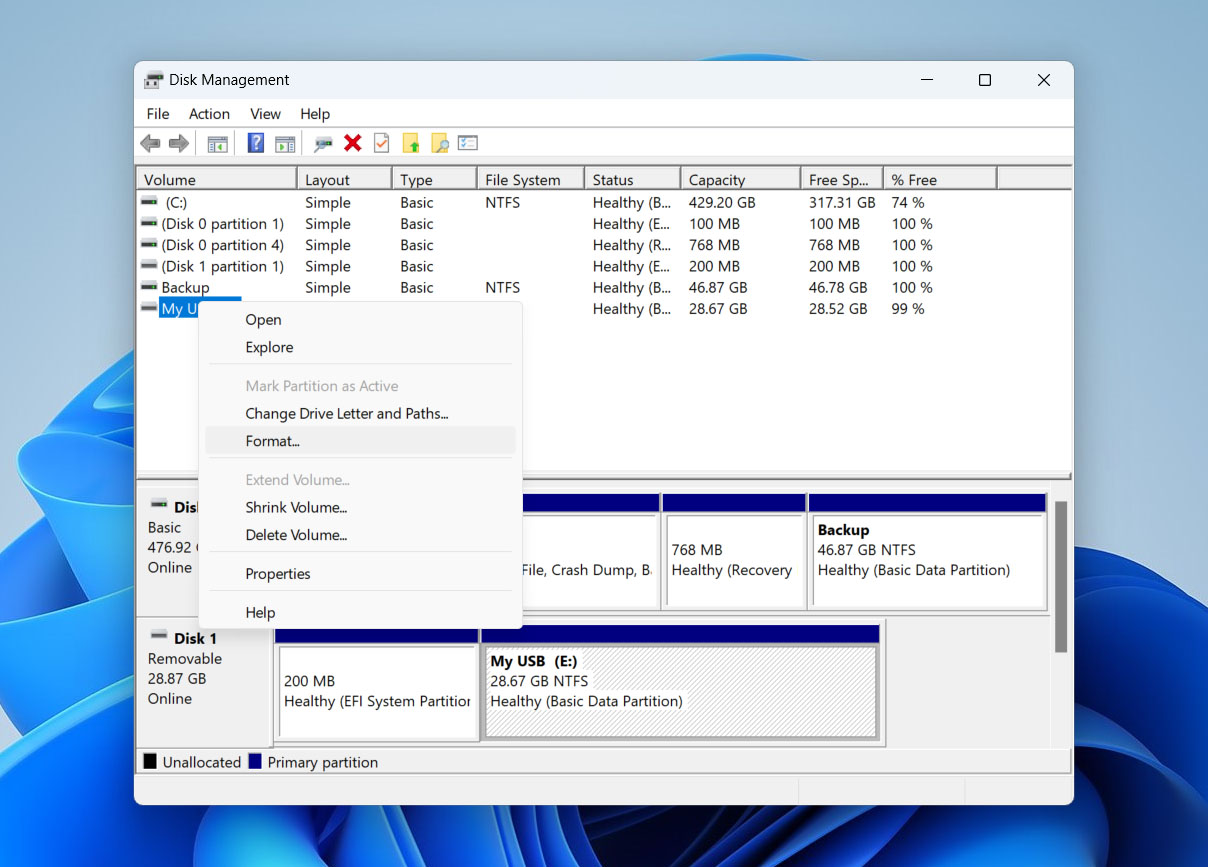
- In the Disk Management window, find your USB drive. It’ll show up as Removable or with its drive letter (e.g., E:). Right-click the USB partition you want to format and choose Format.
- Select a File System (NTFS, FAT32, or exFAT).
- (Optional) Enter a Volume Label – this will be the name that shows up in File Explorer.

- Leave Quick Format checked for a fast wipe; uncheck it for a full, more thorough format. Click OK. You’ll see a warning that all data will be erased – click OK again to proceed.
- Wait while Disk Management formats the drive and updates its status. Once it finishes, your USB drive is ready to use. Close Disk Management and safely eject the drive.


Option 3: Use Command Prompt to Format Your USB Drive
Finally, you can format your flash drive using Command Prompt. It’s a text-based tool, so you’ll be typing commands by hand, which makes it less user-friendly than File Explorer or Disk Management. But if those methods fail, say your USB stick has a corrupted file system or won’t format through the usual GUI, Command Prompt lets you force the format at a lower system level.
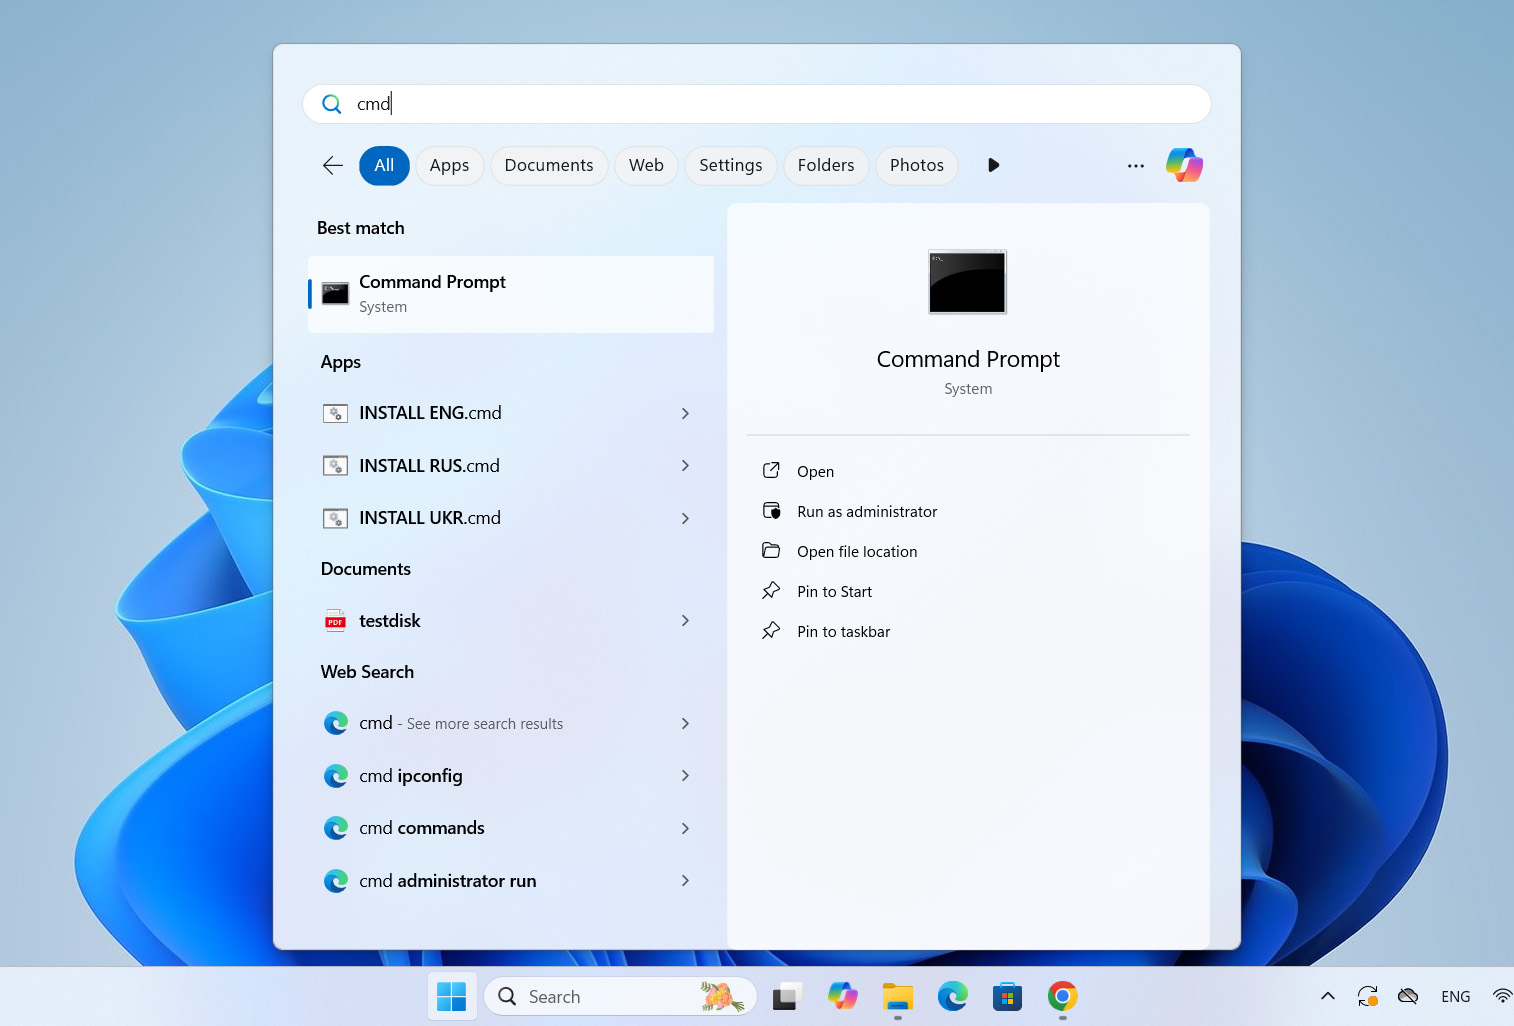
- Press the Windows key, type cmd. When Command Prompt appears, right-click it and choose Run as administrator so you have the right permissions.
- In the Command Prompt window, type
diskpartand press Enter to launch the DiskPart utility. - Type
list diskand press Enter. You’ll see every drive connected to your PC. - Find your USB drive in the list (check the size) and note its disk number—e.g., Disk 1. Type
select disk X(replace X with that number) and press Enter to target the USB stick.
- Wipe out any old partitions by typing
clean, then press Enter. (This erases everything on the drive.) - Create a new partition: type
create partition primaryand press Enter. - Type
select partition 1and press Enter to highlight the new partition. - For NTFS, type
format fs=ntfs, for FAT32, typeformat fs=fat32. Press Enter after your choice. If you want to perform a quick format, addquickto the command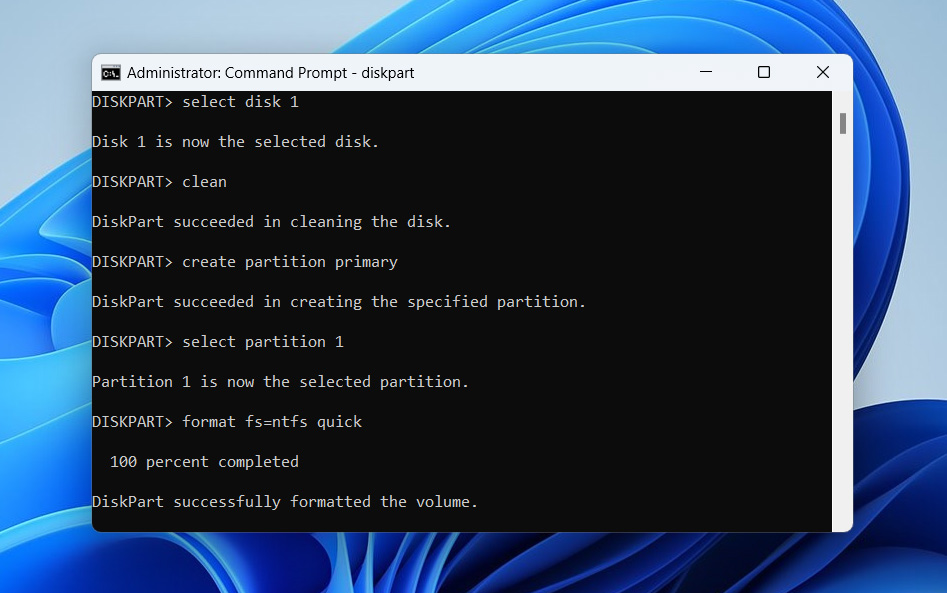
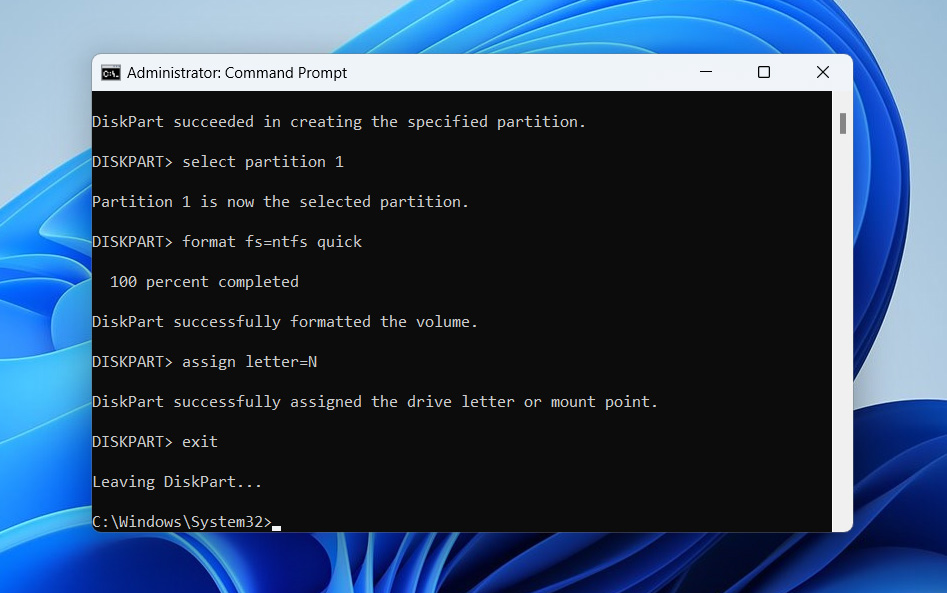
- Wait while DiskPart formats the drive. When it’s done, assign a drive letter by typing
assign letter=X(swap X for an unused letter) and press Enter. - Type exit to leave DiskPart, then close Command Prompt. Your USB drive is now formatted and ready to use.


To know more switches that you can use when formatting using CMD, run this command: help format.
Conclusion
Whenever you need to format a flash drive, think about your data first. If the drive still opens, just copy anything important to another disk. If it’s not accessible, use recovery software like Disk Drill to pull your files off before you do anything else. Once everything’s safe, pick any of the formatting methods we covered. We should note that there are third-party tools that let you format a flash drive, too, but we didn’t cover them here since most people stick with Windows’ built-in options. They’re simple, reliable, and do the job for most users.
If you formatted the flash drive first and only afterward Googled how to do it without losing data, all is not lost – yet. You can try data recovery software, but it’ll only help if you ran a quick format. After a full format, the data’s gone for good unless you have a backup. So, before you hit “Format,” make sure you understand what you’re about to lose.