
Reading Time: 7 minutesHas your SSD failed and caused you to lose data? Compared to HDDs, SSDs are faster, cheaper to produce, and more durable since they don’t have moving parts. But unfortunately, that doesn’t protect them from data loss. There are a few ways you can try to recover data from both internal and external SSDs, and we’ll walk you through them in this article.
What is the Specialty of the SSD?
SSDs are known for being tough and handling data fast, but they’re not fail-proof. Most last anywhere from 5 to 10 years, although heavy use or lack of proper care can reduce that lifespan. When an SSD starts to fail, you might notice more bad sectors popping up, which can slow down your computer, cause frequent errors, and even lead to data loss.
As for its specifics, the SSD architecture includes features like Active Garbage Collection and the TRIM command, which help boost performance and extend the drive’s life. However, here’s the downside: if the SSD fails, those same features can render data recovery impossible.
- Active Garbage Collection constantly shuffles your data around, relocating valid bits from worn-out blocks into fresh ones, so it can wipe away outdated or unwanted information. That keeps your SSD running smoothly and ready for new files, but it also scatters deleted data and makes it much harder to piece back together if you ever need to recover it.
- The TRIM command works hand‐in‐hand with garbage collection by marking which blocks are truly free after you delete a file. TRIM immediately clears those blocks, allowing the SSD to write new data there right away, which preserves performance. The downside? Once TRIM is enabled, the old data is erased – there’s no getting it back.
How to Recover Data from a Failed SSD
A failed SSD usually results in lost data, but if you act quickly, you can often recover most or even all of your files. You need to catch the window between the moment of data loss and when Active Garbage Collection and TRIM kick in and wipe the deleted files. To improve your chances, shut down your computer right away. This cuts power to the SSD, which stops background processes. If it’s an internal SSD, remove it from the device. If it’s external, unplug it. To avoid any automatic cleanup, connect the drive to a different computer as an external disk and never boot from it.
The goal is to prevent the OS or SSD controller from triggering cleanup operations that could permanently erase your data. Finished those steps? Great – now let’s move on to the actual data recovery.
Method 1: Use Data Recovery Software
When you delete files from your SSD, they don’t vanish right away – they just get hidden until TRIM and Active Garbage Collection wipe them out. That’s where data recovery tools come in: they can access those hidden bits and bring your files back. If you’re not sure which software to pick, check out our roundup of the best Windows recovery software (we cover both free and paid options). For this guide, we’re using our top pick, Disk Drill, because it boasts higher recovery rates than most competitors and works with almost every file type and storage device.
Even better, Disk Drill allows you to create a full byte-for-byte copy of your SSD and work with it. Your original drive stays untouched, avoids extra wear, and gives you a higher chance of a successful, uncorrupted recovery. Just check you have sufficient free space on your Windows computer (or connect an external drive) to save this copy. And before you start, double-check in Disk Management that your SSD shows up at its full capacity – that’s what lets Disk Drill scan it properly. Here’s how to backup your drive and perform SSD failure recovery using Disk Drill:
Step 1: Back Up Your SSD
- Download the Disk Drill installer from the official Cleverfiles site. Don’t install the recovery software on the same SSD where you lost the data. Doing that could overwrite the very files you’re trying to get back.
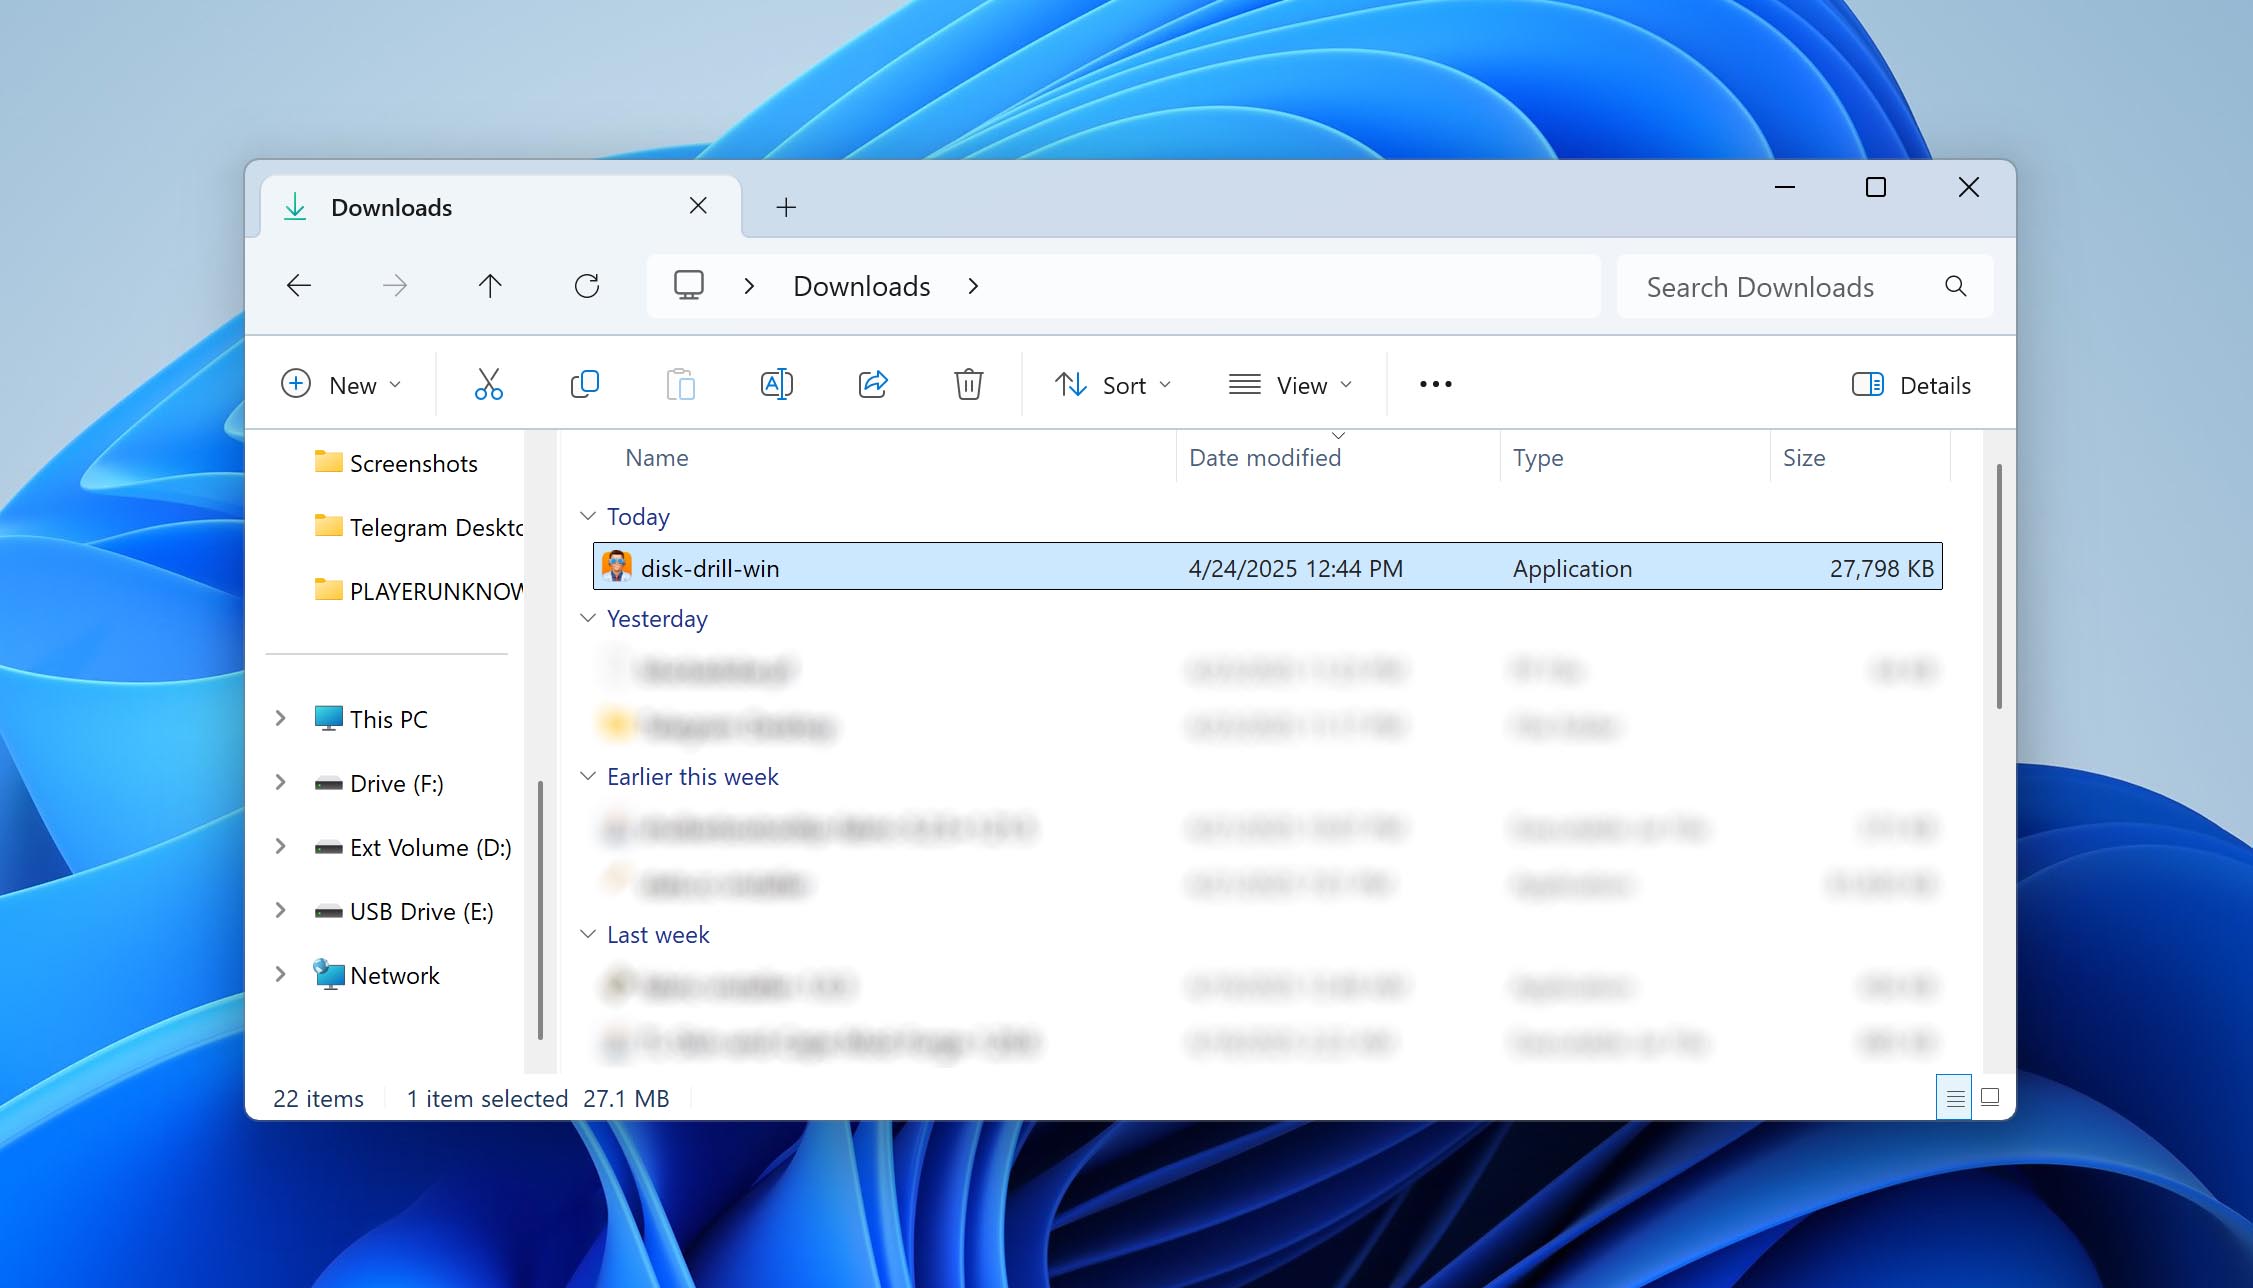
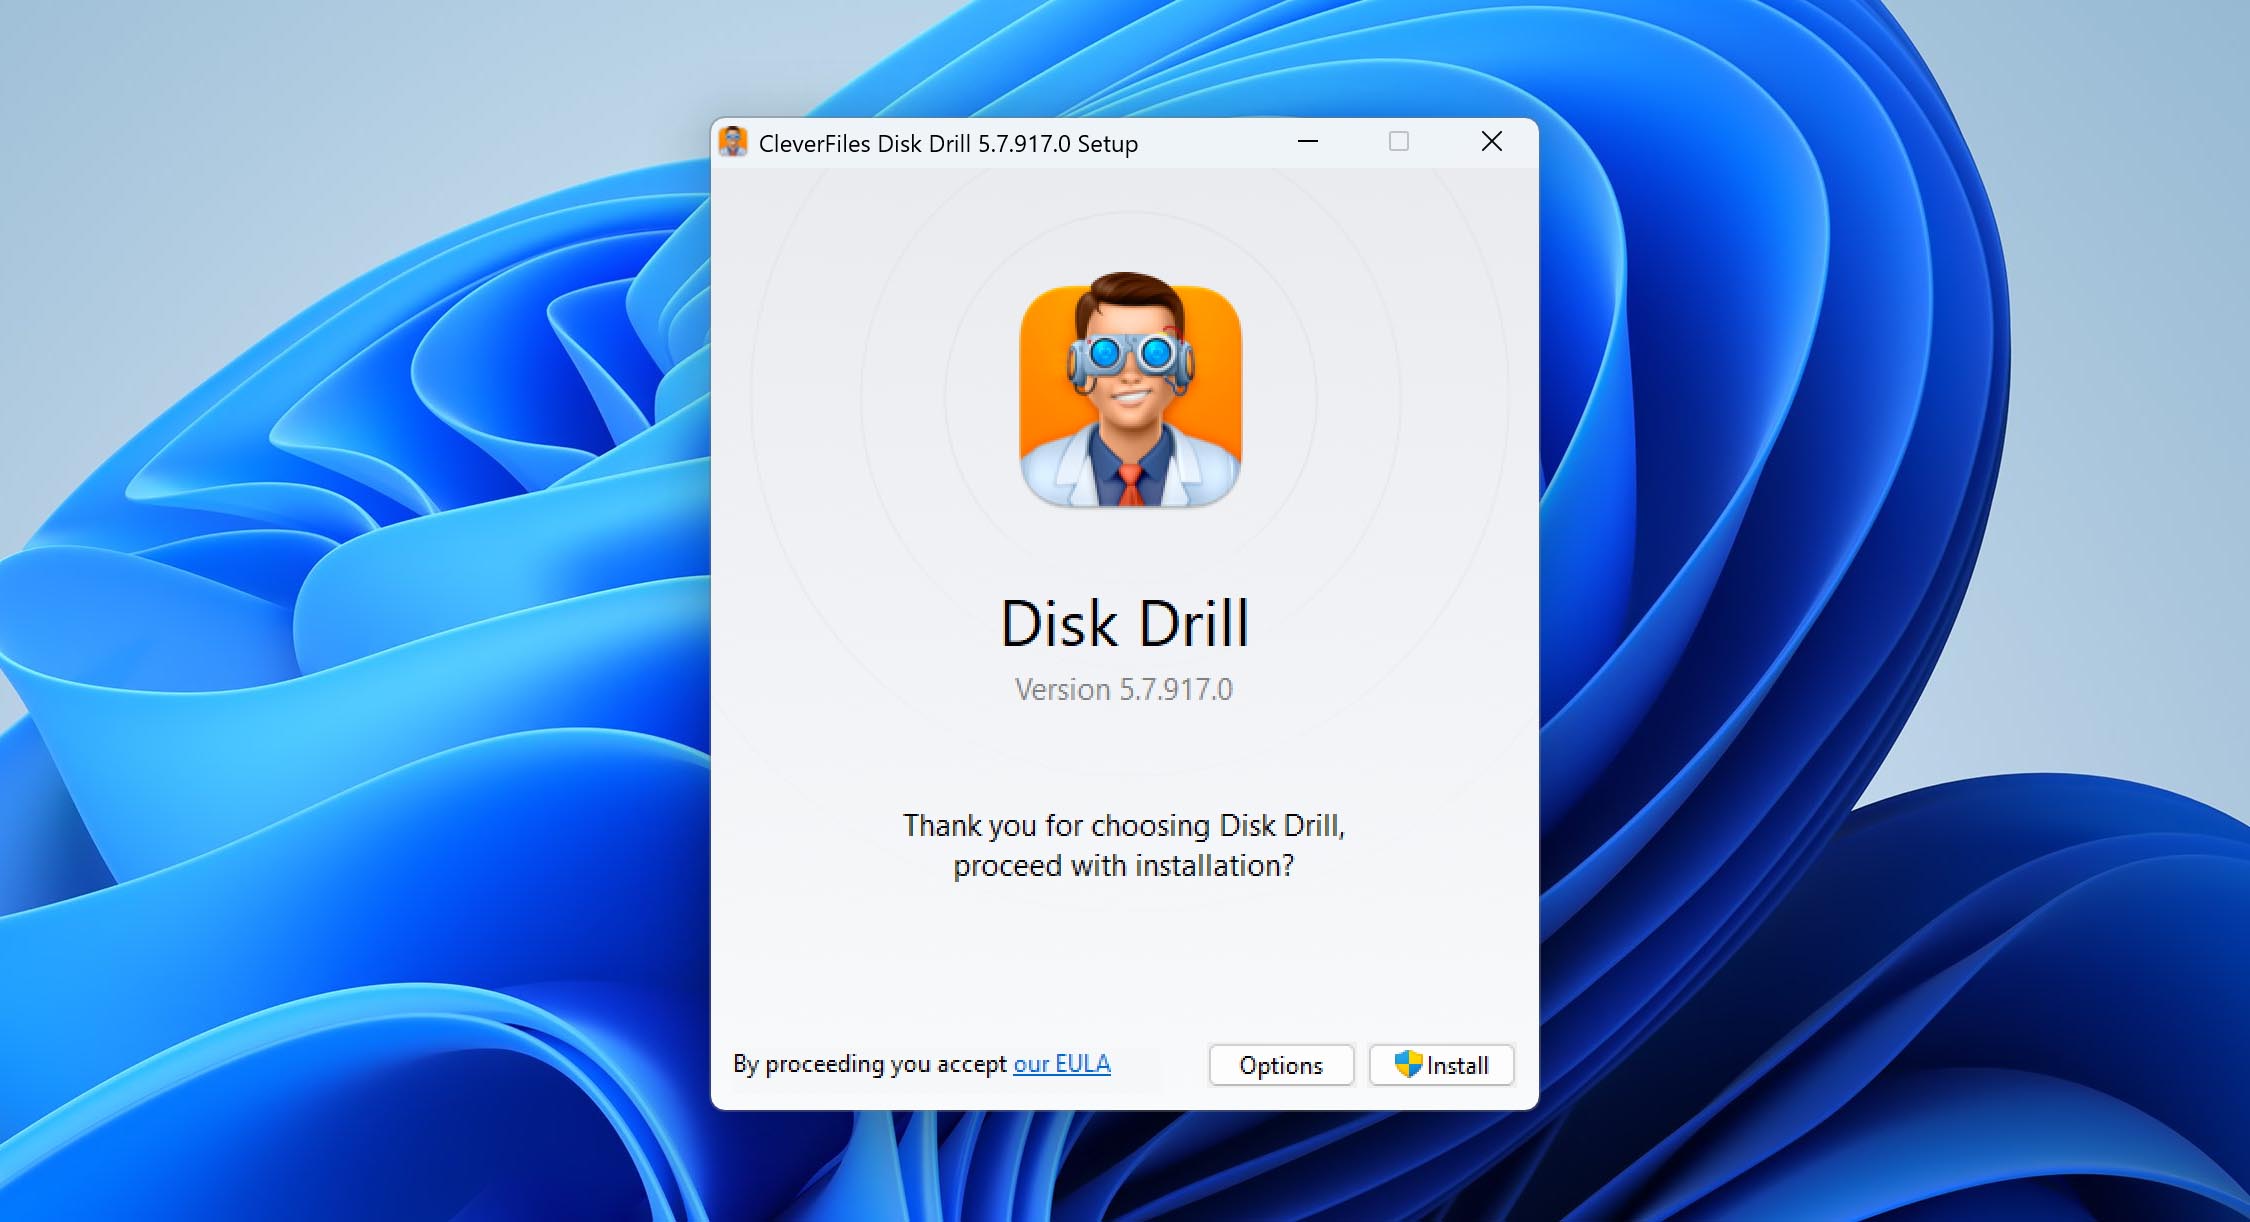
- Run the installer and follow the on-screen instructions to set it up.
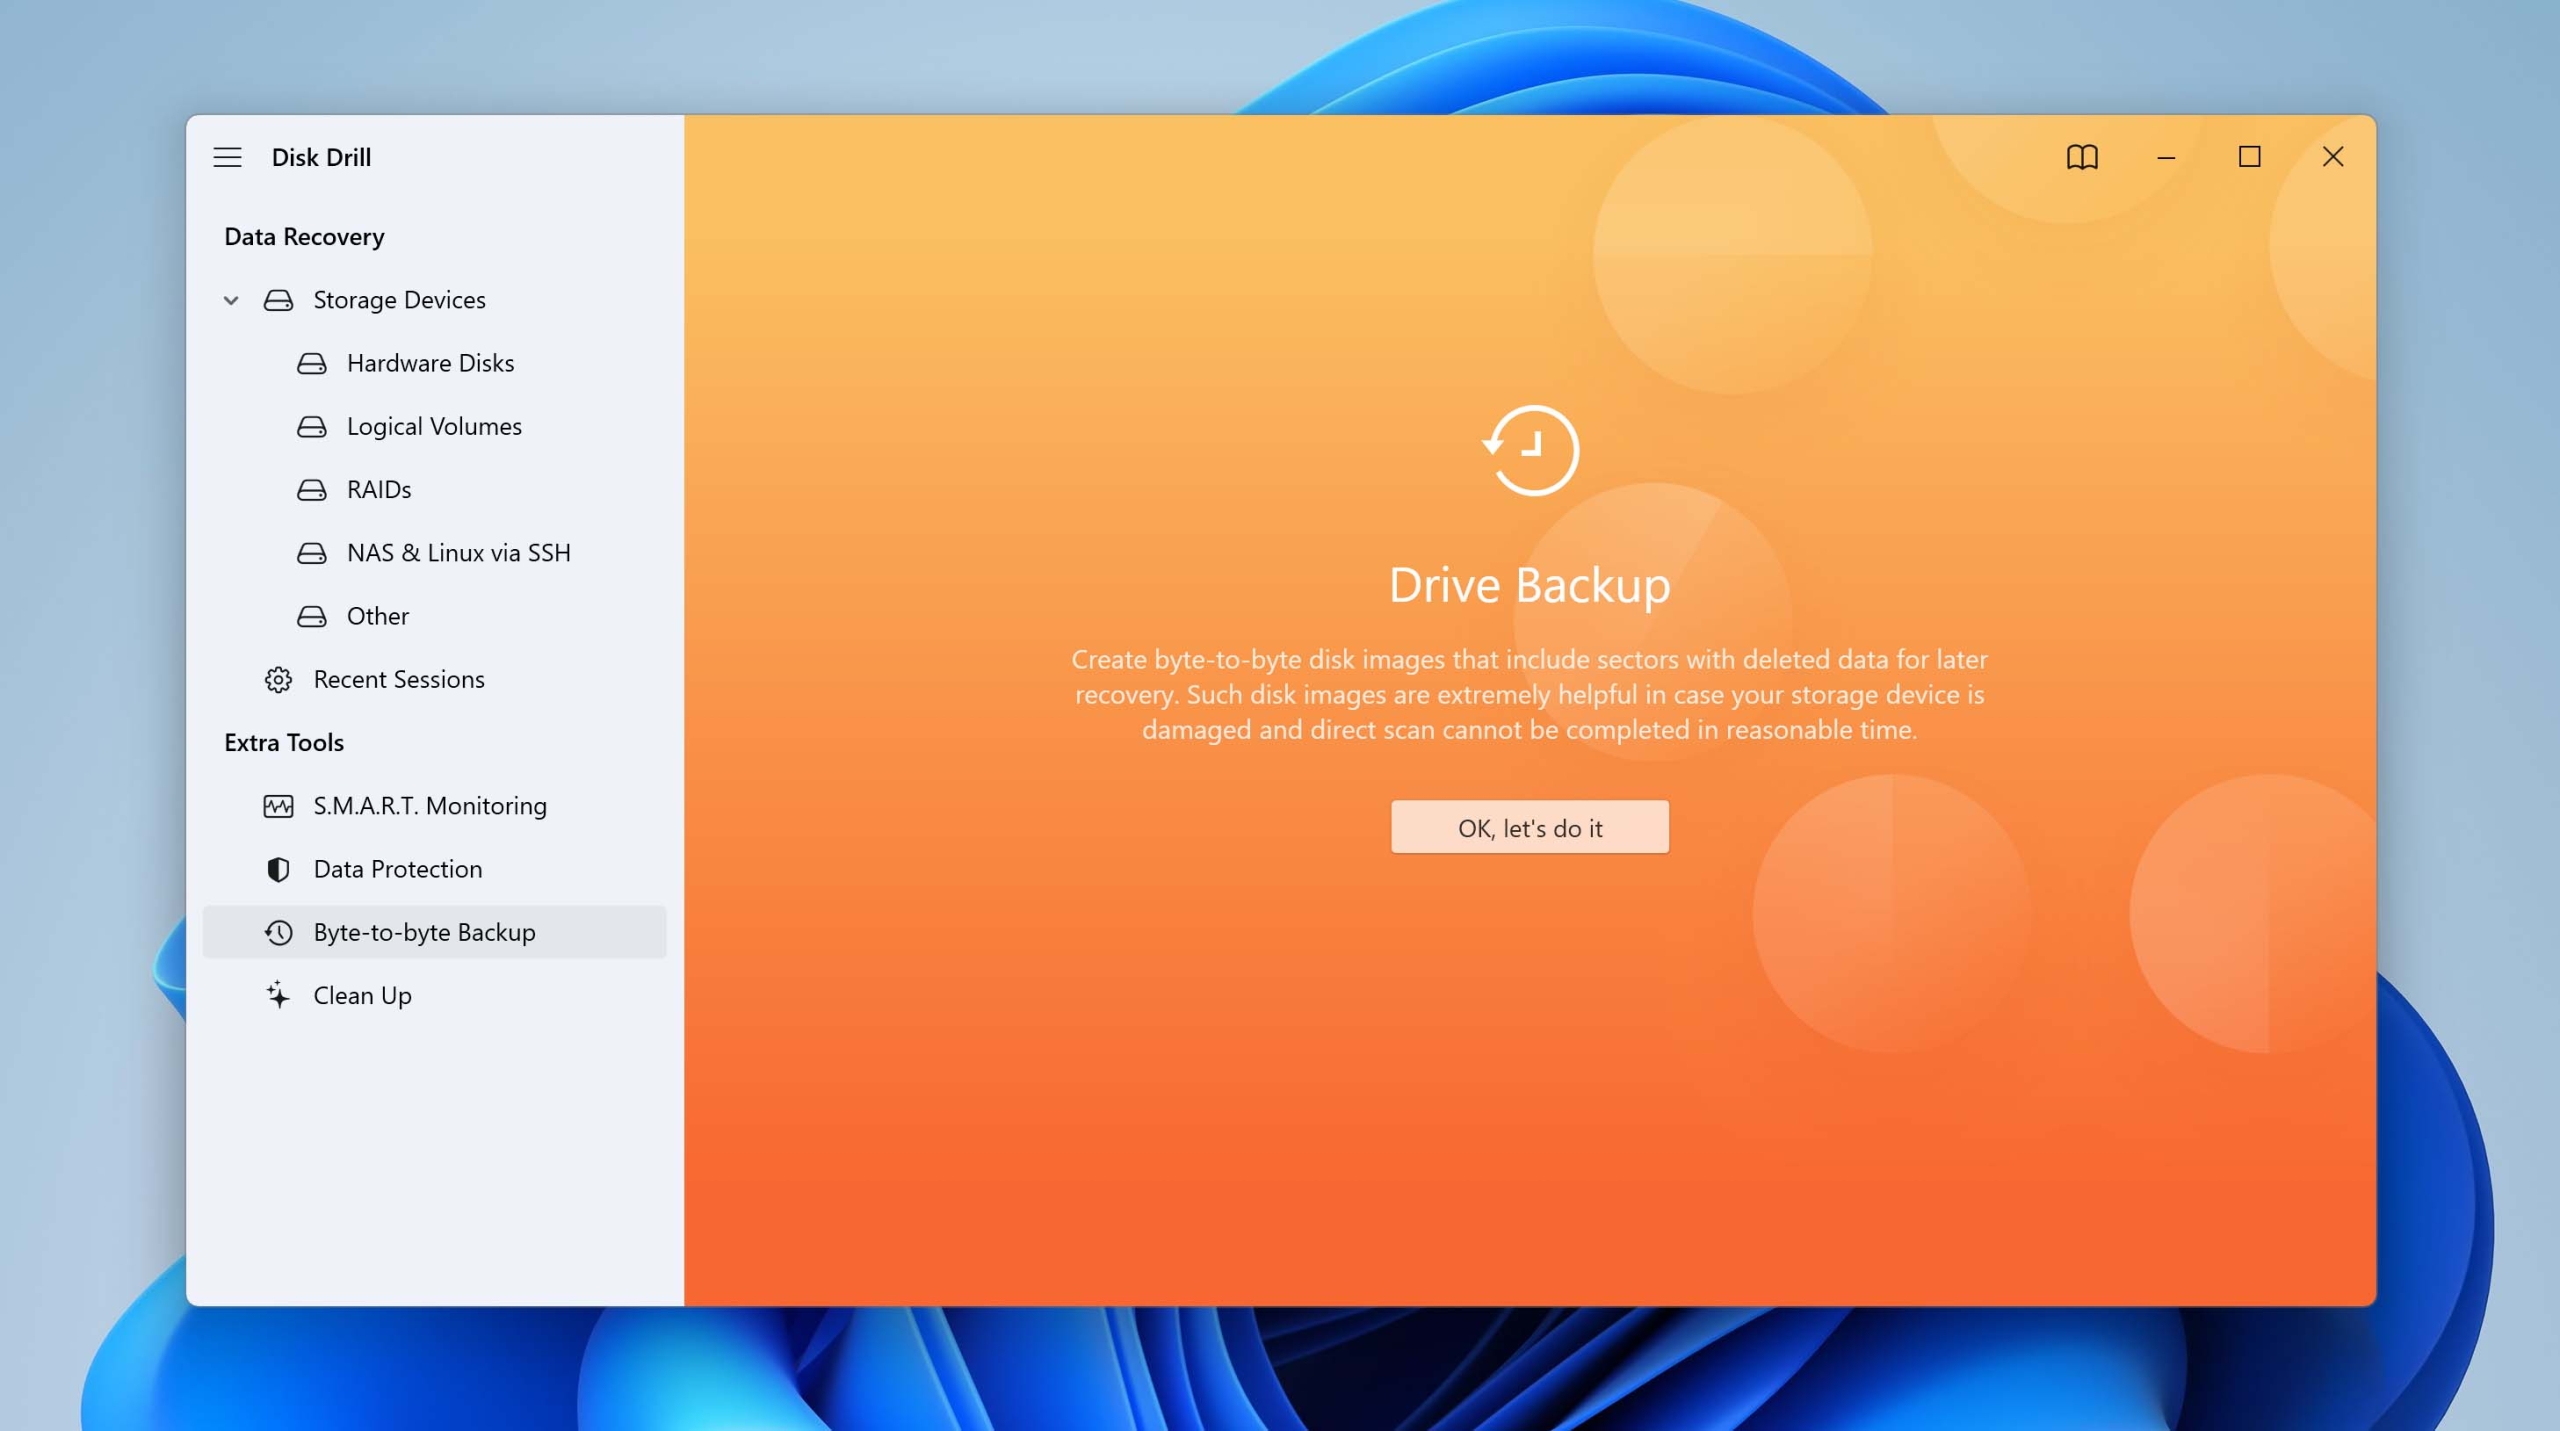
- Once it’s installed, open Disk Drill and click on Byte-to-byte backup in the left-hand menu.
- Locate your SSD in the list and click the Byte-to-byte Backup button.
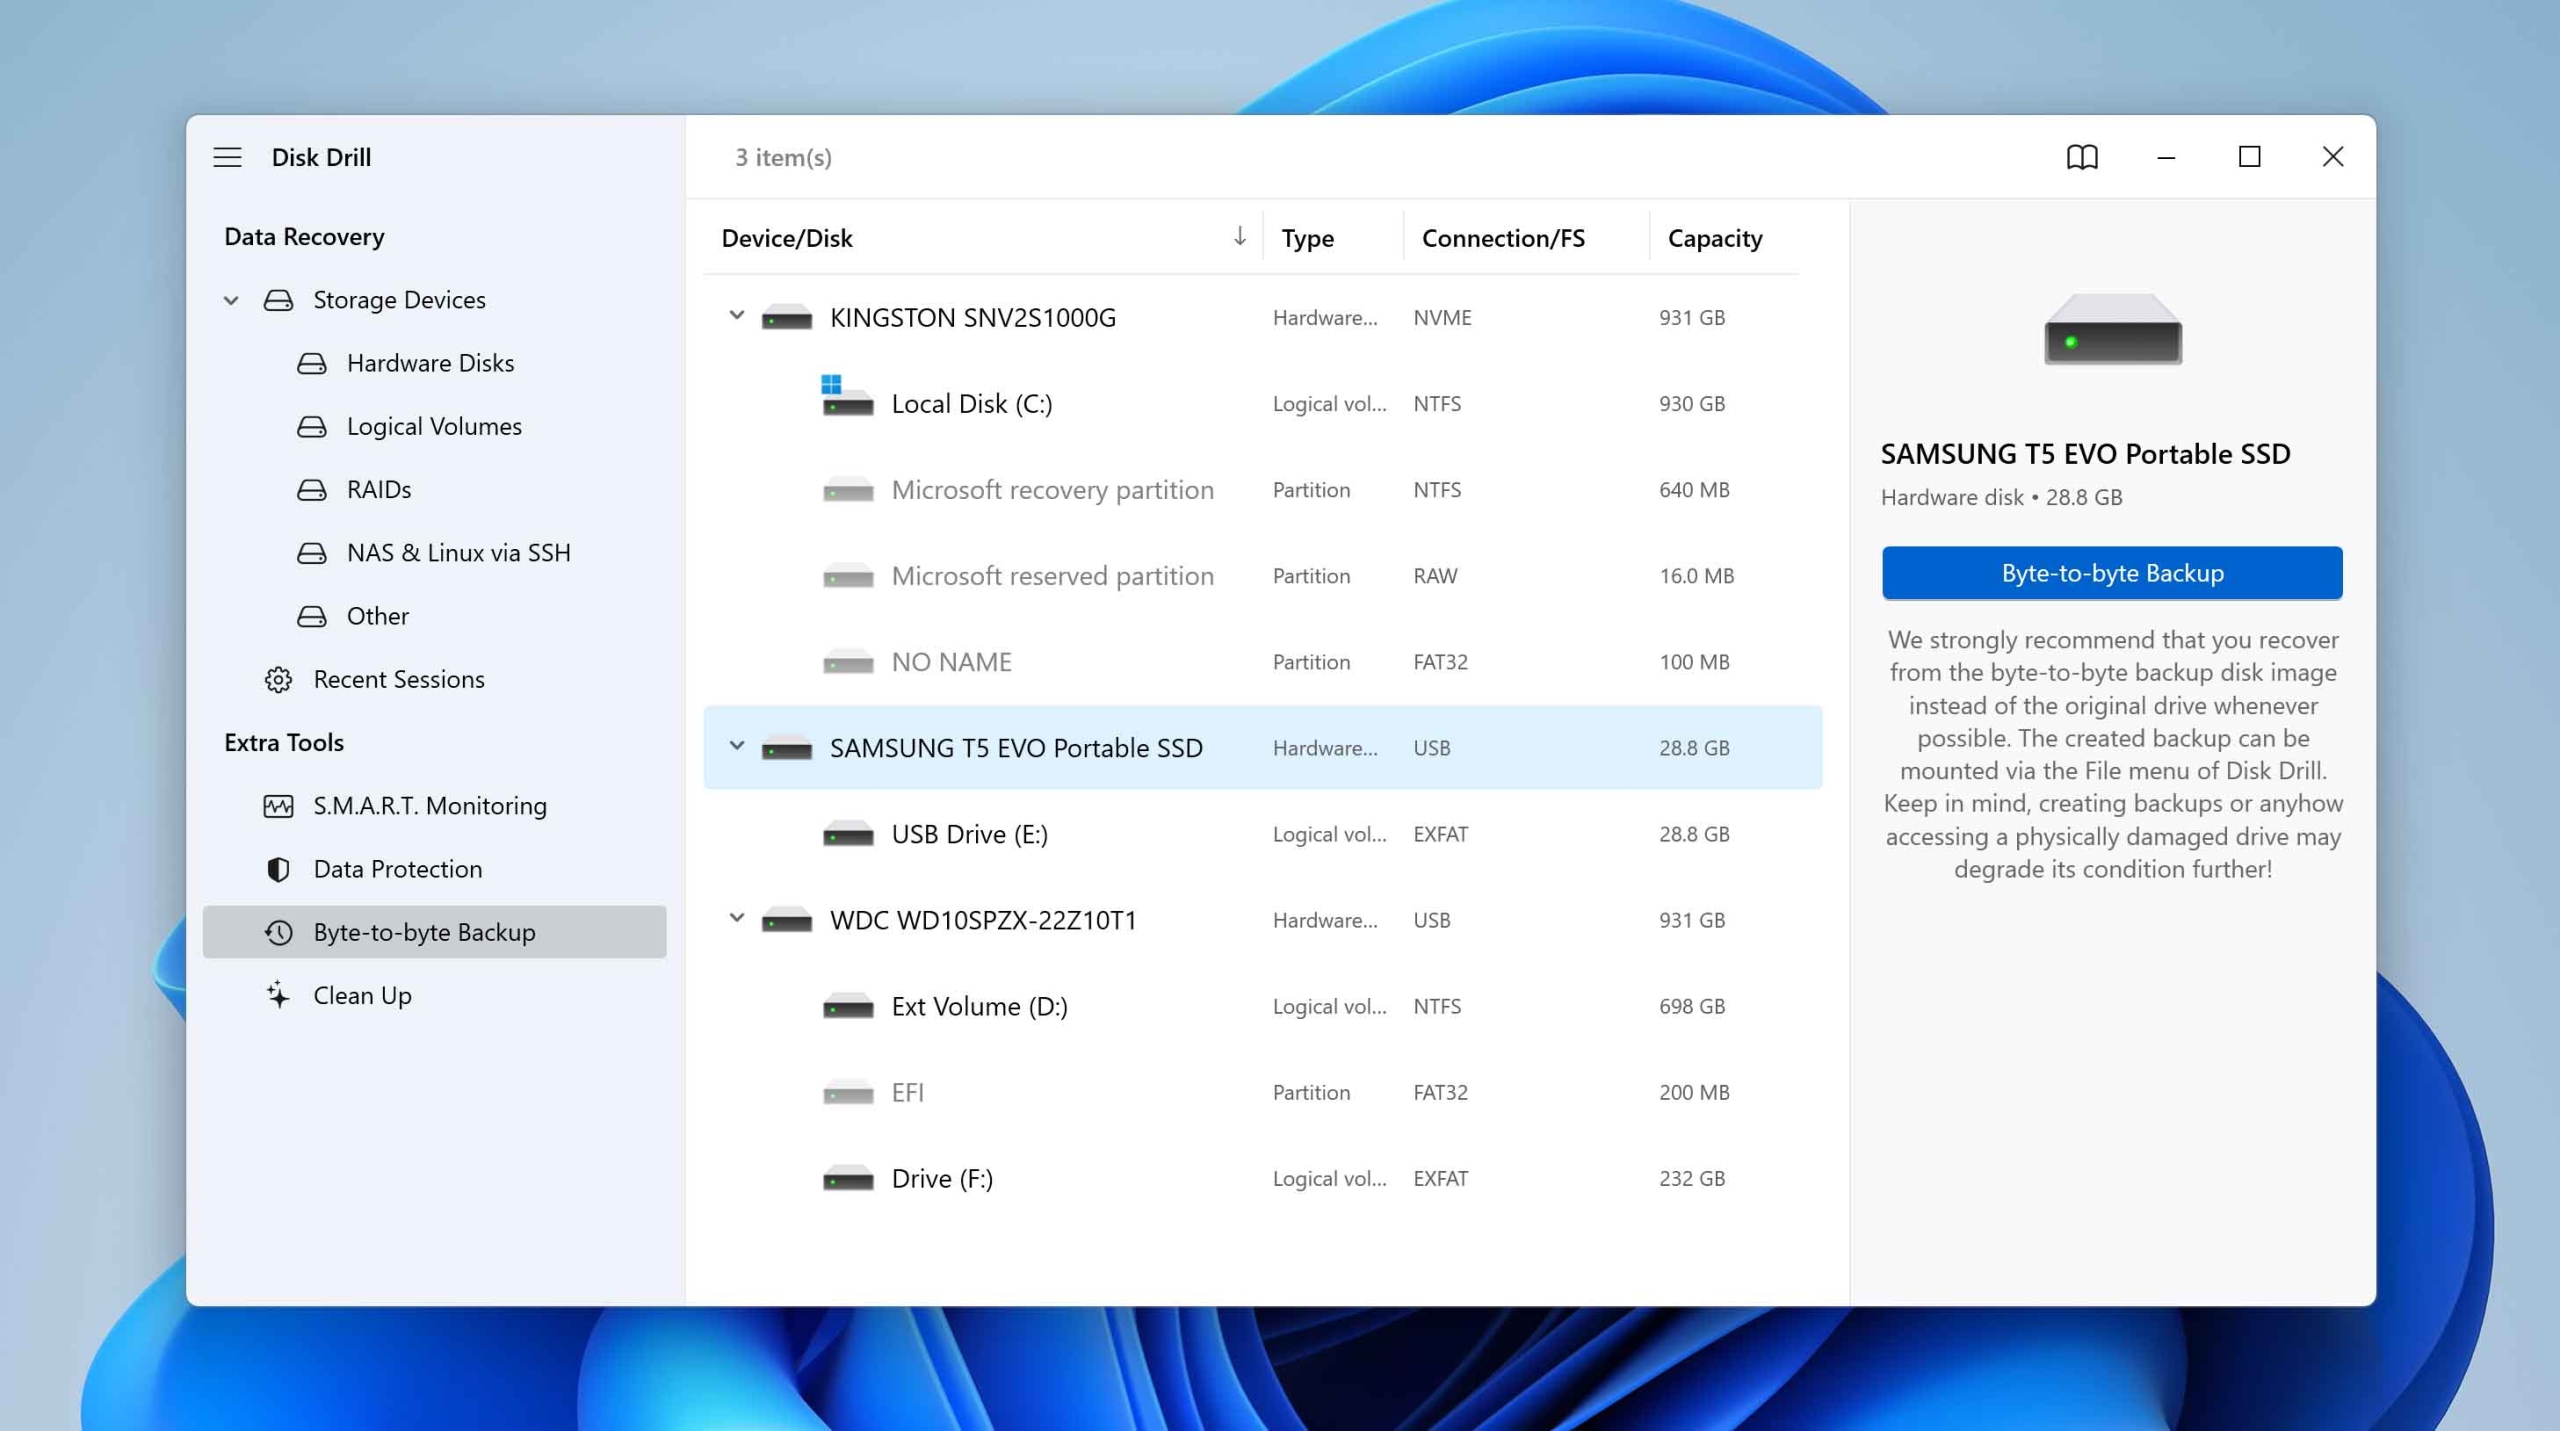
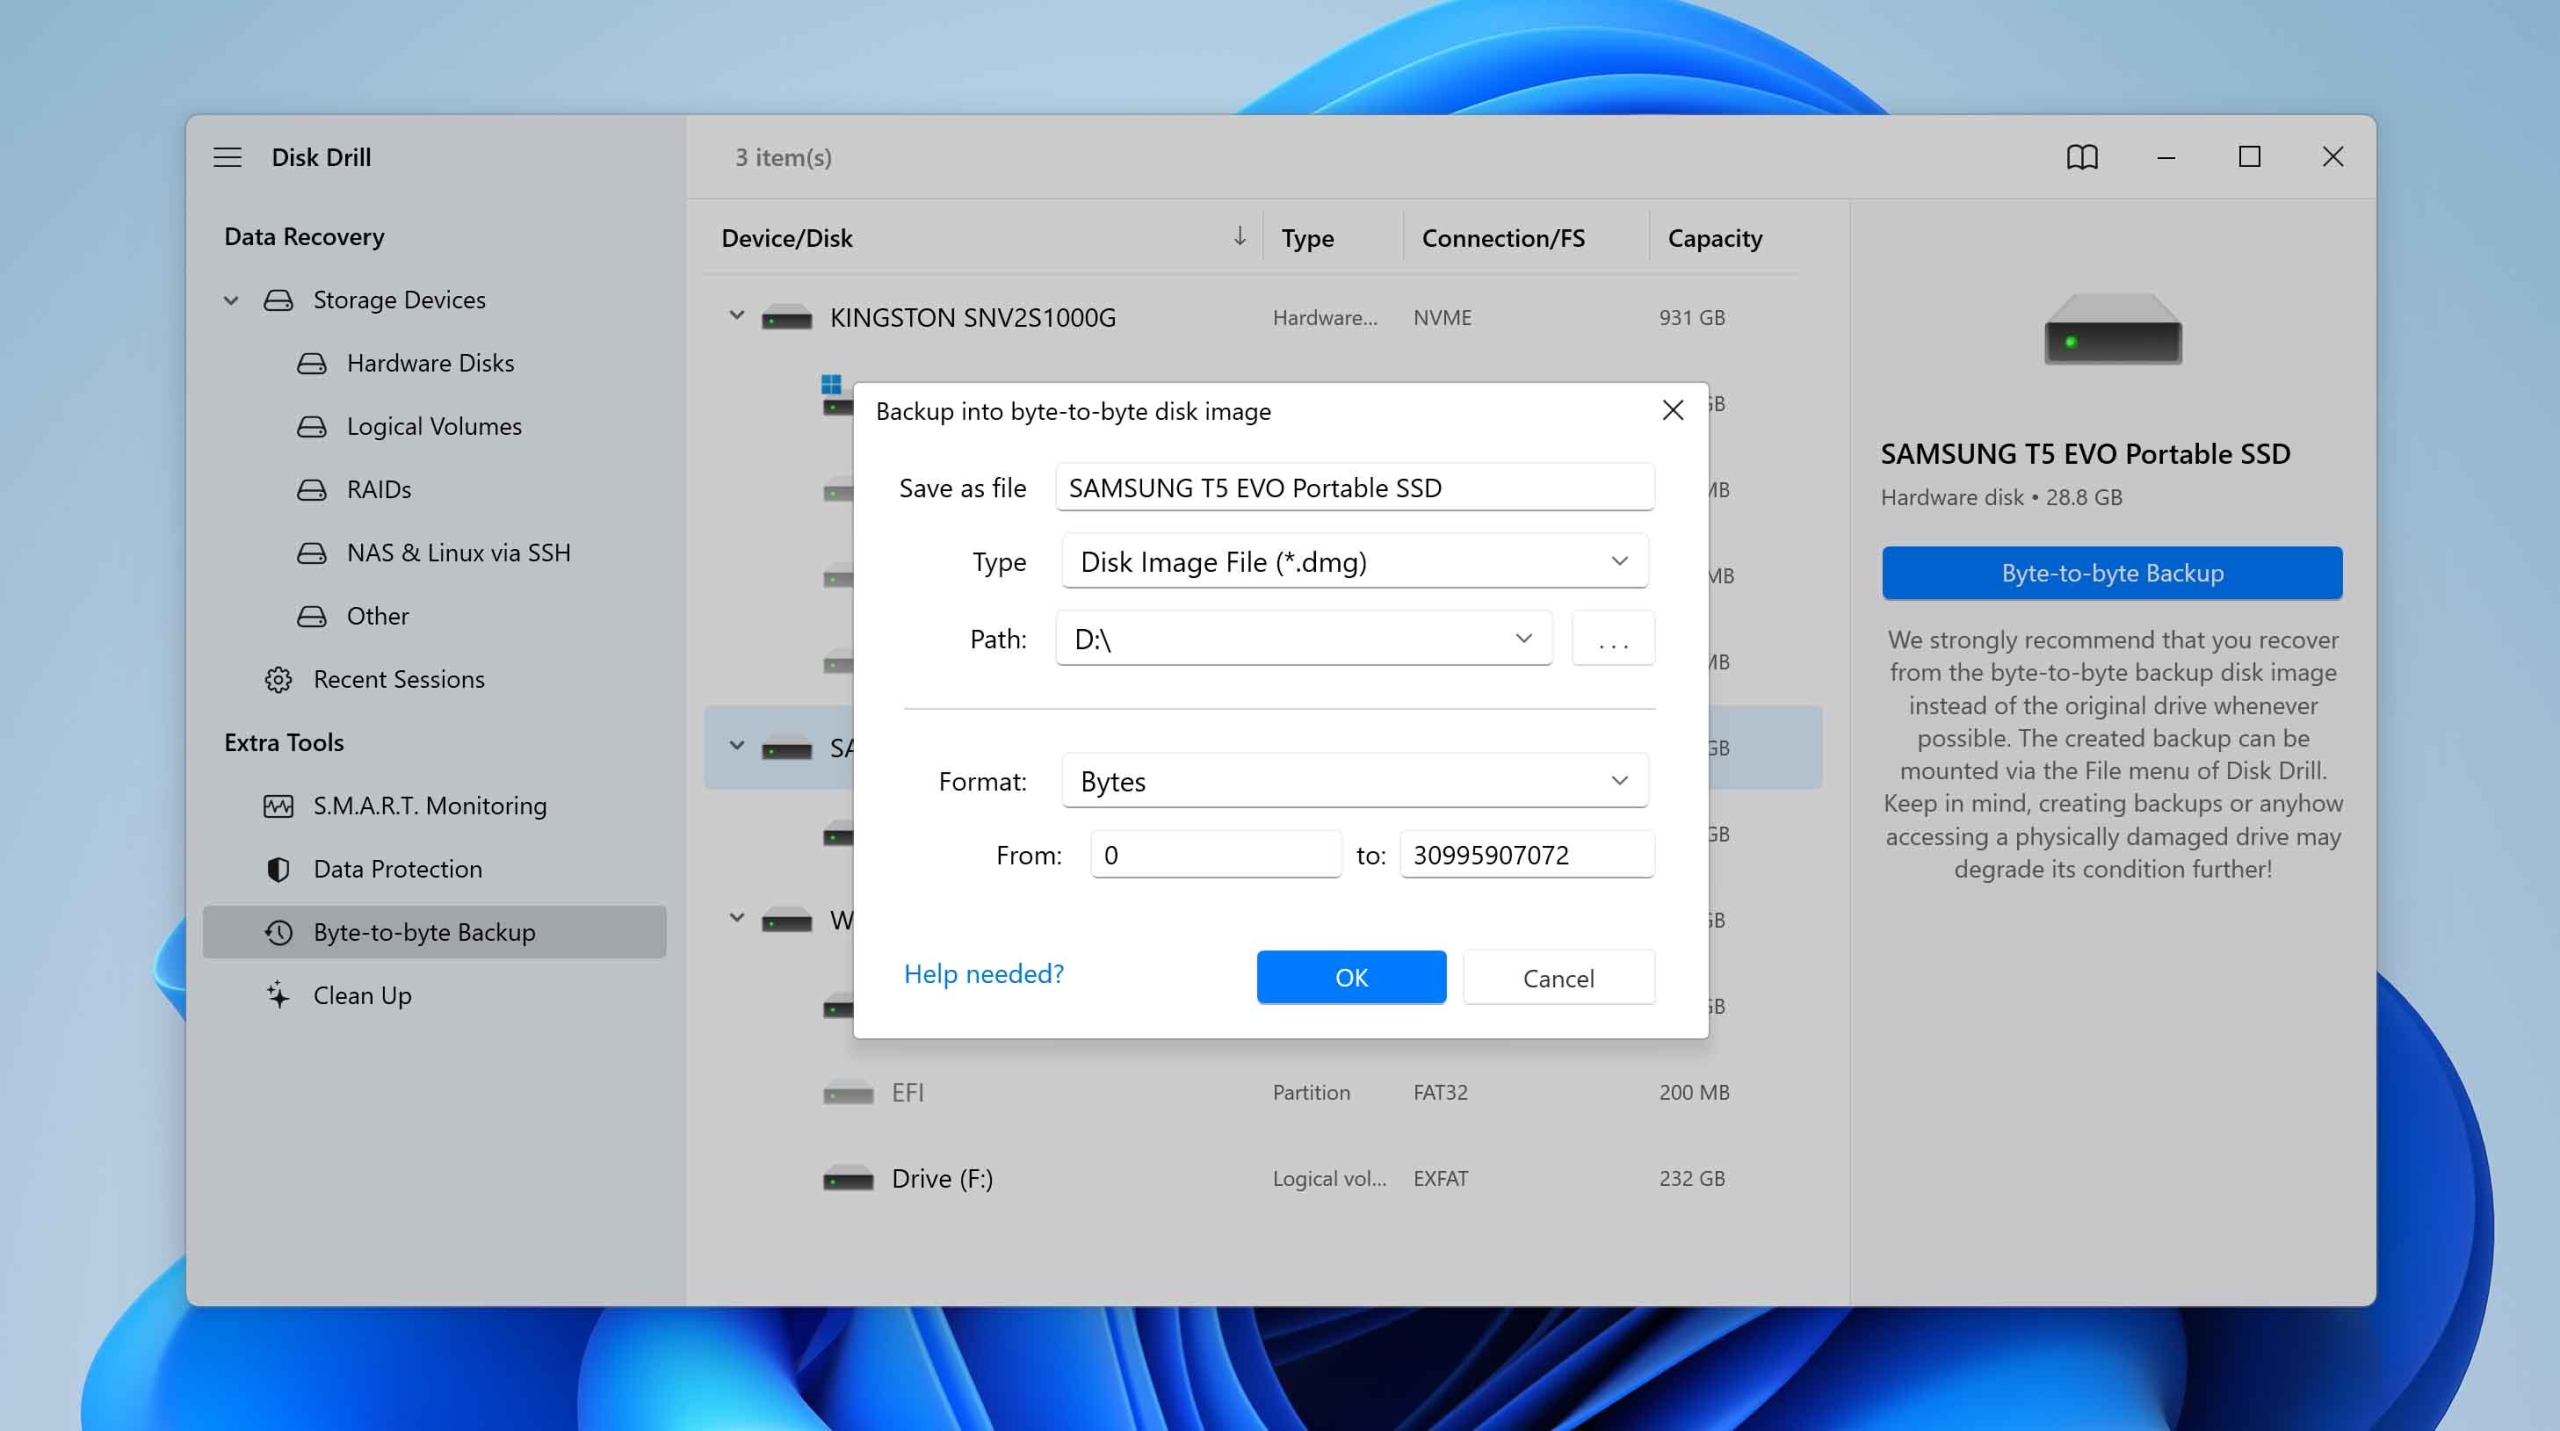
- A pop-up window will appear – select the backup settings you want, then click OK to initiate the process. Also, when you’re choosing where to save your backup, don’t use the same drive you’re recovering from.
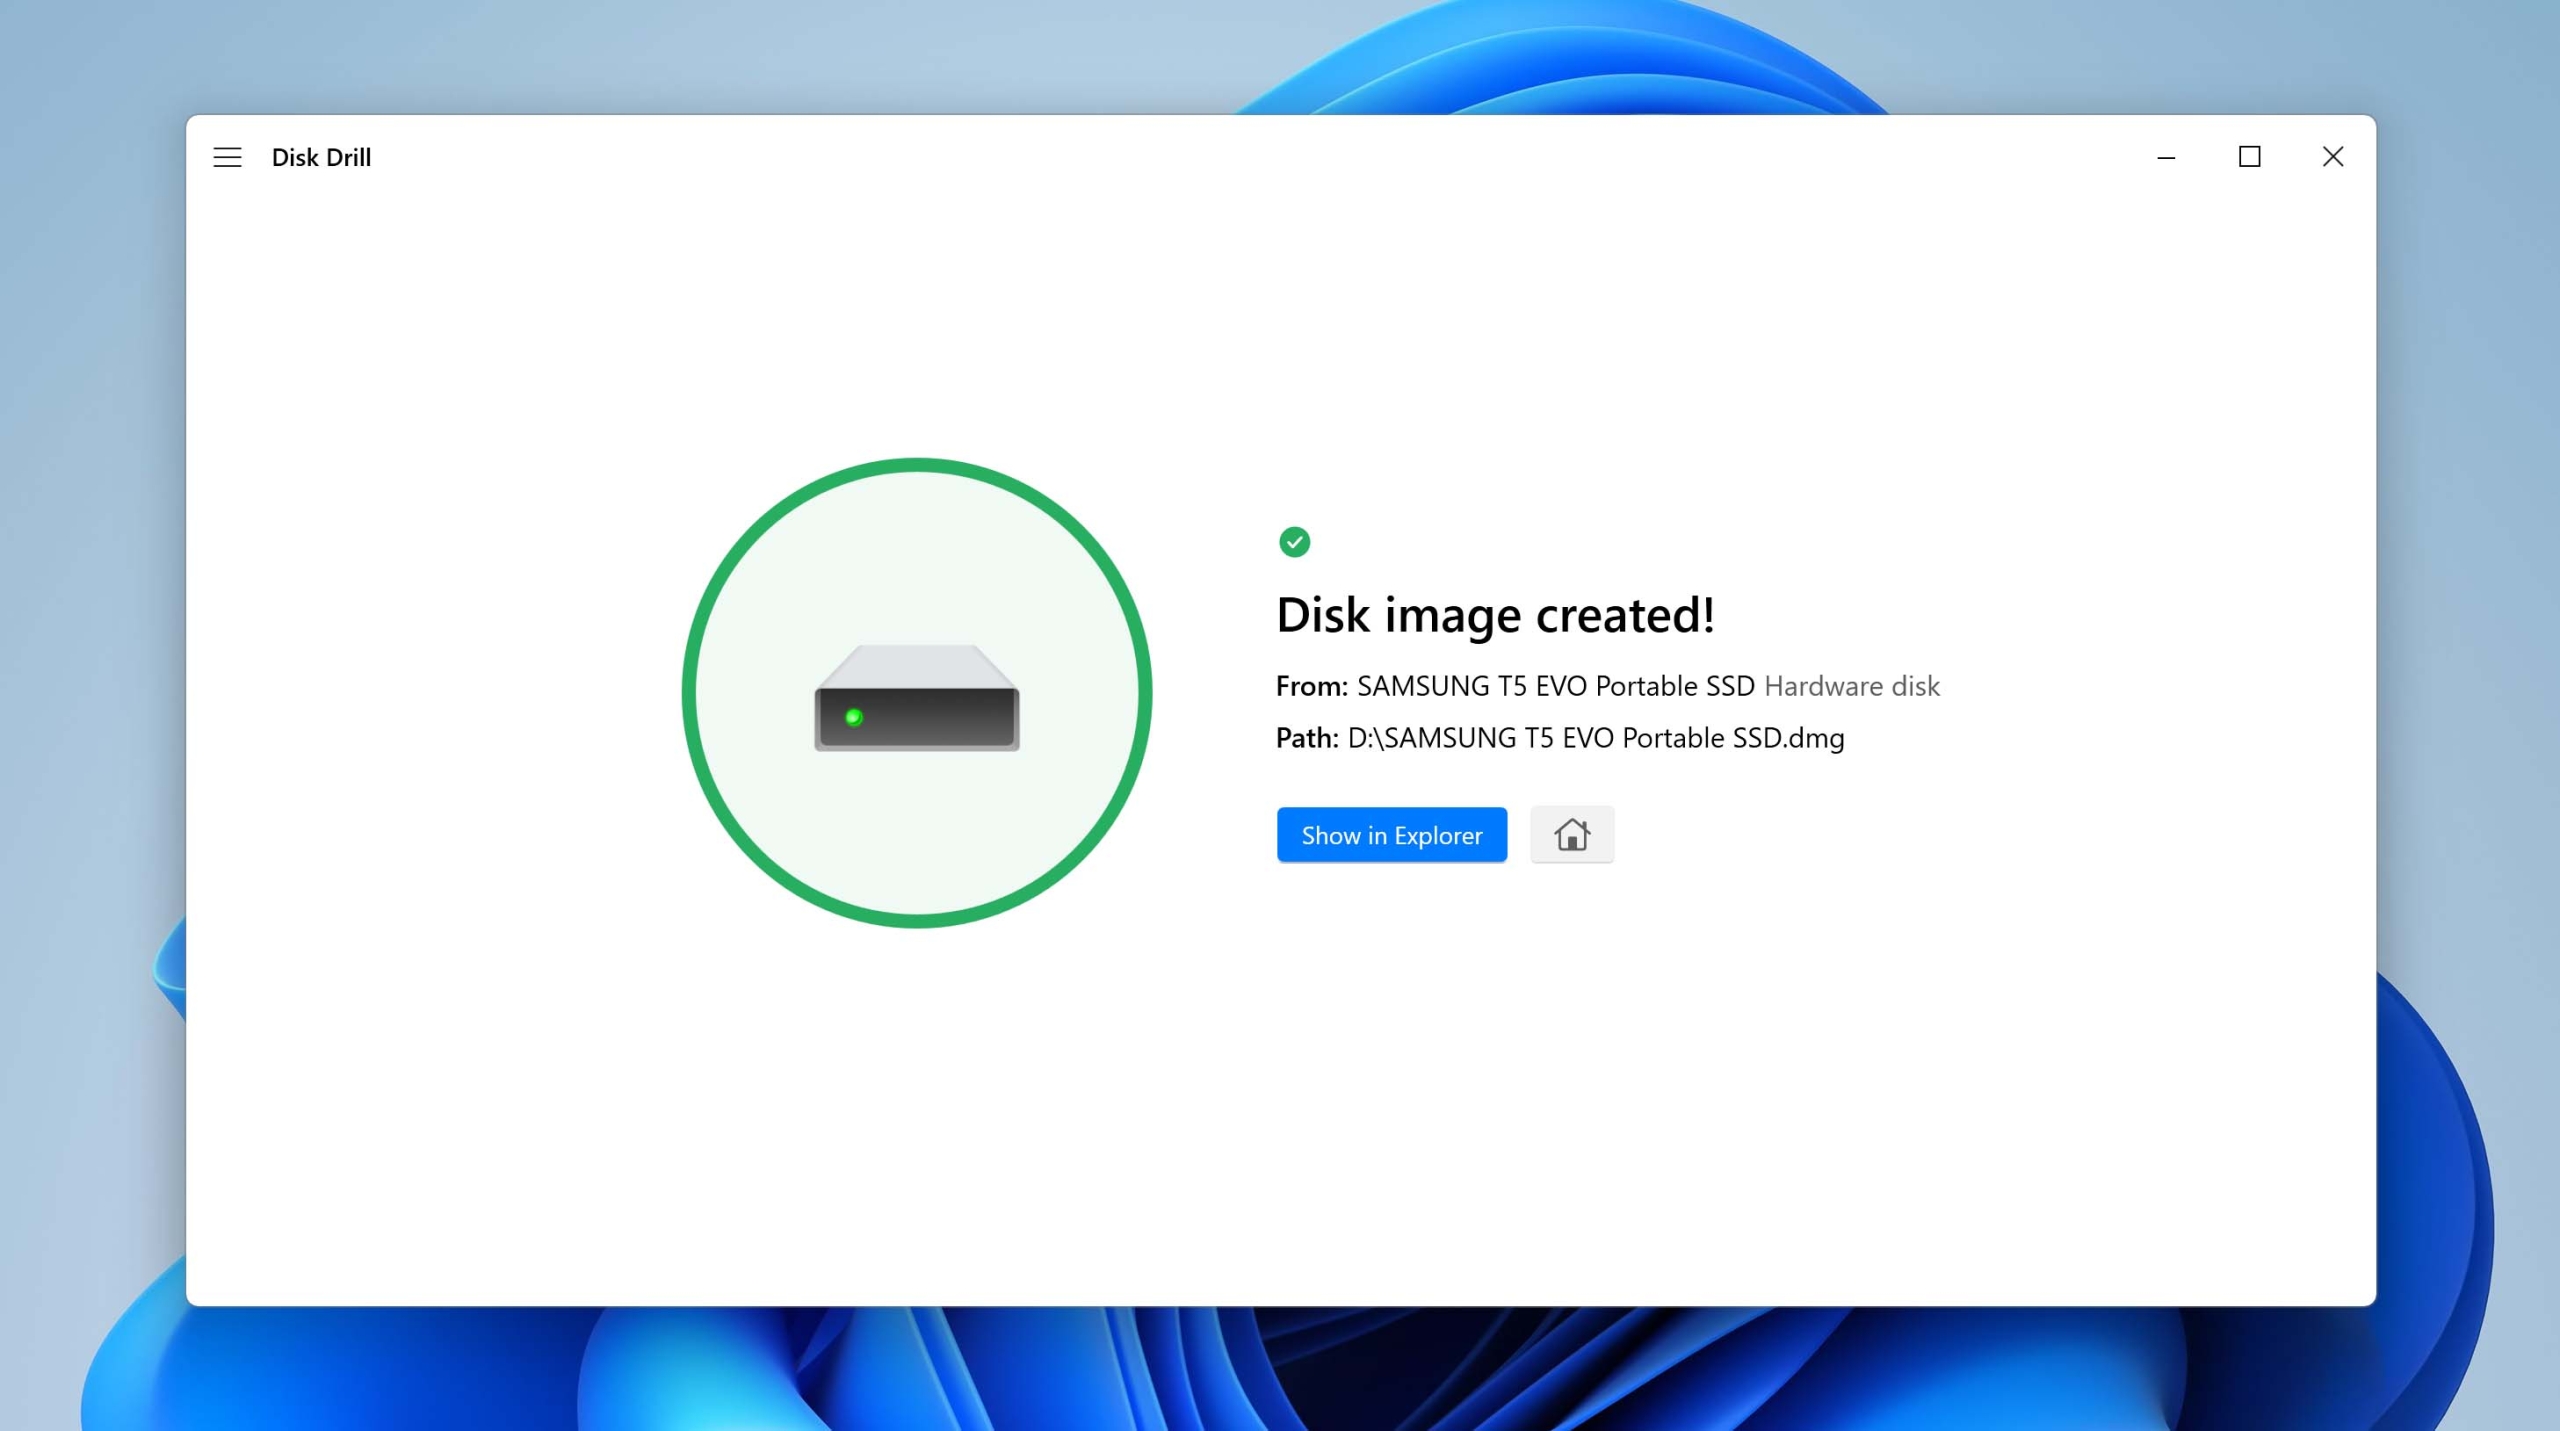
- Disk Drill will start backing up your drive. The time it takes depends on your SSD’s size. When it’s done, you’ll see a confirmation message. Click the house icon, and you’ll be taken back to the main screen.


Step 2: Recover Lost Files From Your SSD Backup
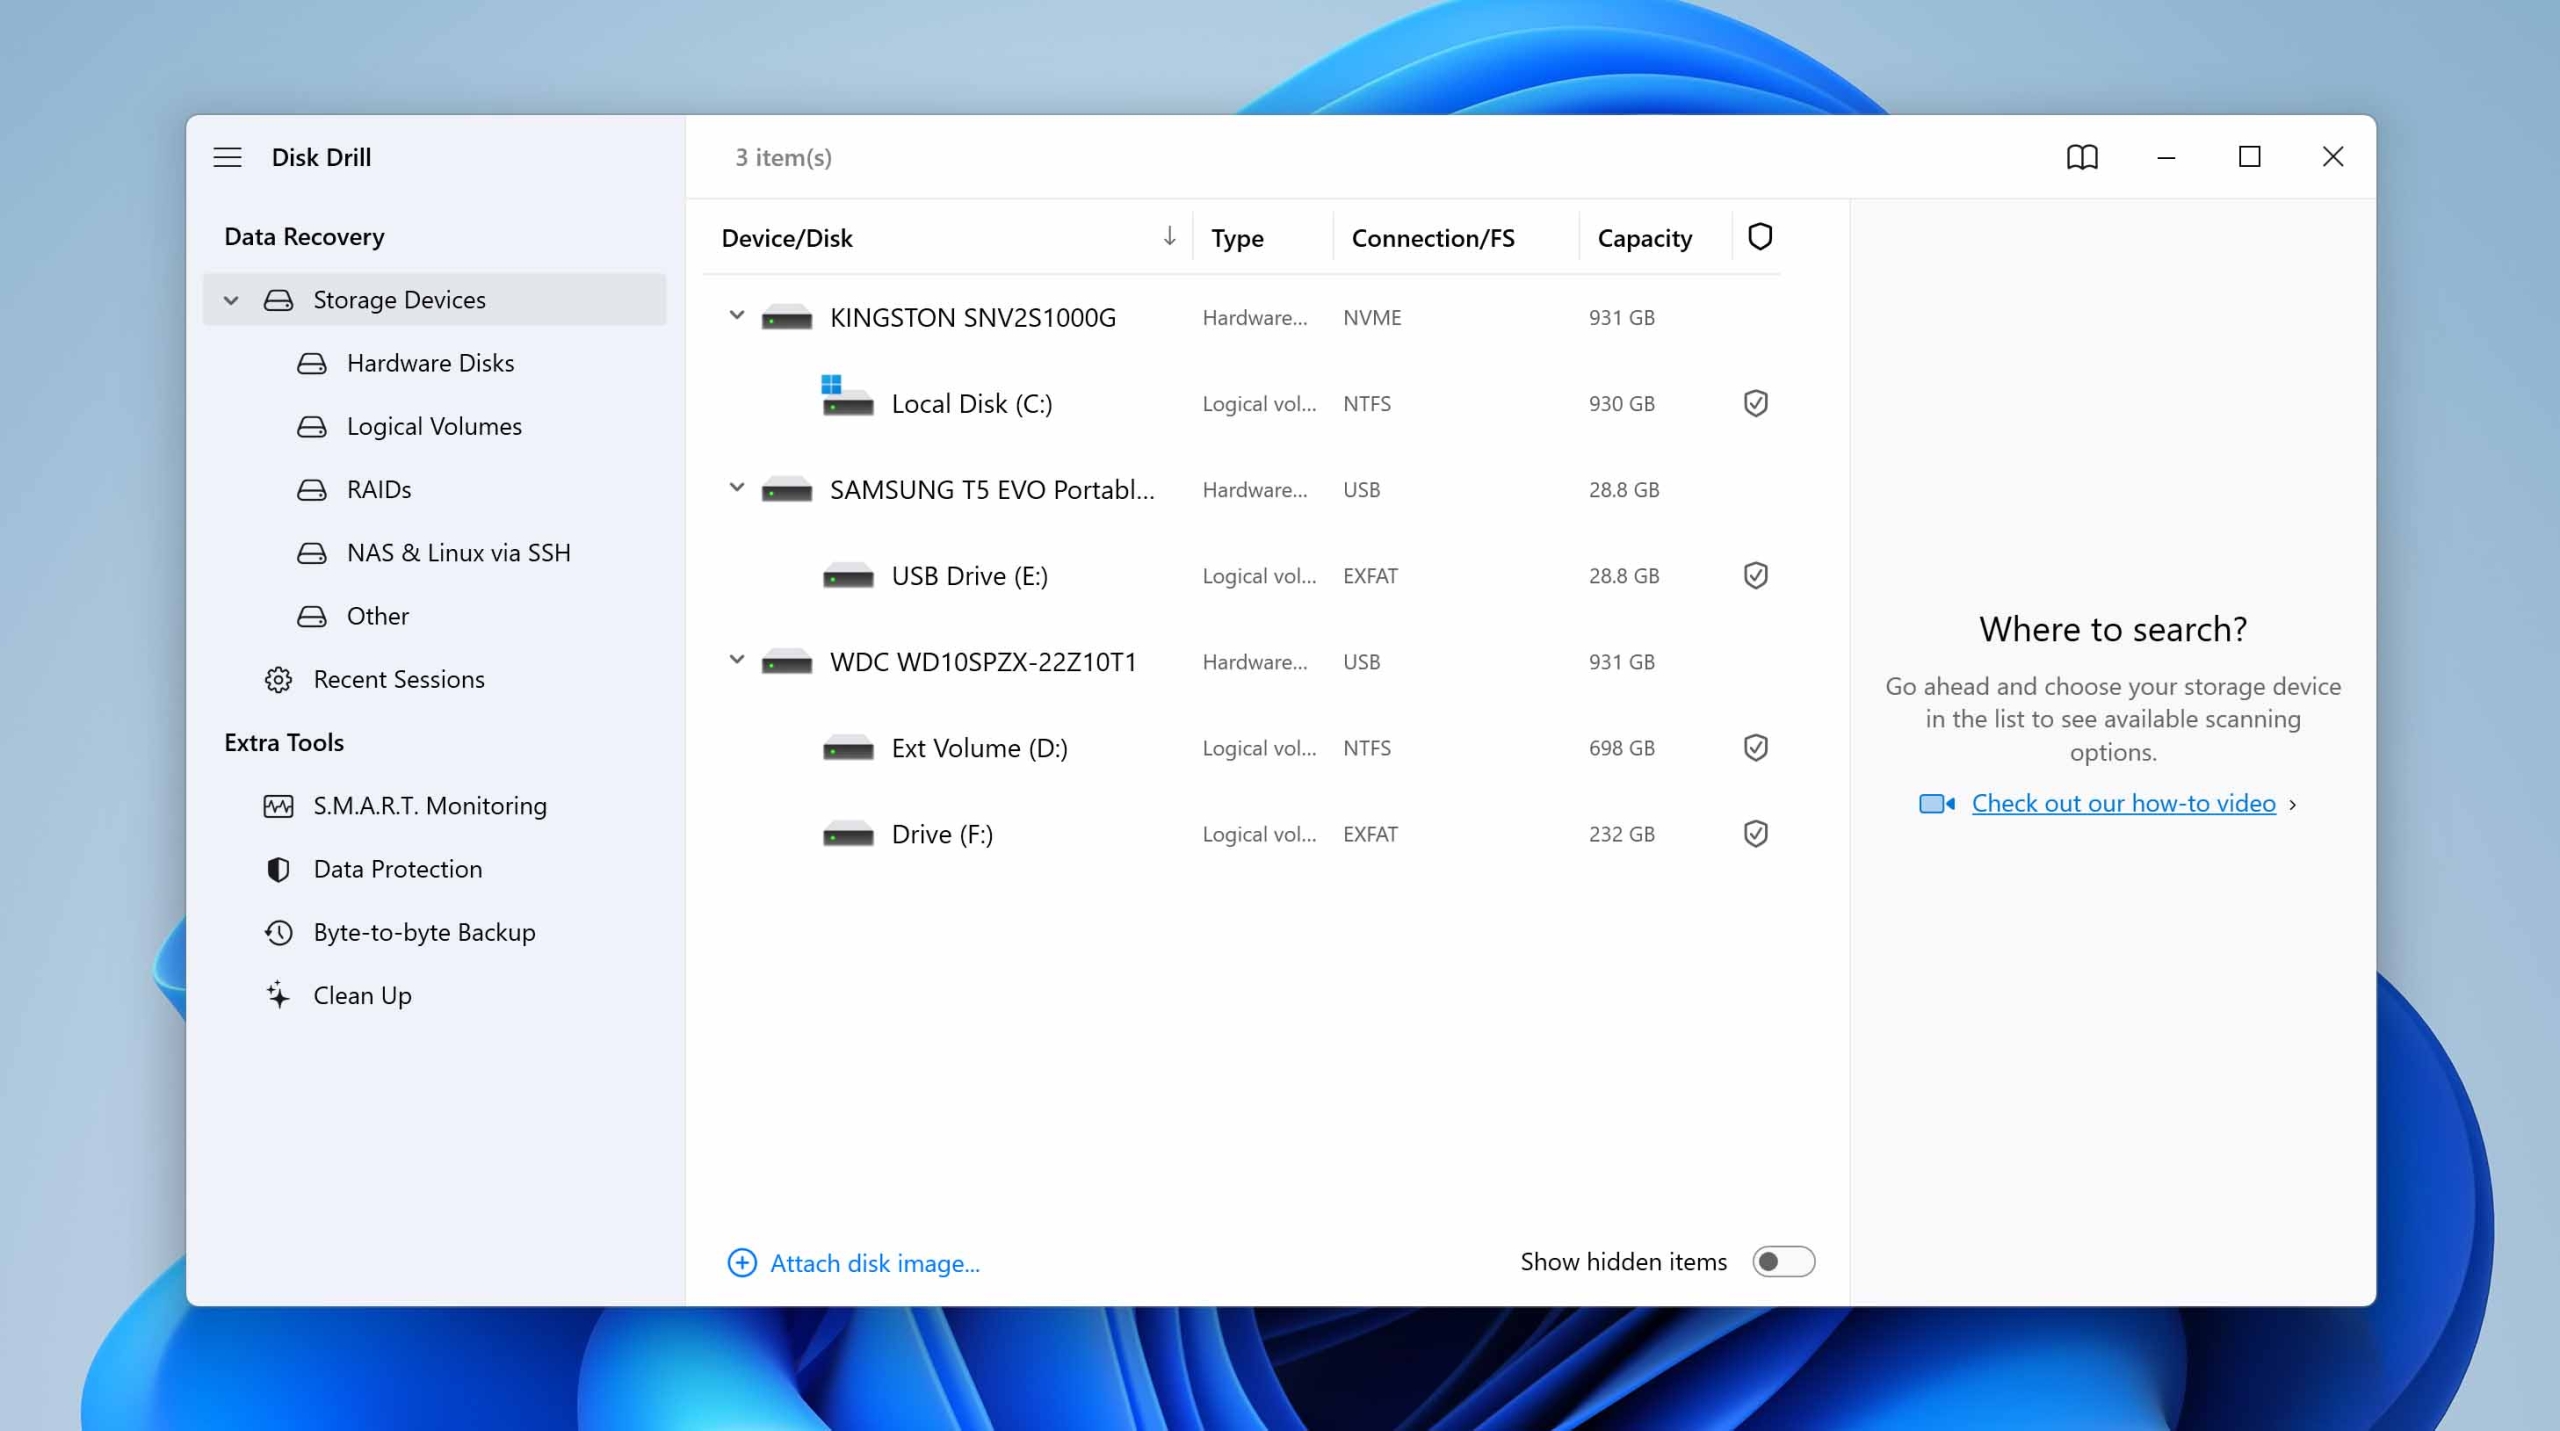
- Select Storage Device from the left panel.
- Click Attach disk image and choose the backup image you created earlier. It should now show up in the list of recoverable devices.
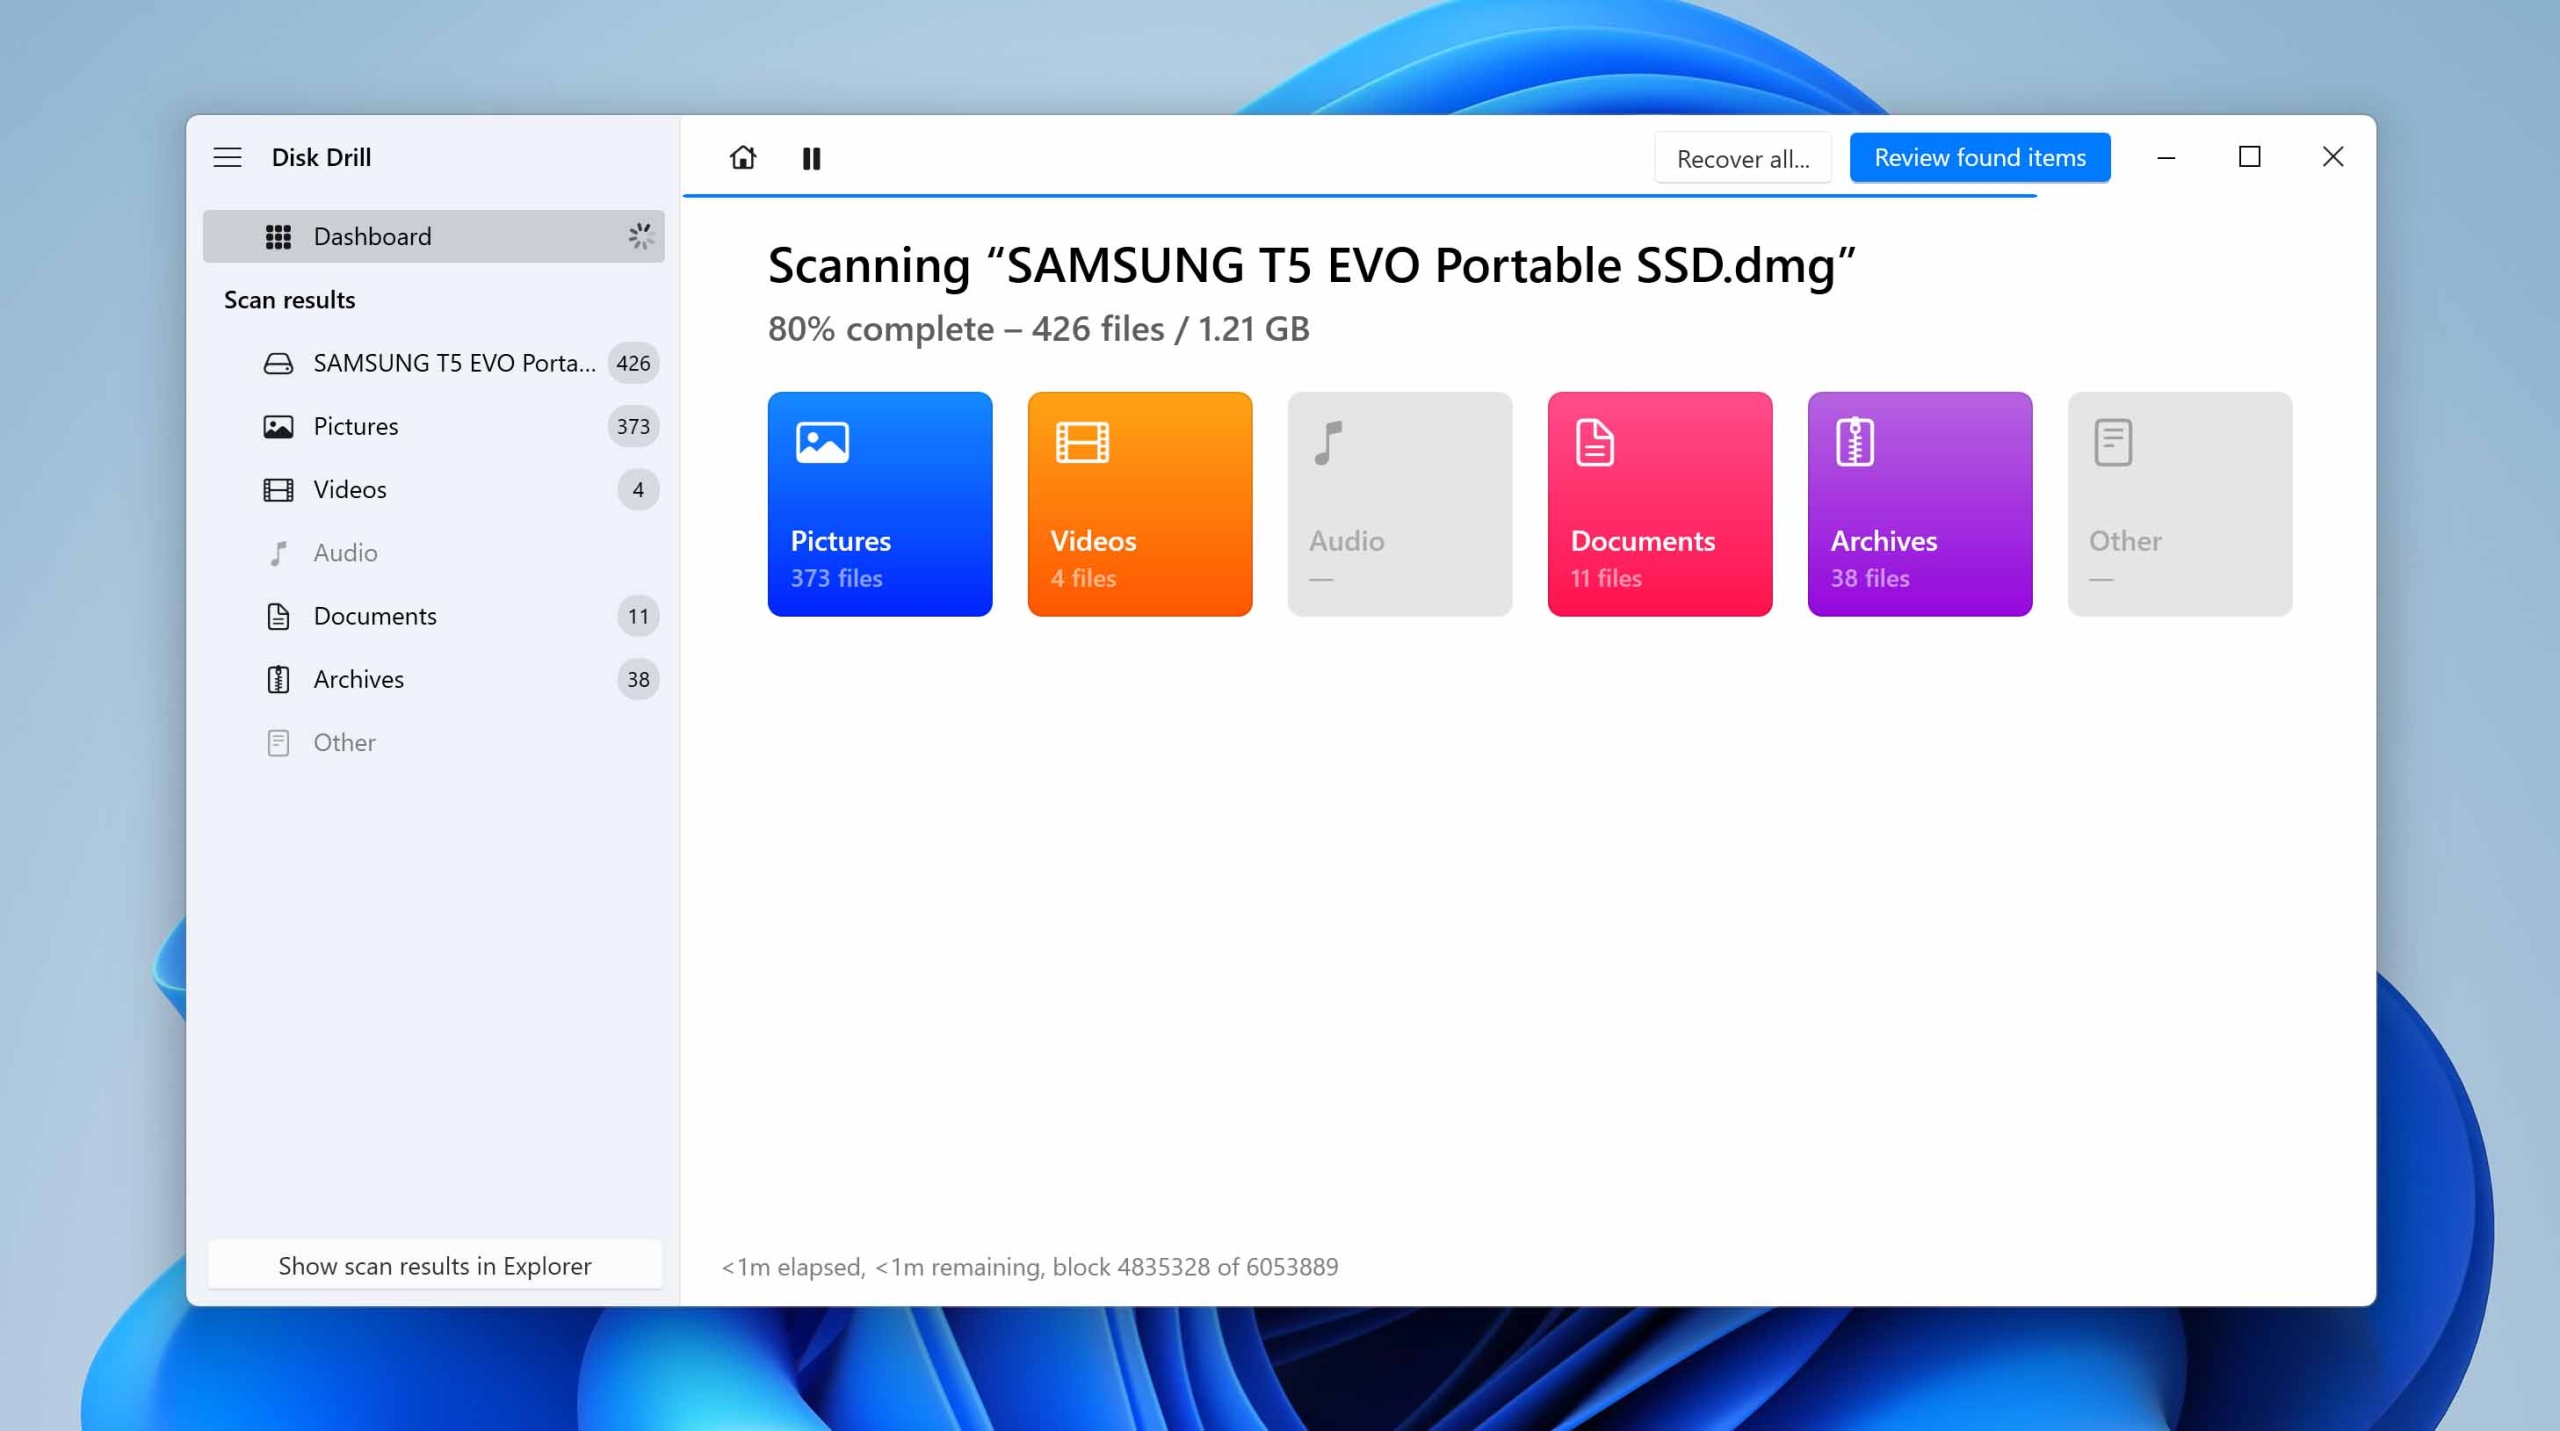
- Pick the image from the list and hit Search for lost data.

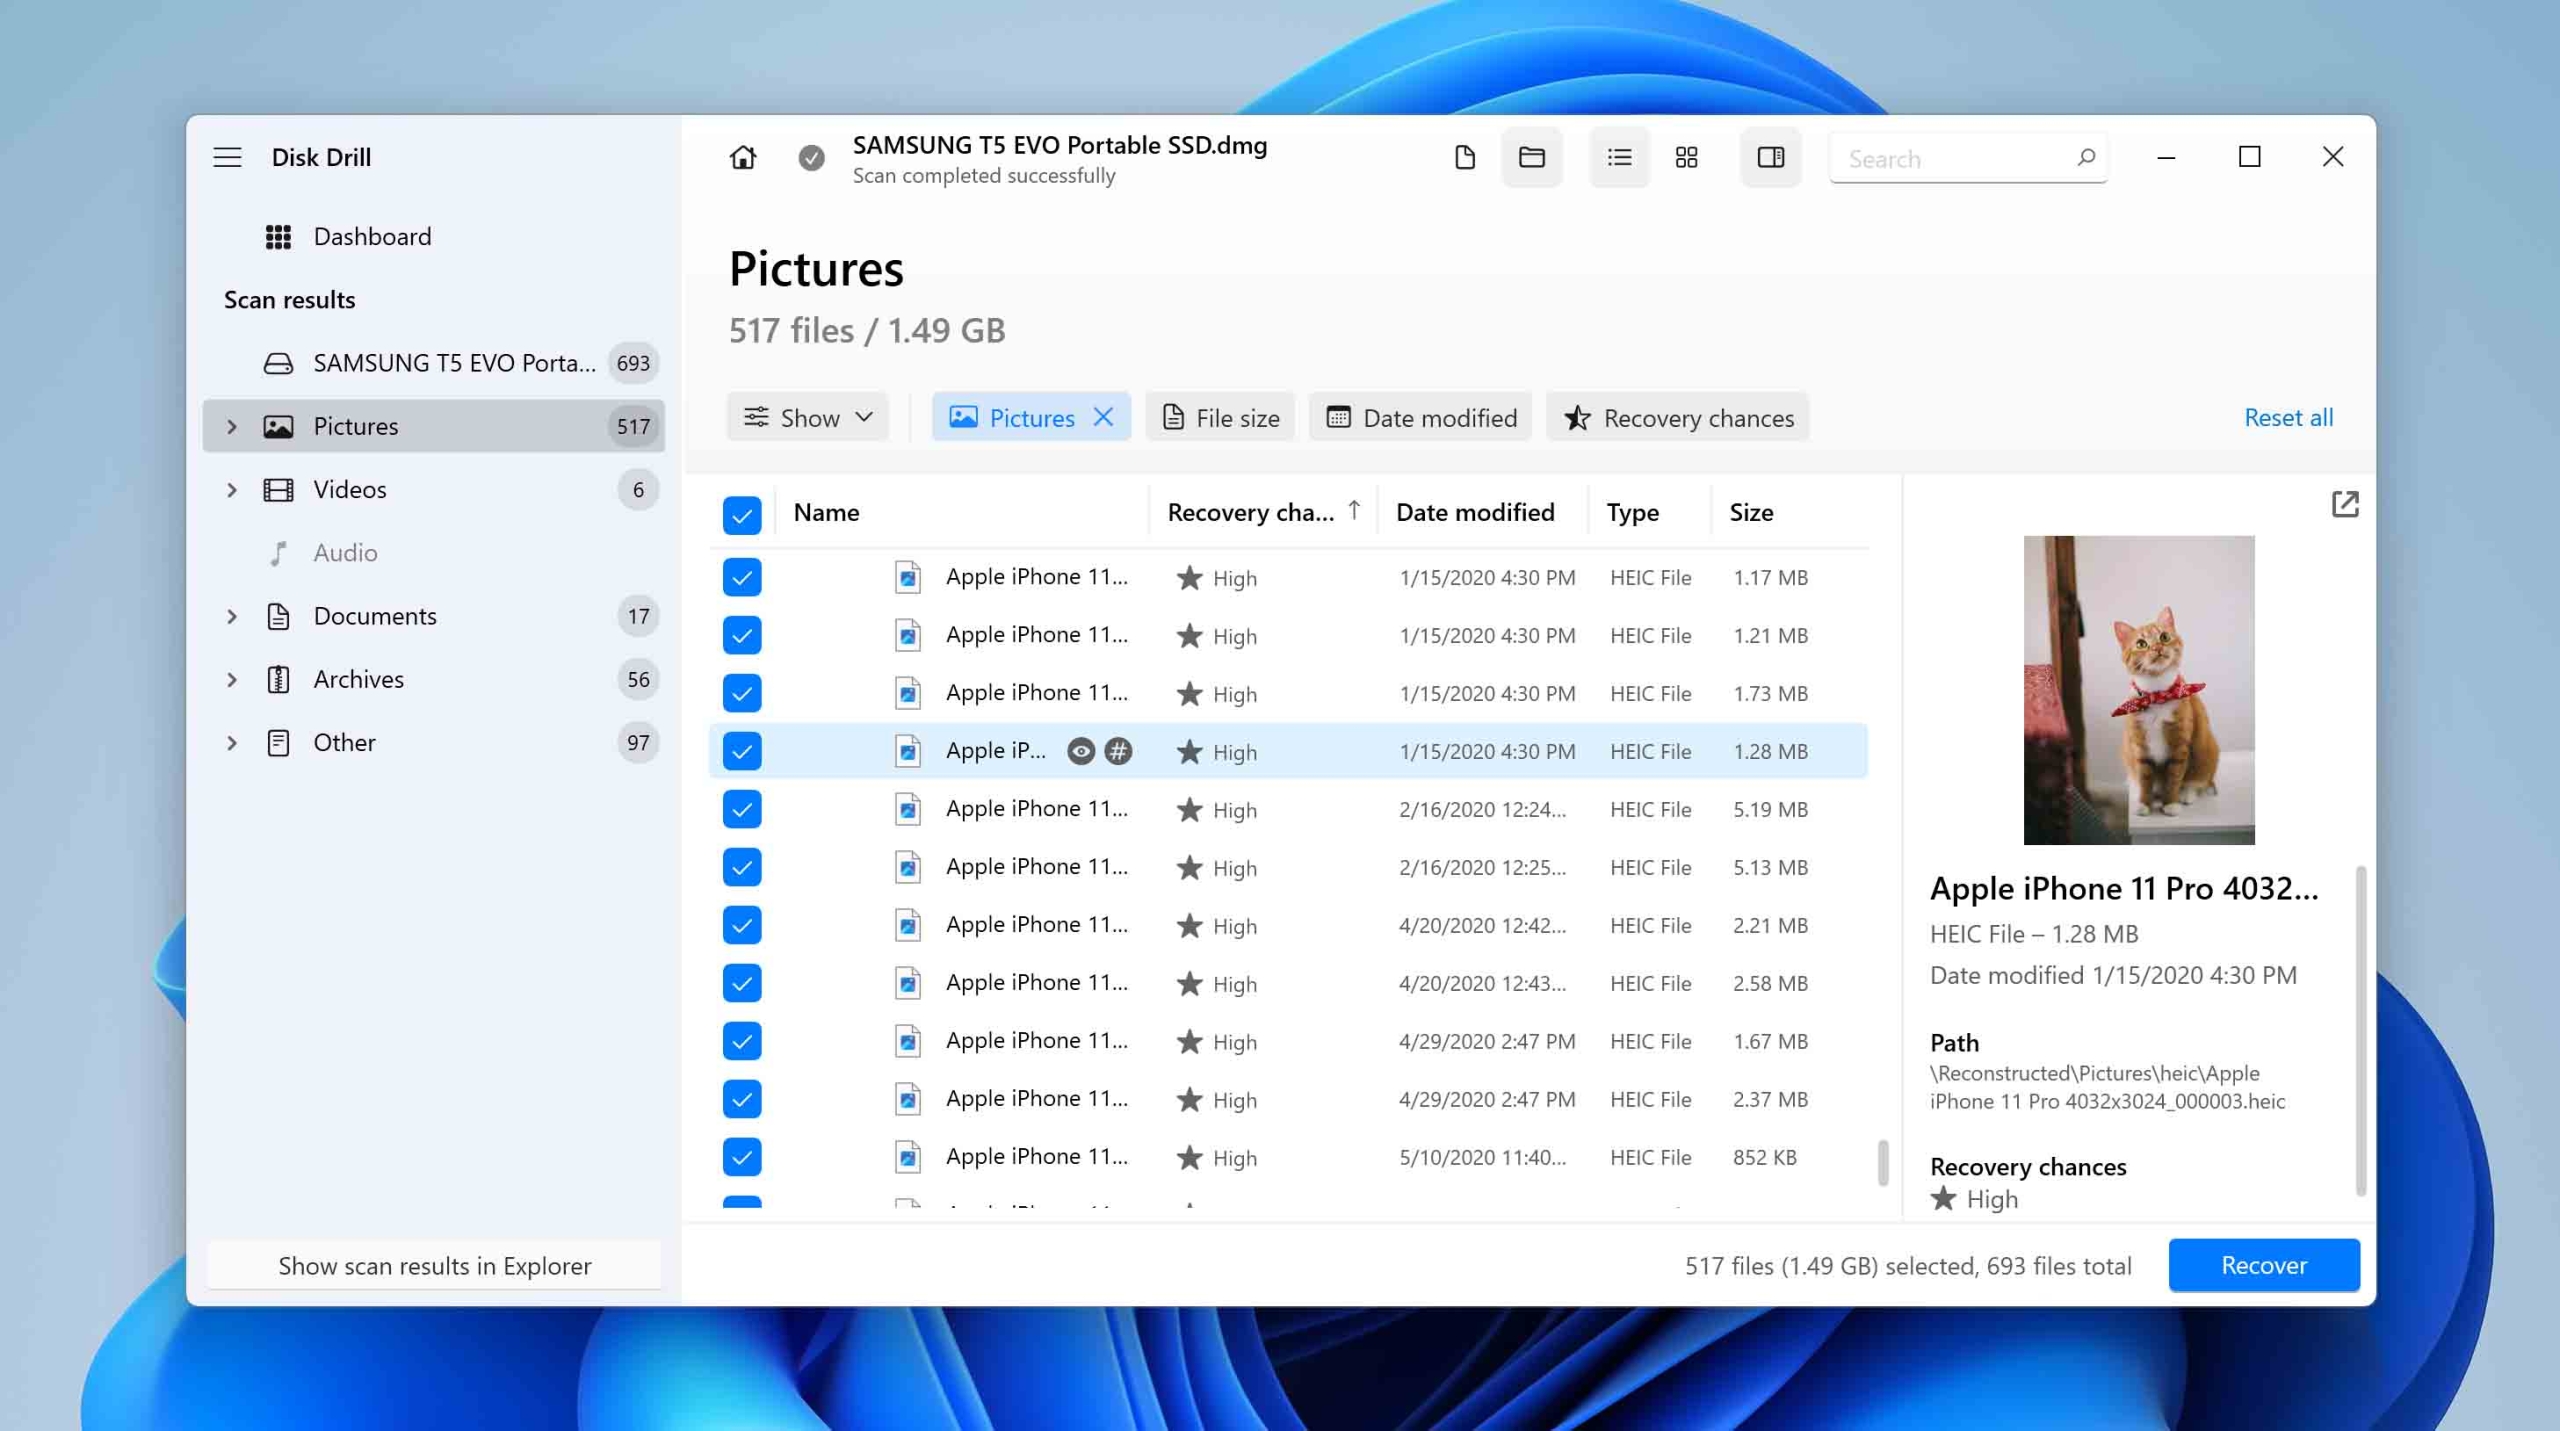
- Disk Drill will begin scanning the SSD backup. You can start recovering files as soon as they appear, but it’s usually better to wait for the scan to complete. Once it’s done, Disk Drill will show how likely it is to recover each file without corruption, rated as high, average, or low.
- Select the boxes next to the files you want to restore. When you’re ready, click the Recover button at the bottom of the screen.
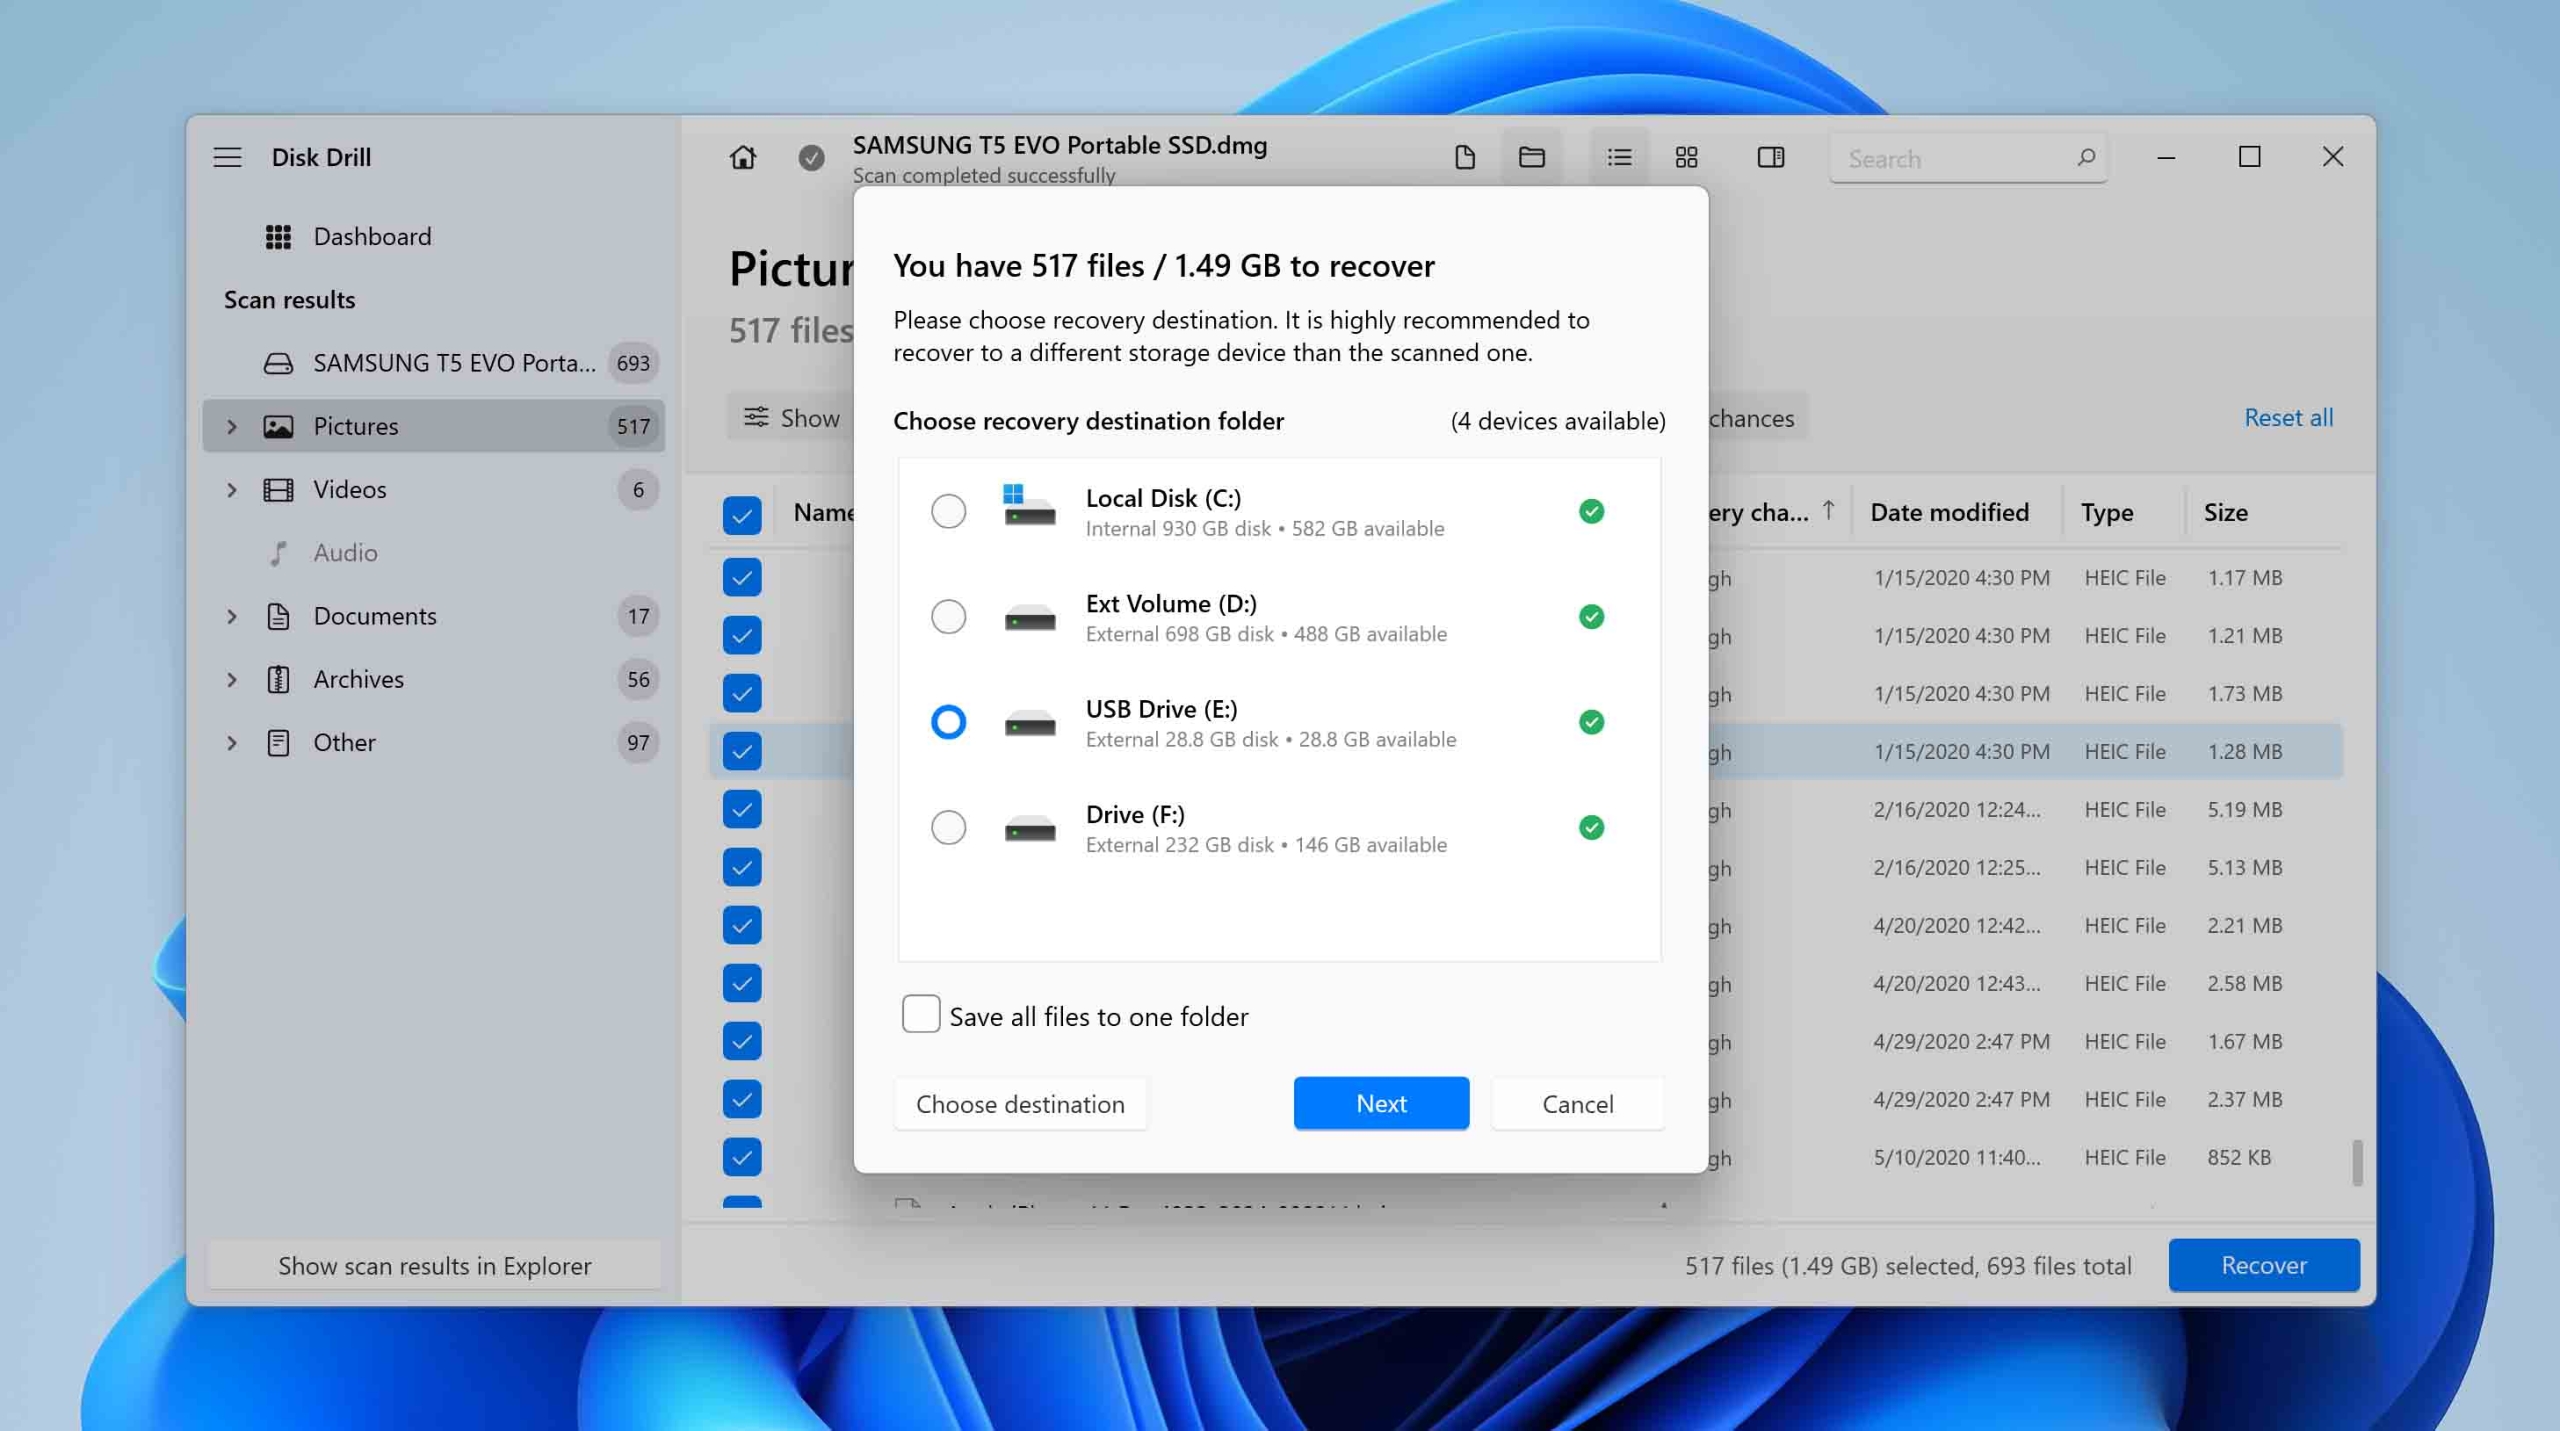
- A small window will pop up asking where you want to save the recovered files. Don’t save them back to the same SSD – they could get overwritten. Pick a different drive, then click Next.
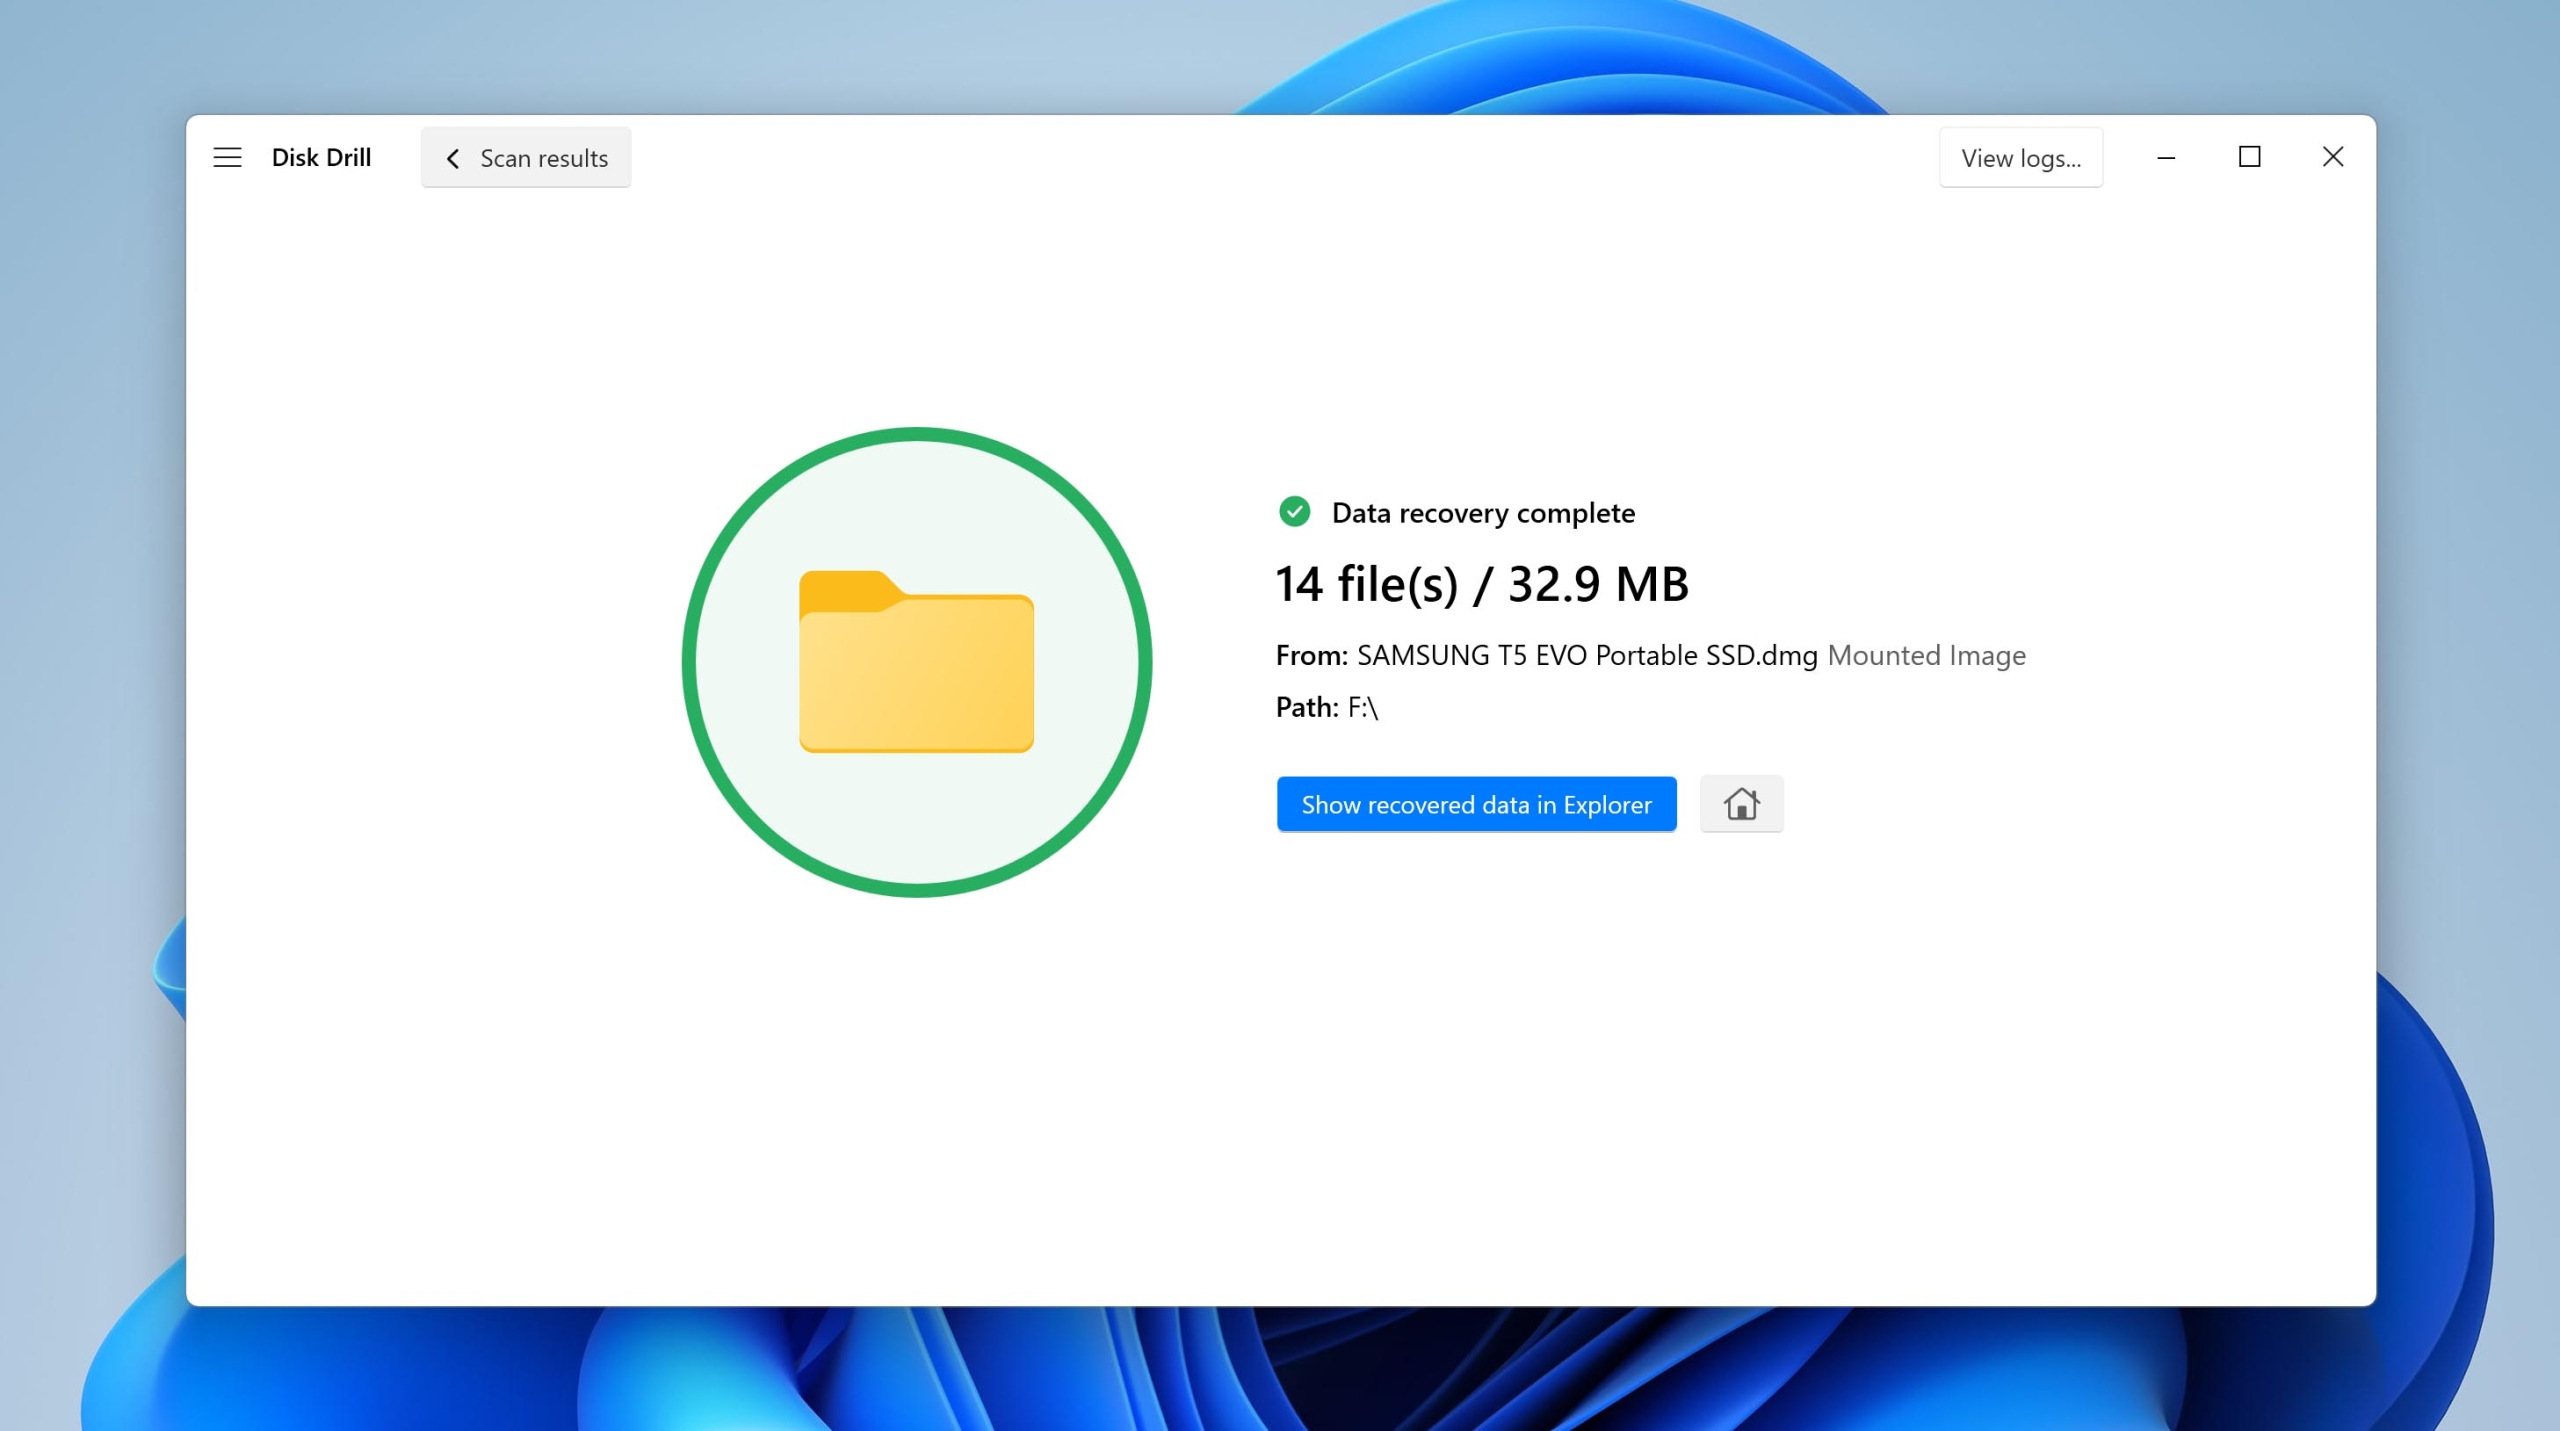
- Disk Drill will now try to recover the files from your SSD image. When it’s done, you’ll see a summary and a Show recovered data in Explorer button. Click that if you want to jump straight to the recovered files.


Just so you know, you can download Disk Drill for free, make a full byte-for-byte copy of your SSD, and scan it without paying anything. However, if you want to recover more than 500MB of data, you will need to upgrade to the Pro version.
Method 2: Contact the Data Recovery Service
Even the best data recovery tools, like Disk Drill or any of its alternatives, aren’t all-powerful. If your SSD is severely damaged or your computer cannot fully recognize it, the software may not be able to recover any data. When that happens, your best move is to contact a professional data recovery service right away.

These services employ experts with the necessary tools and skills to recover data from SSDs, even in the most difficult situations. Just keep in mind – they’re not free. Before moving forward, consider the value of the lost data and whether the cost is justified. And remember, if the data is completely erased, not even the pros can bring it back – it simply doesn’t exist on the drive anymore.
If you decide to go with a data recovery service, take the time to choose the right one.
- Start by looking for options nearby, so you don’t have to deal with shipping your device across the country. Select a few services and compare them; check customer reviews to see if they have had success with cases similar to yours.
- Look for a place that offers a ‘no data, no charge’ policy. That way, you won’t end up paying if they can’t recover anything.
- Once you’ve narrowed it down, reach out for a consultation – many services offer this for free. Ask if they will take your SSD, how they plan to return the recovered data (online or on a new drive), and if the cost of that drive is included in the service fee or charged separately.
What Causes SSD Failure and How Can You Spot the Warning Signs?
Now that your data’s safe, let’s figure out what might’ve impacted your SSD and go over any warning signs you may have missed that pointed to a possible failure:
- ❌ Most SSD failures start with user error. Yank the drive out mid-transfer, format it the wrong way, or pick a file system it doesn’t support, and you’ll get error messages when you try to open files, a drive that can’t read or write data, and frequent system crashes that point to a corrupt or dead SSD.
- ⏳ SSDs wear out over time due to normal use, which can reduce their ability to store and retrieve data. You may notice your computer lagging or experience more errors when transferring files. Those red flags typically indicate that your SSD may be nearing the end of its lifespan.
- ⬛️ SSDs can develop bad blocks just like HDDs get bad sectors. You’ll notice failed file reads or writes, see error messages, and lose access to your data – classic signs that the drive’s memory cells are starting to give out.
- 🔨 External issues, such as overheating or a sudden drop, can damage an SSD. You might spot dents or scorch marks on the case, your computer might stop recognizing the drive, or you could encounter odd errors that never occurred before.
Once you spot any of these warning signs, clone your SSD with a byte-for-byte image right away, you don’t want to wait until it dies completely.
Conclusion
You now know that recovering data from a failed SSD is possible—and you’ve got the steps to do it. But what should you do with the SSD once you’ve retrieved your files? It depends on why it failed.
If the problem is with the file system, you may be able to resolve it by formatting the drive after recovery. A fresh format can sometimes revive the SSD. However, if the failure is due to hardware issues, your best option is to replace the SSD with a new one.