Reading Time: 5 minutesYou’ve just completed a system restore and returned your computer to a previous state. Things are working fine until you suddenly notice that some of your files are missing, too. That wasn’t part of the plan.
System restore is not supposed to delete any of your personal files, but faults in the process can cause that. A bad system restore can lead to some documents, photos, and other files going missing from where they were stored. But don’t panic just yet, there are ways to recover files after a system restore on your Windows 7 computer.
What Data May Be Deleted During System Restore?
First, let’s take a moment to understand what system restore does.
System restore is a feature that’s built into Windows to let users take their computer back to a previous state. It works by first taking a snapshot of your computer at a given time, called a restore point. It then reconstructs that state when a user initiates the system restore process.
The main purpose of system restore is to fix system files and programs. You might have issues with the registry or a faulty update that’s causing issues with your computer. To solve that problem, you can use the system restore process, which will change system files and delete any programs that have been installed after the restore point you used for the system restore.

What a system restore should not do is change any of your personal files. The documents, photos, videos, and other files that you have on your hard drive should remain unchanged after a system restore. Even though system restore can delete programs, it will ideally not delete any files that you’ve created using that program.
That said, there are instances where a system restore in Windows 7 can go wrong and delete your personal files. Depending on what causes the problem, these can be files of any type and created at any time. This isn’t a very common issue but it does happen every now and then.
How to Undo System Restore on Windows 7
Although it isn’t your only option, you can undo a bad system restore on Windows 7. Here are the steps you should follow.
Step 1: Search for Create a restore point in the Windows search bar and click on that option. You will be taken to the System Protection section of the System Properties utility.

Step 2: Select the restore point where the files you want to recover are present.
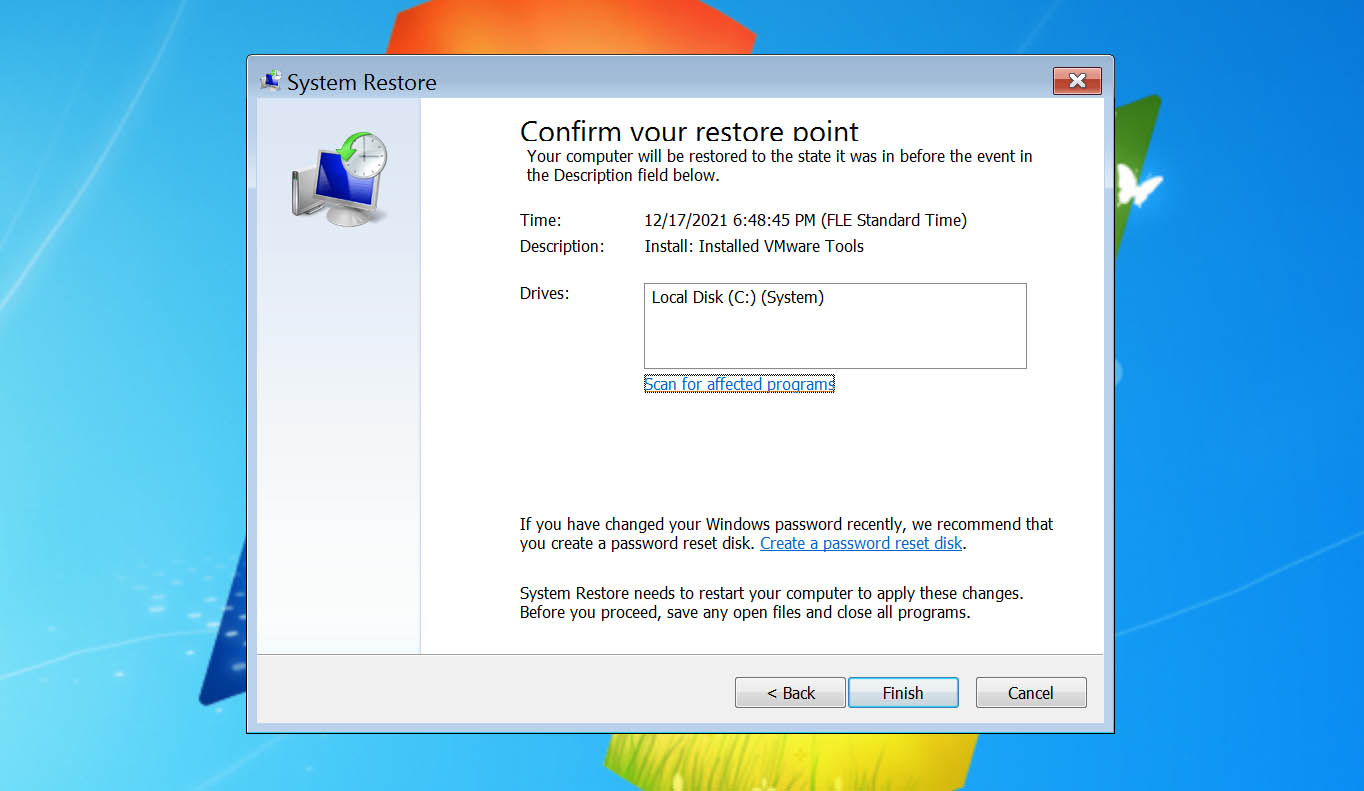
Step 3: On the window that follows, click on System Restore button in the system properties screen.

Step 3: Click on Finish to complete the process of undoing a Windows 7 system restore.
When you restart your computer, you will see that it has gone back to the state it was in prior to the restore.
Ways to Recover Files After System Restore on Windows 7
You can recover files after a system restore either by using a third-party recovery software or an in-built Windows feature. Let’s take a look at each of these methods in detail.
Data Recovery Software – Disk Drill
Disk Drill can help you recover data on your computer in a variety of situations, including if you’ve had a bad system restore. Here’s the process you should follow.
Step 1:Download and install Disk Drill on your computer. Any recovery that you carry out using the software requires administrator level permissions.
Step 2: Open Disk Drill. You will be met with a screen that lists all the drives on your computer. Choose the drive that previously contained the files that were wiped out by a system restore.
Step 3: Select All recovery methods in the above image and then click on Search for lost data. Disk Drill will now begin to search for any files that you lost during the system restore process.

Step 4: Once it has completed the search, the software will show you all of the lost files it has found, categorized based on the filetype. You can review the found items and choose which ones you want to recover.

Step 5: Hit the Recover button to recover your files.

Shadow Copies of Files
Windows proactively creates copies of your files even if you haven’t set up any backup mechanism. These are known as shadow copies, and you can make use of them to recover files after a bad system restore in Windows 7.
Here’s how you can do that.
Step 1: Go to the file that was changed or the folder that contained the file(s) that you lost.
Step 2: Right click on the folder and click on the Restore previous versions option.

Step 3: In the new window that opens, click on the Previous Versions tab. There, you will see a list of the versions of the file that Windows has created shadow copies of.
Step 4: Click on the version that you want to go back to and hit the Restore button.

You will now regain the file in the state that it was in before the system restore.
FAQ
Conclusion
System restore is a pretty dependable feature on Windows 7 but there are some cases where it can mess with your personal files. As we’ve seen, there are ways that you can regain those files without having to revert the system restore altogether.
One step that you can take to prevent issues that have to do with a bad system restore is backing up your files. Maintaining a backup means that you have a copy of all your files easily available in case the restore process goes wrong.