Reading Time: 8 minutesHiding files on your Windows PC is a good way to keep important and confidential information away from prying eyes, as well as being one of the methods the operating system uses to prevent users from accessing delicate system data that’s integral to the operation of the platform.
Just like any other form of data, hidden information is susceptible to various forms of data loss. In this guide, we’re going to teach you how the hiding feature works in Windows and help you recover hidden files that have been lost or compromised.
How to Show All the Files in File Explorer
Windows operating systems have an option built into its Windows File Explorer tool that allows you to toggle the visibility of hidden files on or off as you see fit. It’s actually really easy to access, as long as you know where to look. It’s worth noting, however, that this method makes ALL the hidden files on your machine visible.
Just follow the simple steps below on how to find hidden files on a computer using File Explorer:
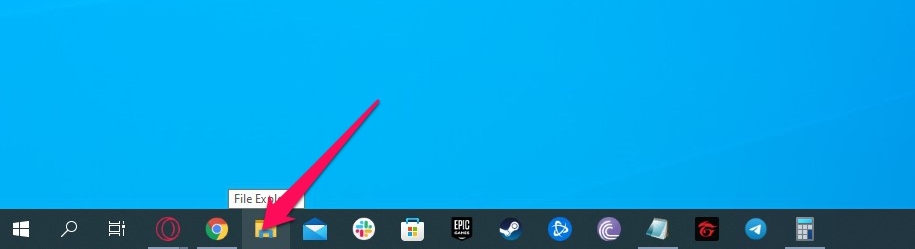
- Open up an instance of Windows Explorer by clicking on the folder icon on your Windows taskbar.

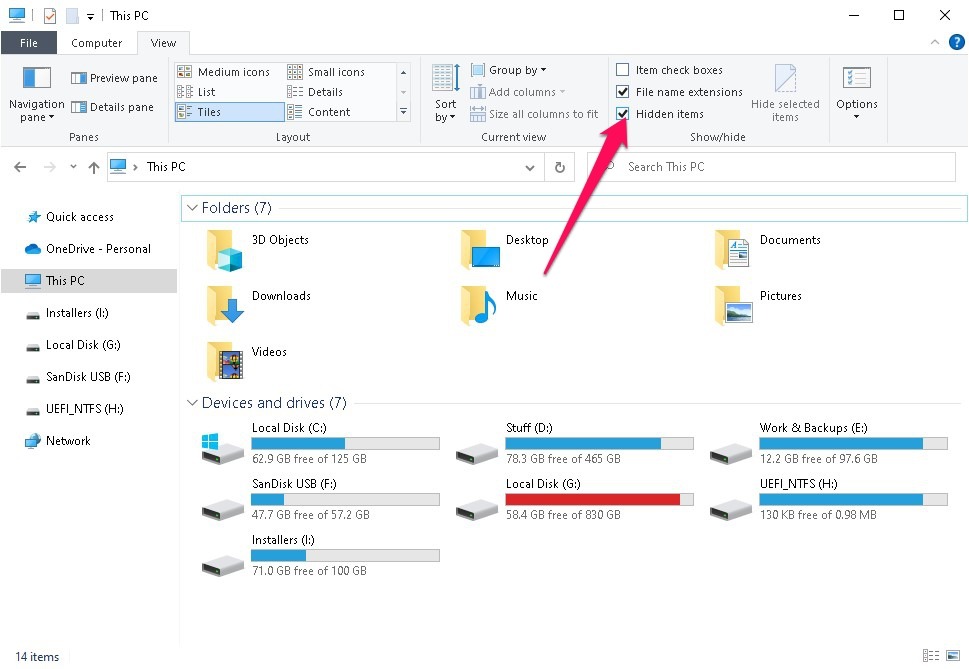
- Navigate to the View tab on the top-left corner of the window.
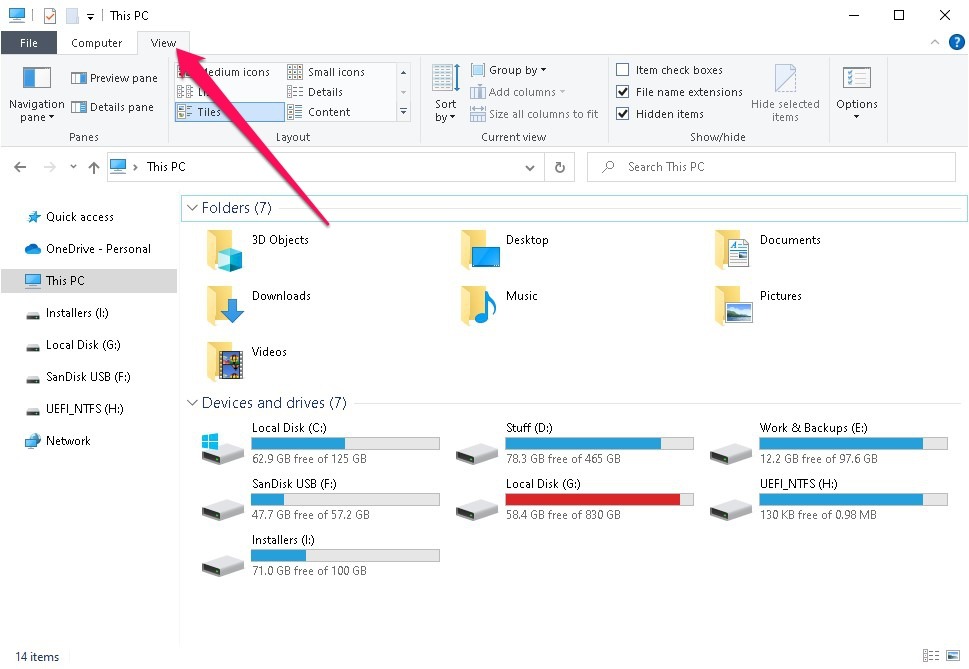
- Uncheck the Hidden items checkbox.
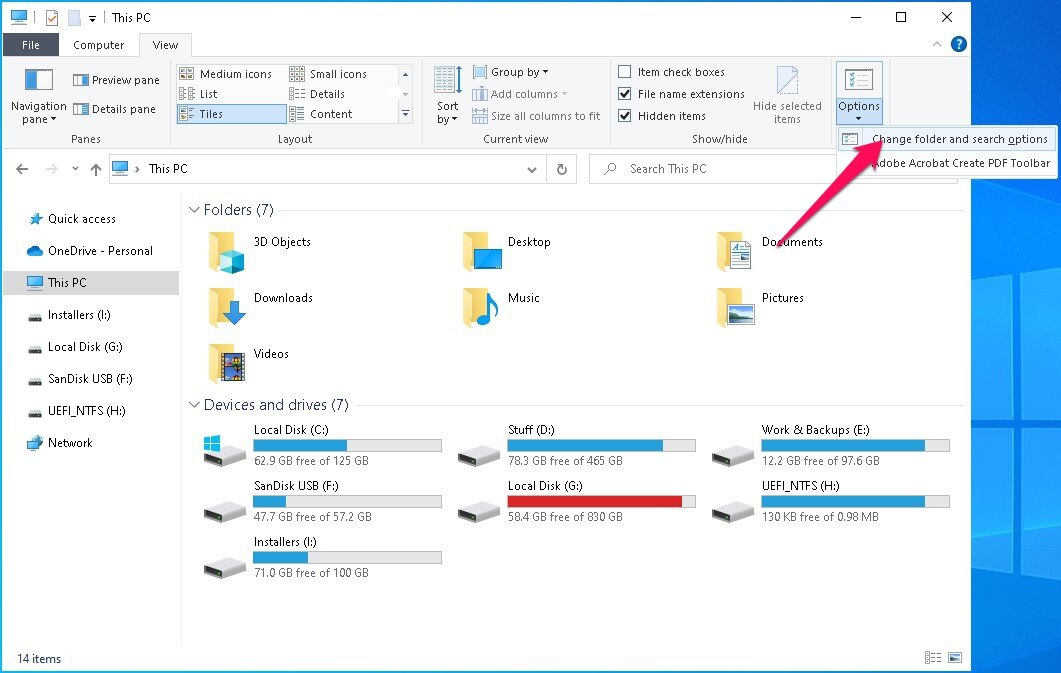
- Your hidden files should now be visible except for protected system files that Windows doesn’t want you messing around with. If you know what you’re doing and are dead set on accessing these files, you can click on the Options dropdown in the top-right corner of the Window and select the Change folder and search options.
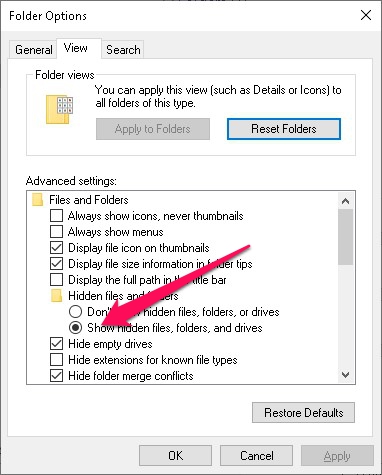
- A pop-up should appear. Head to the View tab and scroll down a bit until you see the Hide protected operating system files (Recommended) checkbox. Uncheck the box and click the Apply button to reveal all your important system files as well.


How to Unhide Specific Files or Folders
If you’d rather not reveal all of your secret files and are interested in unhiding just a select number of hidden files or folders, then there are a couple of ways you can go about this.
You can either use Windows File Explorer which is the more user-friendly and easier of the two methods, or you can utilize the Windows Command Prompt tool which requires you to be familiar with a few sets of commands.
Windows File Explorer
For this method, you’ll need to first make all of your hidden files and folders visible using the technique outlined in the previous section.
Once you’ve accomplished that, follow the steps below:
- Click the folder icon along your Windows taskbar to bring up the File Explorer window.
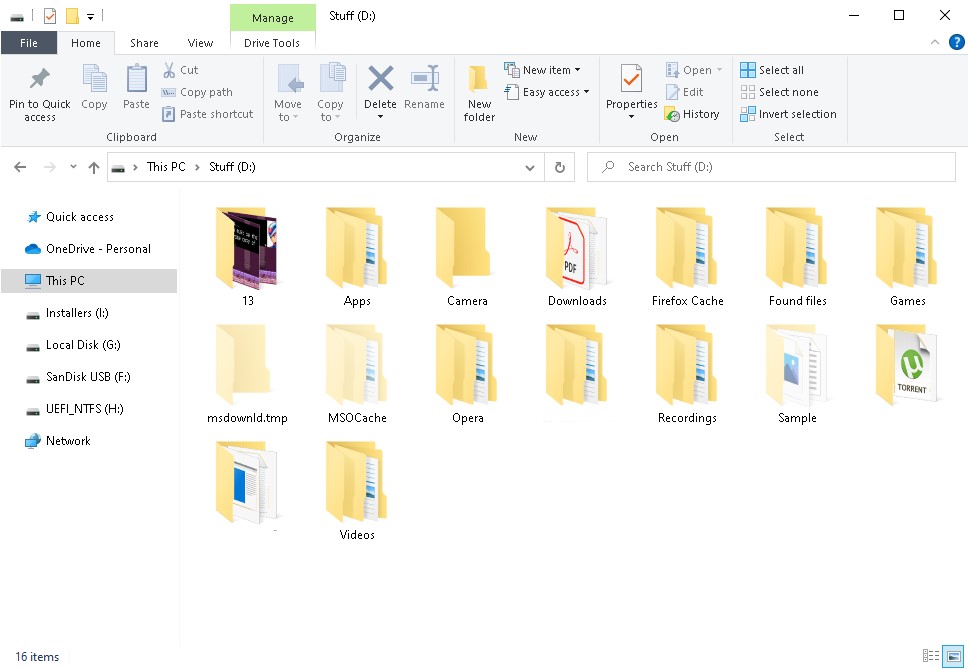
- Navigate to the file or folder that you want to unhide.
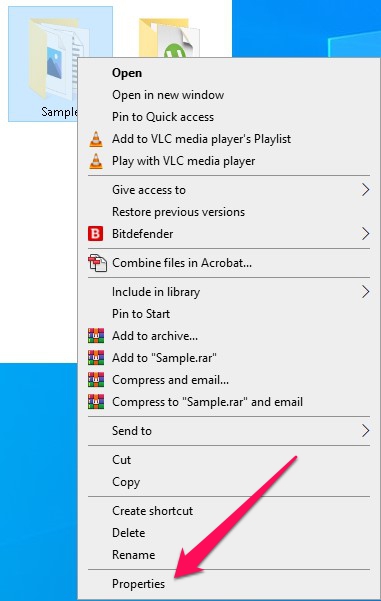
- Right-click the file or folder and select the Properties option.
- A pop-up window should appear. Uncheck the Hidden checkbox near the bottom of the window and click the Apply button.
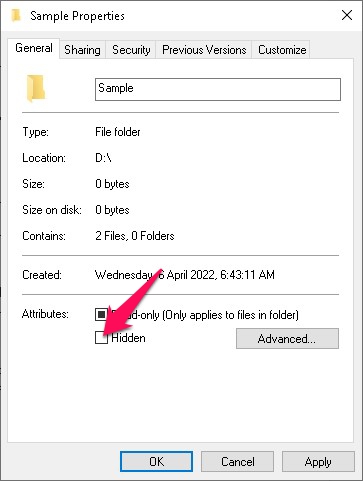
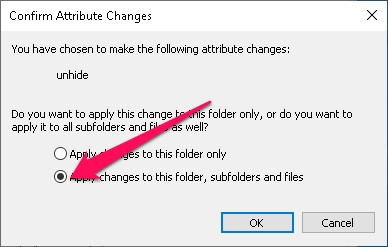
- If you’re unhiding a folder with various hidden files housed within it, another pop-up window will appear asking if you want to unhide just the folder or the files inside it as well. Once you make your decision, click the OK button to proceed.
- Your file/folder should now have the hidden attribute removed. You can now stop showing all your hidden items once more and the file or folder you edited should remain visible.


Command Prompt
The good thing about using Command Prompt to unhide your files or folders is that you won’t have to reveal all your hidden files first to edit their attributes. You can remove the hidden attribute directly from the file/folder while it’s still hidden. You’ll have to learn a few commands and what they do, but it’s worth the trouble.
Before you start using this method, you should know that the main command you’ll be utilizing is the “attrib” command which allows you to add or remove certain parameters to specific files or folders. It is used in conjunction with the following syntaxes:
- -h to remove the hidden attribute from a file/folder
- /d to apply the attribute action to any files and subdirectories within the directory you’re on
Here are the instructions on how to unhide files or folders using Command Prompt:
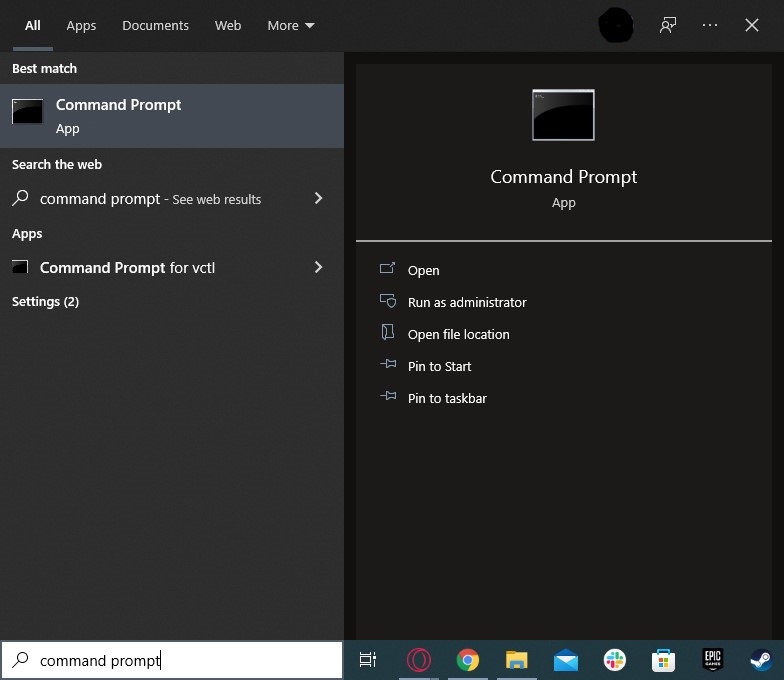
- Bring up the search feature on your taskbar, type in “command prompt”, then right-click the top result and select the Run as administrator option.
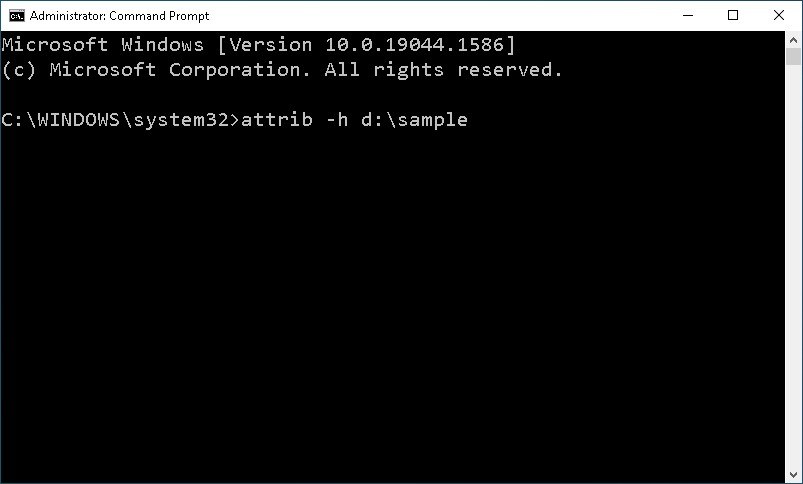
- Type
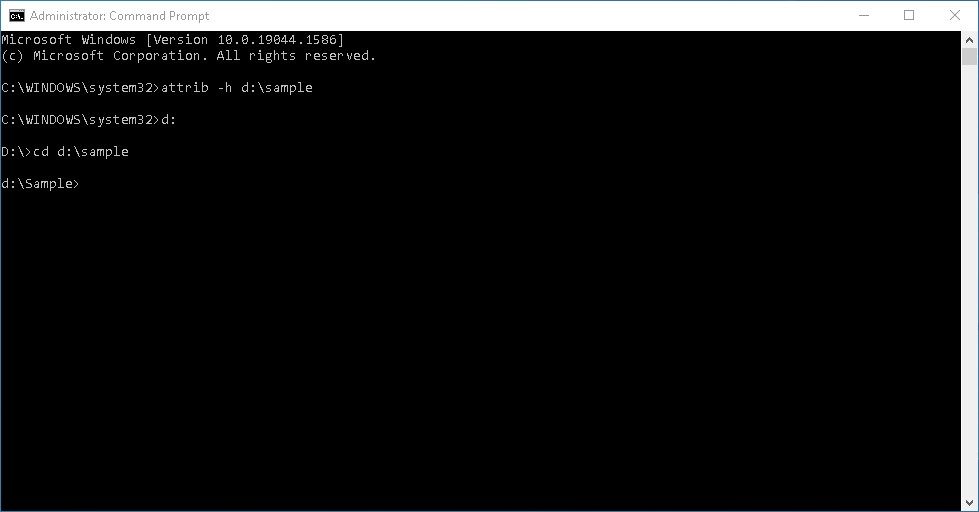
attrib -h d:\sample
where “D:\Sample” refers to the drive letter and name of the file/folder that you want to unhide. Take note that if you’re trying to unhide a file, you’ll need to include the file extension, such as sample.txt or sample.jpg. When you’re ready, hit the Enter key to apply the attribute change.
- If you want to remove the hidden attribute from all the files and subfolders within a specific folder, you’ll need to navigate to that folder first. First, make sure you’re on the right drive by typing out the drive letter followed by a colon and then pressing Enter. In our case, it’s d:. From there, use the cd d:\sample command to head to a specific folder, where “d:\sample” refers to the drive letter and folder name of the directory you’re trying to navigate to. Once you’ve typed out the command, hit Enter to execute.
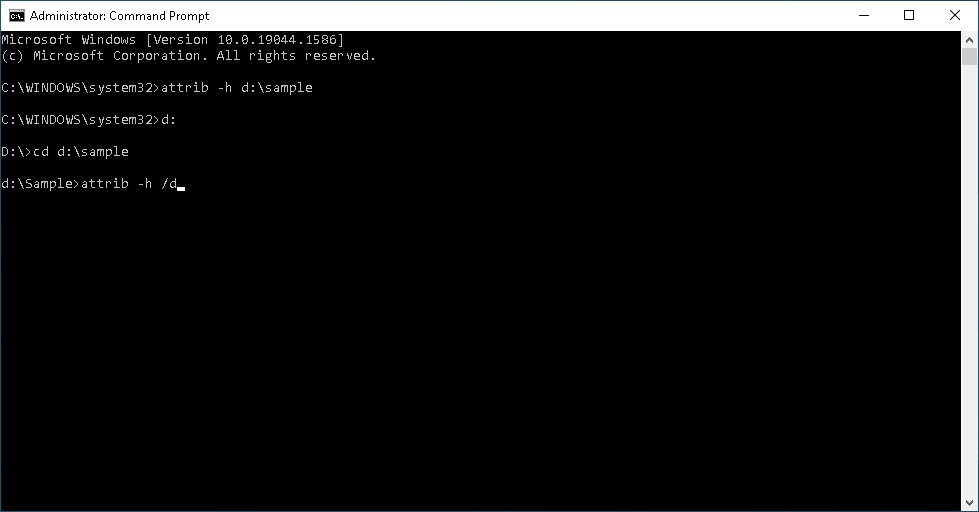
- Once you’re in the right folder, type out attrib -h /d and press Enter to remove the hidden attribute from all of the files and subfolders inside that directory.


Note: If you want to hide files/folders, you can follow the same steps mentioned above but replace the -h syntax with +h.
How to Recover Lost Files on Your PC
You could have your hidden files safely tucked away only to later find out that they’re missing or compromised due to some kind of data loss scenario. After all, they’re just like any other file or folder on your PC. Fortunately, there’s still a good chance you can recover deleted folders and lost files on your Windows machine using a top-notch data recovery program.
Disk Drill is one of the best apps in the recovery space, featuring exceptional user-interface design, high filetype and storage device compatibility, and an impressive recovery rate. It also offers an attractive free version that gives you access to all of the program’s features with a recovery limit of 500 MB and it can find a hidden file or folder.
Here’s how you can use Disk Drill in restoring hidden files that are lost:
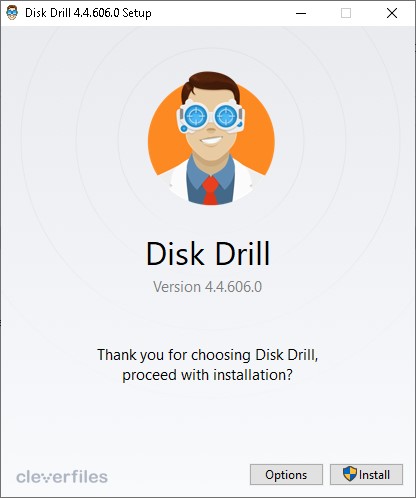
- Download the Disk Drill setup file from the official Cleverfiles website.

- Run the setup file and follow the instructions until it’s properly installed.
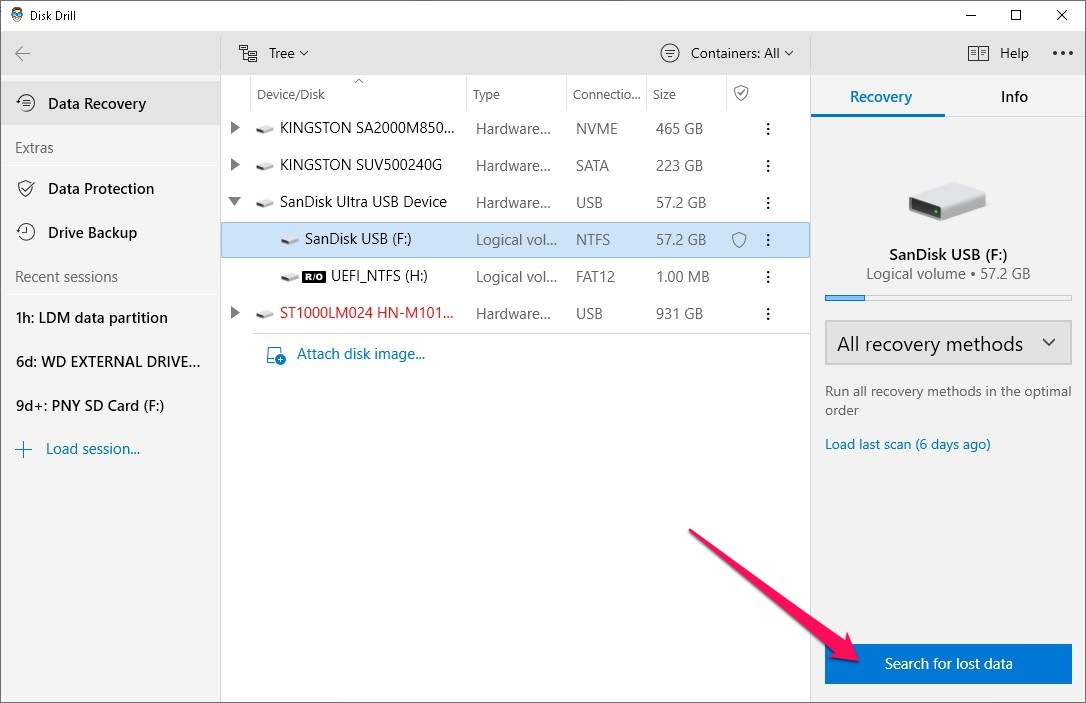
- Launch Disk Drill and choose the storage medium that contains your missing hidden files from the list. When you’re ready, click the Search for lost data button to proceed.
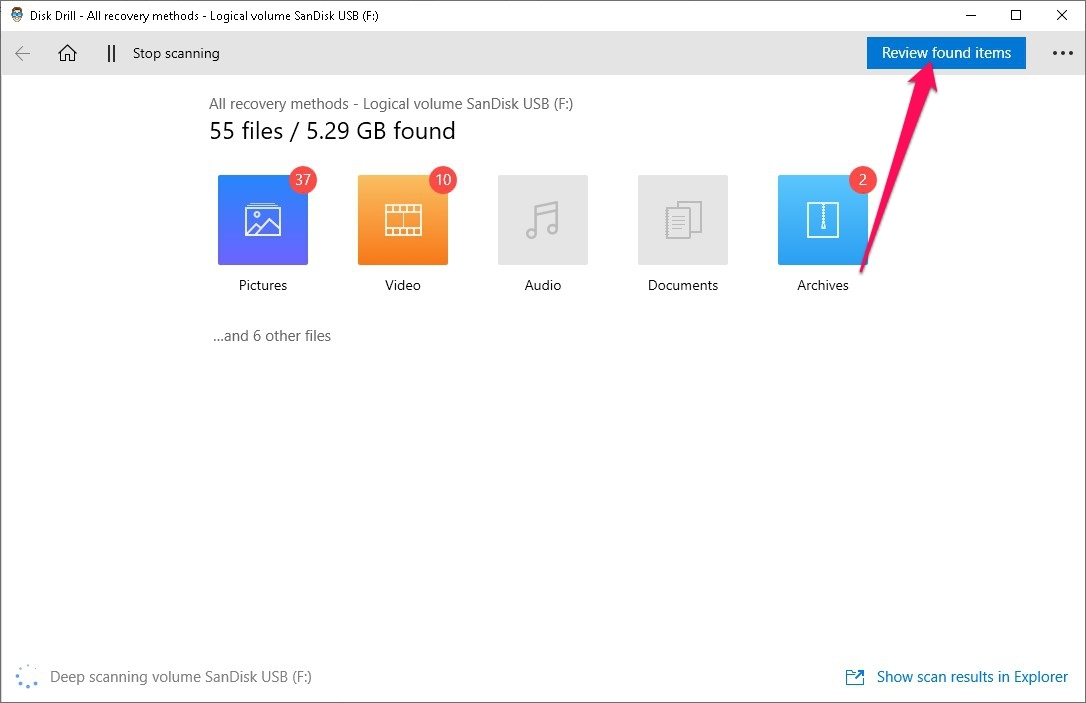
- Disk Drill will now begin scanning your drive. Your drive’s read speed and size dictate how long this process will take. In the meantime, you can click the Review found items button on the top-right corner to go through the files that the program has found so far.
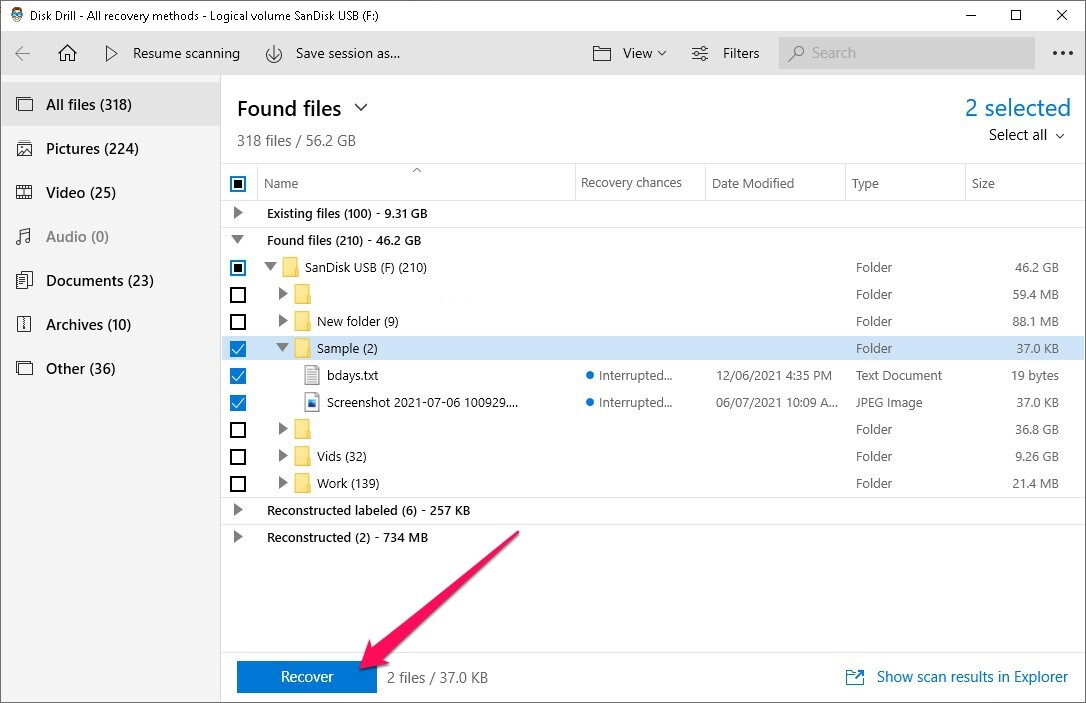
- When you’re on the results screen, you can select the files/folders you want to recover by ticking the checkboxes on the left side of the file names. Once you’ve selected all the items you want to retrieve, click the Recover button at the bottom of the window.
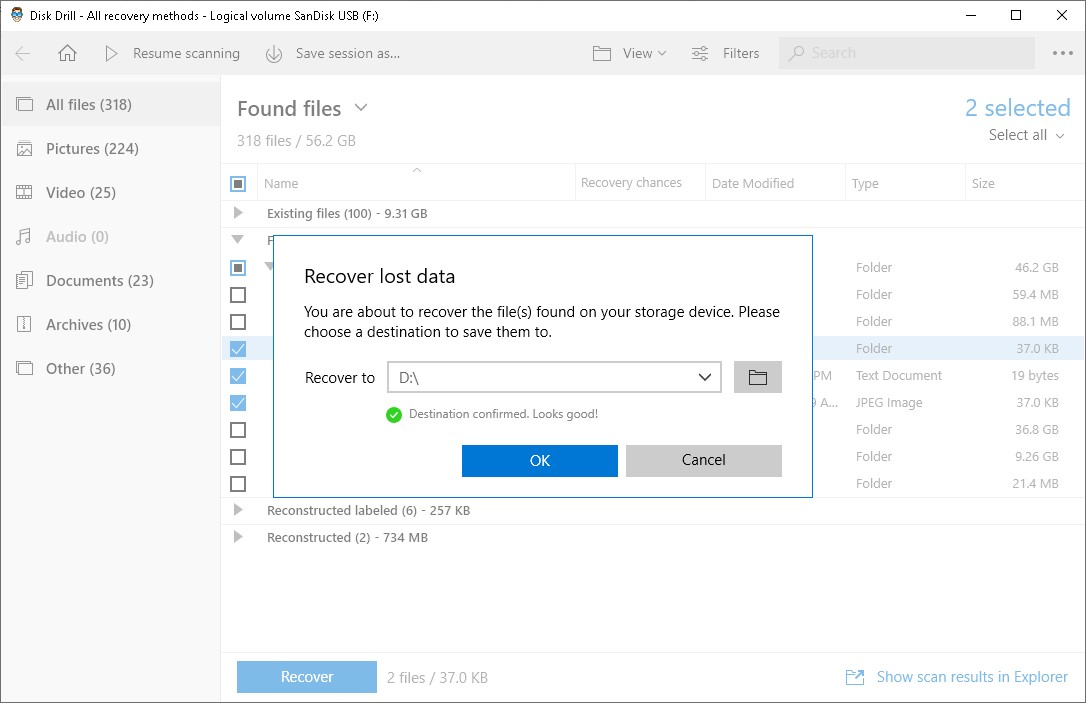
- A pop-up will show up asking you to choose the destination where your recovered files should be saved. This has to be on a different storage medium than the one you’re retrieving files from or else you’ll encounter an error. Click OK when you’re ready to start recovering.
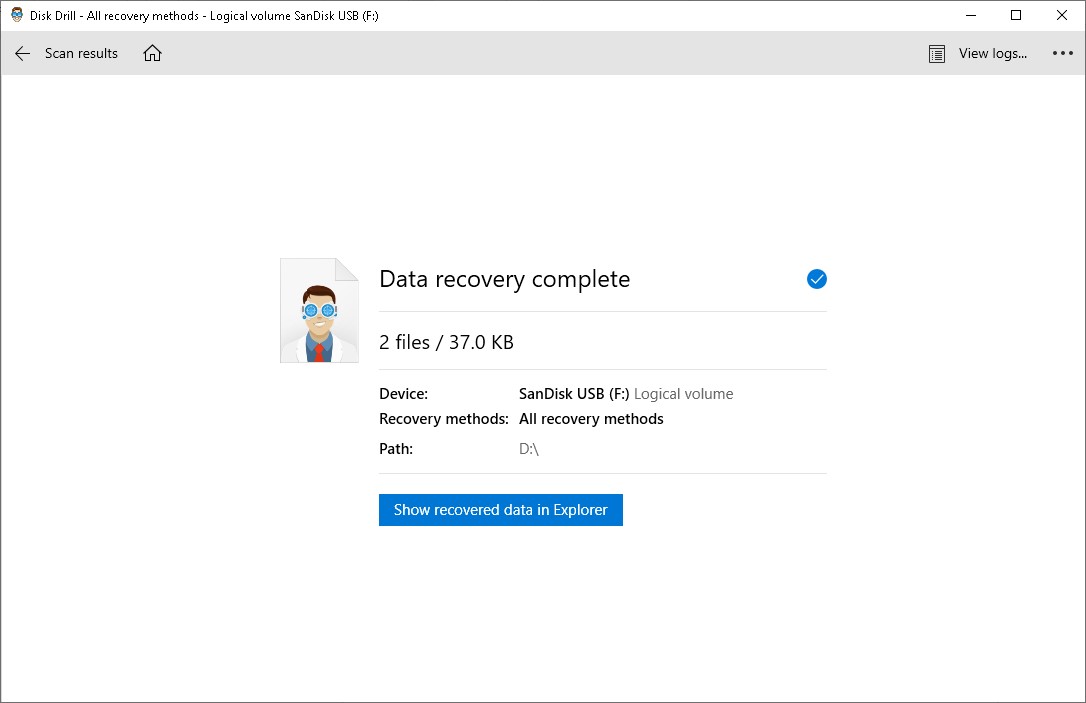
- Once the recovery process is completed, you’ll be shown a results screen where you can click the Show recovered data in Explorer button to head directly to your rescued files.