
Reading Time: 10 minutesWhen your SD card shows up as RAW, it may look like a serious problem. But your data is usually still there – it’s just hidden behind a corrupted or missing file structure. Luckily, you can still recover it. In this article, we’ll show you how to get your files back from a RAW SD card and how to fix the card so you can use it again.
What is a RAW SD Card?
Think of the file system as the blueprint your operating system uses to find, read, and save files on the card. It also keeps track of things like each file’s name, size, and when it was created. Without that structure, your system has no idea how to access the data, even if it’s still there. Put simply, an SD card shows up as RAW when it doesn’t have a working file system.
If the file system on your SD card gets corrupted, you might see an error saying the card needs to be formatted. Formatting really can solve the problem, but it’ll erase everything on the card. If you still need those files, don’t format it. Just close the prompt and hold off for now.
Here’s a more detailed look at potential reasons why an SD card becomes RAW:
| Reason | Description |
| 🔌 Power failure | An abrupt power failure can lead to data corruption. If your computer loses power in the middle of reading or writing the card, it interrupts the process of updating the file allocation table, causing corruption and rendering the card RAW. |
| 🦠 Malware infection | Malware is another cause of data corruption. Although it is uncommon for a virus to attack the file system directly, it happens, making the SD card RAW and inaccessible to the computer. |
| 👴 Your SD card is getting old | As SD cards age, physical deterioration and wear and tear can damage the file system, making it difficult or impossible to access stored data. The number of write operations a storage device can handle is limited. Once it reaches this limit, the card can start exhibiting strange behavior, such as affecting the file system. |
| ⚠️ Incorrect formatting | If you format an SD card with a file system your device doesn’t support, it can end up showing as RAW. For example, if you format the card with NTFS and then use it in a device that only supports FAT32, you’ll likely run into this problem. Sometimes, even a brand-new SD card can show up as RAW if it doesn’t have a compatible file system or has factory defects. |
How to Recover Data From a RAW SD Card
When an SD card turns RAW, your operating system can’t read it, which means you’ll need specialized data recovery software to get to your files. These tools bypass the RAW status and directly access the card to retrieve your data. One of the best options out there is Disk Drill. It’s built to handle all kinds of data loss, and recovering files from a RAW SD card is no exception. Disk Drill can bring back files you deleted before the corruption, as well as files that are still on the card but no longer show up in File Explorer. The only requirement is that Disk Management needs to recognize the SD card and show the correct size.
Disk Drill offers several scan types – basic, deep, and signature-based. The latest update, Disk Drill 6, adds a new one called Advanced Camera Recovery, built specifically for recovering fragmented videos and high-quality photos, usually the kind saved by cameras on SD cards. If your SD card contains other types of data, such as documents, archives, or application files, Disk Drill can restore those as well.
Keep in mind that your SD card could fail during the recovery process. That’s why it’s a smart move to create a byte-by-byte backup first – it gives you a full copy of the card and keeps your data safe. Disk Drill has a built-in feature that lets you do exactly that.
- Download Disk Drill from the official website and install it on your PC.
- Connect your RAW SD card to the computer and launch Disk Drill.
- In the left-hand panel, click on Byte-to-byte Backup.
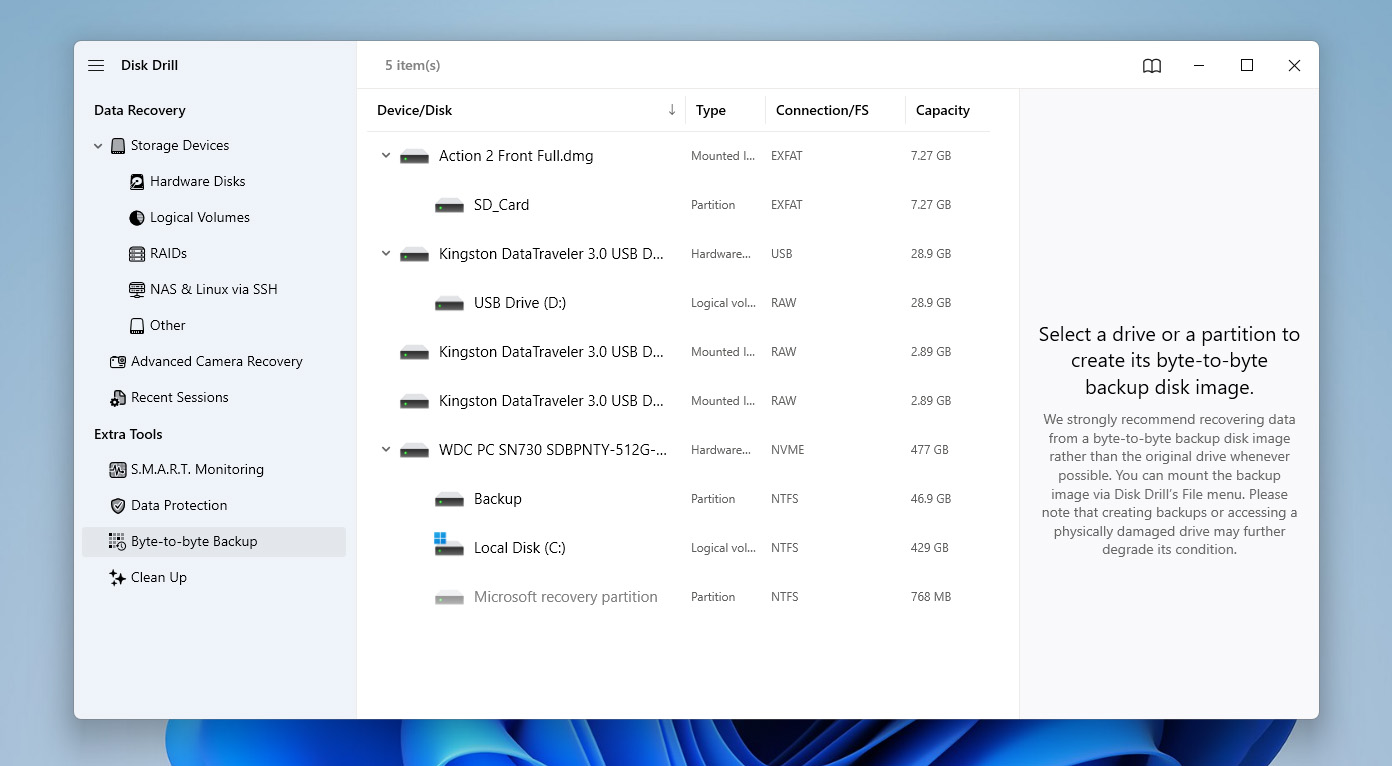
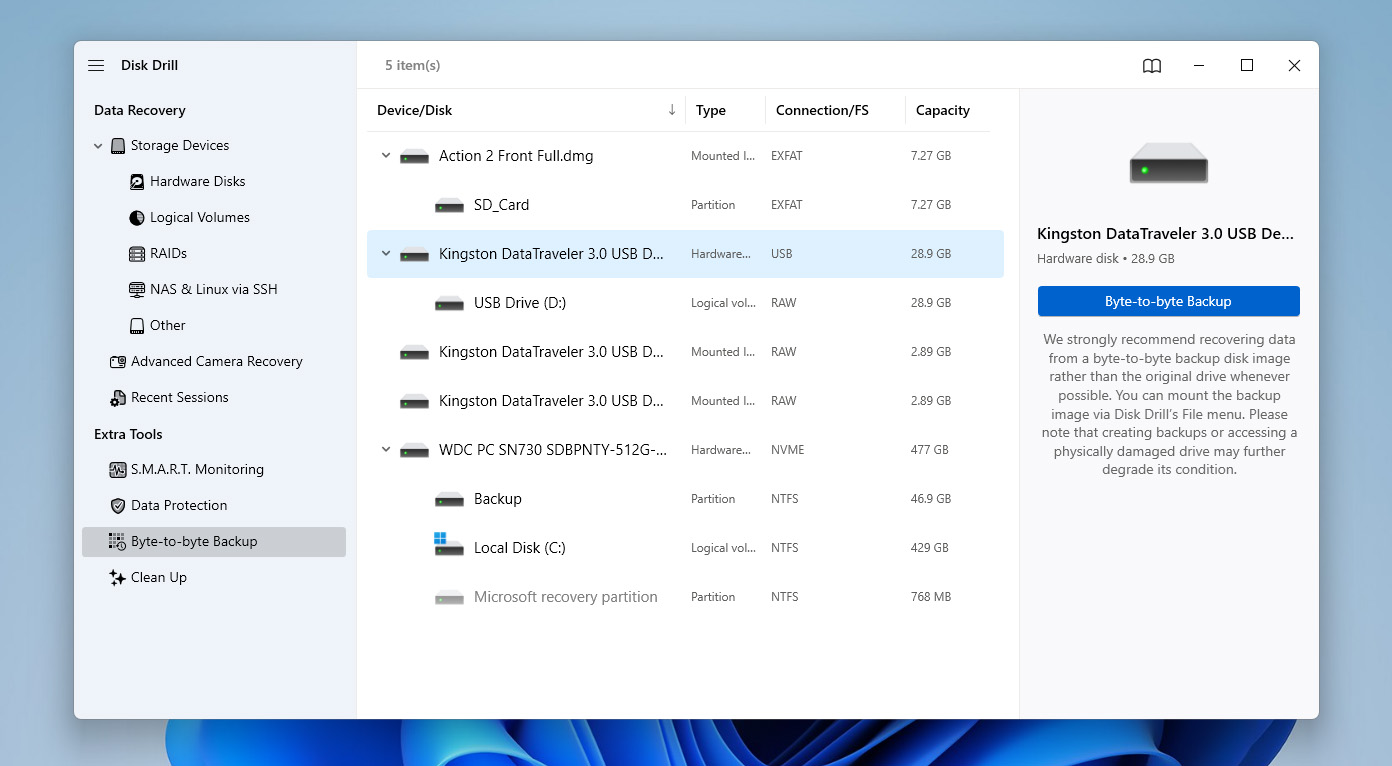
- Find your SD card in the device list. Make sure it shows the correct name and says RAW. Select it and click Byte-to-byte Backup.
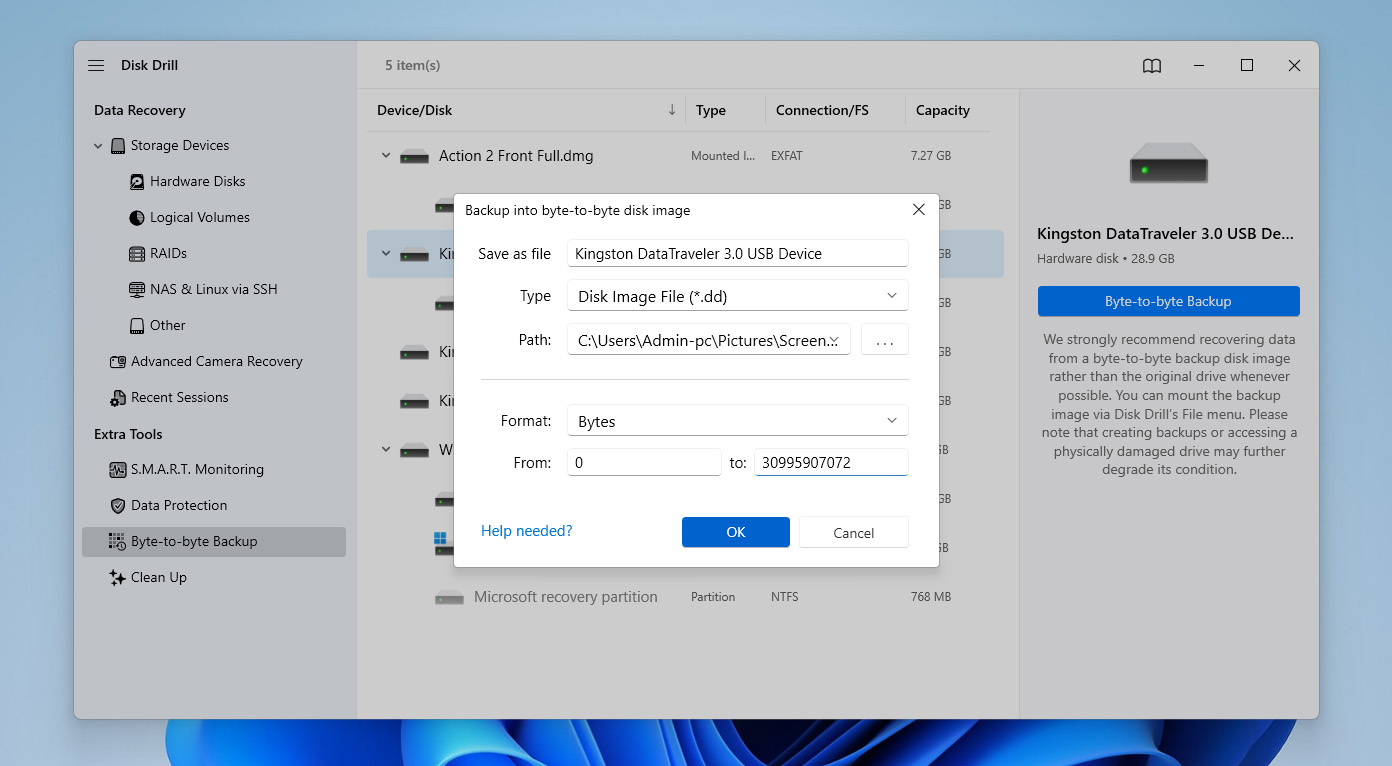
- Choose a folder to save the disk image, click OK, and wait for the backup to finish.
- When it’s done, click the house icon to go back to the main screen.
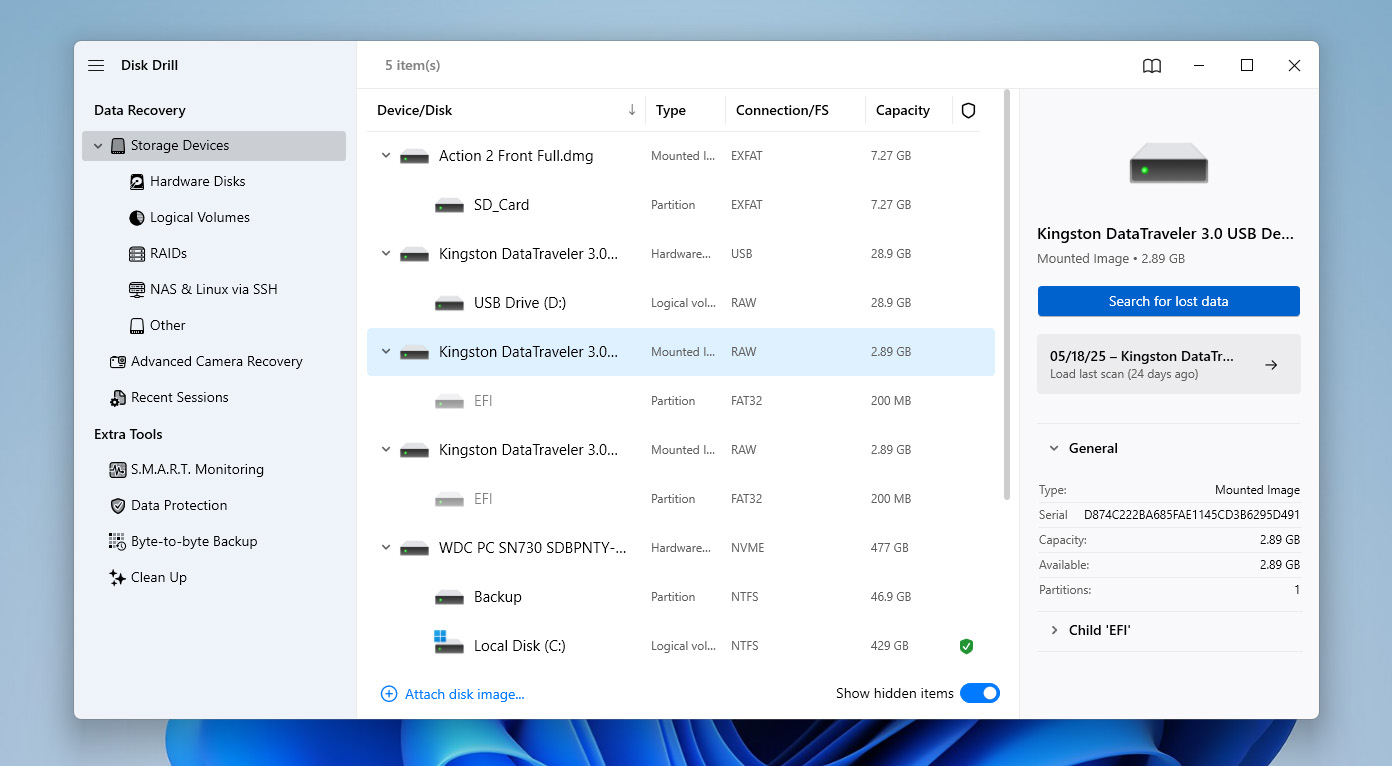
- Go to the Storage Devices section and click Attach disk image. Find the backup file you just created (it’ll have a .dd extension) and open it.
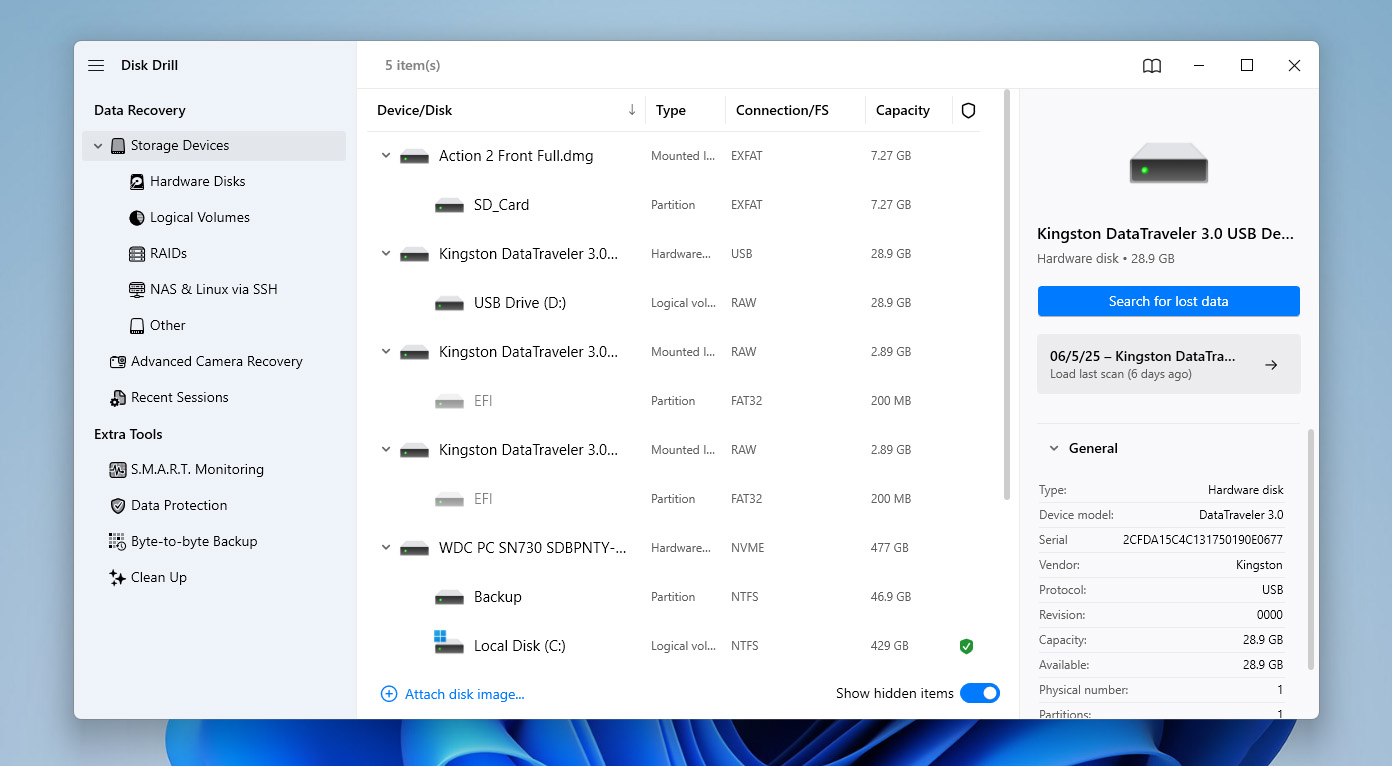
- Once the image shows up in the list of devices, select it and click Search for lost data.
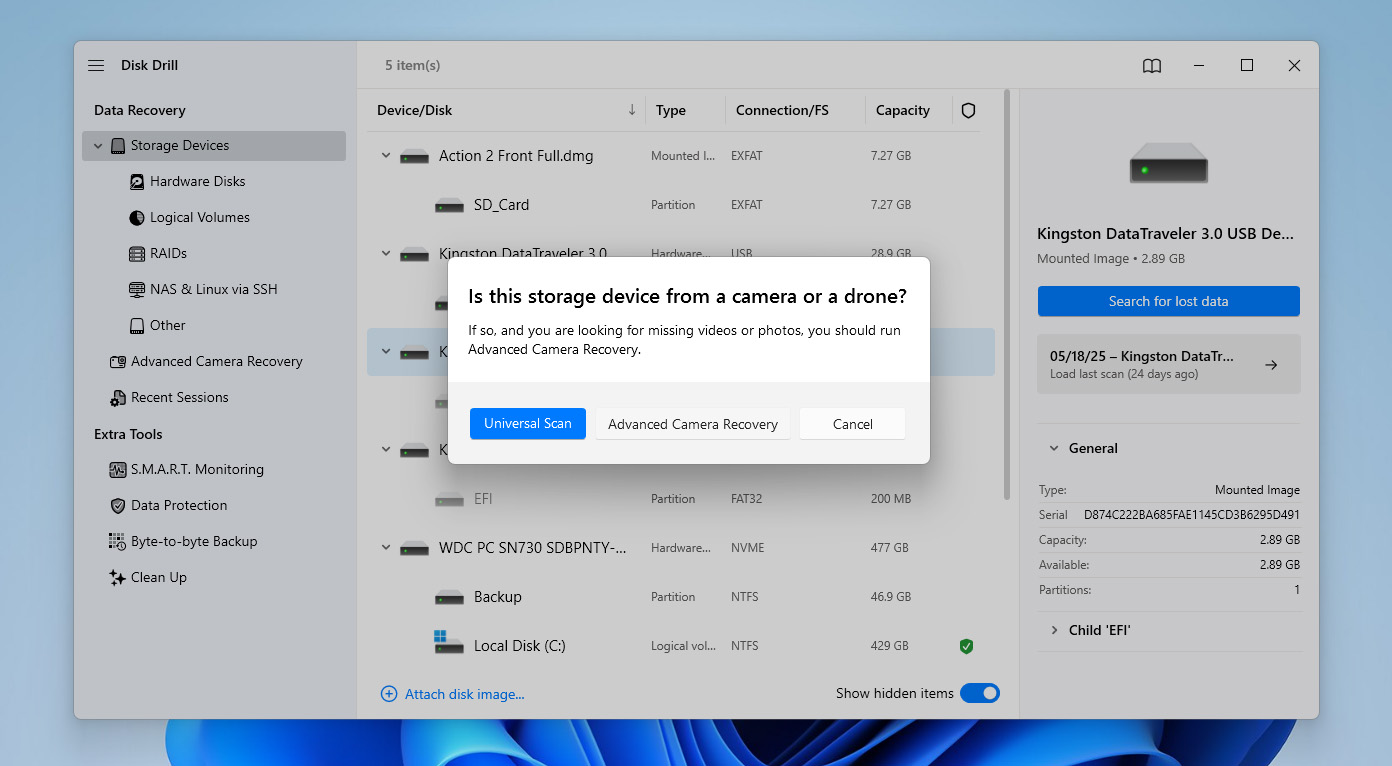
- When prompted, choose Universal Scan, because it can find and recover the entire partition and common file types. But if the recovered videos turn out to be corrupted, try to recover them with the Advanced Camera Recovery module as a follow-up option.
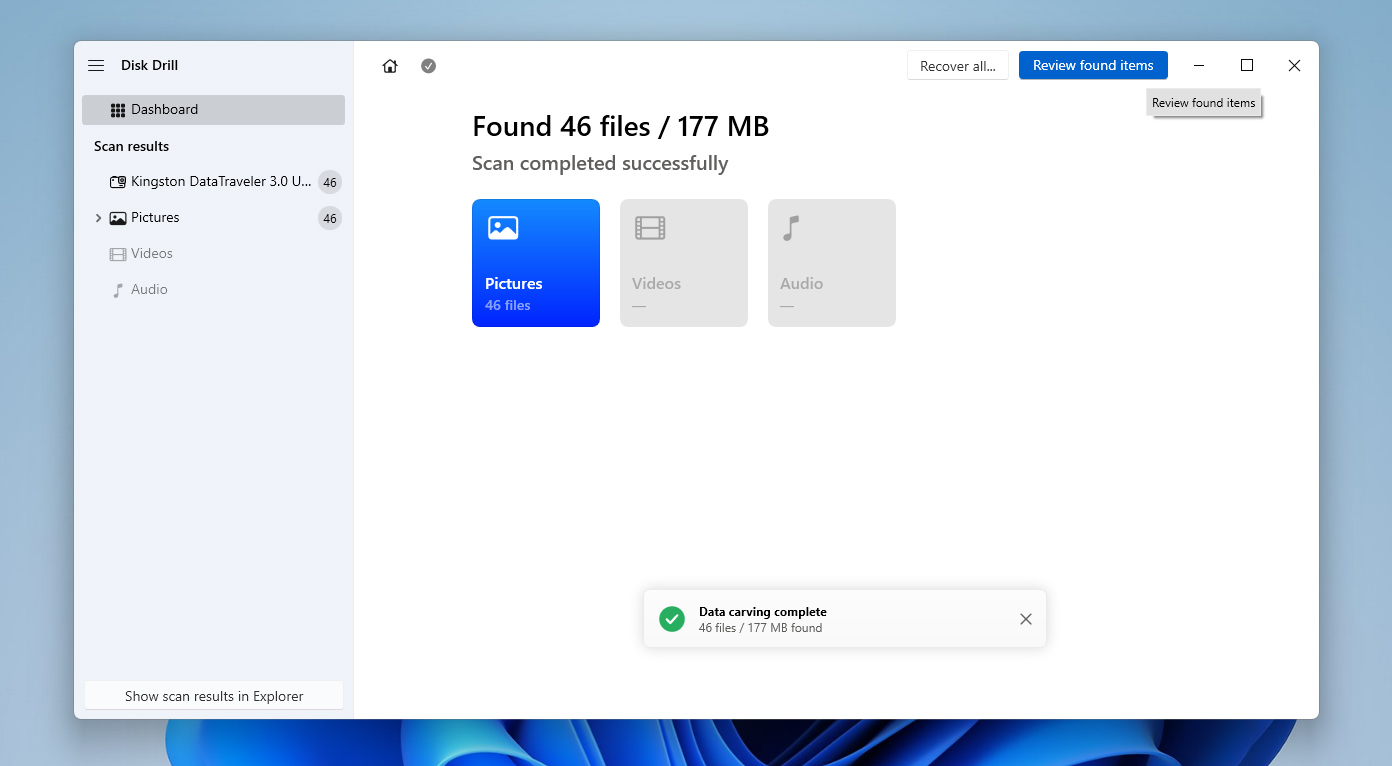
- Disk Drill will start scanning. Let it finish, then click Review found items.
- Browse through the list of recovered files. To preview a file, just double-click it. Most file types will open if Windows or your apps support them.
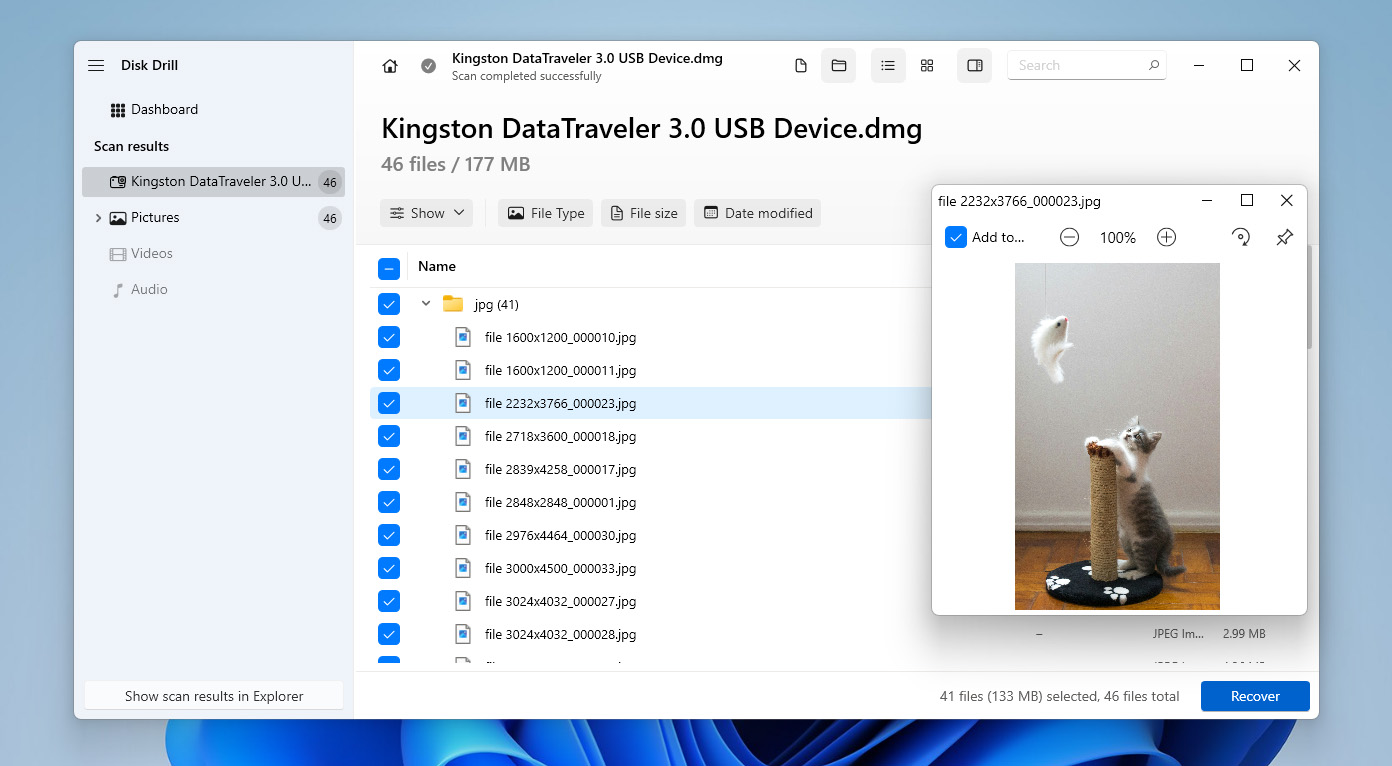
- Once you find the files you want, check the boxes next to them and click Recover.
- Pick a folder where you want to save the recovered files and click Next.
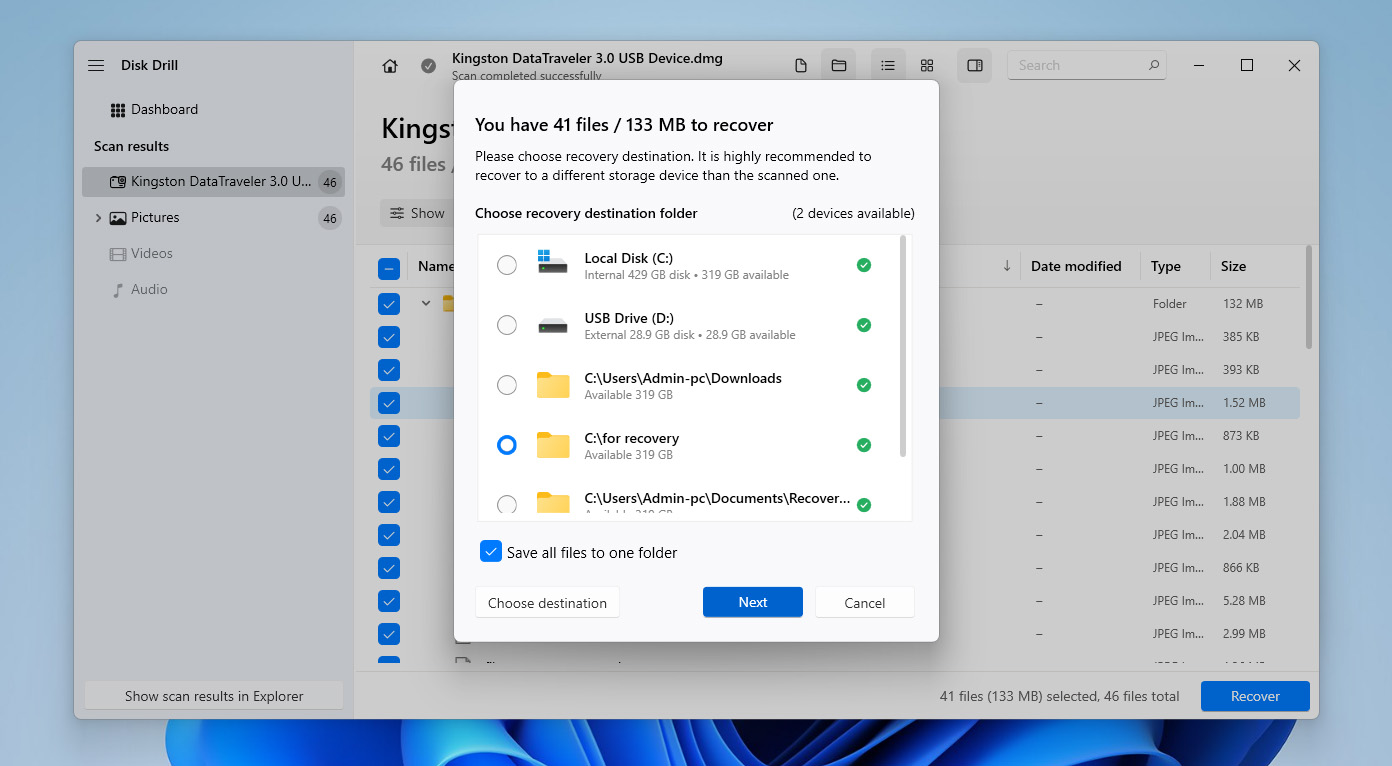
- After recovery is done, Disk Drill will show a notification. You can click Show recovered data in Explorer to view the files or just close the app.


You can create a byte-for-byte backup for free, scan the image, and recover up to 500MB of data without paying. If you need to recover more than that, you’ll need to upgrade to the PRO version of Disk Drill to unlock full recovery.
How to Fix a RAW SD Card and Make It Usable Again
Now that you’ve recovered the important data from your RAW SD card, it’s safe to move on to fixing it so you can access it normally in File Explorer. The order here really matters – trying to repair the card before recovering your files can lead to permanent data loss. If the files are still on the card but just not showing up, running a fix too soon might wipe them permanently and make further recovery impossible.
Method 1: Restore or Repair Partitions of the RAW SD Card
A RAW SD card usually shows up when your system can’t detect a proper partition. This might be caused by a deleted or damaged partition, a corrupted or missing boot sector, or major issues with the partition table. Sometimes, it’s just a case of misaligned partitions or a messed-up file system header.
To regain access to your card, you’ll need a specialized tool – standard utilities won’t suffice. One of the most reliable options out there is TestDisk. It’s a free, open-source program that can repair partition tables, rebuild boot sectors, and recover deleted partitions. It works great with RAW drives and supports a wide range of file systems.
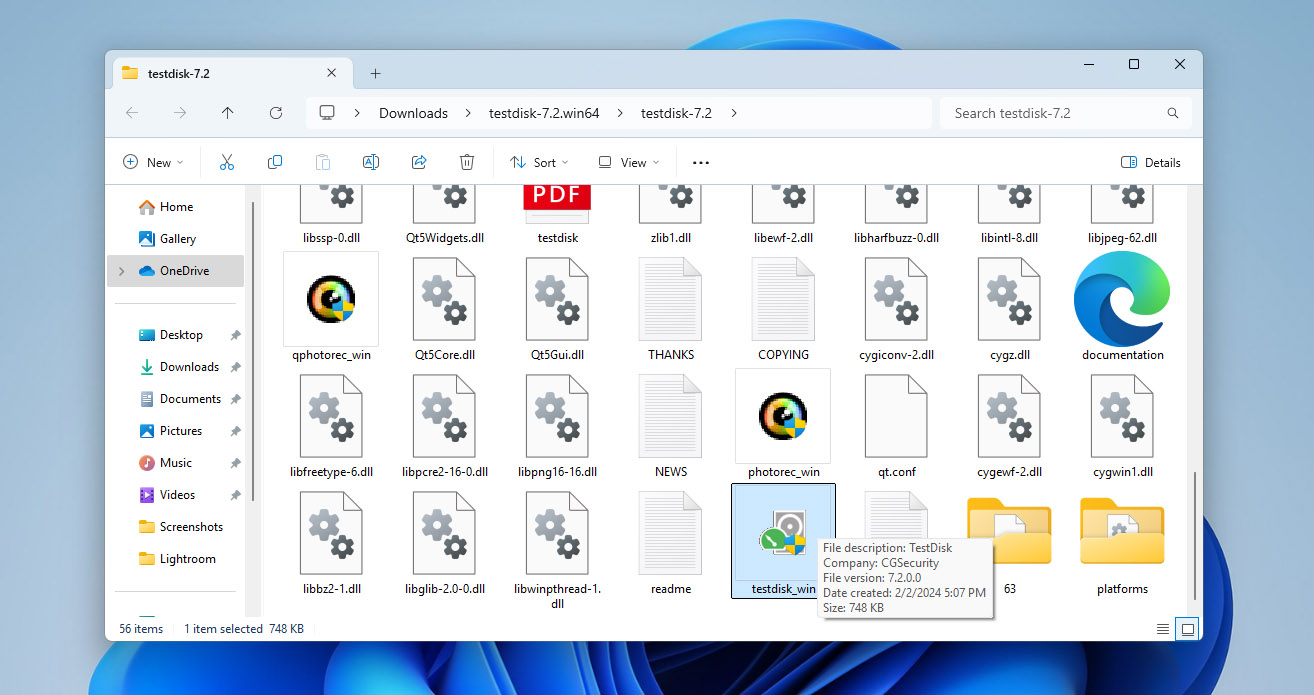
- Head to the official TestDisk site. Click Download and grab the version for Windows.
- The file comes as a ZIP archive. Extract it to a folder on your desktop or wherever you prefer. Open the folder and double-click testdisk_win.exe. This will open a terminal-style window.
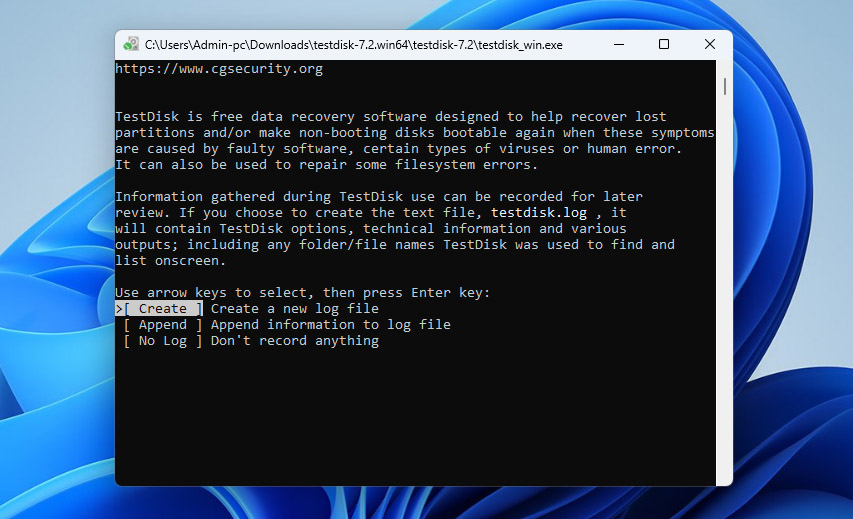
- When TestDisk starts, select Create to make a new log file.
- Choose your SD card from the list of drives. You can spot it by its size and name. Select Proceed and press Enter.
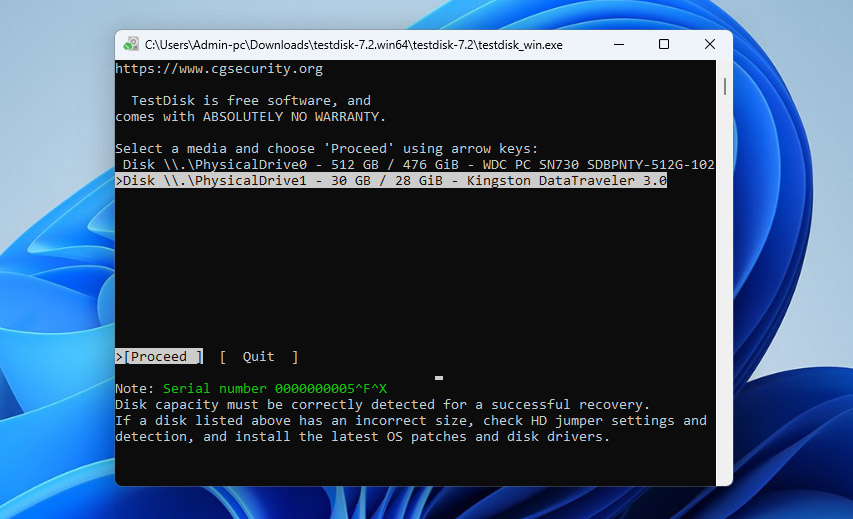
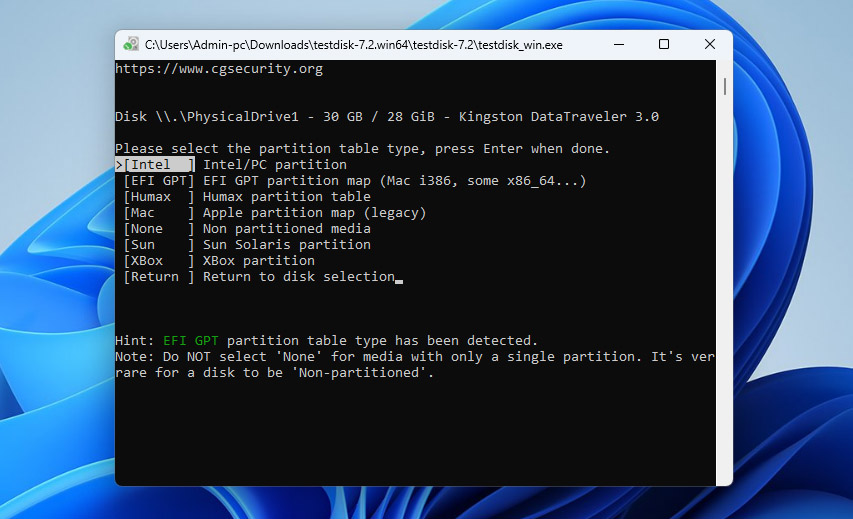
- When asked for the partition table type, go with Intel (this works for most SD cards) and press Enter.
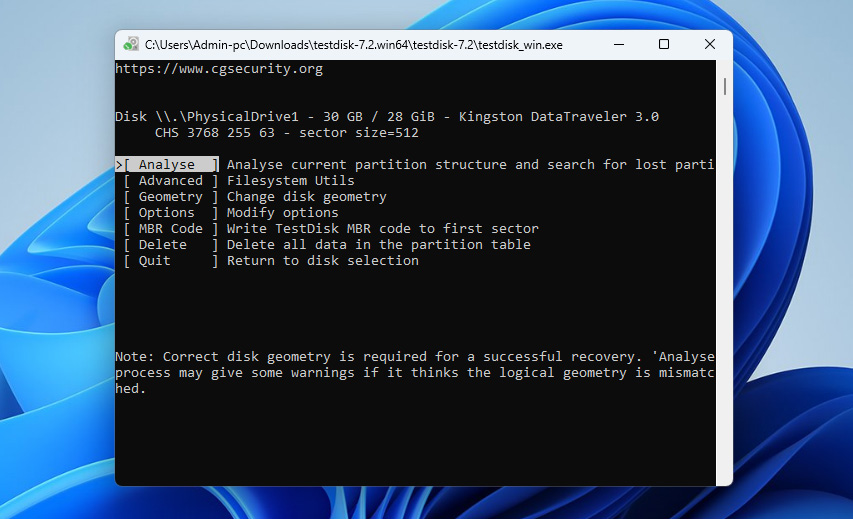
- On the next screen, choose Analyse and hit Enter. TestDisk will scan the card for its partition structure.
- If it finds a valid partition, highlight it and select Write to restore it.
- If nothing shows up, choose Deeper Search to run a more thorough scan.
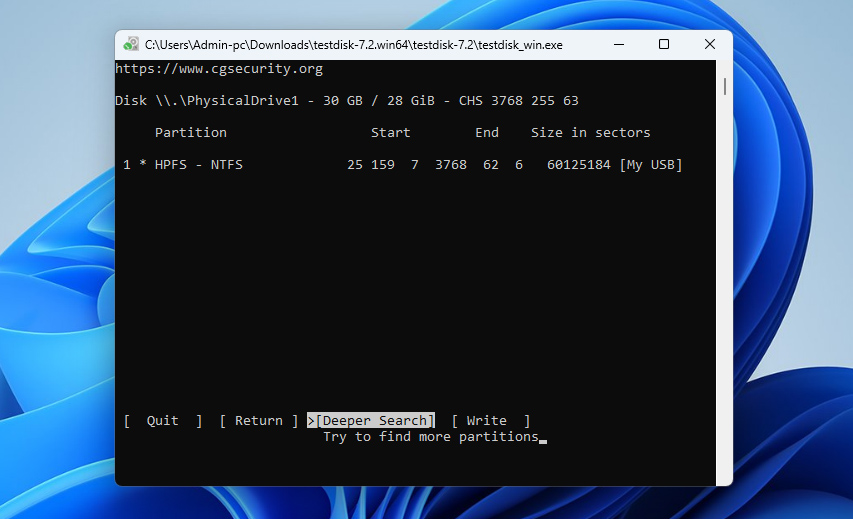
- Once you find the right partition, confirm and choose Write again.
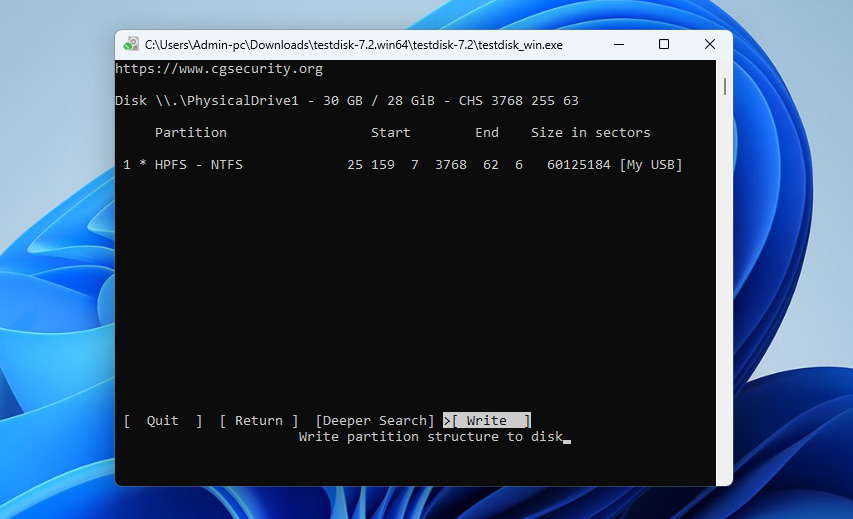
- Press Y to confirm the write. Exit TestDisk and restart your computer. Your SD card should now show up with its file system restored.


If the partition repair works, you’ll be able to access your files right from File Explorer. If the SD card still shows up as RAW, move on to formatting it – that’s covered in the next section.
Method 2: Format RAW SD Card From File Explorer
If the previous method didn’t get your SD card working (or you’d rather skip it for now), your only real option is to format the card. Formatting installs a brand-new file system to replace the corrupted or missing one. That way, your operating system can recognize the card, assign it a drive letter, and let you store files on it again.
There are a few different ways to format an SD card, or any storage device, but they all do the same thing in the end. In this section, we’ll walk you through how to do it using File Explorer. If you want to check out other methods, take a look at our guide on safe formatting options.
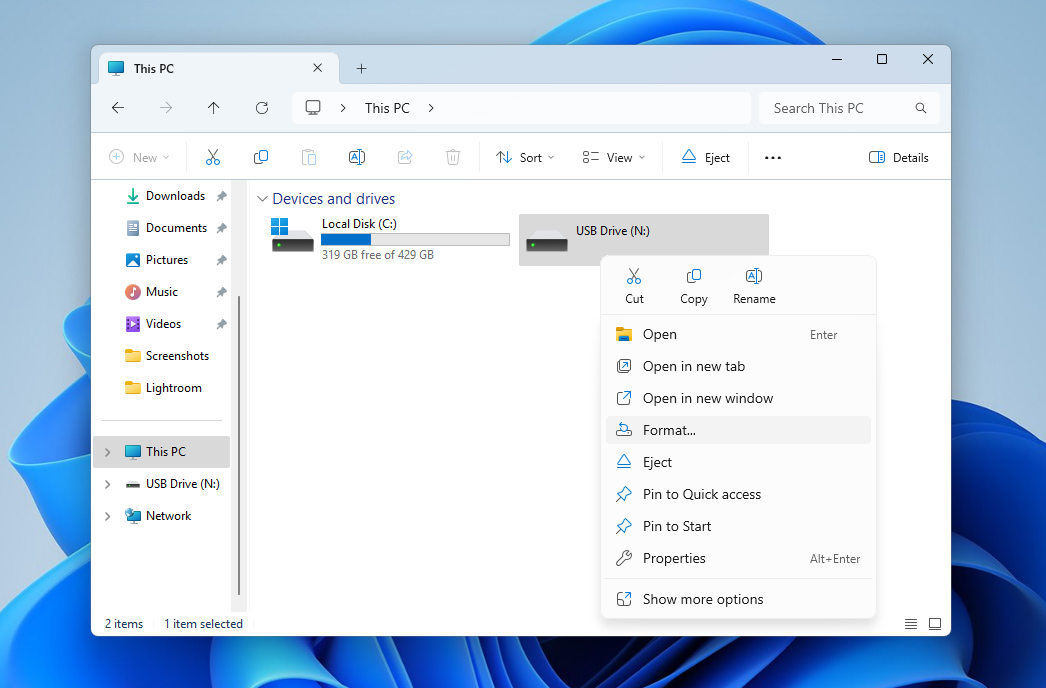
- Open File Explorer and find your SD card in the list of drives.
- Right-click the SD card and choose Format from the menu.
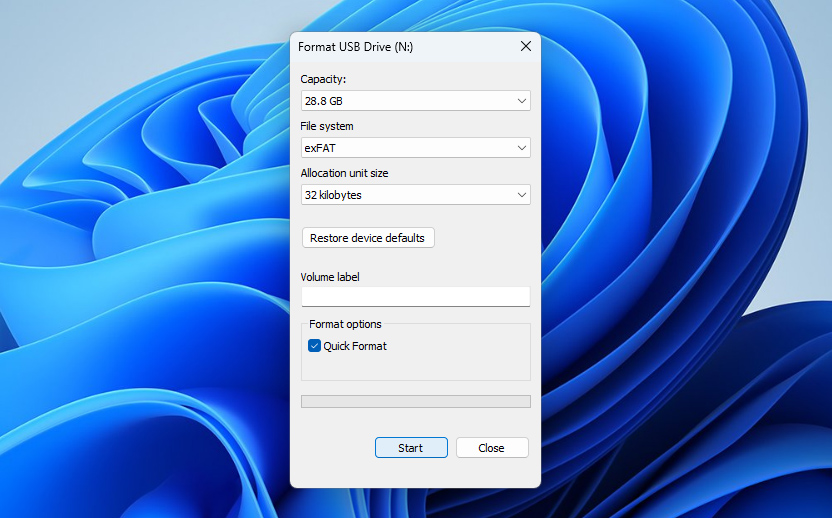
- In the pop-up window, pick a file system (FAT32 or exFAT). If you want a full reset, uncheck Quick Format, then click Start.
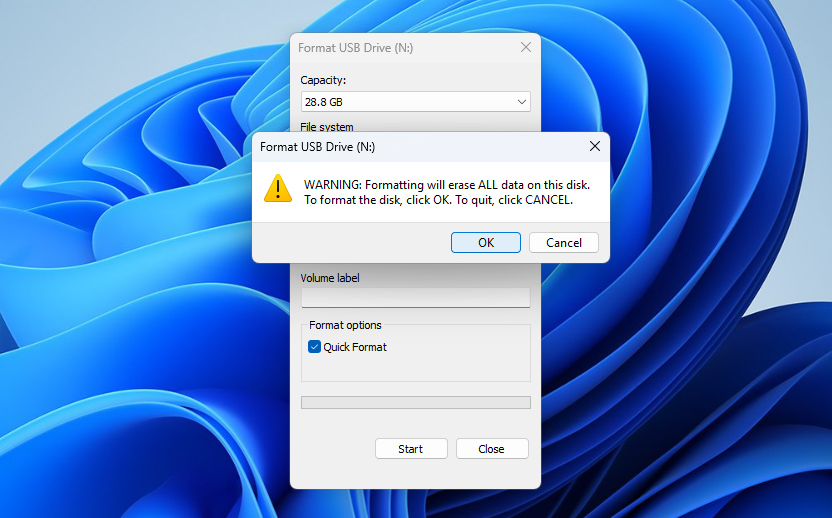
- Confirm the warning about data loss, and the system will begin formatting the card.
- When it’s done, check if the SD card opens normally in File Explorer.


This process should get your SD card working again. But if it still shows up as RAW after formatting, there’s a good chance it has a physical issue. At that point, you might want to replace the card or have it checked out by a data recovery pro.
Wrap Up
So now you know – if your SD card goes RAW, it doesn’t mean your data is gone for good. Tools like Disk Drill and a few others can help you get it back. If you’re not comfortable using recovery software yourself, you can always contact a professional data recovery service. Just keep in mind that the route usually costs more than buying a software license.
If your data is important, recover it first before trying to fix the card. Doing things the other way around could wipe your data. If you format the card before recovering your files, you’ll need to use more advanced methods to get that data back – and even then, there’s no guarantee it’ll work. A full format, in particular, overwrites everything and destroys any chance of recovery.
Also, make sure you’re using your SD cards the right way. Always eject them safely (don’t just pull them out). Avoid saving shady files that might have viruses or malware. And steer clear of running unknown tools or doing anything risky with the card. Remember, SD cards aren’t built to last forever. Most can handle around 10,000 write cycles per memory block. If your card starts acting up or it’s been around for a while, it’s probably time to swap it out for a new one to avoid future problems.
FAQ:
- Windows prompts you to format the card
- File Explorer doesn’t show any files or folders
- Disk Management lists the file system as RAW instead of FAT32 or exFAT
- Connect the SD card to your computer and make sure it is recognized.
- Open Disk Management (on Windows, go to Start > Control Panel > Administrative Tools > Computer Management > Disk Management).
- Right-click the RAW SD card and select Format.
- Choose the FAT32 file system from the list of options.
- Click Start to initiate the formatting process.
- Wait for the process to complete, and then check if the SD card is now recognized and usable.
- diskpart
- list disk
- disk X
- formatfs=FAT32