
Reading Time: 8 minutesIf you delete files using Shift+Delete, don’t be surprised when you cannot find them in the Recycle Bin if you try to recover them. These files bypass the Recycle Bin entirely. However, this doesn’t mean they’re lost forever. Once you know the main details (which we’ll explain) and choose the right method (which we’ll share), you can recover shift-deleted files without extra efforts or complications.
Is It Possible to Recover Shift-Deleted Files?
Files deleted with Shift + Delete skip the Recycle Bin and are usually considered permanently deleted. However, that’s not entirely accurate. These files still exist in your drive’s file system but don’t appear in standard access tools like File Explorer.
- You can recover these files as long as new data hasn’t overwritten their space. For example, creating new files or downloading content to the same disk can overwrite deleted files, which makes them unrecoverable. So, don’t add anything new to the disk after you’ve used Shift + Delete until you’ve tried recovering your files.
- It’s also important to know what storage device you’re dealing with. If it’s an SSD, it uses a feature called TRIM. TRIM automatically wipes data blocks that the operating system marks as no longer in use. This physically deletes the data and makes recovery impossible. That’s why recovering shift-deleted files from an SSD is more difficult.
- But if you have backup copies of your files, whether on a separate device or made with Windows’ built-in backup tools, you don’t need to worry. You can restore overwritten or erased files using those backups, even if TRIM has cleared the originals.
How to Recover Shift-Deleted Files on Windows
To recover shift-deleted files, you have two main options. The first is to restore from backups, if available. The second is to use data recovery software, which scans the file system for deleted files and restores them if they haven’t been overwritten. Since most people don’t create backups, we’ll start by covering data recovery software.
Method 1: Use the Data Recovery Software for Windows
Data recovery software offers the easiest way to recover files. Among the available options, we recommend Disk Drill. This tool handles many data loss scenarios, including shift-deleted files, whether they’re on internal or external hard drives, SSDs, flash drives, or other storage devices. Additionally, Disk Drill includes a preview feature that lets you verify the files before restoring them, especially helpful when file names aren’t clear.
We also want to note that Disk Drill supports a large variety of file types, increasing the chances that all your shift-deleted files will be recovered. Furthermore, Disk Drill preserves the original folder structure, making it easier to locate the files you need within the scan results.
- Download and install Disk Drill, but avoid installing it on the same drive where you deleted files using Shift+Delete, as this could overwrite those files.
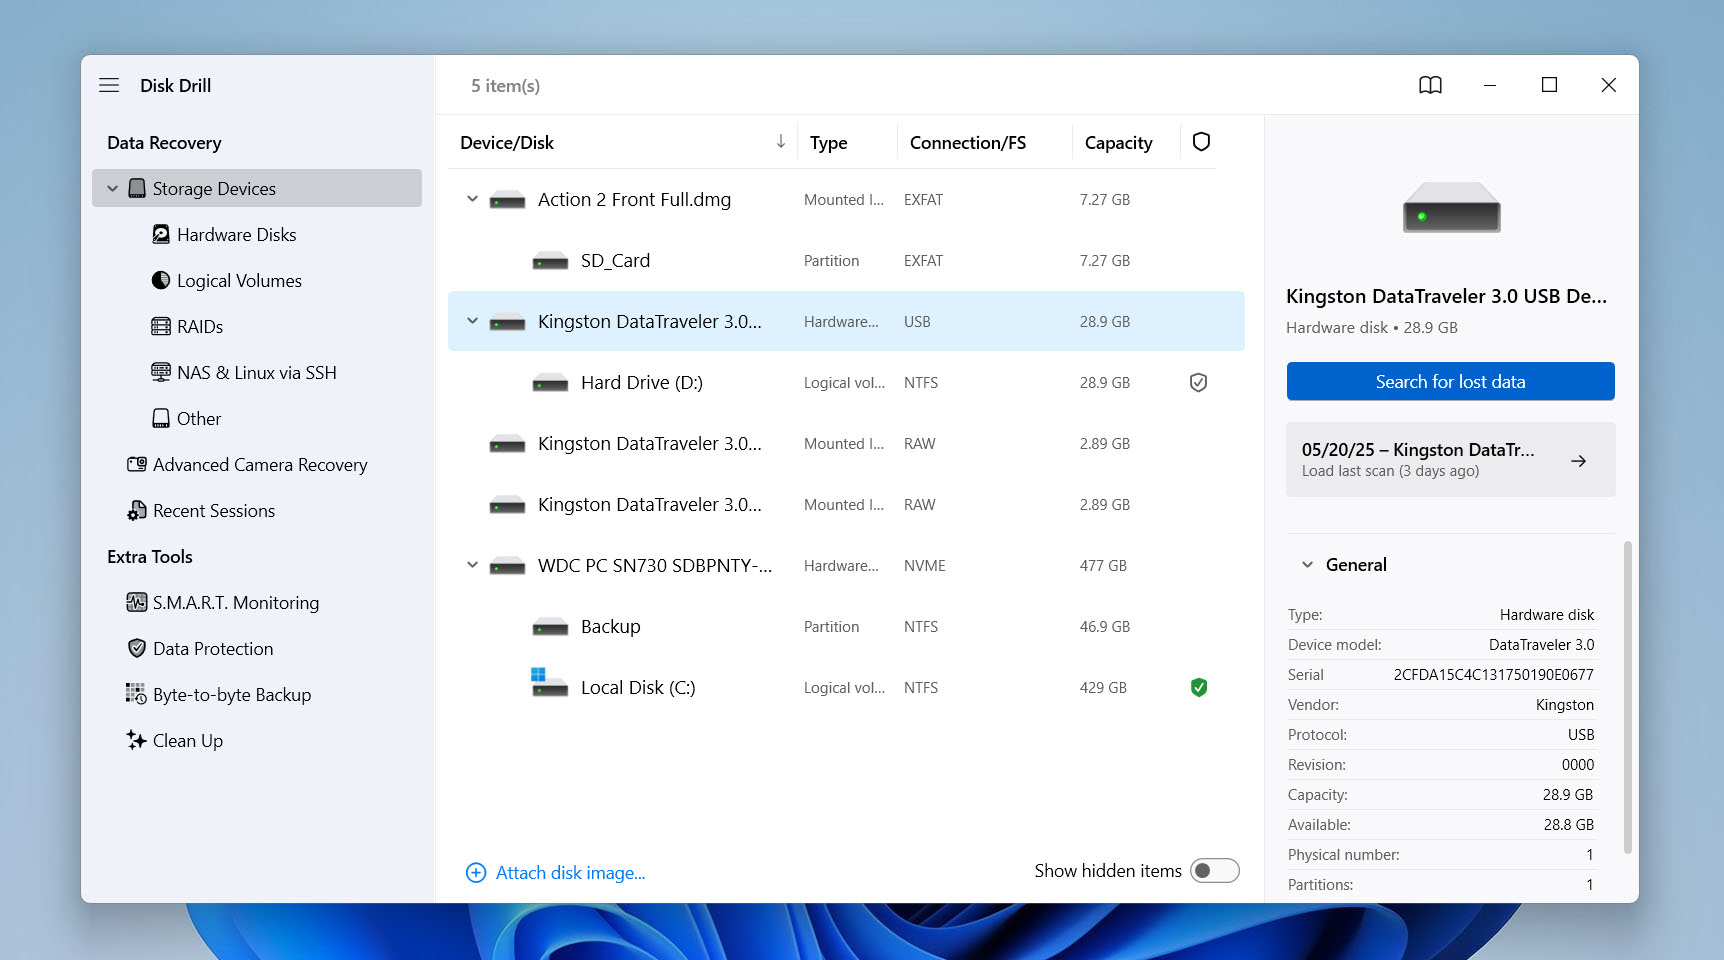
- After installation, open the program. From the device list, select the drive that holds the deleted files. Click Search for lost data.
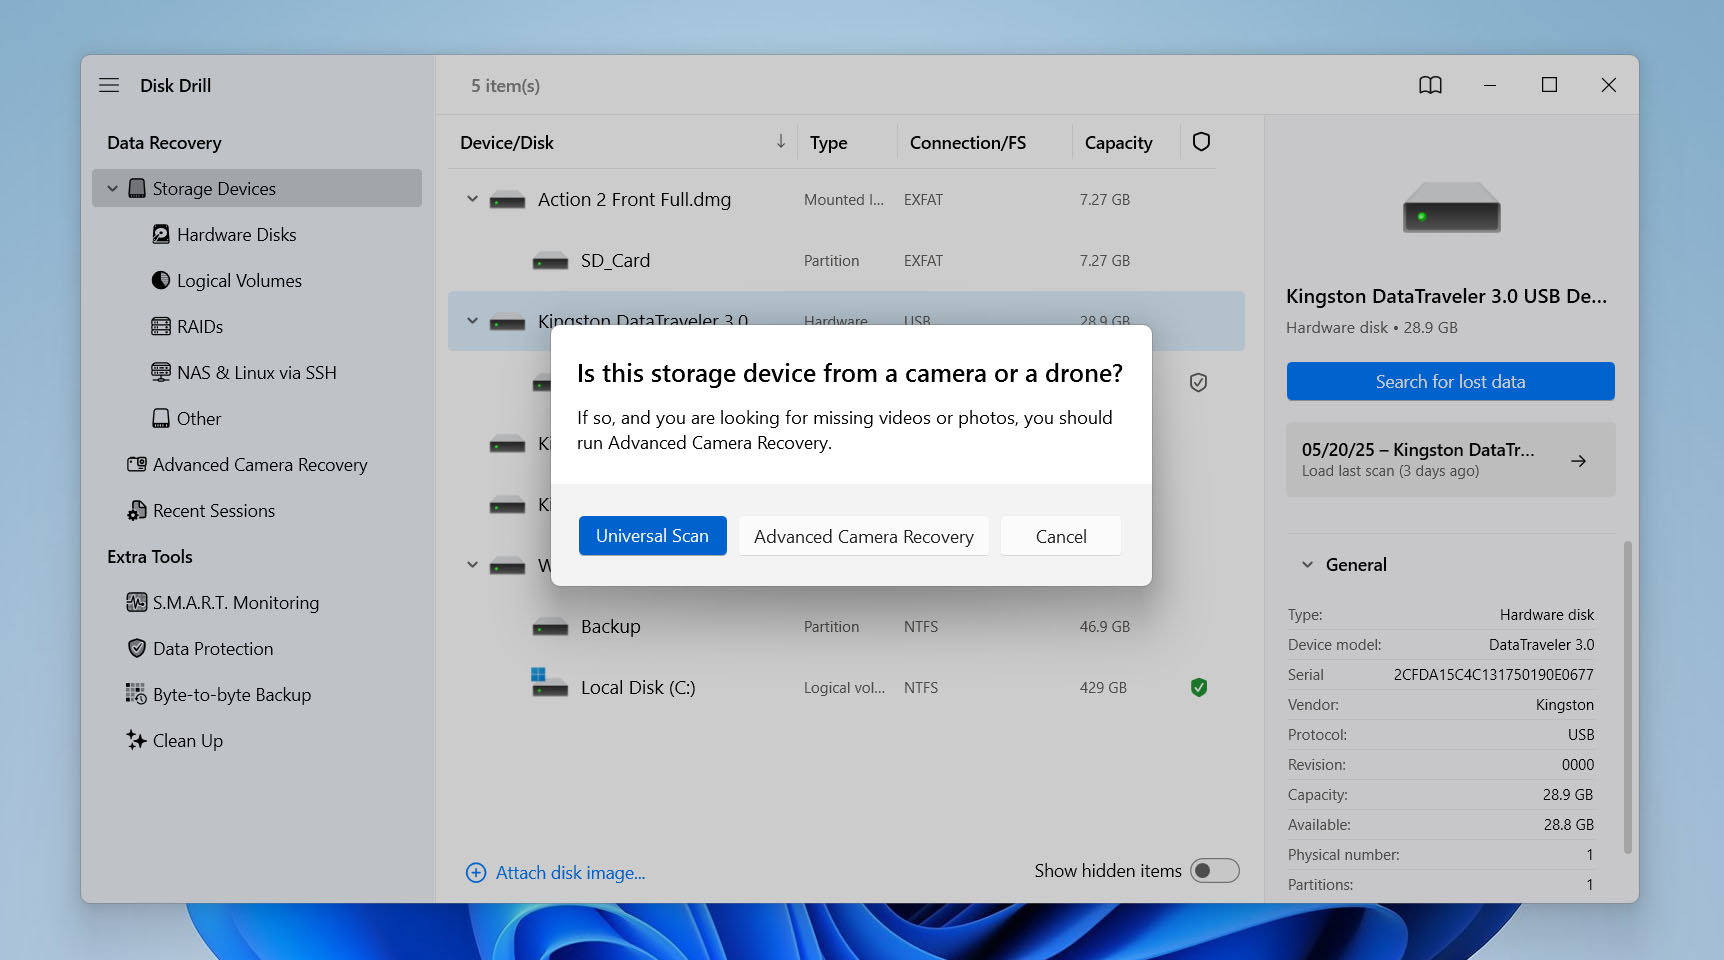
- When prompted to choose a scan type, select Universal Scan. If you’re recovering photos or videos from a camera’s SD card, choose Advanced Camera Recovery instead – this option handles fragmented files often found on camera storage.
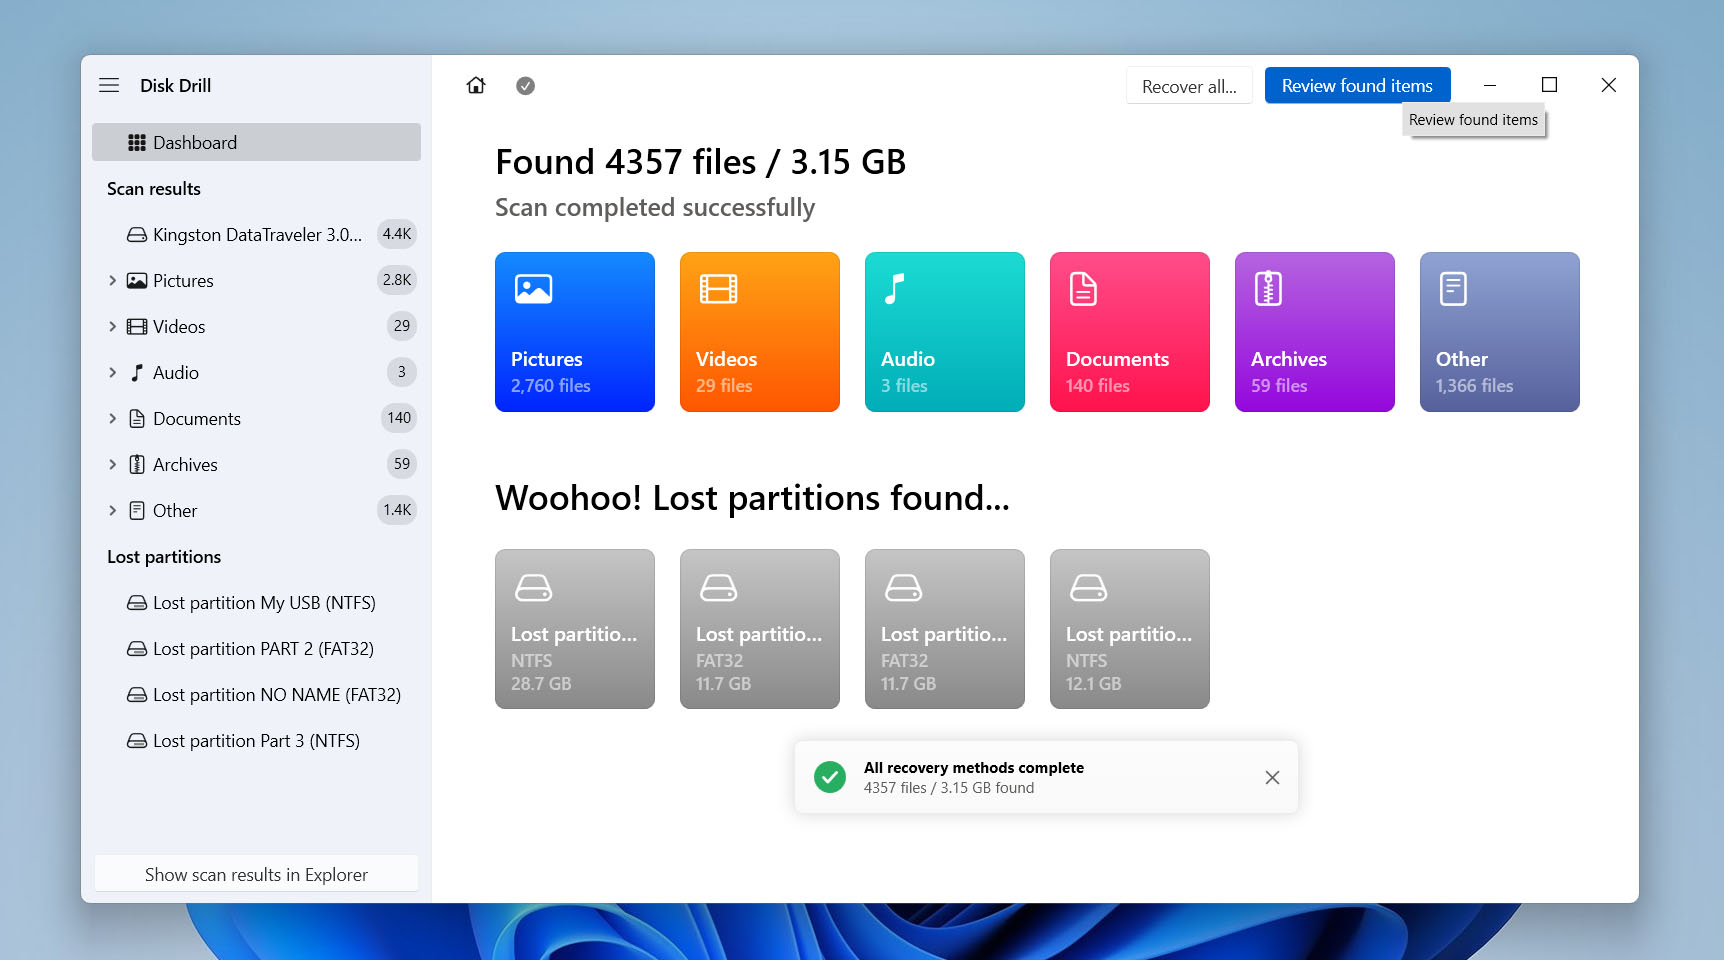
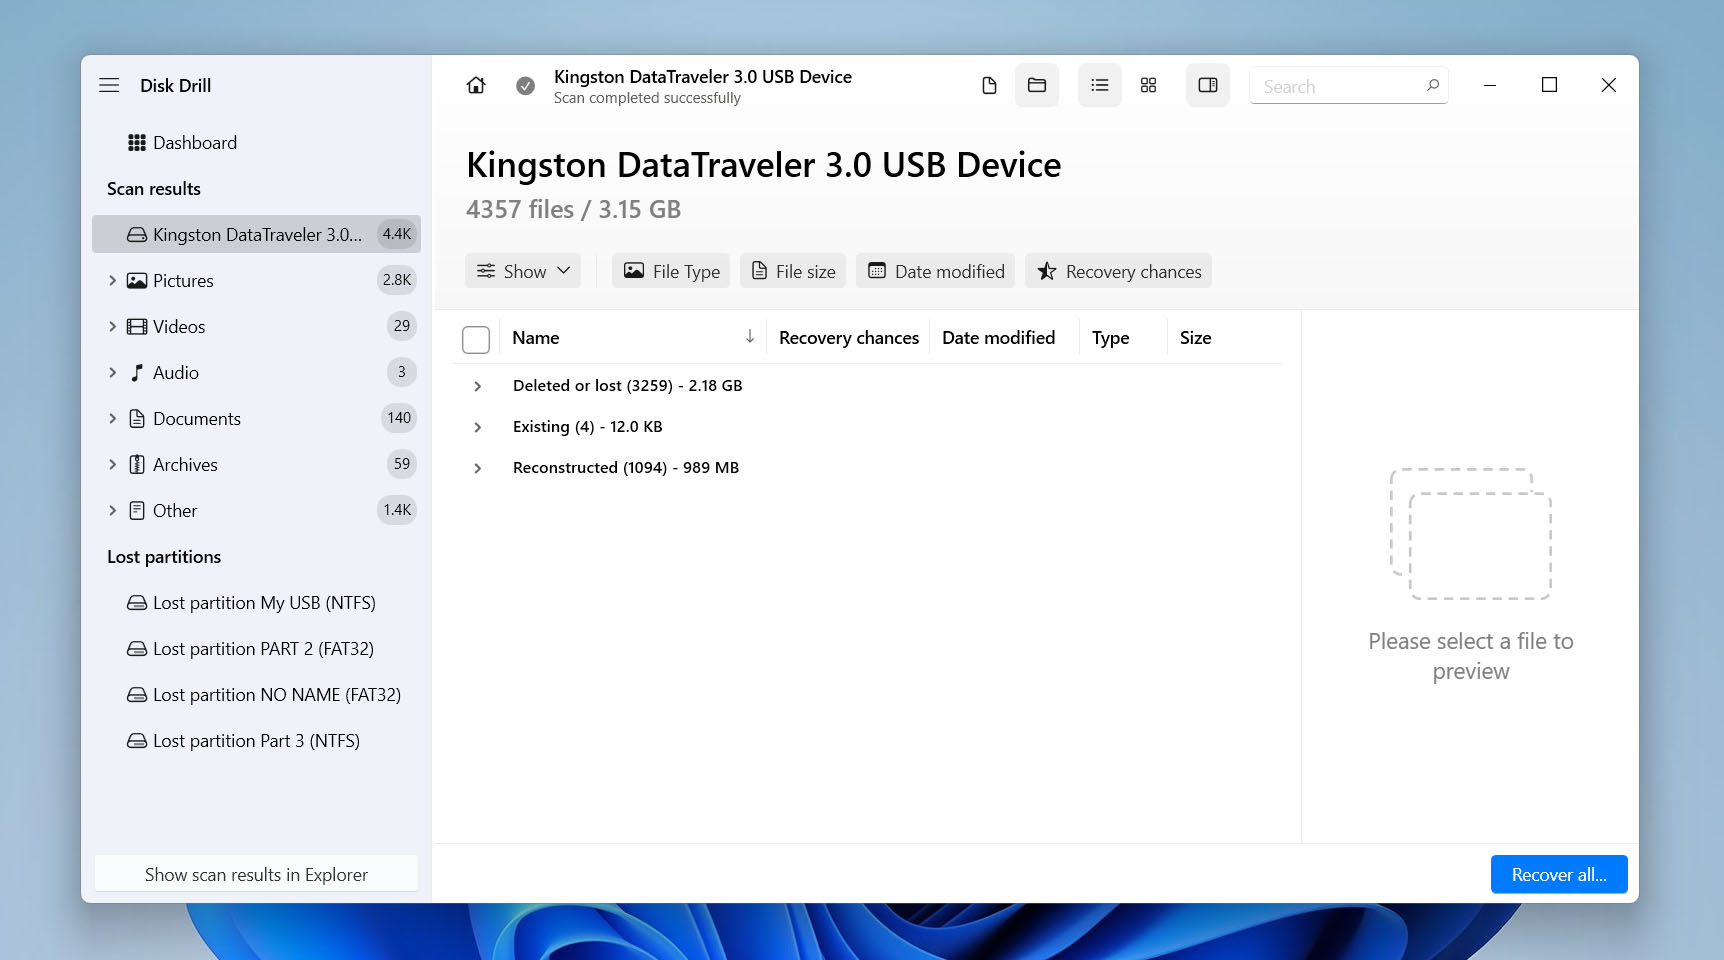
- Disk Drill will scan the drive for deleted files. Scan time varies depending on the drive’s size. You can preview files during the scan, but it’s best to wait until it finishes for an accurate recovery estimate. When done, click Review found items.
- The results will be shown in three categories: Deleted or Lost, Existing, and Reconstructible. Start by reviewing files in the Deleted or Lost category.
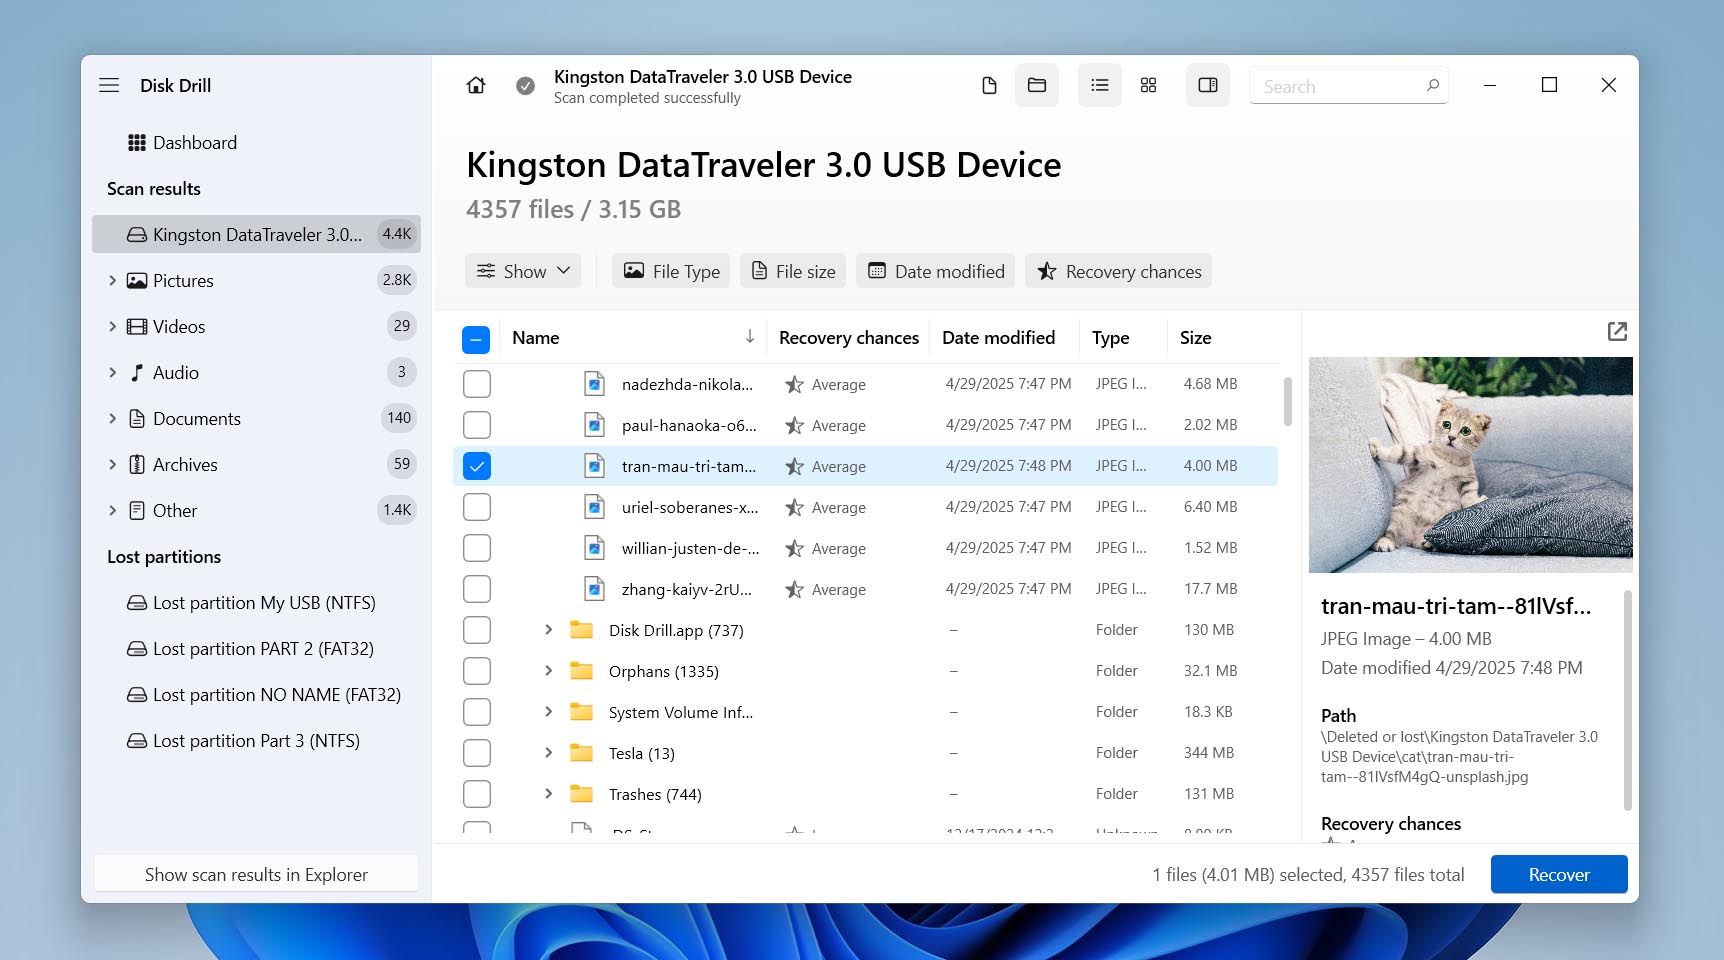
- Check the boxes next to the files you want to recover, then click Recover.
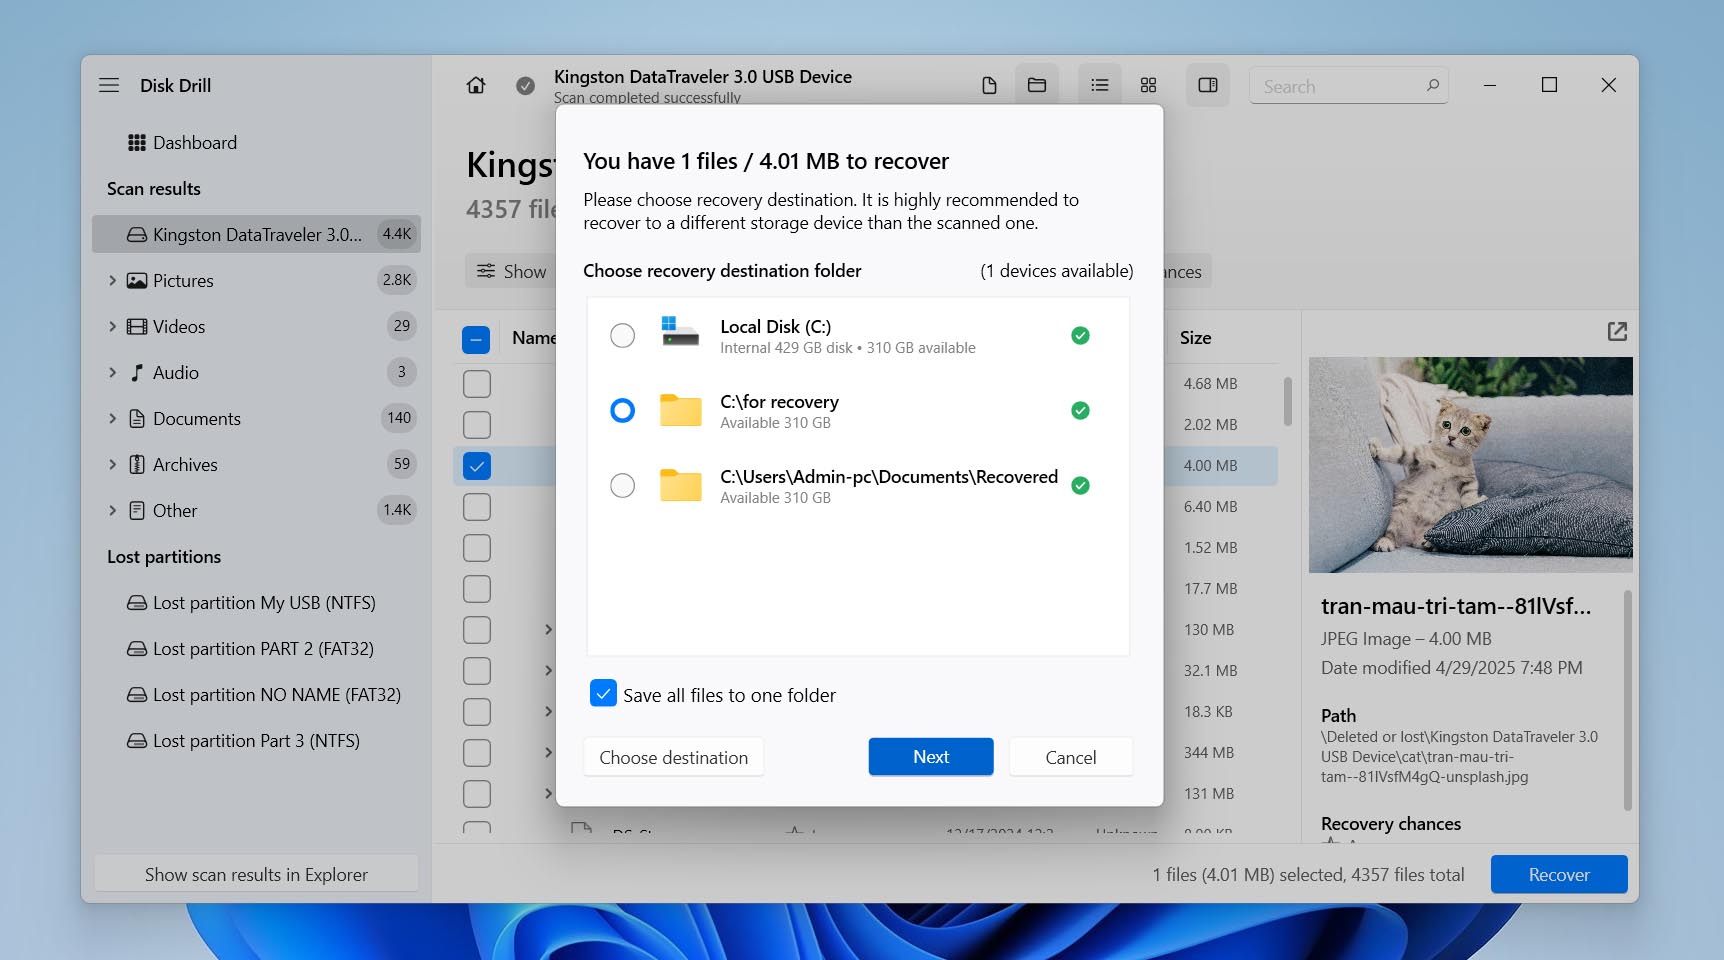
- Pick a recovery location different from the original drive, especially if you plan to run another scan, and click Next.
- Disk Drill will complete the recovery and notify you. Click Show recovered files in Explorer to view them immediately, or close the program and access your files later.


Disk Drill lets you recover up to 500MB of files for free. That’s usually enough if you used Shift+Delete on a bunch of files, but not entire folders. If you need to go beyond that limit, you’ll need to upgrade to the Pro version.
If you’re looking for totally free tools to recover shift-deleted files, check out Windows File Recovery, PhotoRec, and Recuva. They aren’t as advanced or user-friendly as Disk Drill, but they can still get the job done if you take the time to learn how they work.
Method 2: Undelete Shift-Deleted Files Using File History
If you’ve got a backup with the files you need, recovering shift-deleted files is much easier. One common type of backup is File History. It automatically backs up main folders like Documents, Music, Pictures, Videos, and your Desktop. That means you can roll back to earlier versions of files if something goes wrong.
File History only works if you turn it on before you delete the files with Shift + Delete. If it wasn’t set up ahead of time, this option won’t help.
- Start by opening the Control Panel, then head to System and Security and click on File History.
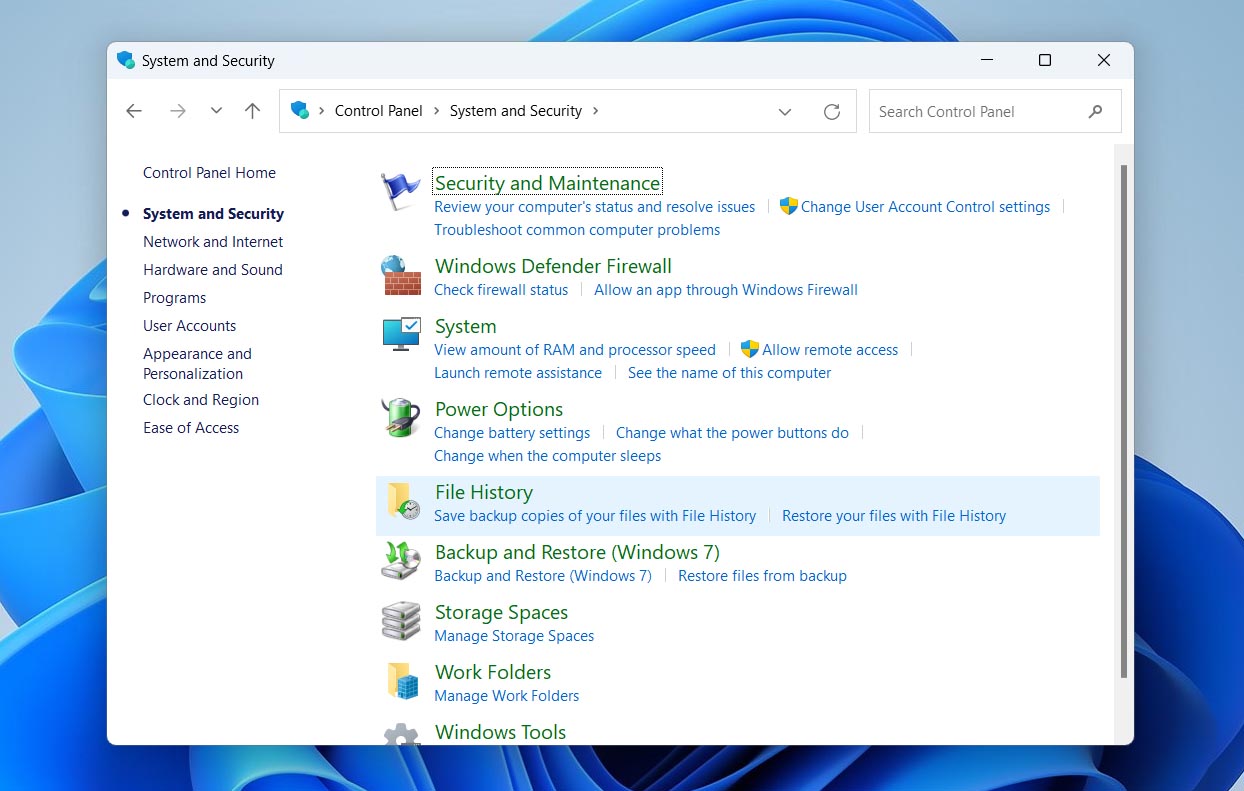
- If File History is turned on, you’ll see a Restore personal files option on the left. Click it to browse through your backed-up folders.
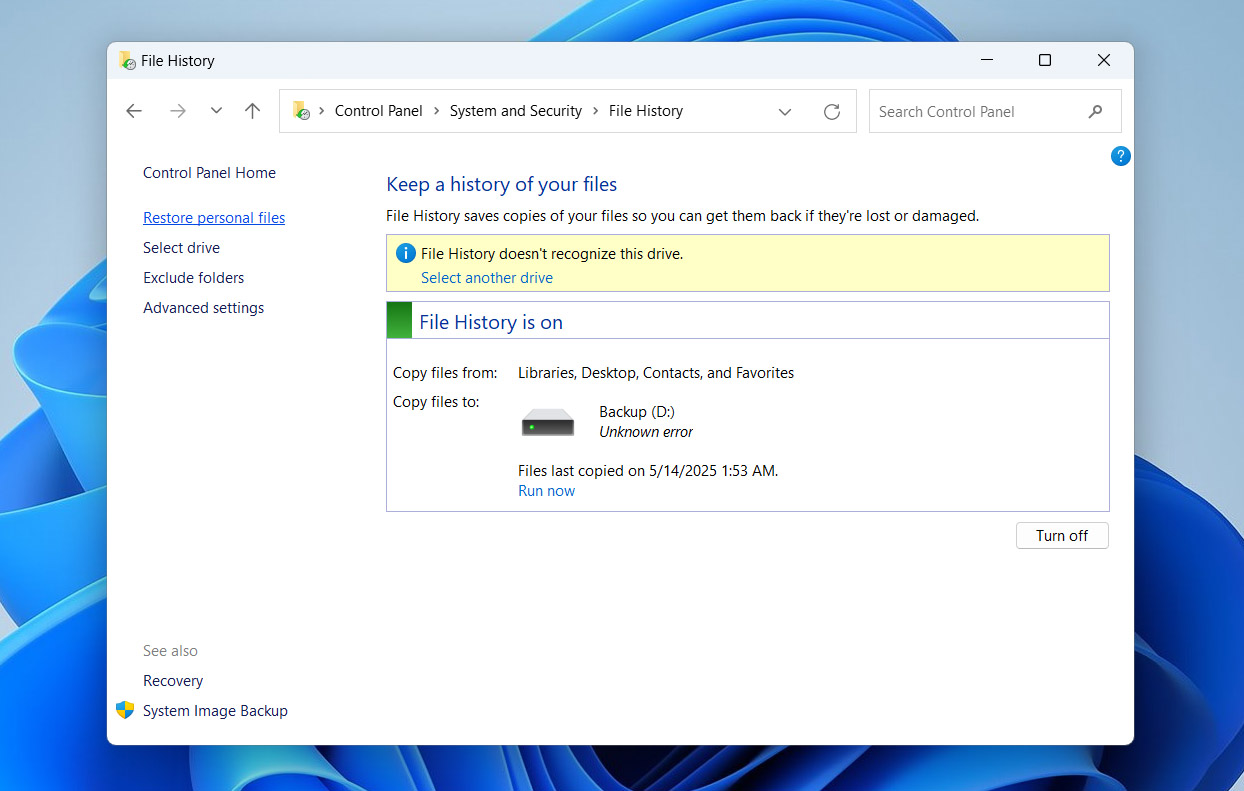
- Once you find the files or folders you want to bring back, select them and hit the green Restore button at the bottom. They’ll go back to their original locations.


Method 3: Recover Shift-Deleted Files Using the Previous Versions Feature
As a follow-up to the previous method, if you had File History turned on before you pressed Shift+Delete, you might be able to restore an earlier version of the folder where the deleted files were stored. Doing this brings the folder back to how it looked at a previous point in time, which can recover your lost files. This method only works if File History has already saved backups, since it pulls from those saved versions.
If you’ve added new files to the folder since the deletion, don’t worry – those files will stay right where they are. Restoring a previous version won’t delete anything that’s currently there. It only brings back files that were deleted and replaces any that were changed since the backup.
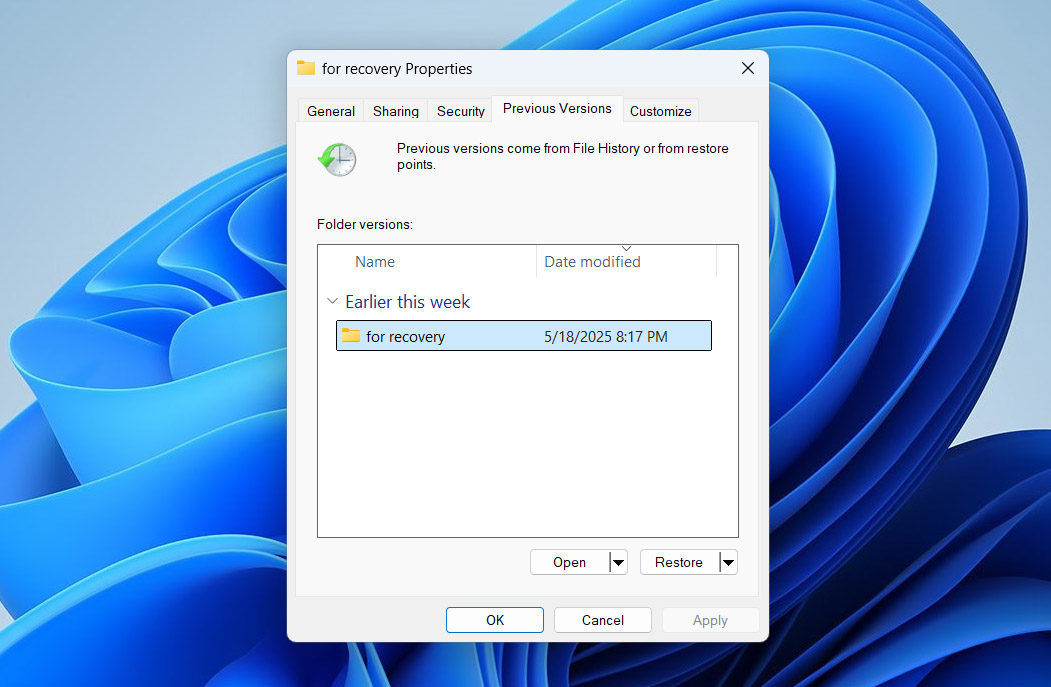
- Locate the folder where the deleted files were stored. Right-click the folder and select Properties.

- Go to the Previous Versions tab.
- Select the version of the folder you want to restore from the list.
- Click Restore to replace the current folder with the selected version, or click Open to view the contents before restoring.
- Confirm your choice if prompted to complete the restoration.


Method 4: Use Backup and Restore Option to Recover Shift-Deleted Files
File History isn’t the only backup tool built into Windows. Another option is Backup and Restore, which works a bit differently. While File History saves updated versions of your personal files in certain folders, Backup and Restore lets you create full system images or schedule regular backups of specific files and folders. This method allows you to restore entire libraries, folders, or even your whole system to a previous state.
You need to set up Backup and Restore before deleting files with Shift+Delete. If it wasn’t already running, it won’t help you recover those files.
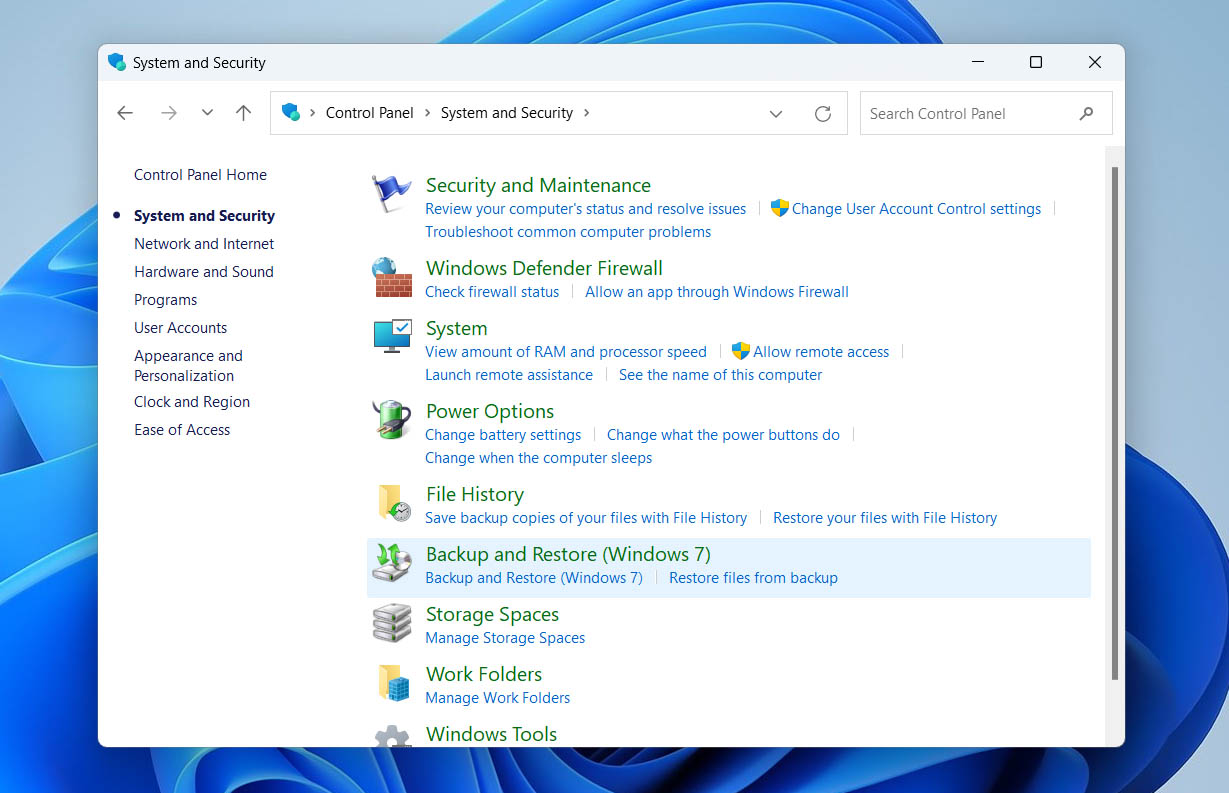
- Open the Control Panel. Select System and Security.
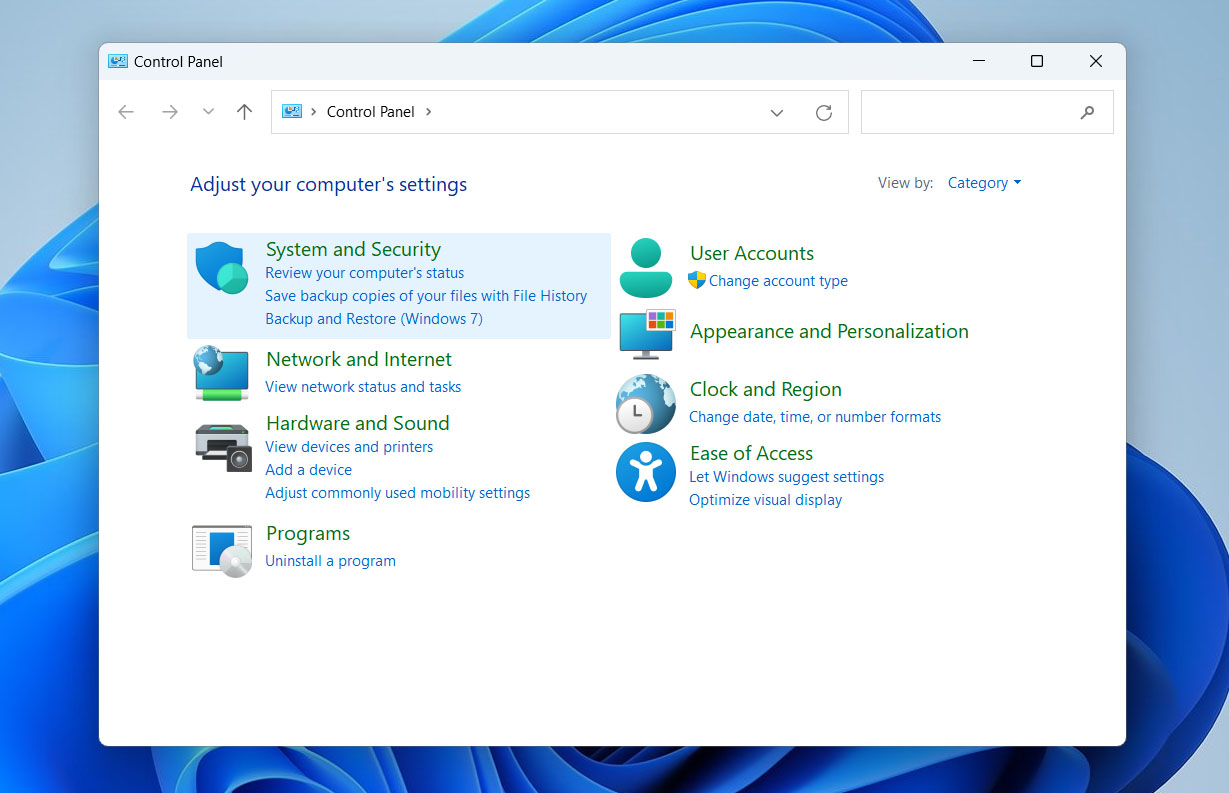
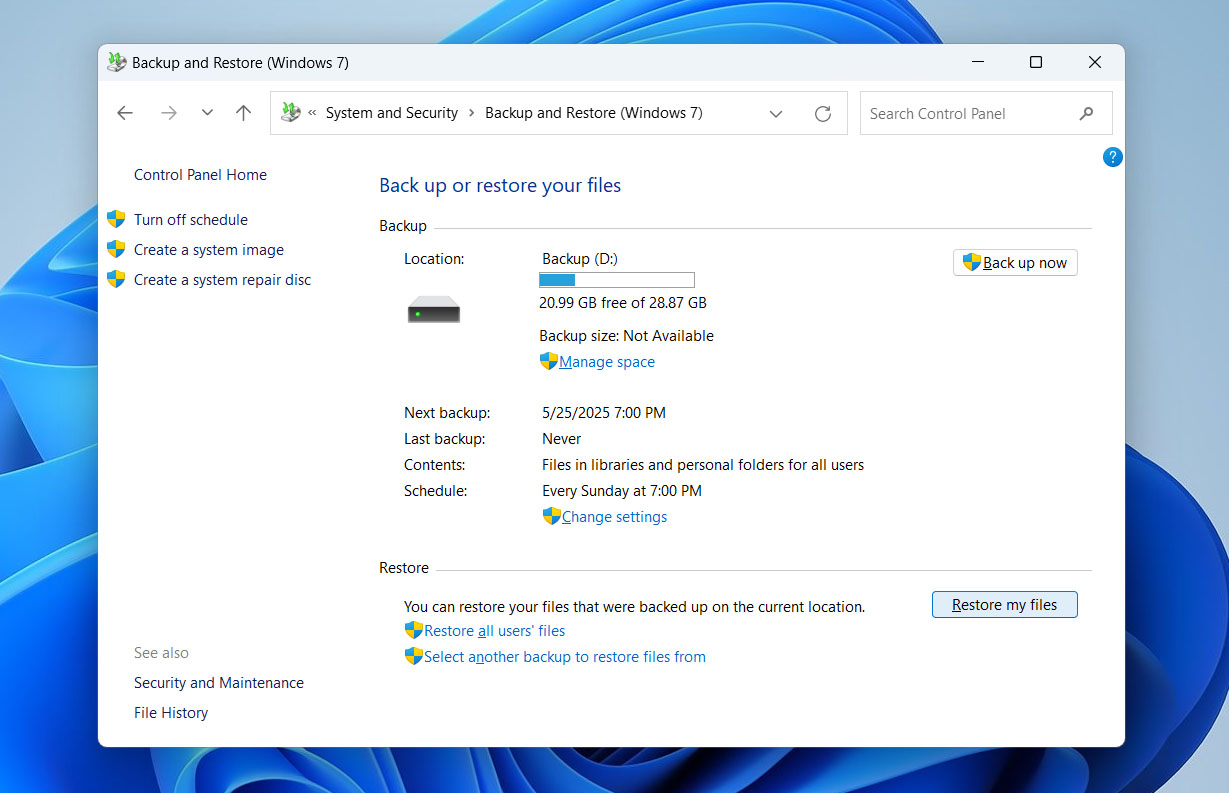
- Click on Backup and Restore (Windows 7). Don’t look at the name – it is also available on Windows 10 and 11.
- If you see an existing backup, click Restore my files.
- Use the search or browse options to locate the files or folders you want to restore. Select the files or folders and click Next.
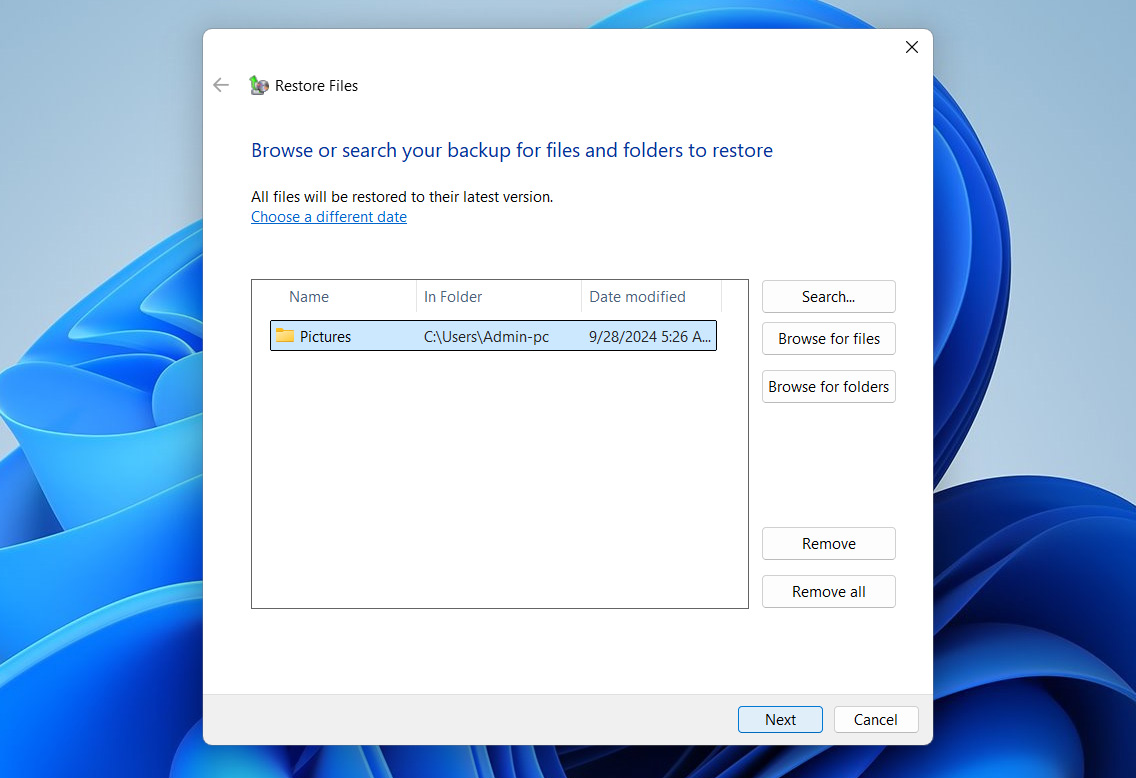
- Choose whether to restore files to their original locations or to a new location.

- Click Restore to begin the recovery process. Wait until Windows completes the restoration, then check that your files have returned.


How to Avoid Accidental File Deletion with Shift + Delete
While Windows doesn’t offer a built-in way to disable the Shift + Delete shortcut specifically, you can reduce the risk of accidentally deleting files permanently by trying these tips:
- Use third-party software like AutoHotkey to remap or disable the Shift + Delete shortcut. You can create a script that blocks or changes this key combo.
- Change your workflow to avoid using Shift + Delete and stick to the regular Delete key, which sends files to the Recycle Bin.
- Turn on confirmation dialogs for file deletion in File Explorer settings to add an extra warning before permanent deletion.
And just to be safe, always keep backups of your important files. Ideally, maintain multiple backups on separate devices. Use built-in tools like File History or Backup and Restore to keep your data safe and ready for recovery if needed.
Final Thoughts
Shift-deleted files can be a pain. No one wants to lose their important files. Luckily, there are options for shift delete recovery on Windows. You have the option of using the File History or Beckup and Restore features in Windows or using a data recovery tool such as Disk Drill to recover these files. A third-party backup/restore tool would also work if you keep file backups.
After a file is shift-deleted, it’s merely marked for replacement. Eventually, new files will overwrite it. However, if you act quickly and limit your activity on the drive that you’re recovering from, then there’s a strong chance that you will be able to recover your shift-deleted files.