
Reading Time: 8 minutesIf you accidentally deleted your NEF files (RAW photos from a Nikon camera) and need a way to get them back, you’re in the right place. This article covers a few methods that could help you recover them. We won’t pretend it always works – sometimes recovery just isn’t possible. But before you give up, read through this guide. You might still have a solid chance to recover your NEF files.
When Is It Possible to Recover NEF Files?
Recovering deleted NEF files is possible, but only under the right conditions. Several factors determine whether you can restore your photos or not. Let’s go through the main ones.
When you delete NEF files from an SD card, the system doesn’t actually wipe the data – it just marks that space as available. The image files are still there, just hidden from normal view. You can still recover them, but only until something new gets saved over that space.
That’s why it’s important to stop using the SD card right after deletion. Don’t take new photos. Don’t save anything to it. Just remove the card from your camera and leave it alone until you’re ready to start recovery. Every new file you add lowers your chances of getting those NEF files back.
How the files were deleted makes a big difference. If you deleted them the usual way, like through your camera or file manager, you can usually recover them, as long as they haven’t been overwritten. If you did a quick format, the file system metadata gets wiped, but the actual NEF files are often still there. Recovery tools can still recover them. But if you ran a full format, it’s a different story. That process writes over the entire card with zeros and ones, completely erasing every file. NEF photos deleted this way no longer exist (not even in fragments).
The state of your SD card can help or hurt your chances. If the card starts acting weird, like disconnecting from your PC or camera, heating up, or throwing random error messages, you need to move fast. In cases like that, create a byte-for-byte backup while the card is still working. That backup might be your best shot at recovering the NEF files later. If the SD card has visible physical damage (cracks, burn marks, or scratched contacts), don’t try to recover the data yourself. Send it to a professional data recovery center. They’ve got the right tools and experience to deal with hardware damage safely.
Go back over each of these points and take an honest look at your situation:
- Deleted files with no new data written, or just a quick format? You’ve still got a good shot at recovery. Follow the steps in this guide.
- Minor SD card issues? Make a backup right away, then move forward.
- Visible physical damage? Stop here and look up a reliable data recovery service.
- Did a full format? It’s probably game over for those NEF files – time to move on and start shooting again.
How to Recover Deleted NEF Files on Windows
First, figure out where your deleted NEF files were stored – were they still on the SD card, or had you already moved them to your PC? That detail matters because it determines which recovery method you should start with.
Most of the time, people delete files straight from the SD card, so we’ll start with the method that covers that scenario.
Method 1: Use Data Recovery Software to Recover Deleted NEF Files from an SD Card
Since Nikon cameras don’t have internal storage or a recycle bin, you’re basically down to two options for recovering deleted NEF files from an SD card: either use a professional data recovery service or try to recover the files yourself with data recovery software. These programs scan the SD card’s file system for remnants of deleted files and attempt to restore them.
Choosing the right tool is critical. There are a lot of options out there, but not all of them handle RAW photo formats or camera-specific file systems well. To save time and skip the guesswork, we recommend starting with Disk Drill.
We’ve trusted Disk Drill as our top pick for years. It has a clean, easy-to-use interface and delivers solid results in all kinds of data loss situations. When it comes to recovering NEF files, it does the job well – supports every file system used by SD cards and even lets you create a full byte-for-byte image of the card. That last feature is a big deal, especially if your card’s acting up. SD cards can overheat or disconnect during long scans. By creating a full disk image first, you can recover your data from that backup instead, which puts less strain on the original card and gives you a better shot at getting your NEF files back.
Before you get started, flip the physical switch on your SD card to the lock position. This helps prevent any accidental writes while you’re trying to recover files. Also, use a dedicated card reader instead of plugging the camera directly into your computer.
- Visit the official website of CleverFiles (the developers of Disk Drill) and download the Windows version of the program. Install it on your PC.
- Insert your SD card into a compatible card reader and connect it to your computer. Launch Disk Drill.
- In the left-hand menu, click Byte-to-byte Backup.
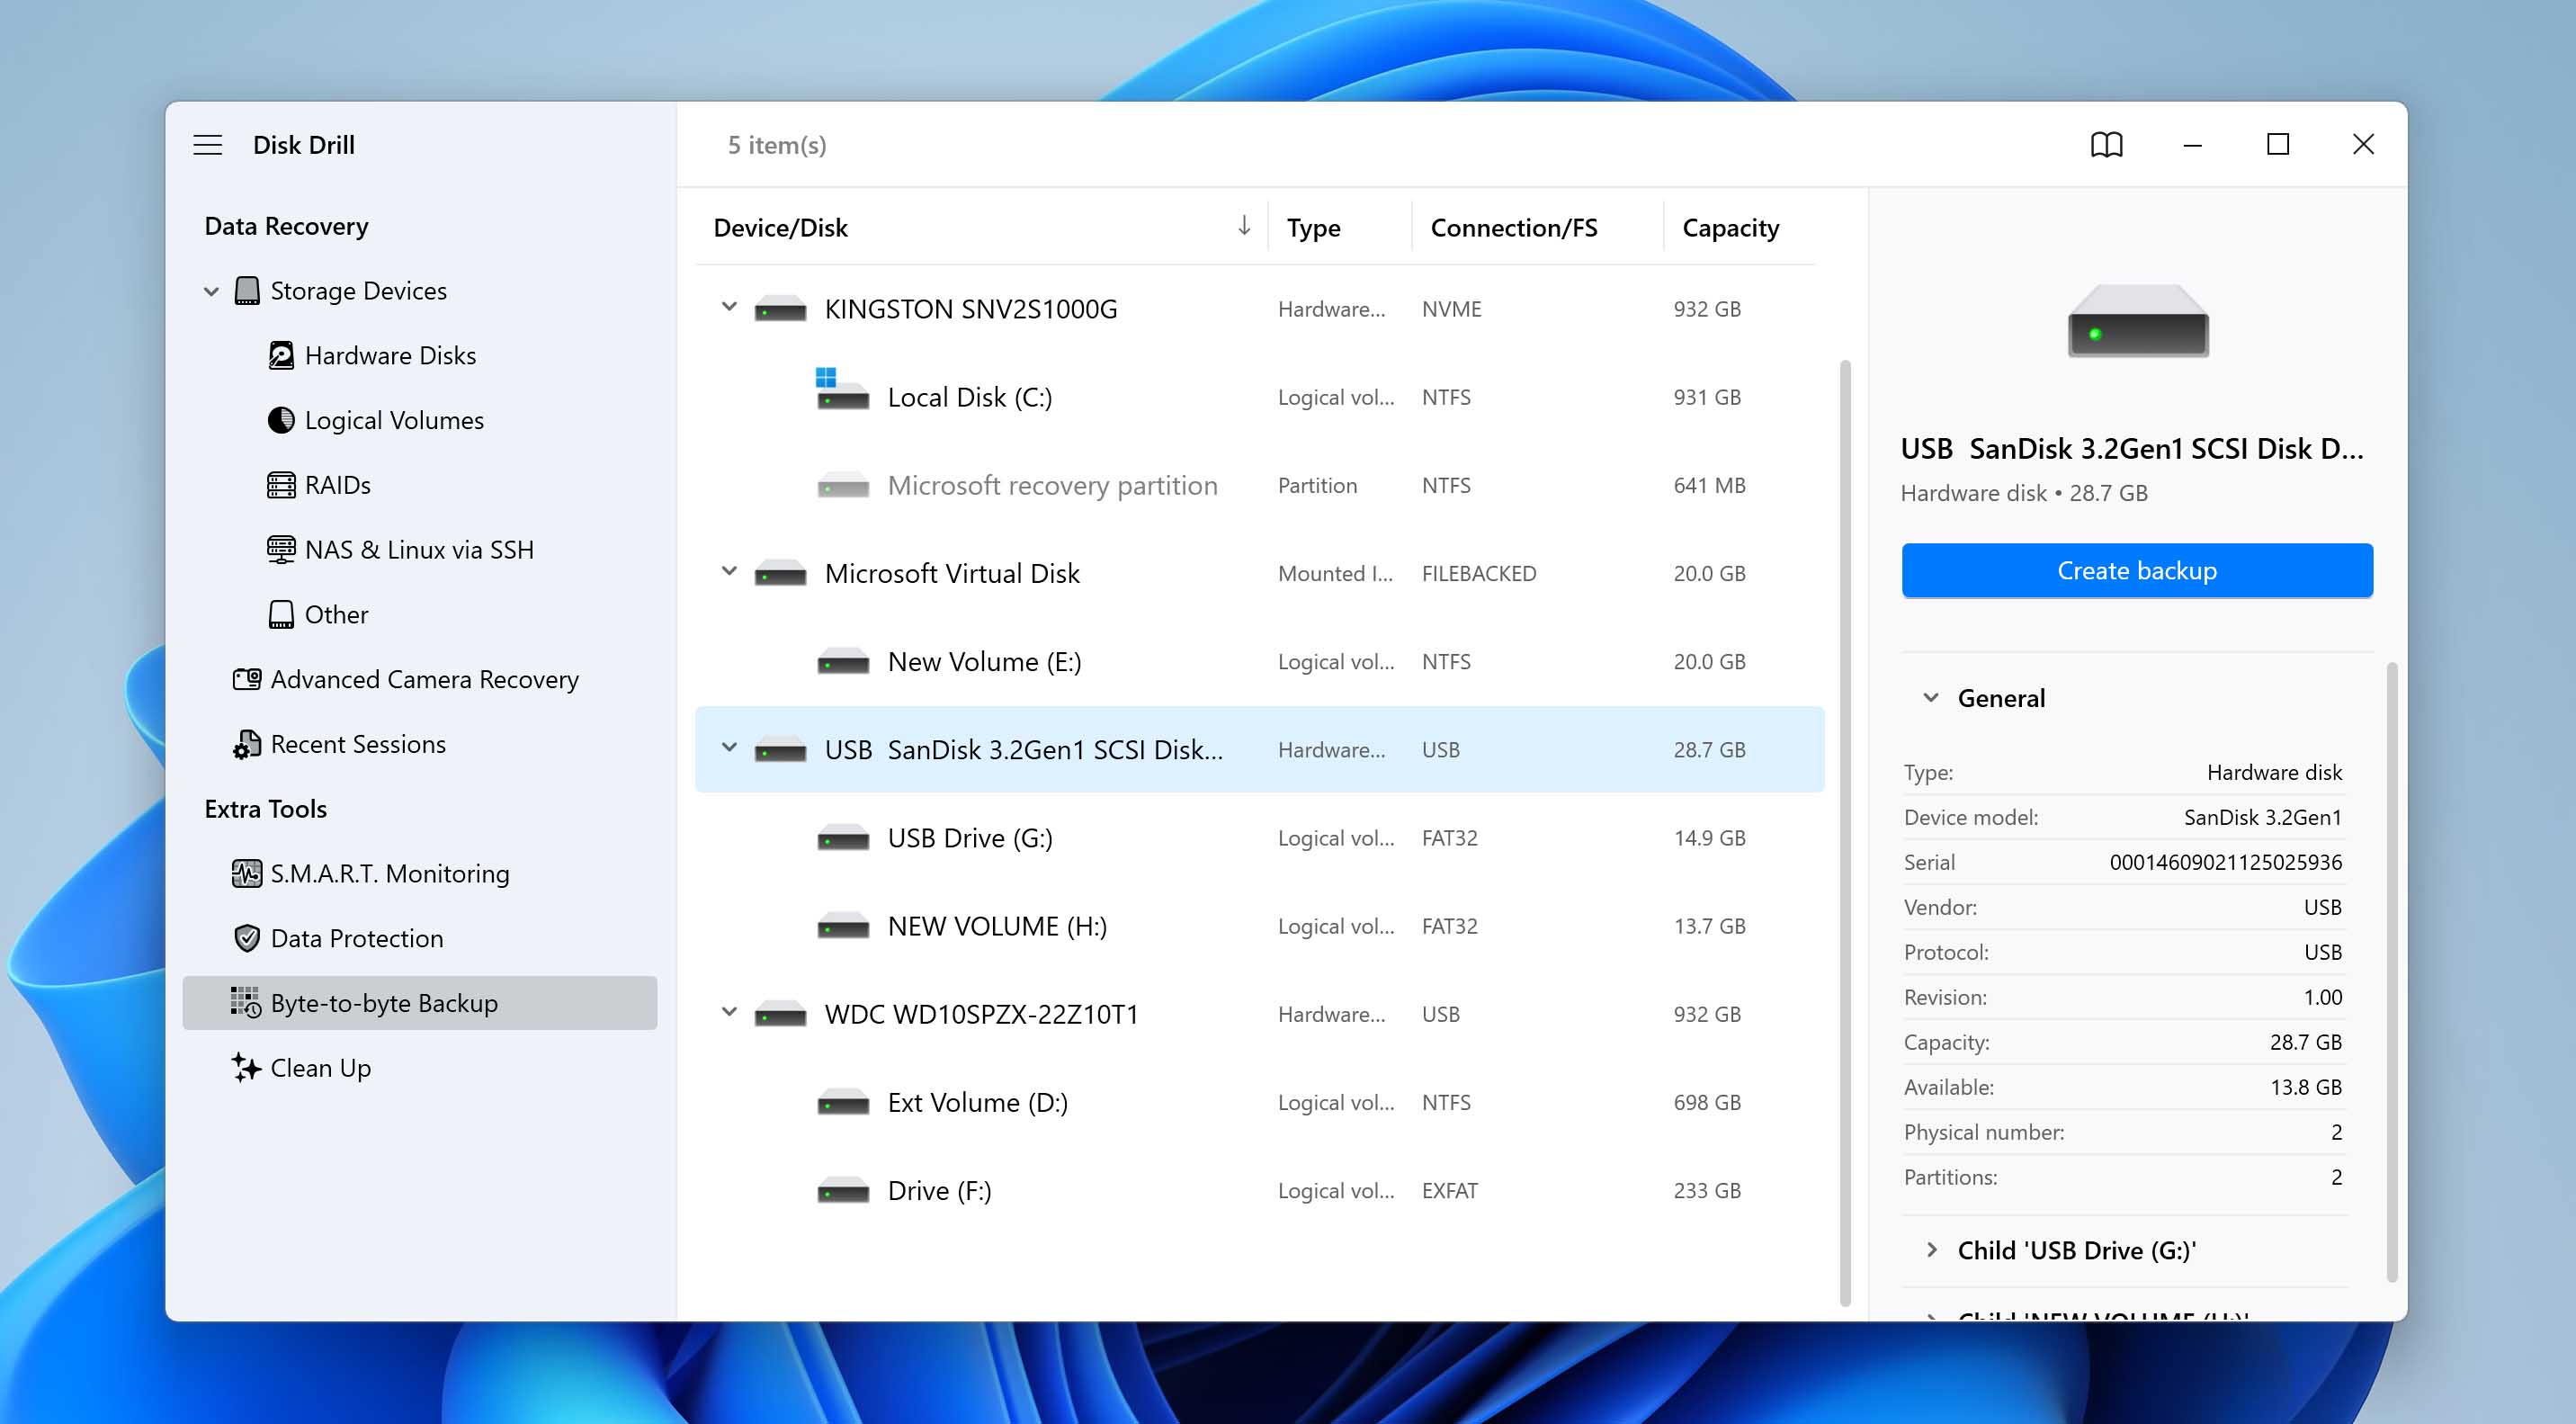
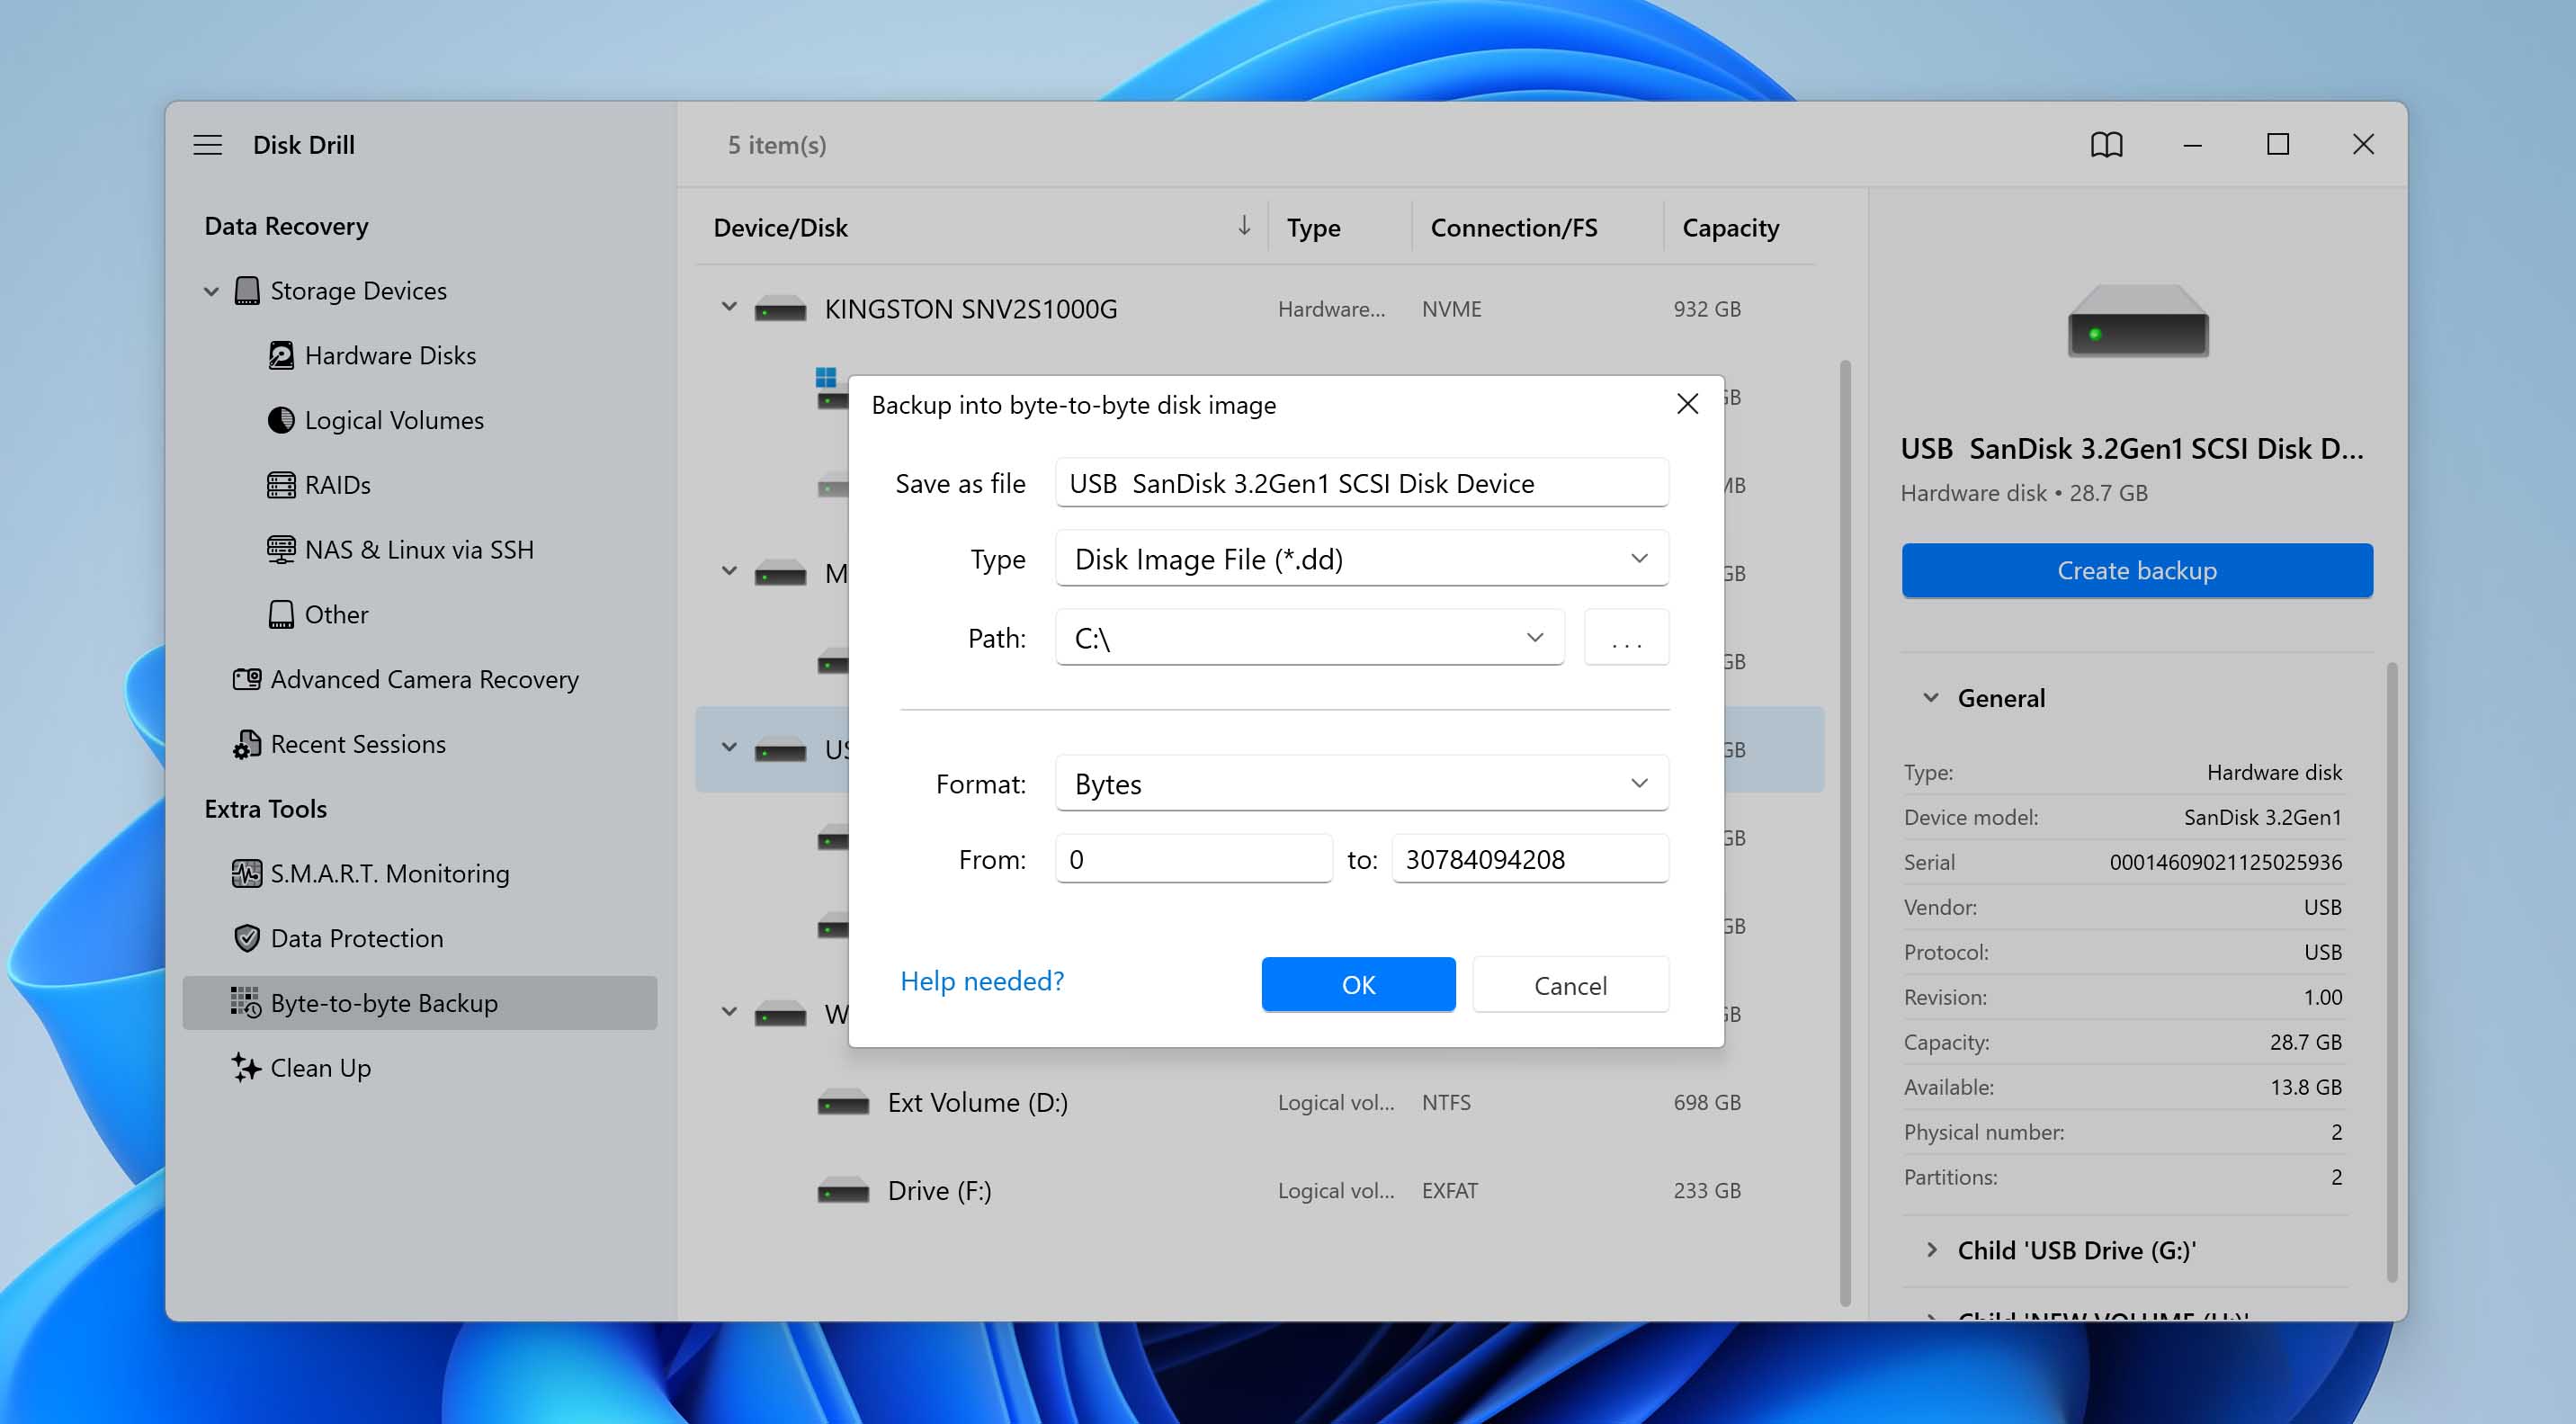
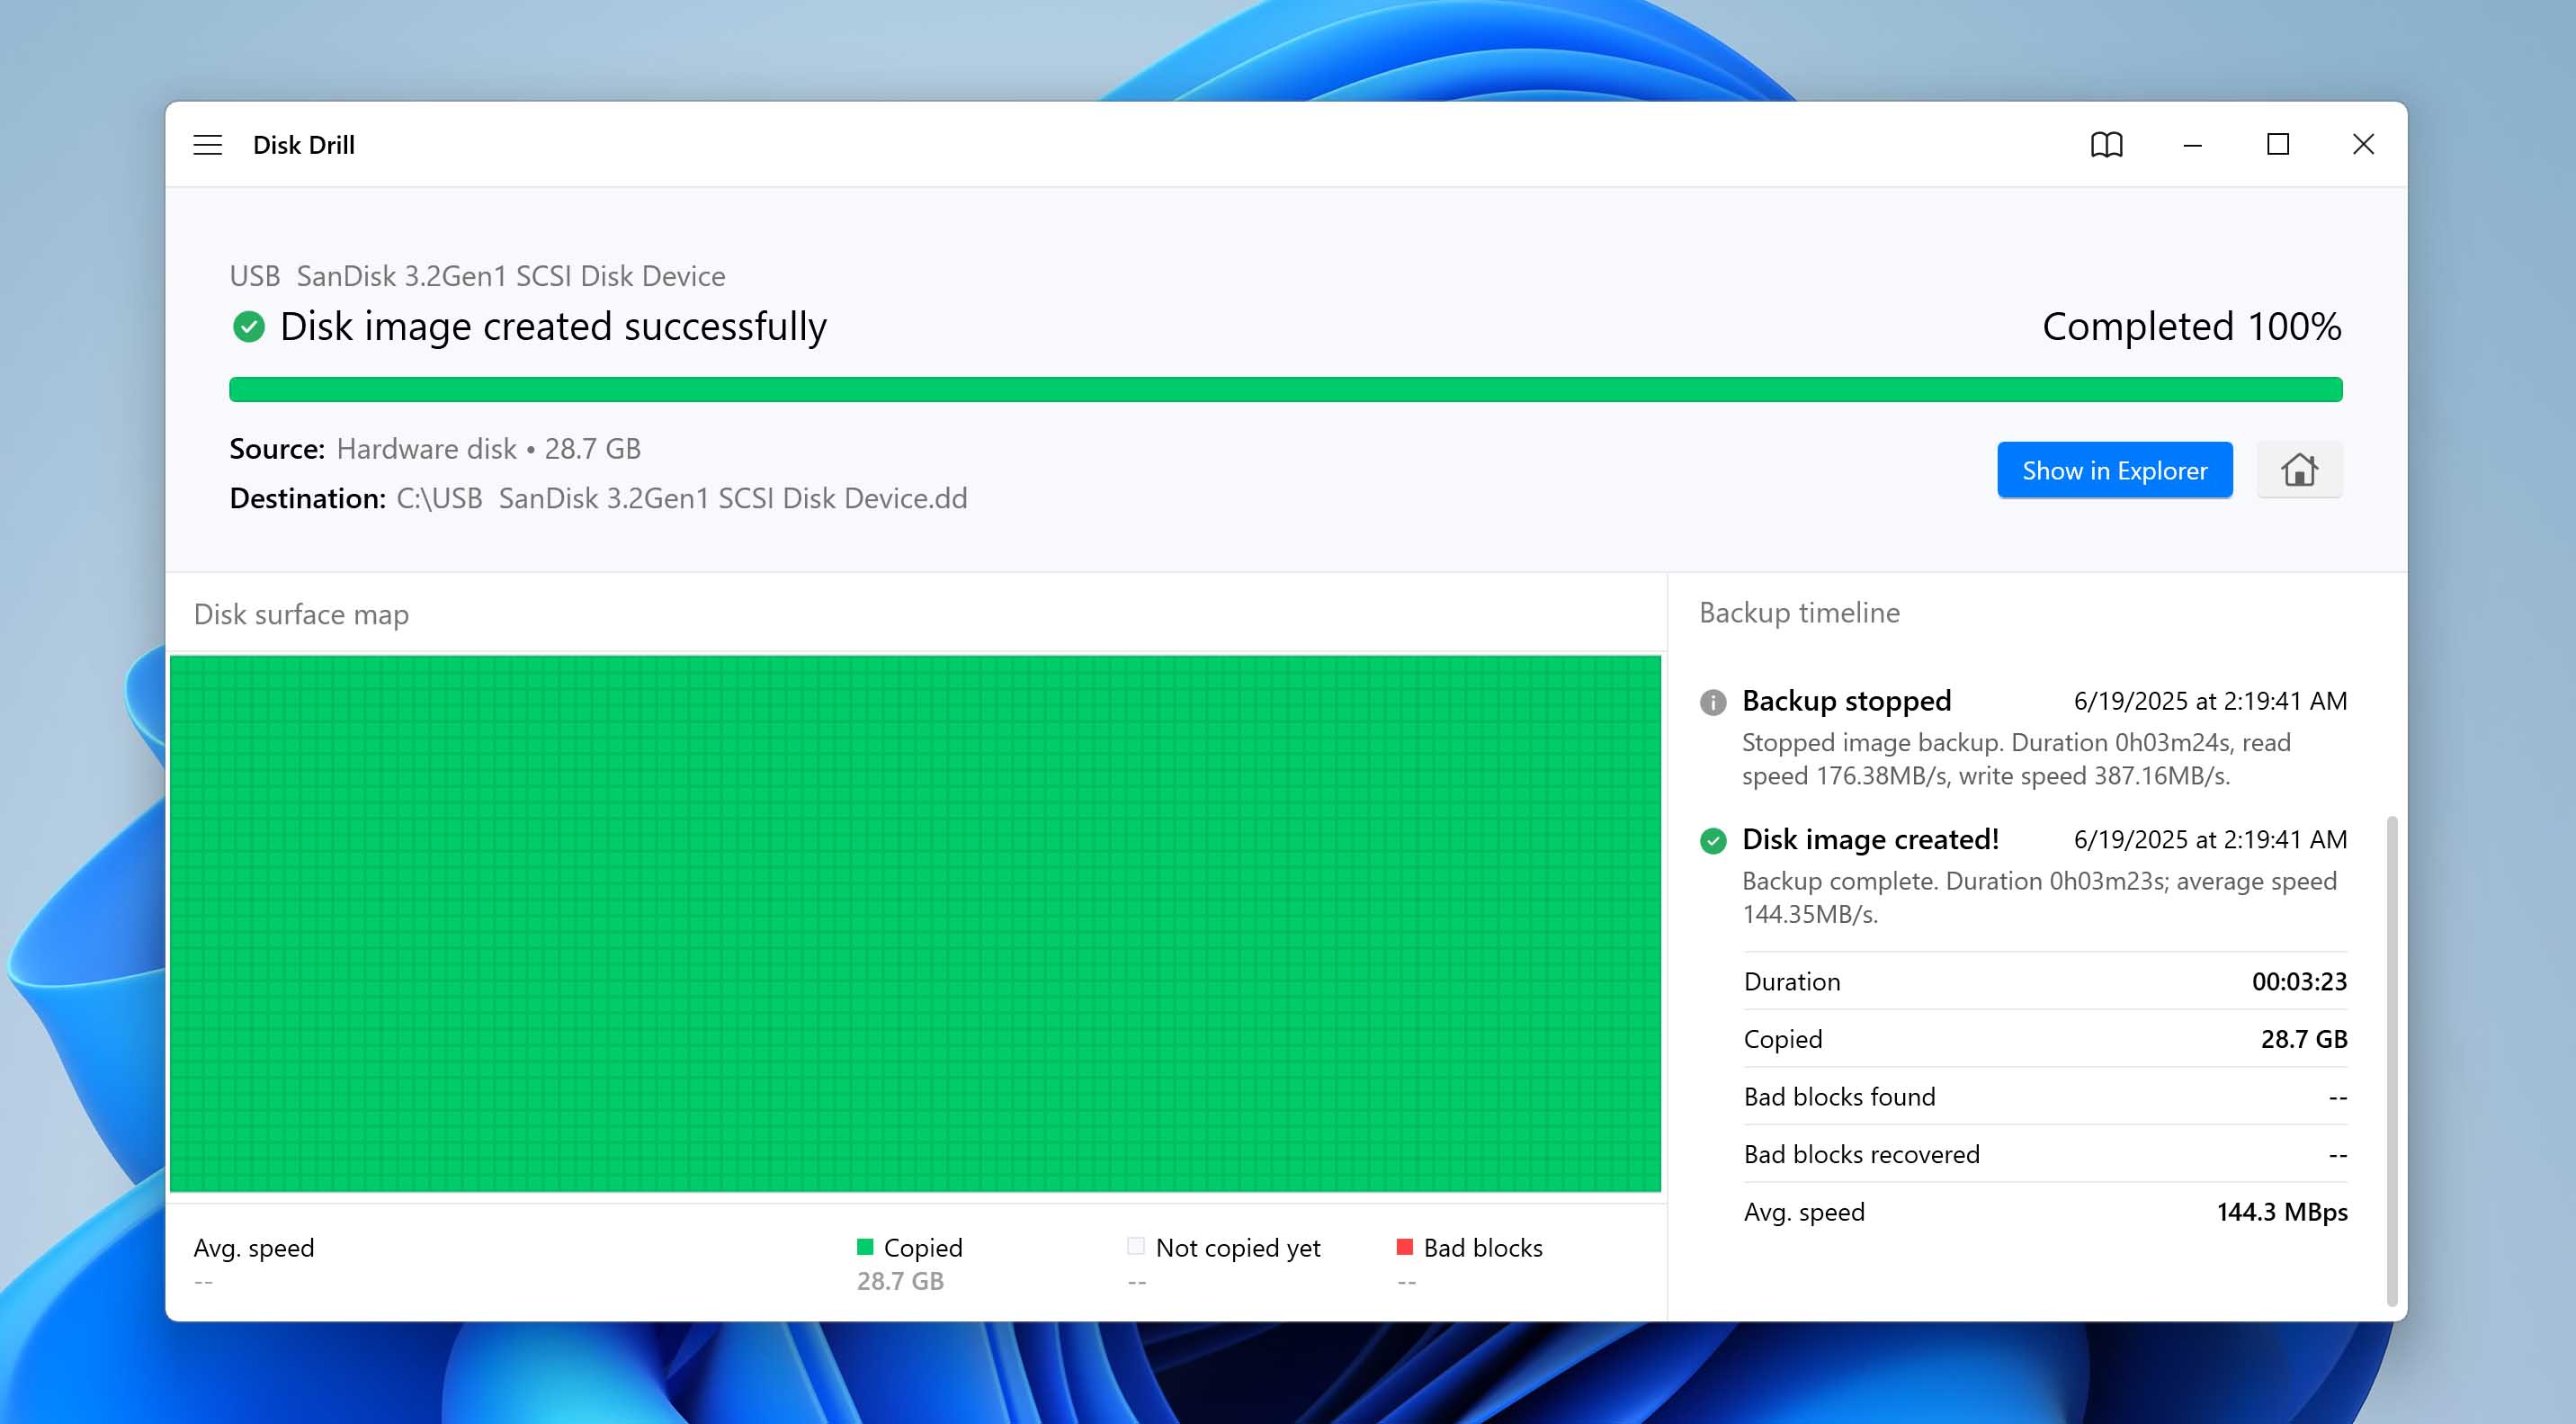
- Pick your SD card from the list of devices, then click Byte-to-byte Backup again. When asked, choose a folder to save the backup file, then click Next to start the backup.
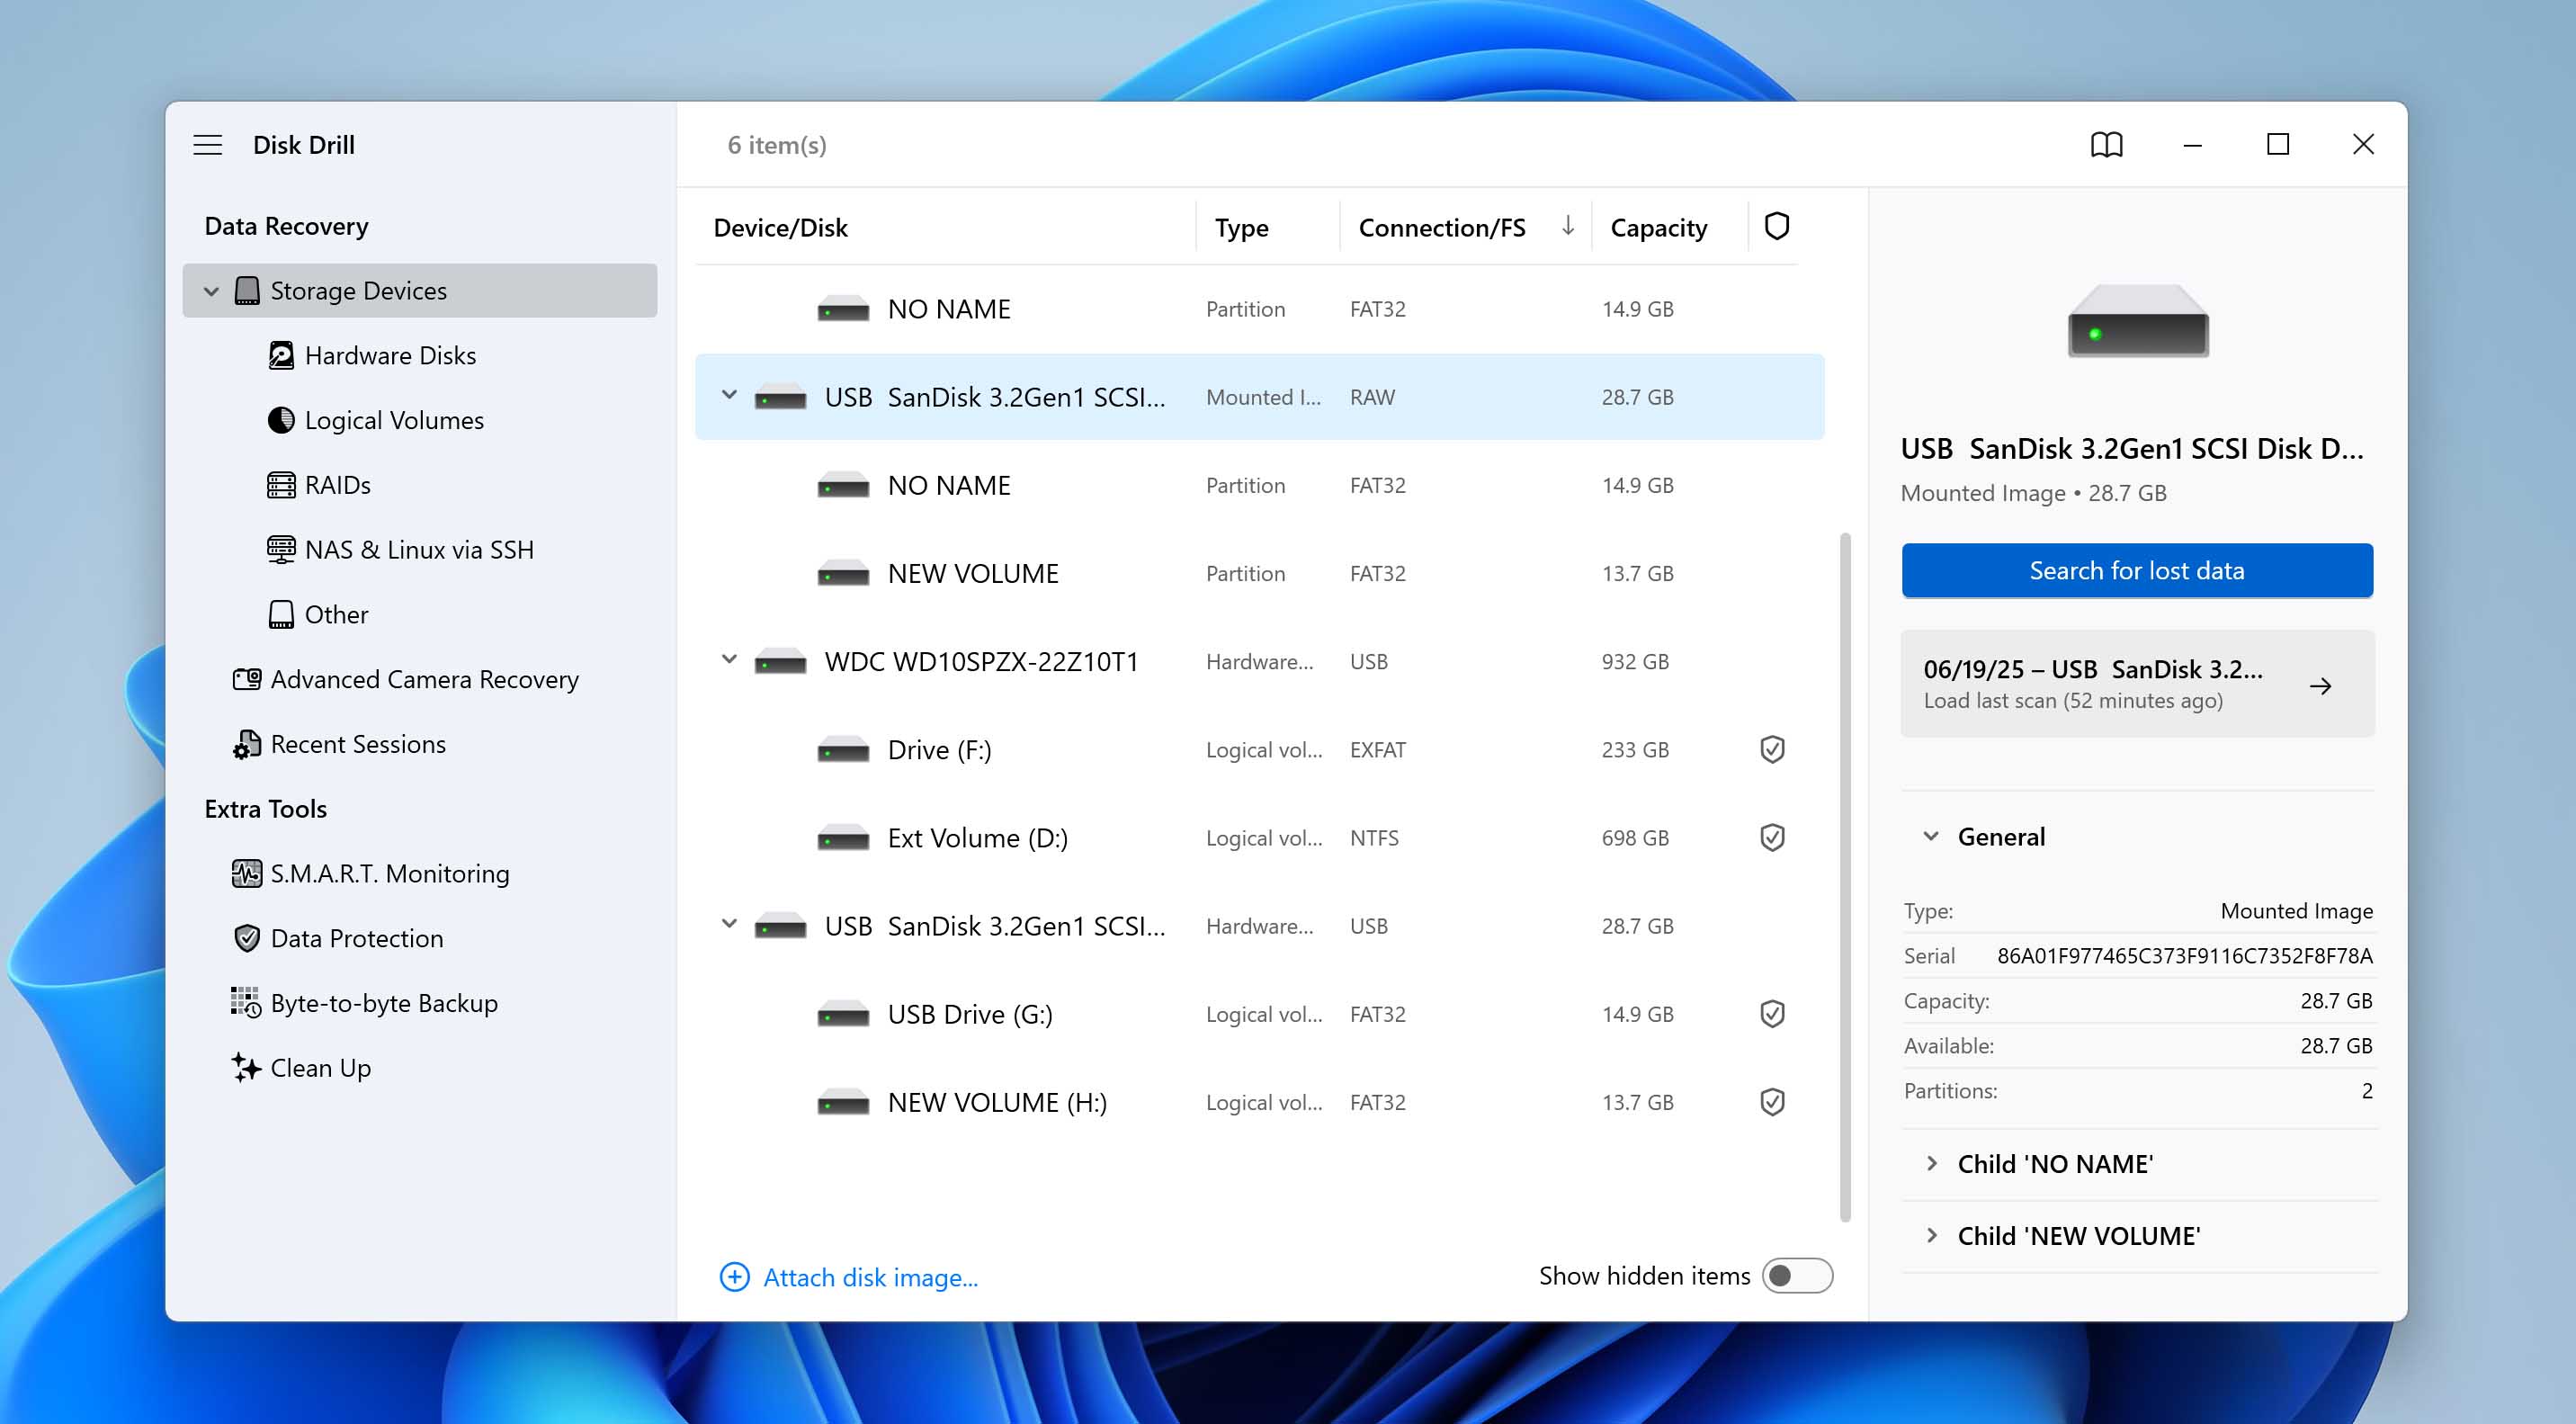
- Once the backup’s done, go back to the Storage Devices section and click Attach disk image at the bottom.
- Select the backup file you just created, then click Search for lost data.
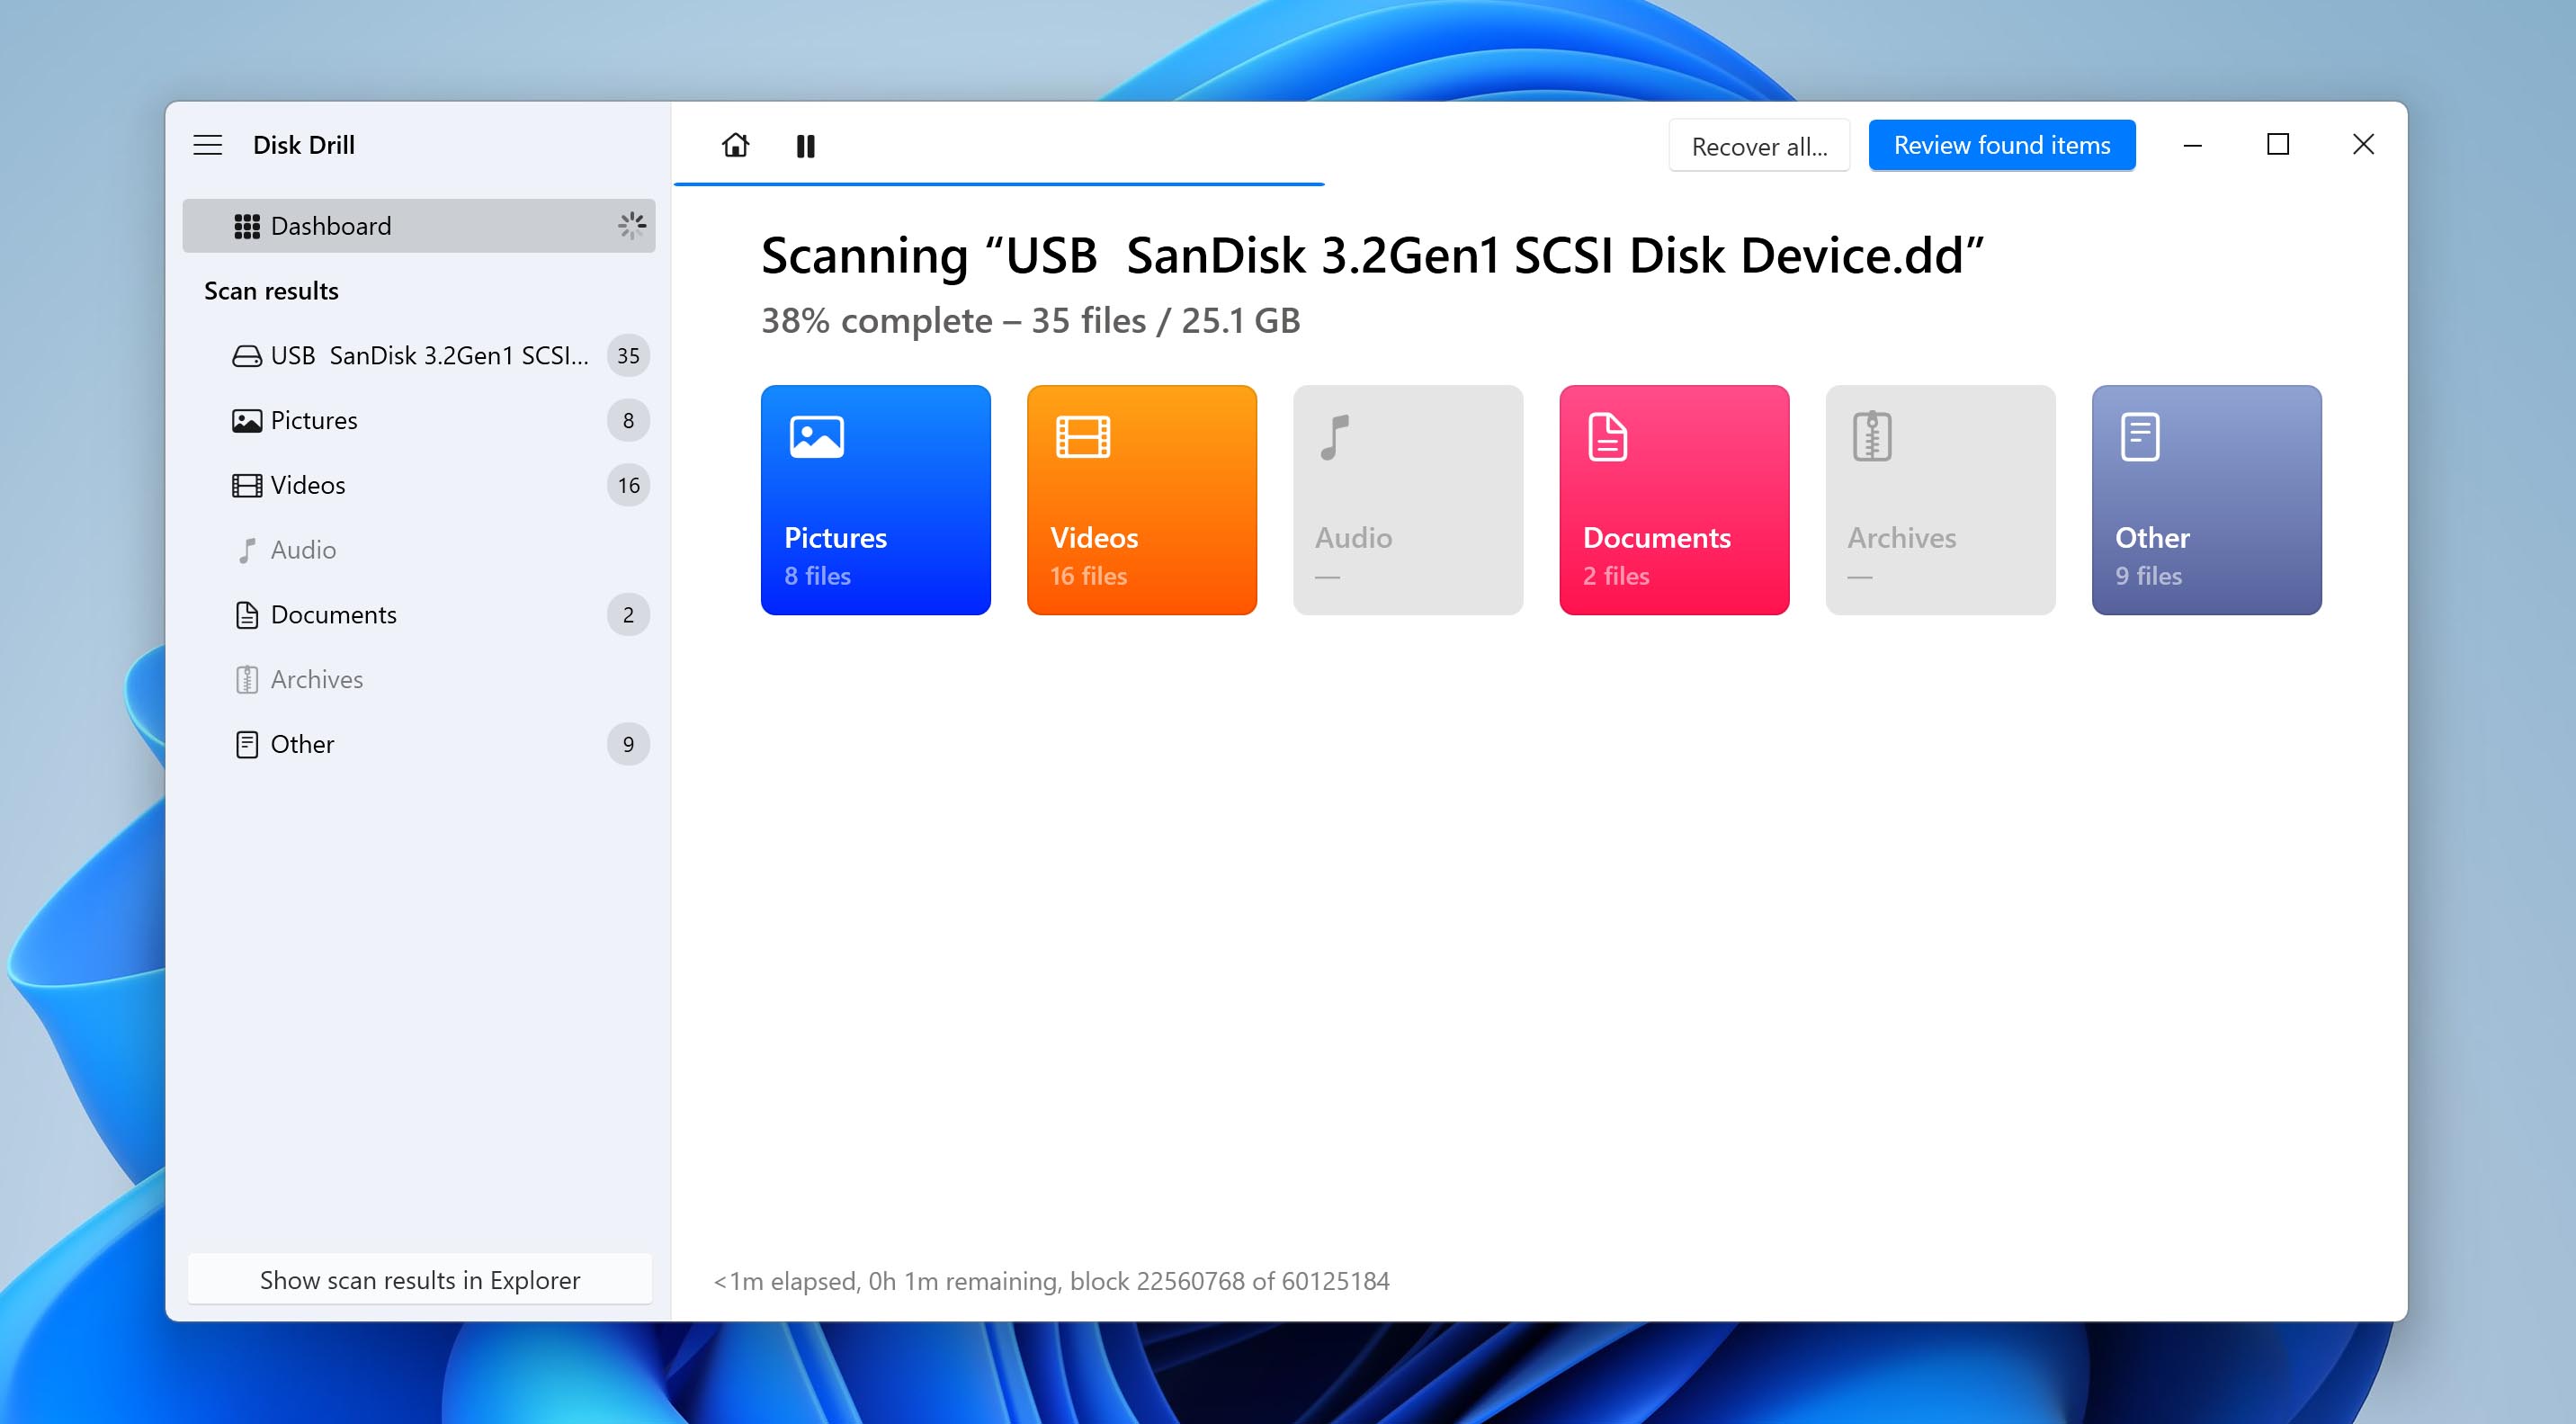
- When the scan options pop up, choose either Universal Scan or Advanced Camera Recovery. The second one is designed to recover fragmented video files, but it also works great for recovering deleted NEF photos. For the best results, try running both scans one after the other.

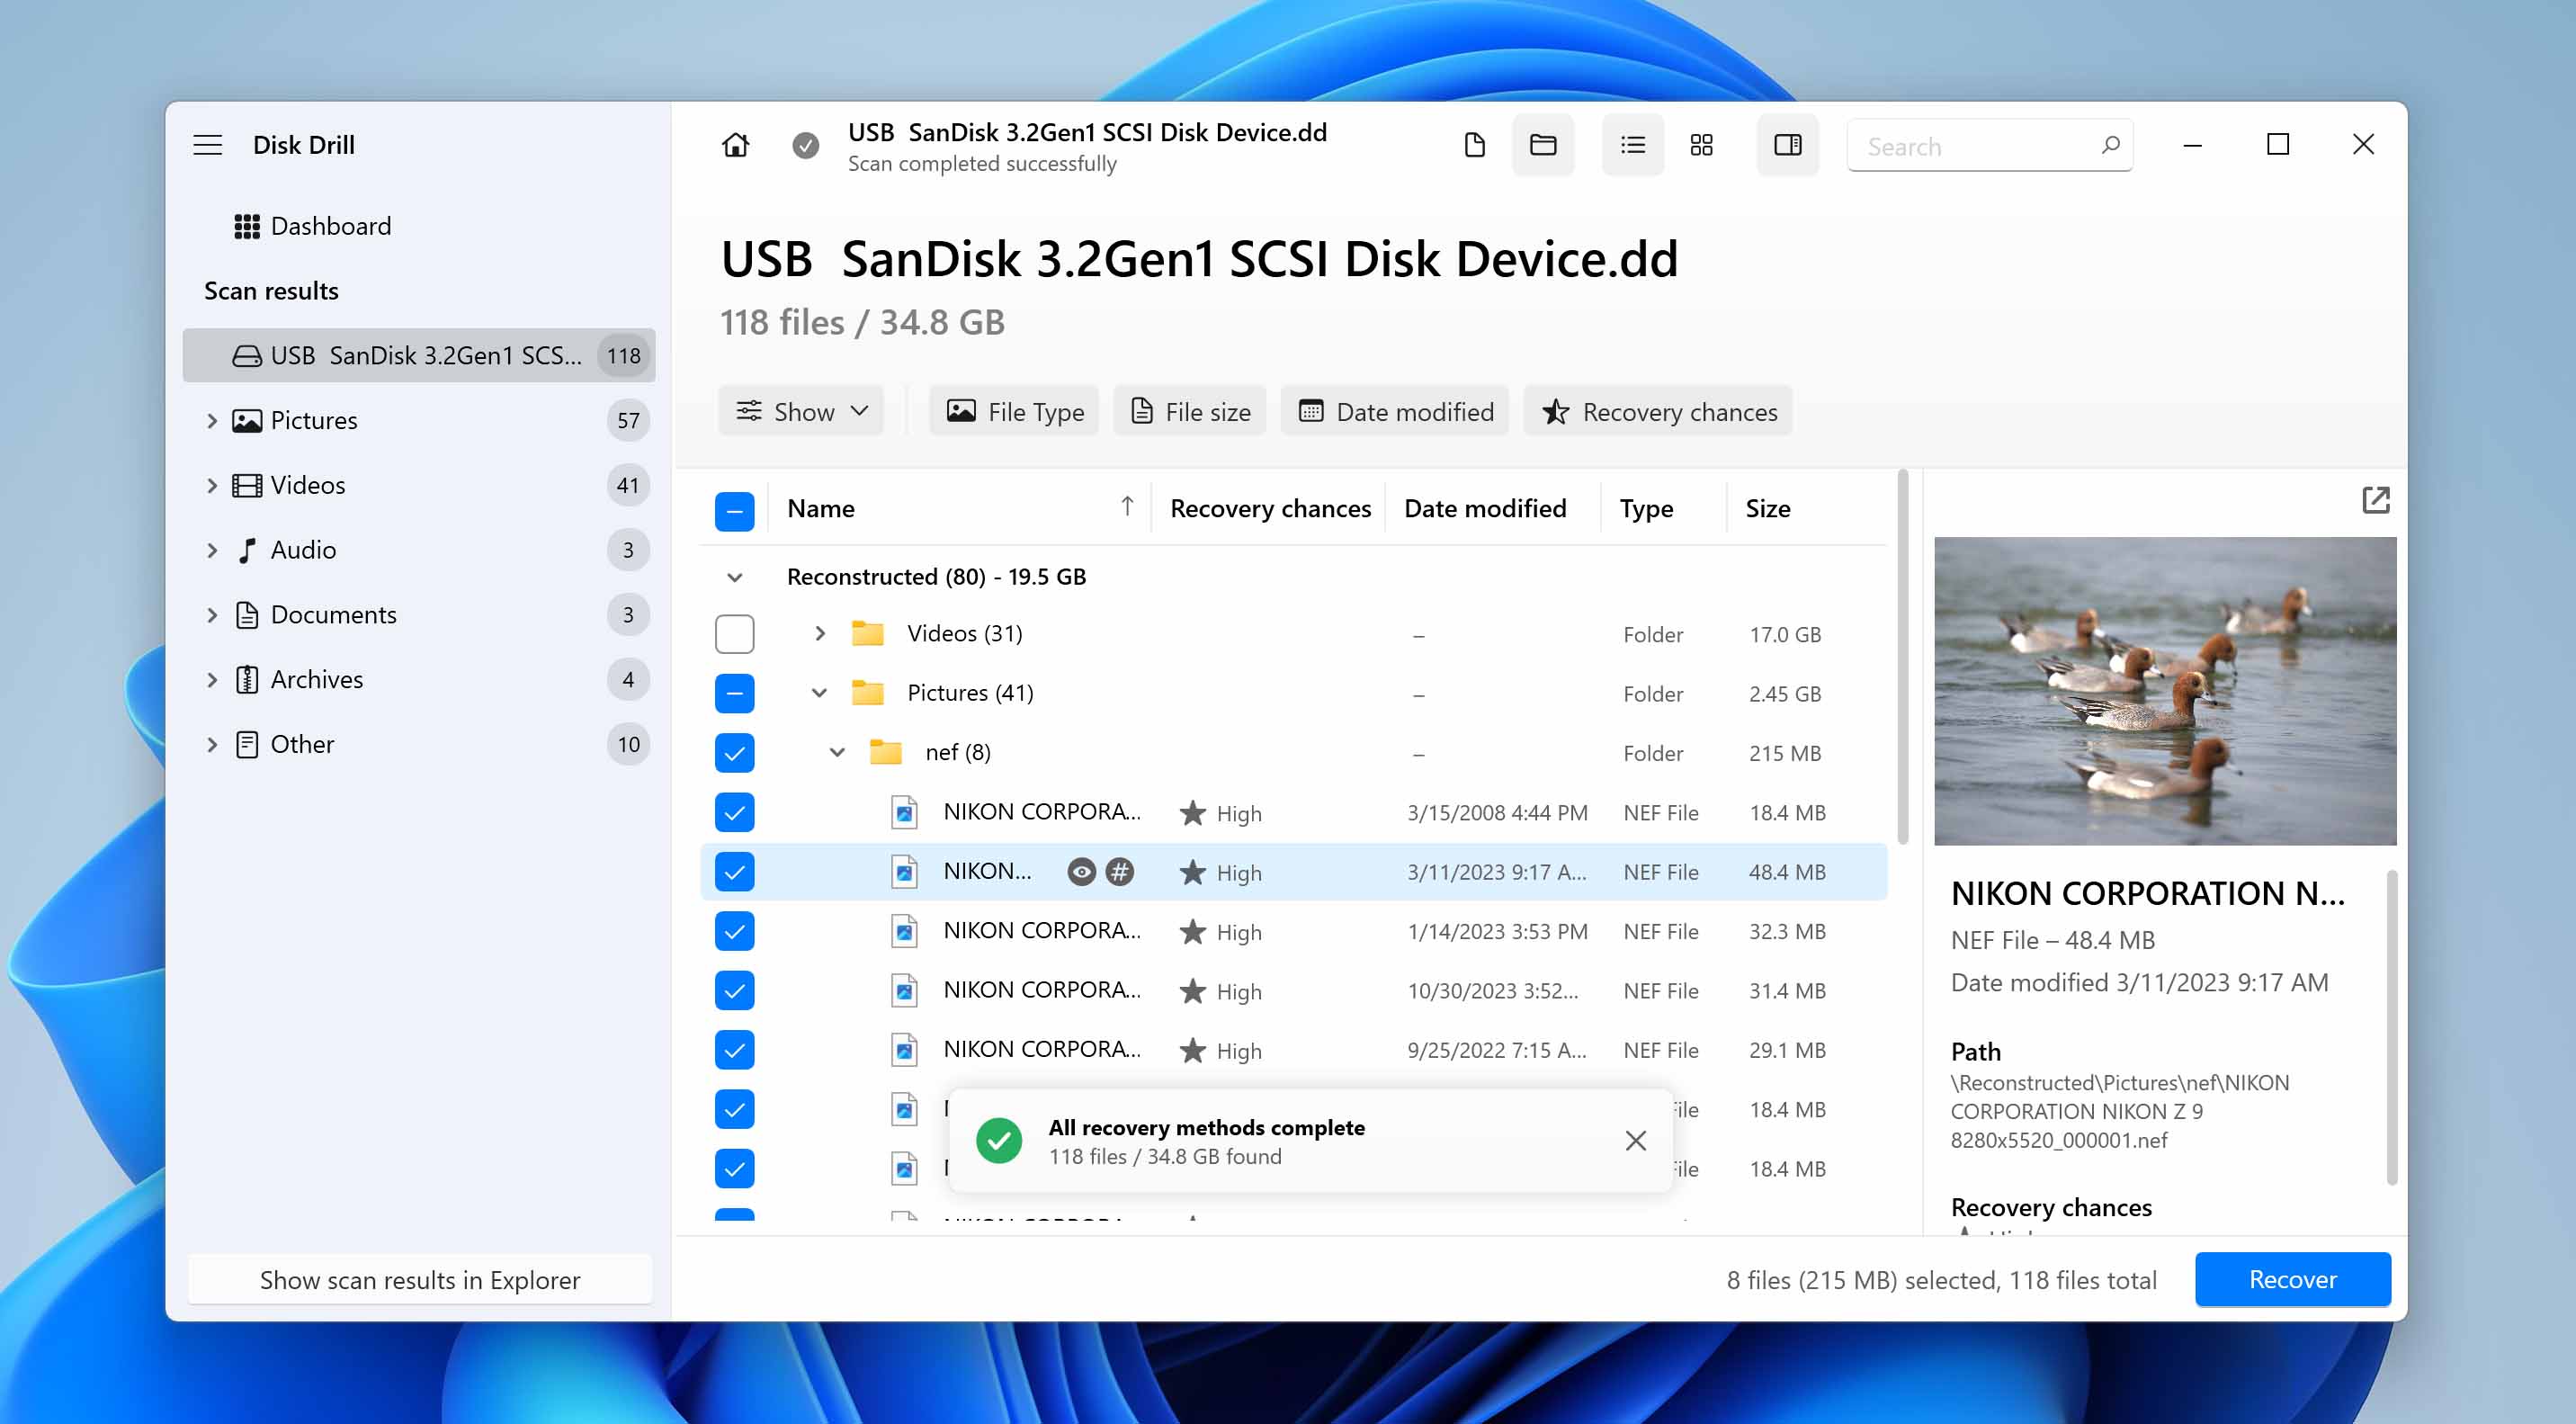
- Let the scan run. When it’s done, click Review found items to check what Disk Drill recovered.
- Browse through the files, click the eye icon to preview NEF files, then select the ones you want to recover and click Recover.
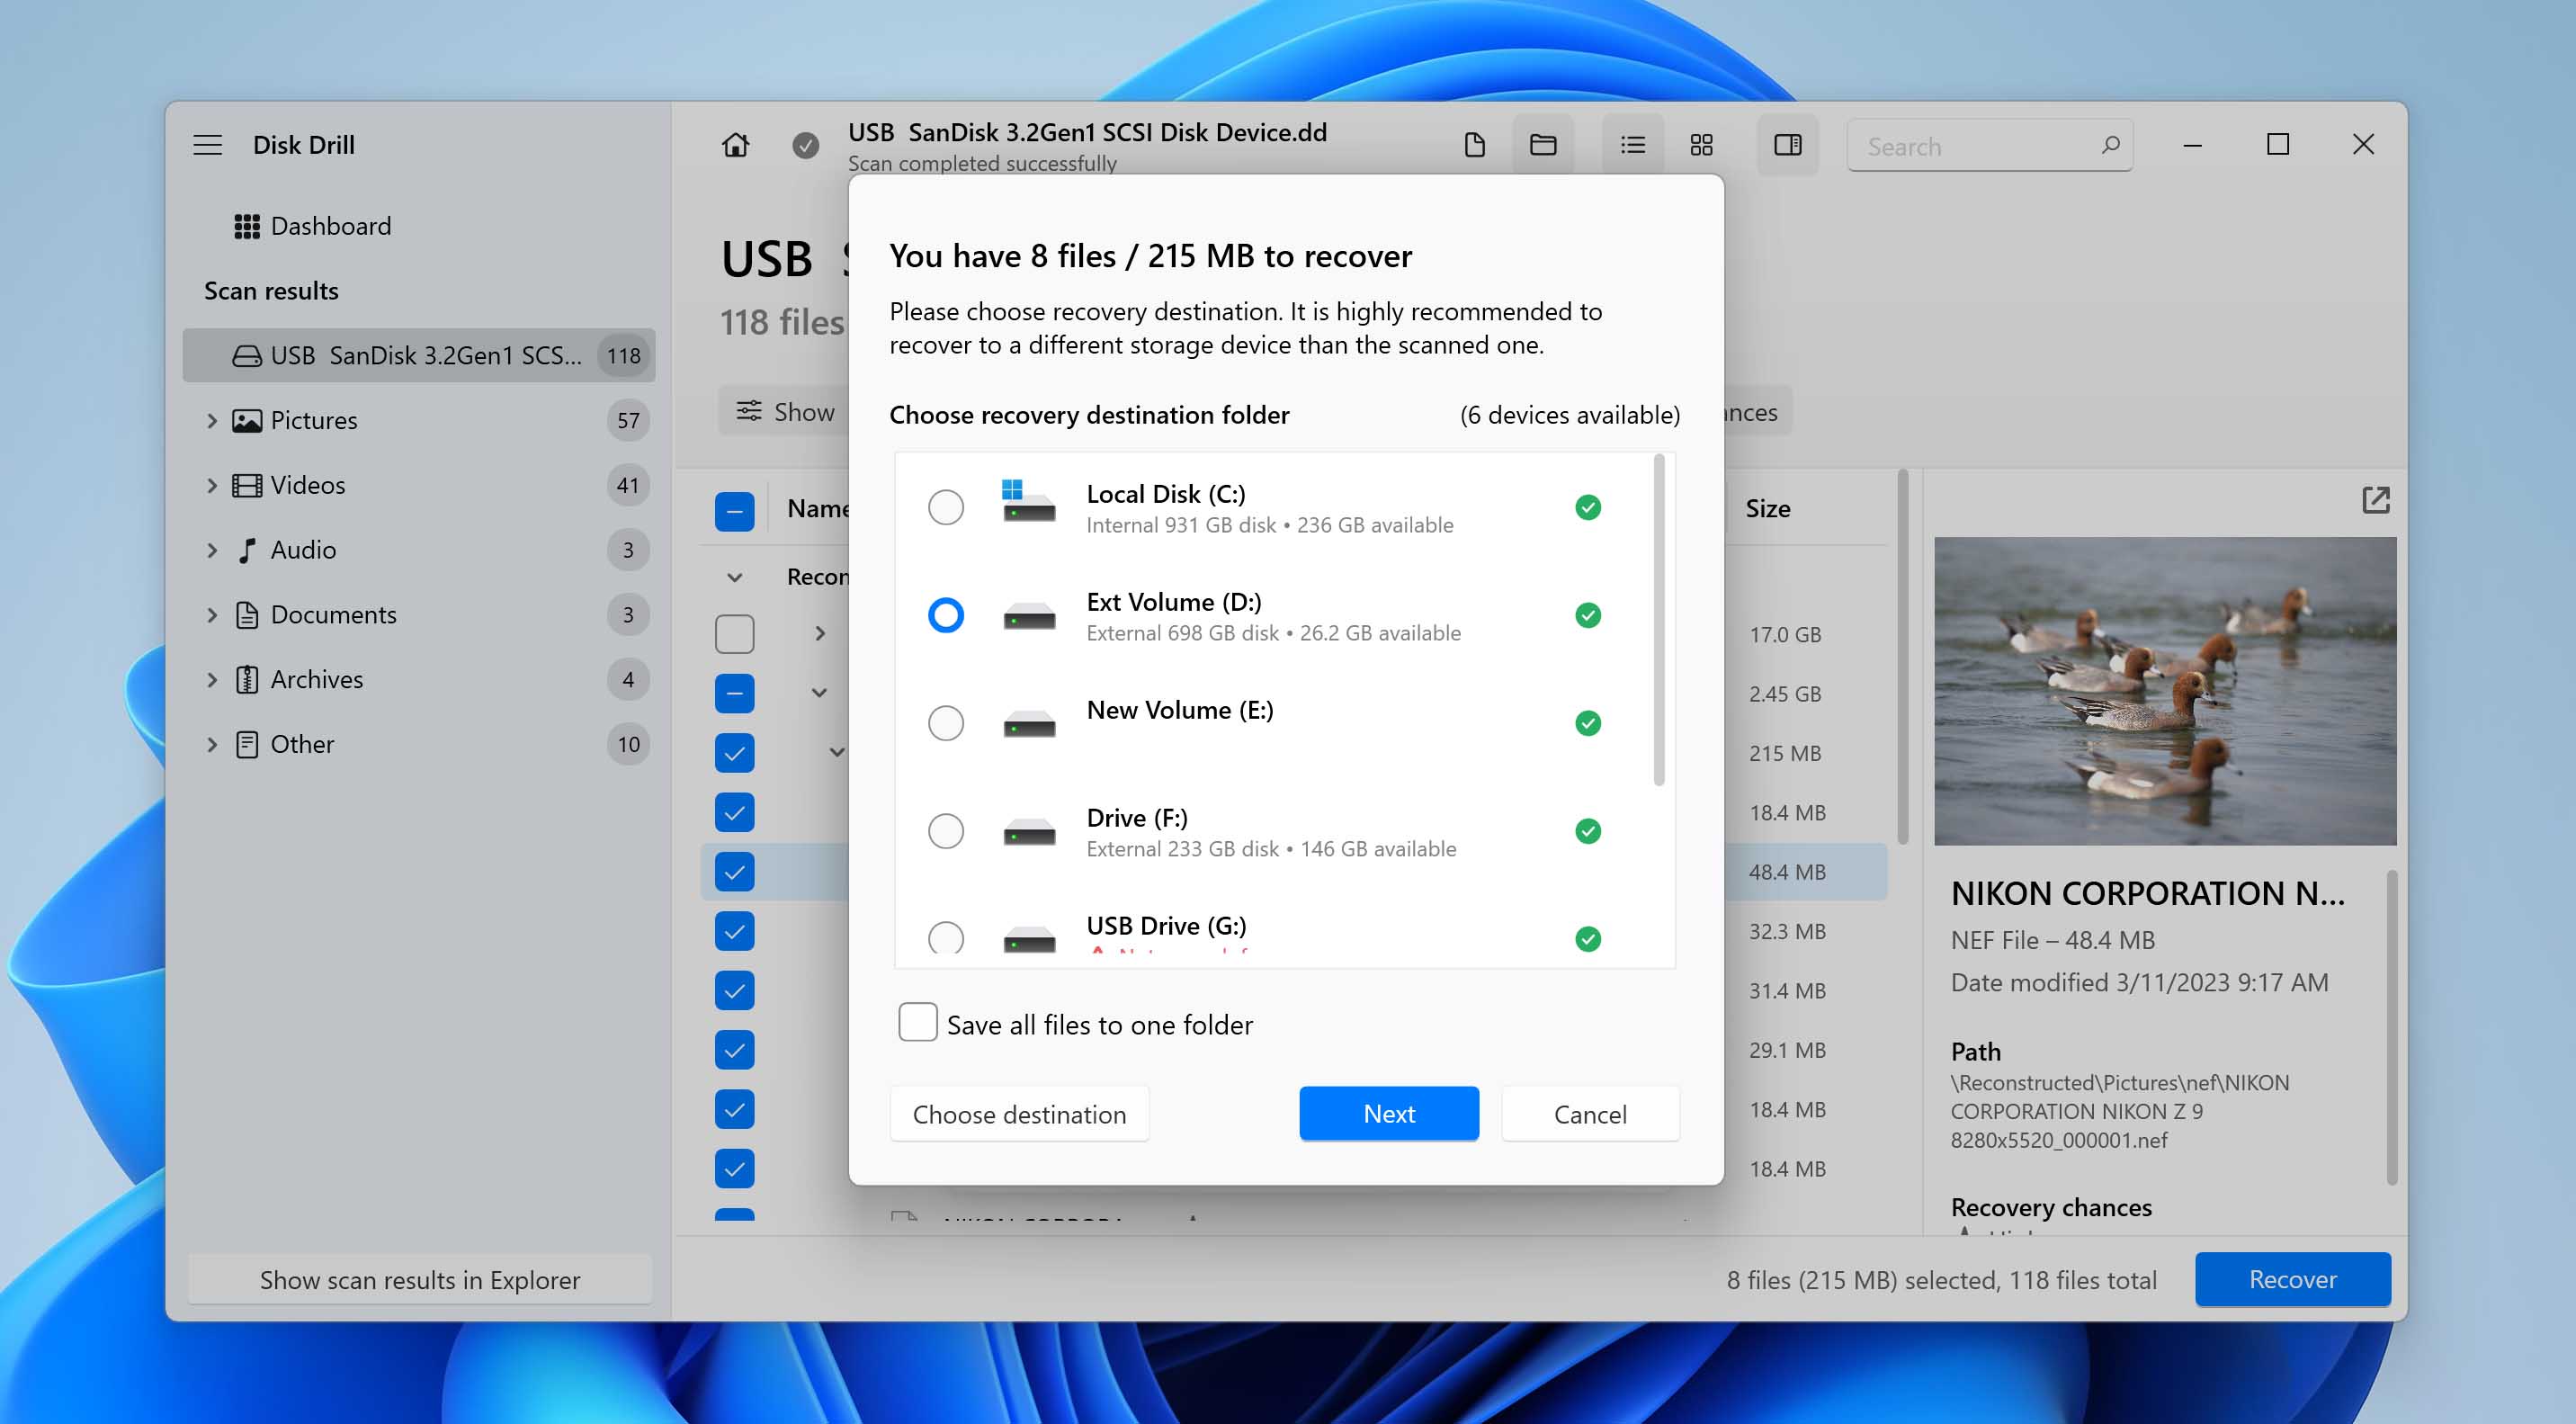
- Pick a folder to save your recovered files. If you’re restoring from a backup image, you can use any folder. But if you scanned the SD card directly, don’t save the files back to the same card – use a different location to avoid overwriting anything.


You can download Disk Drill for free. The program allows you to create a byte-to-byte backup at no cost, scan that backup (or the SD card directly), and recover up to 500 MB of data without purchasing a license. This limit usually covers a small number of NEF files – perfect if you only lost a few. If you need to recover a larger set of files, consider upgrading to the Pro version of Disk Drill.
Next, let’s go over how to recover NEF files if you moved them to your PC and then deleted them.
Method 2: Check Your PC’s Recycle Bin for Deleted NEF Files
If you saved your NEF files to your PC’s internal drive and deleted them by accident, they might still be in the Recycle Bin. How long do they stay there? Until you empty the Bin yourself, or until Windows needs the space and removes older files automatically. No special tools needed here – just a couple of clicks and you’re good.
This only works if you moved or copied the files to your PC before deleting them. If you deleted them straight from the SD card while it was plugged in, they skip the Recycle Bin completely. In that case, scroll back up and use Method 1 with Disk Drill. The same goes for files you deleted using Shift + Delete.
- Open the Recycle Bin from your desktop or by searching for it in the Start menu (hit the Windows key and type Recycle Bin).
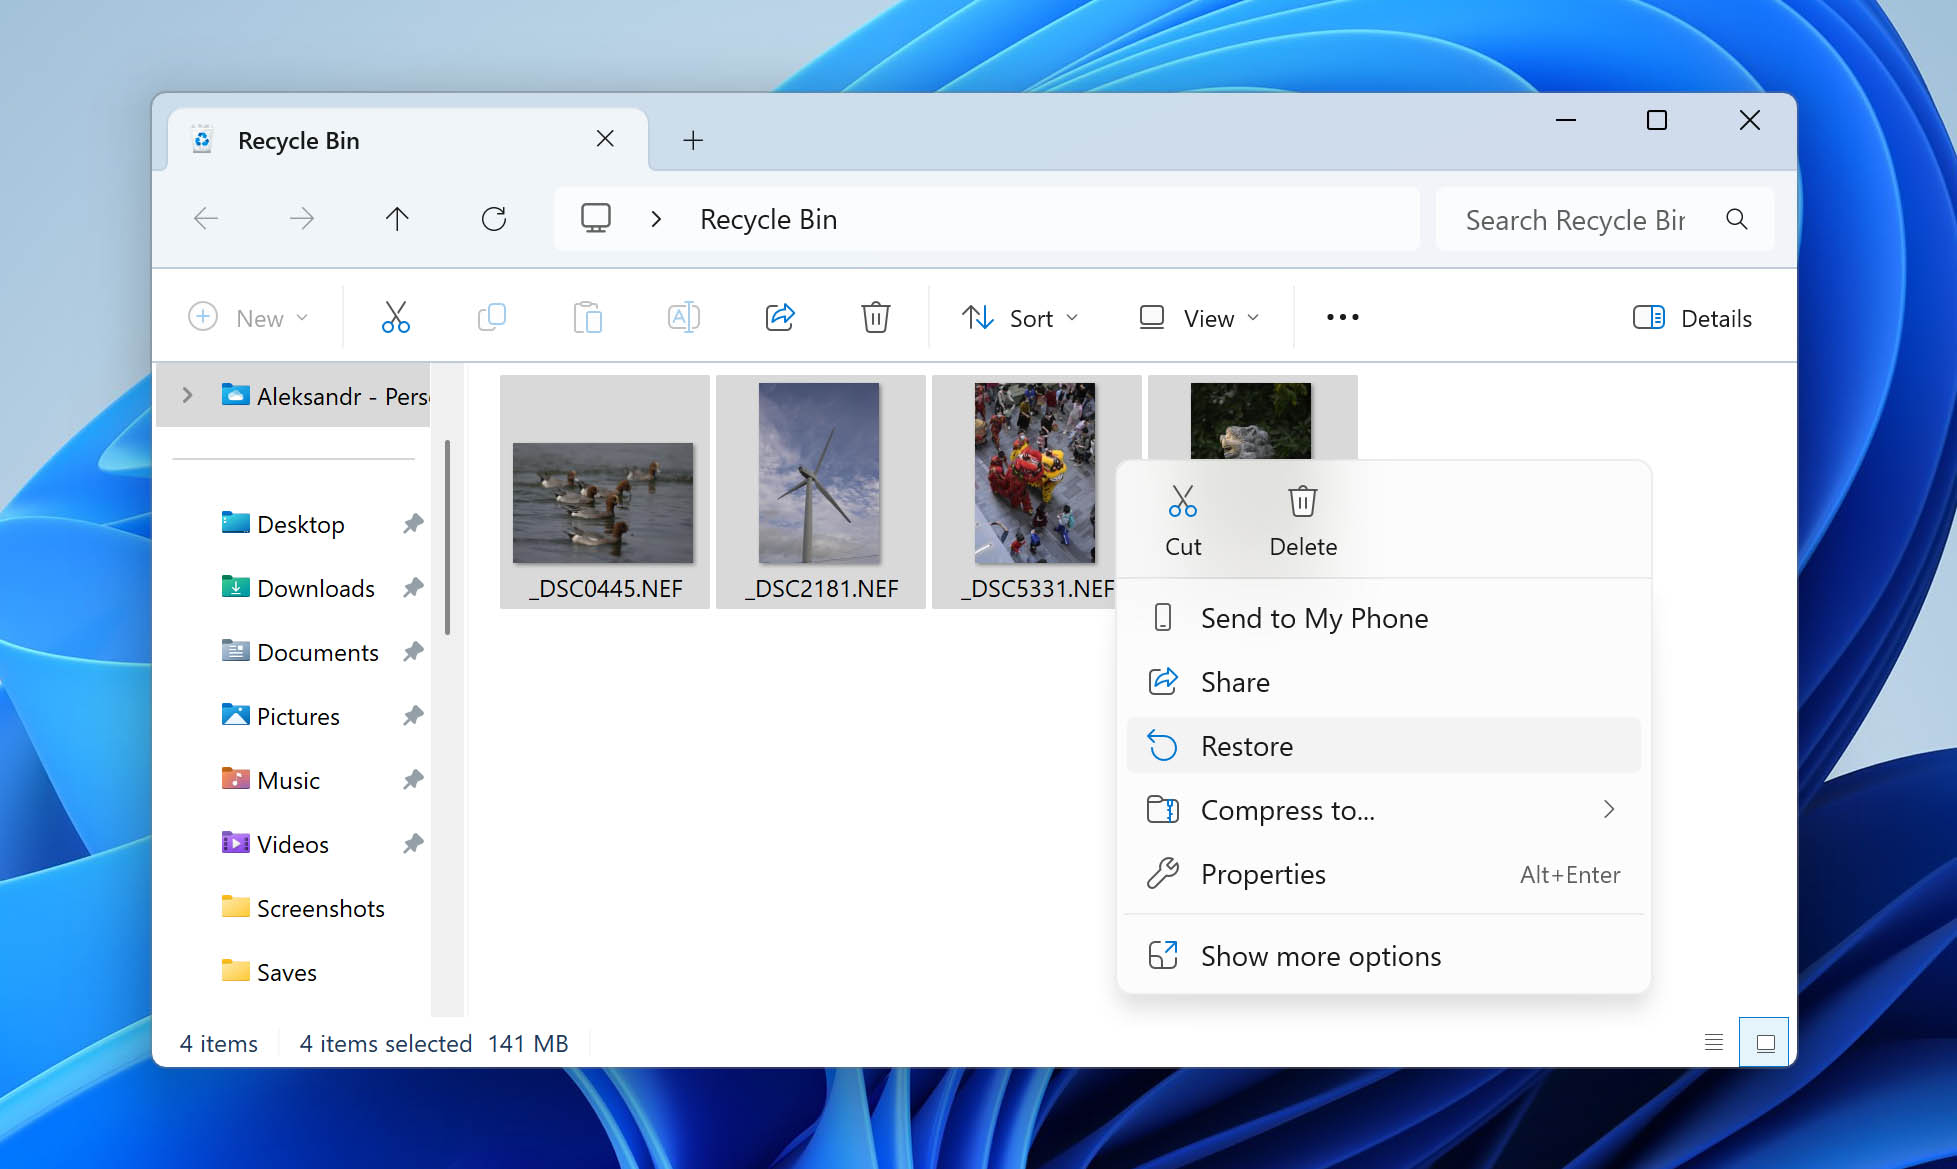
- Find your deleted NEF files in the list.
- Right-click the ones you want to bring back and select Restore. Windows will send them right back to where they were originally saved.

Method 3: Recover NEF Files Using Windows File History
If you didn’t find your NEF files in the Recycle Bin, you can try using File History instead of recovery software, assuming you had it set up before the files were deleted. File History is one of Windows’ built-in backup tools. It’s a handy way to restore files that were saved on your PC, though it doesn’t work with files stored on external drives like SD cards.
File History doesn’t back up your whole system. It only keeps copies of files in specific folders, such as Documents, Pictures, Videos, Music, Desktop, and parts of AppData. So, unless your NEF files were saved in one of those spots before they were deleted, this method won’t do the trick.
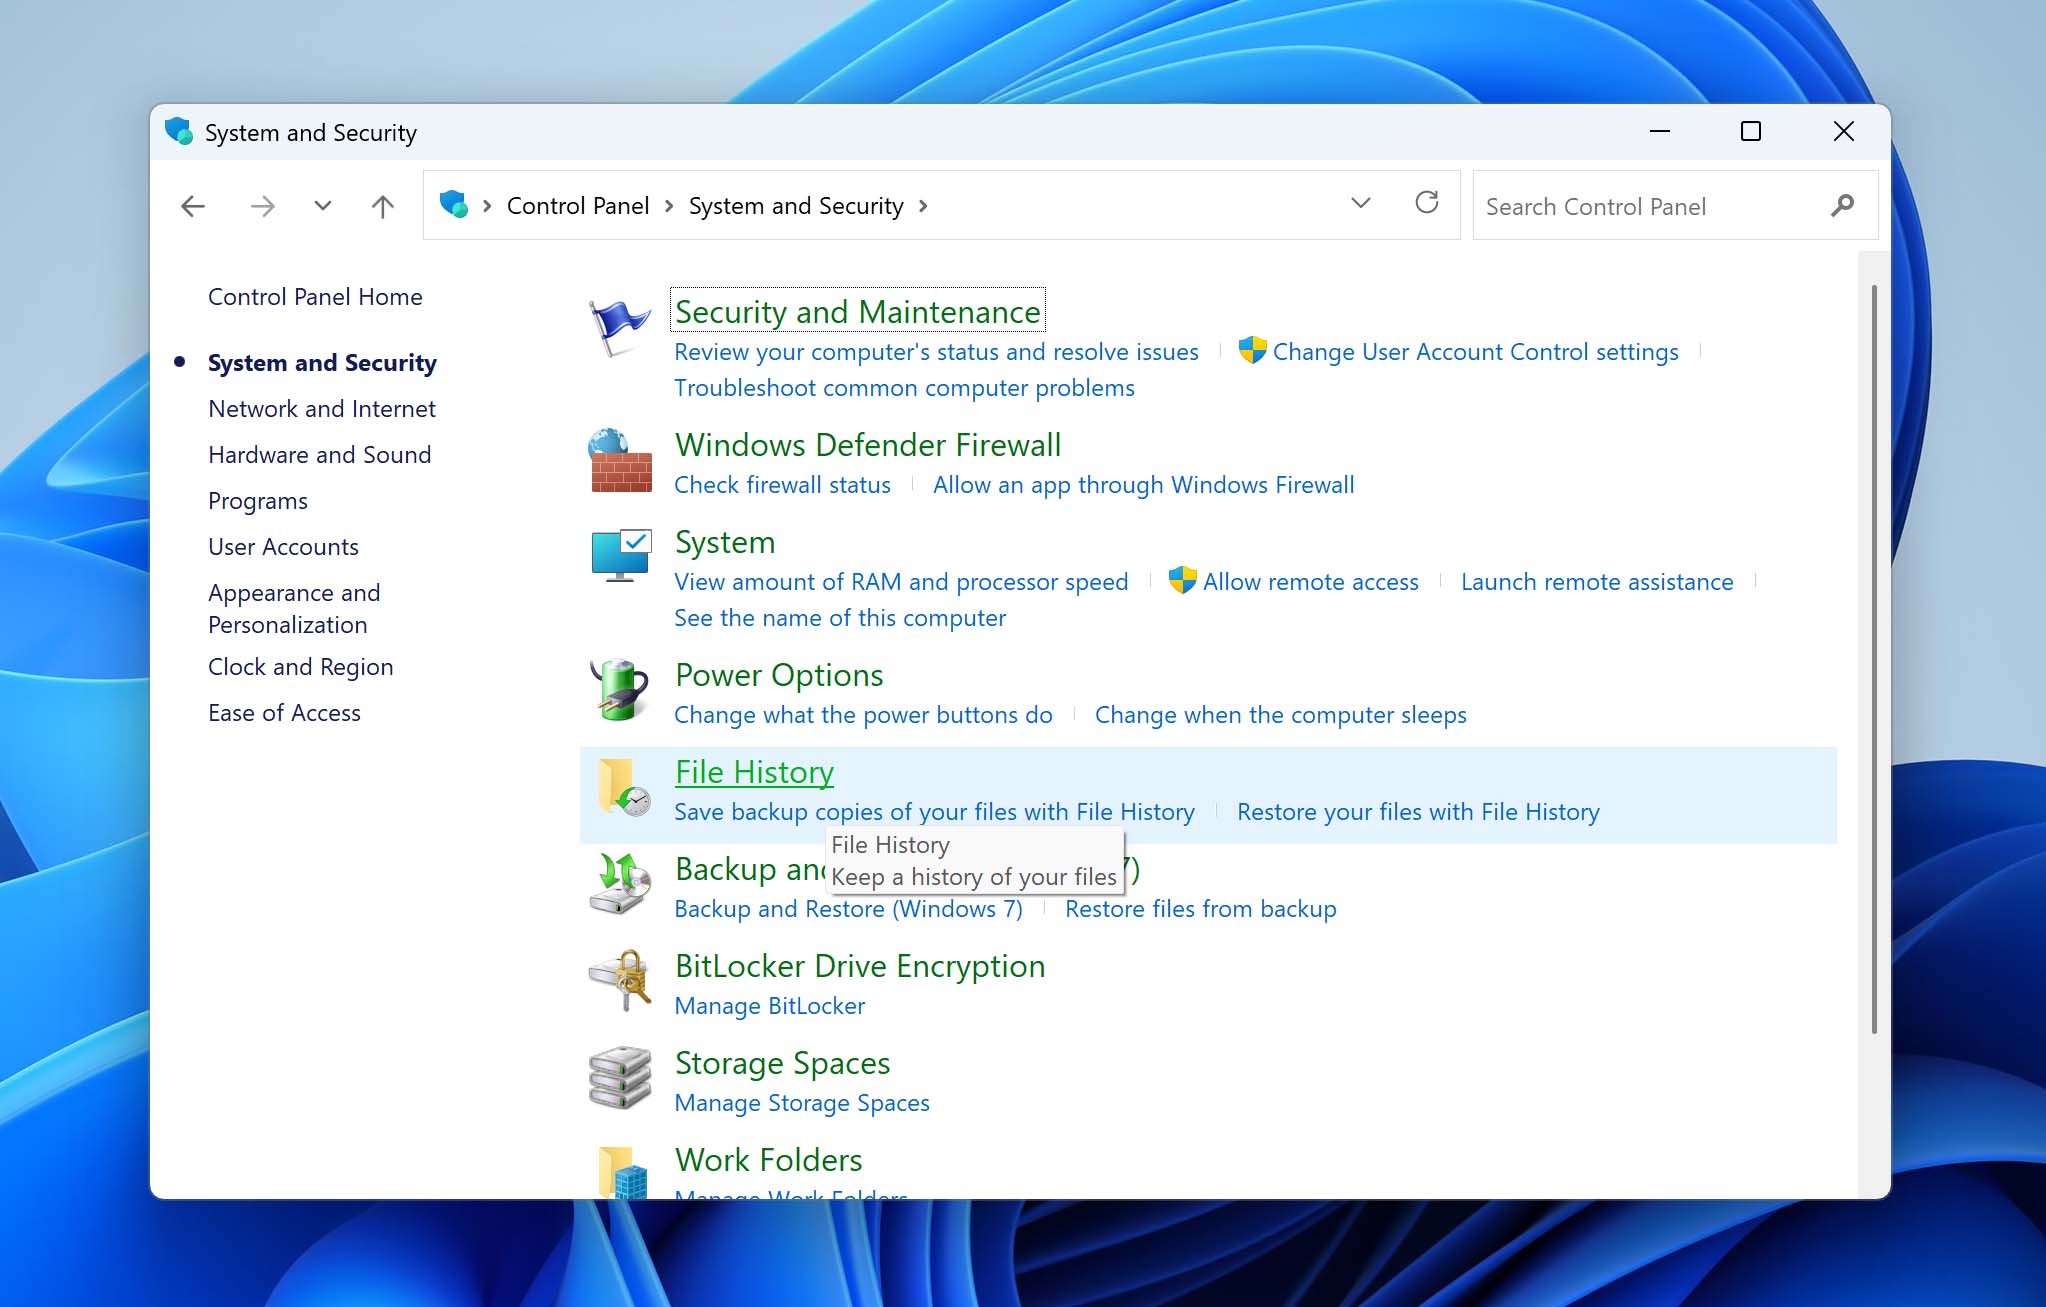
- Open the Control Panel.
- Go to System and Security, then click File History.
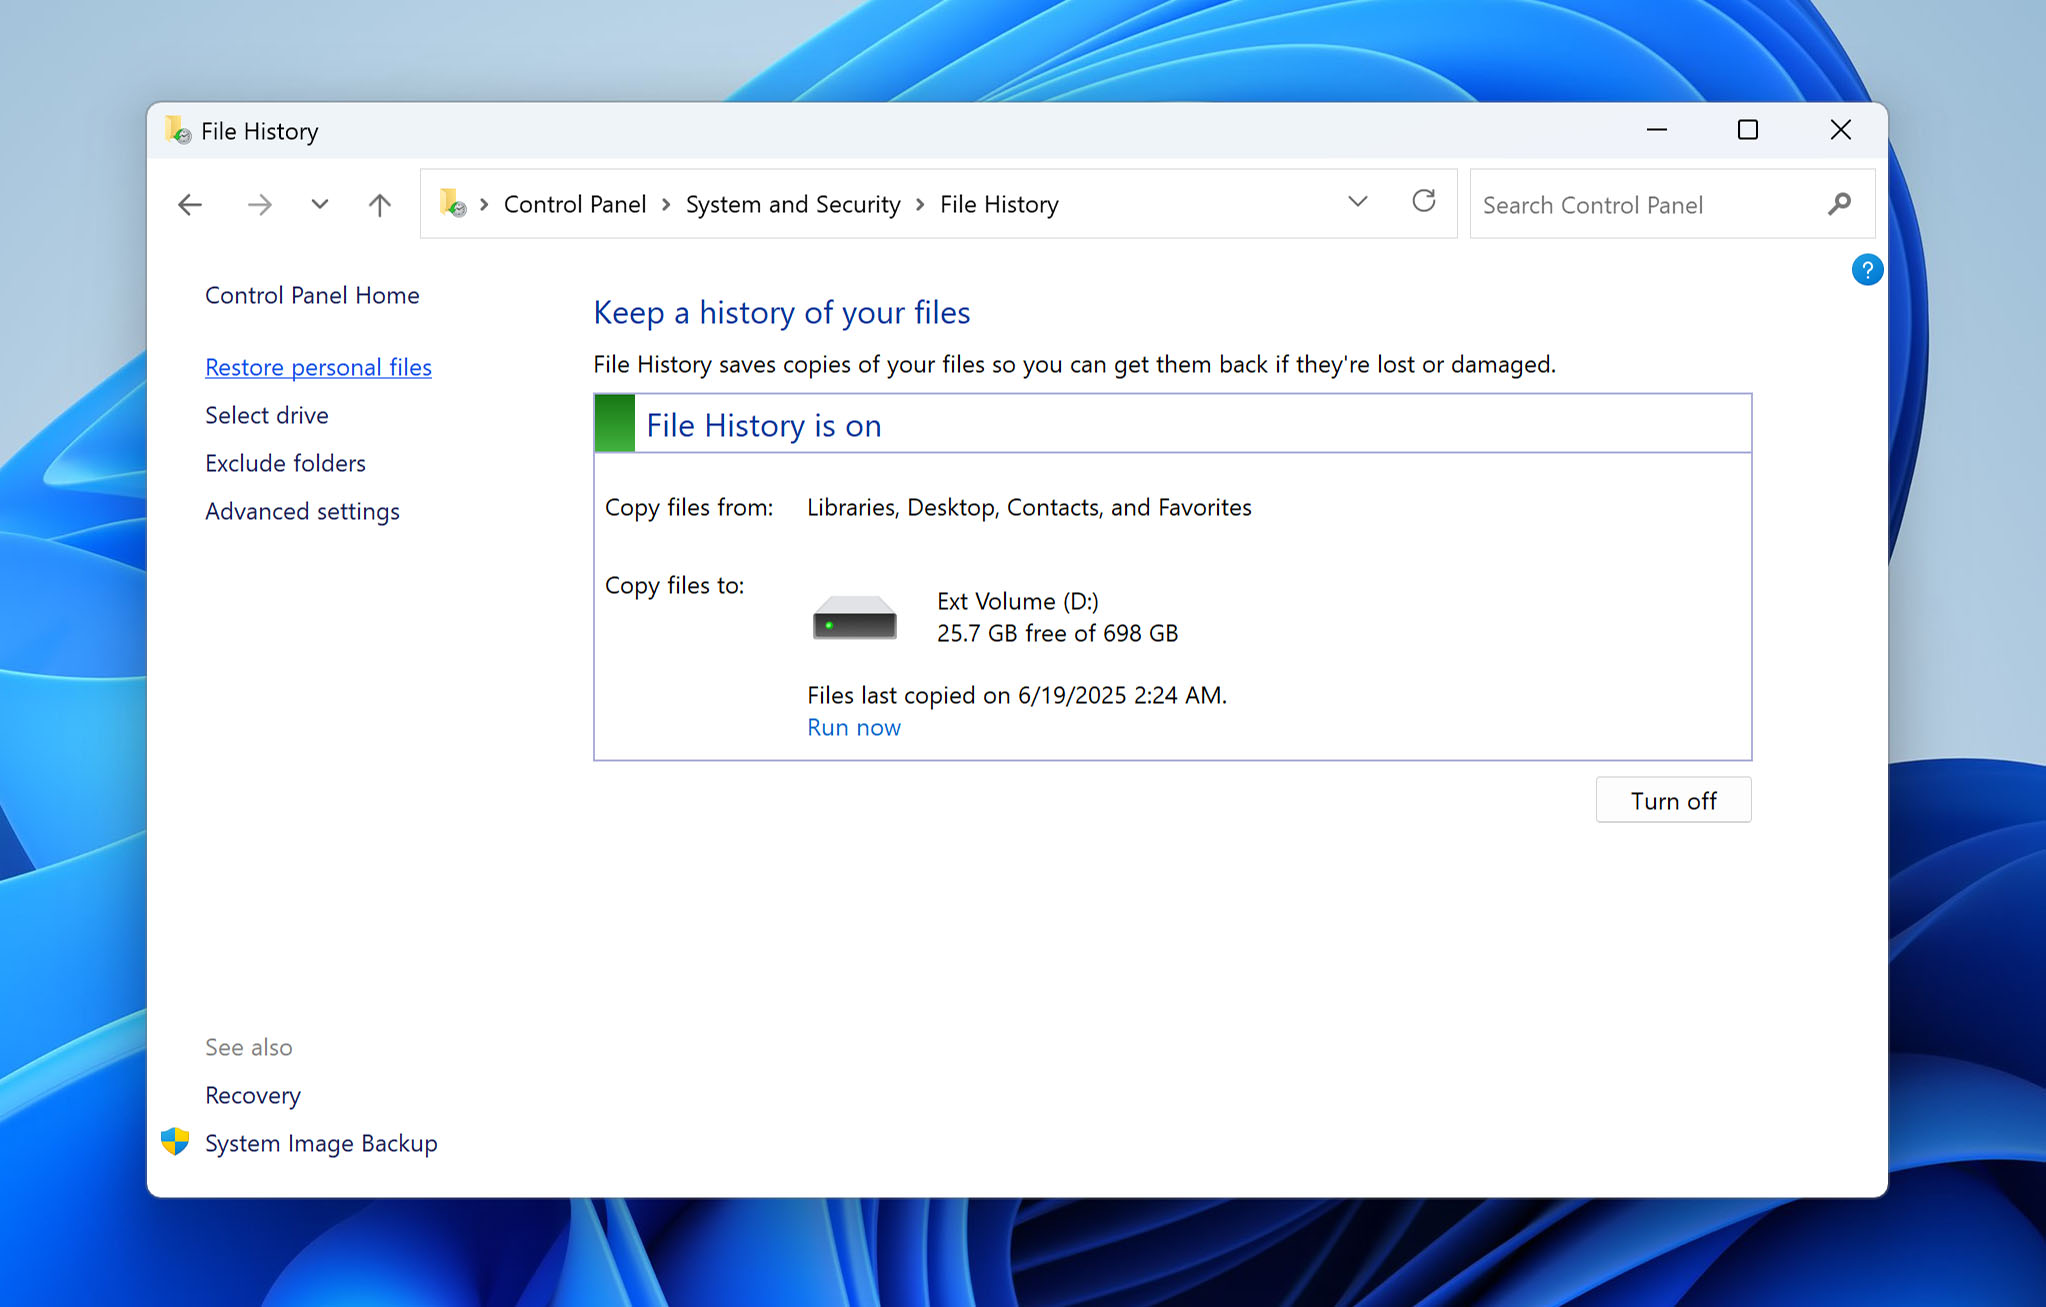
- Make sure the external drive or network location you used for backups is plugged in or connected.
- In the left panel, click Restore personal files.
- Use the arrows at the bottom to scroll through different backup versions. Find the folder where your NEF files were stored.
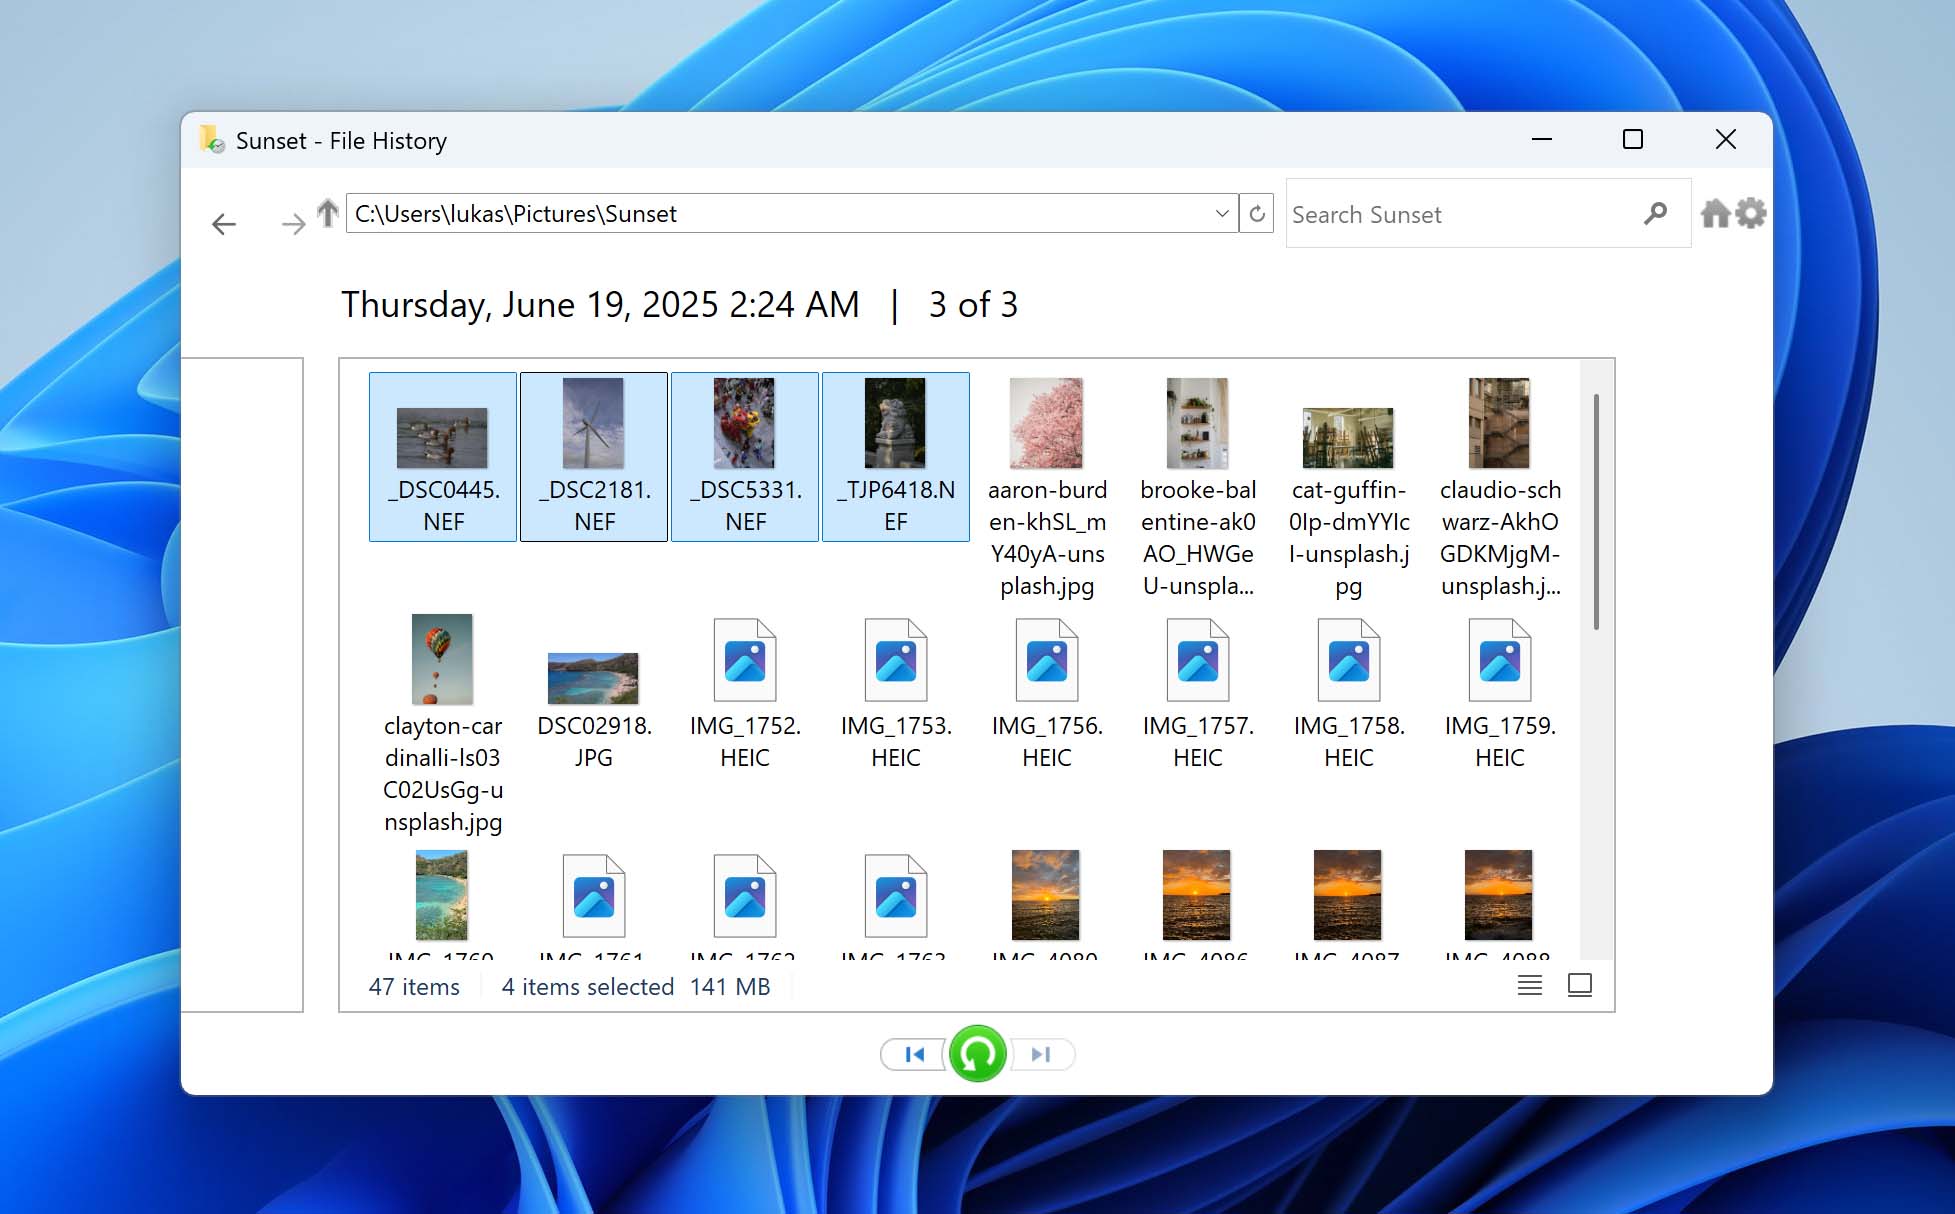
- Select the files you want, then hit the green Restore button. Windows will put them back in their original location.


Conclusion
This article proves that in most cases, you can recover NEF files (even if the process isn’t always easy). If you size up the situation correctly and pick the right recovery method from the start, your chances stay pretty solid. But if you’re unsure or don’t have much experience with recovery tools, it’s smarter to reach out to a professional data recovery service.
One quick tip for the future – don’t skip backups. Use Windows’ built-in options and third-party tools too. Eventually, you’ll transfer your NEF files from your SD card to your computer for sorting or editing. When you do, take a few minutes to make a backup copy. It could save your work down the line. Also, skip deleting photos straight from the SD card. Always move them to your PC first – that small habit gives you an extra safety net.